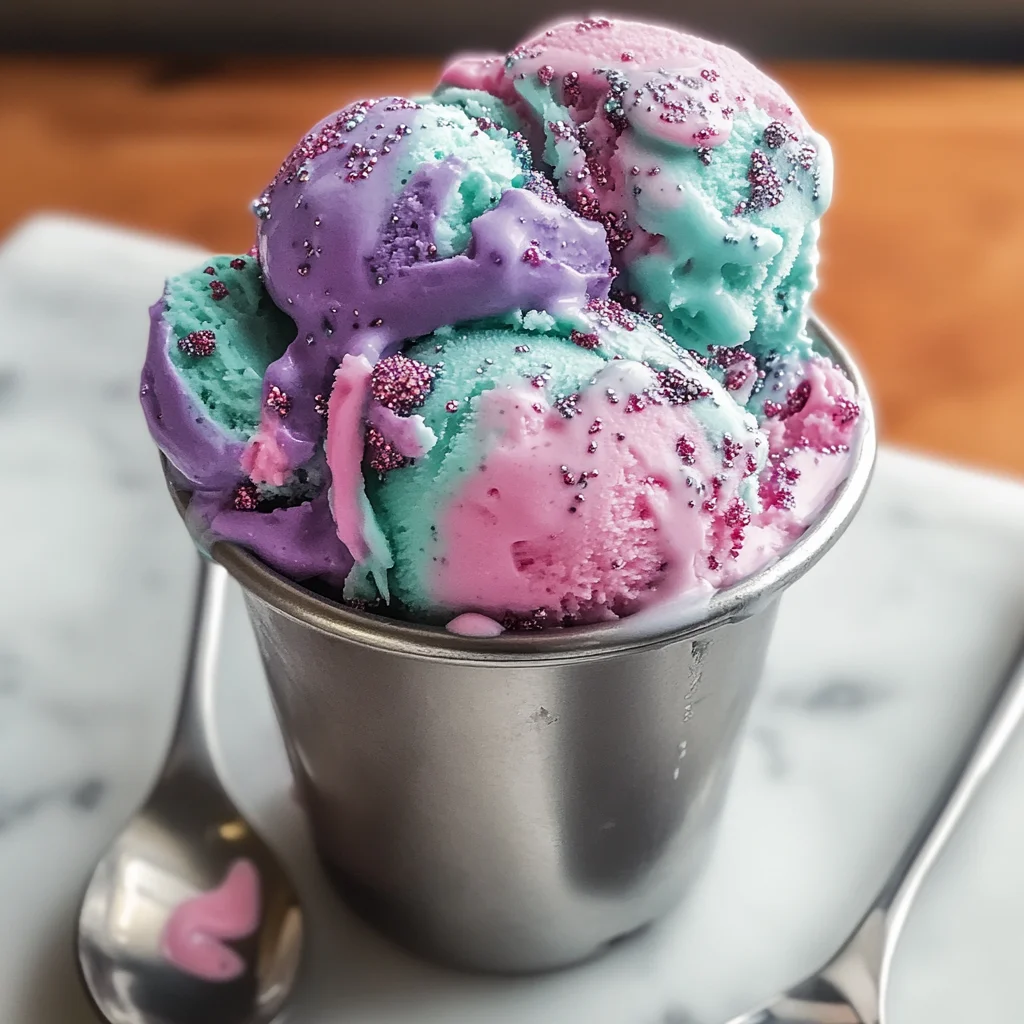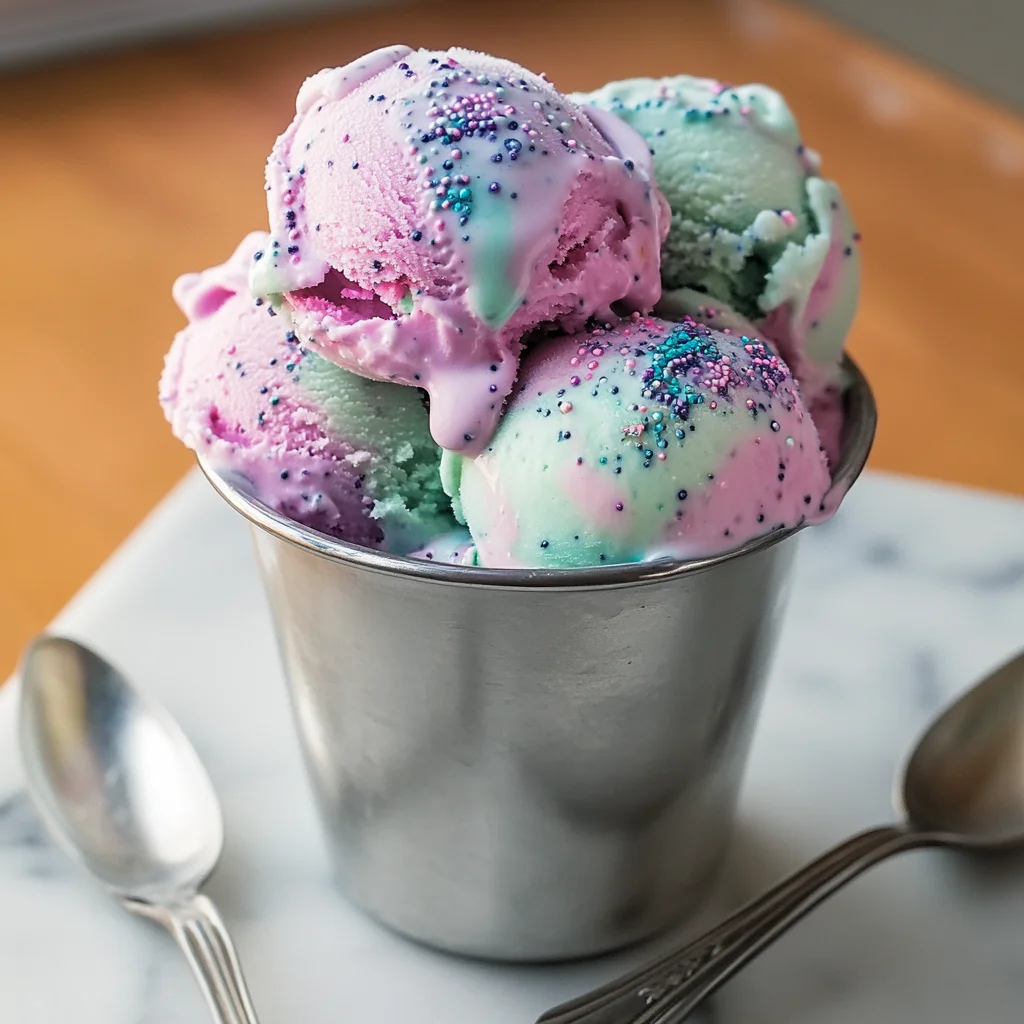
Introduction to Mermaid Ice Cream
Summer days call for something special, and what could be more enchanting than Mermaid Ice Cream? This colorful treat is not just a feast for the eyes; it’s a delightful way to cool off and indulge your sweet tooth. I remember the joy of making ice cream with my family, the laughter echoing in the kitchen as we mixed flavors and created memories. This recipe is perfect for impressing friends or simply treating yourself after a long day. With minimal effort and maximum flavor, you’ll find that this magical dessert is a quick solution for any hot day!
Why You’ll Love This Mermaid Ice Cream
This Mermaid Ice Cream is a dream come true for anyone craving a quick and delicious dessert. It’s incredibly easy to whip up, requiring no cooking at all. Just mix, layer, and freeze! The vibrant colors and playful toppings make it a hit with kids and adults alike. Plus, it’s a fantastic way to beat the heat while enjoying a sweet treat that looks as good as it tastes!
Ingredients for Mermaid Ice Cream
Creating your own Mermaid Ice Cream is a fun adventure, and it all starts with the right ingredients. Here’s what you’ll need:
- Heavy cream: This is the base that gives your ice cream its rich and creamy texture.
- Sweetened condensed milk: It adds sweetness and helps achieve that smooth consistency we all love.
- Vanilla extract: A splash of this classic flavor enhances the overall taste, making it even more delightful.
- Blue food coloring: This magical hue brings the ocean to your bowl, creating that mermaid vibe.
- Green food coloring: A touch of green adds depth, reminiscent of seaweed and underwater treasures.
- Crushed graham crackers: These provide a crunchy texture, mimicking sandy shores and adding a fun twist.
- Mini marshmallows: Soft and fluffy, they add a whimsical touch, like little clouds in your ice cream.
- Rainbow sprinkles: Because what’s a mermaid without a sprinkle of magic? They add color and joy!
For those looking for alternatives, you can easily make a dairy-free version by swapping heavy cream with coconut cream and using dairy-free sweetened condensed milk. If you want to elevate the magic, consider adding edible glitter or star-shaped sprinkles on top before serving. The exact quantities for each ingredient are available at the bottom of the article for easy printing!
How to Make Mermaid Ice Cream
Creating your own Mermaid Ice Cream is a delightful journey. Follow these simple steps, and you’ll have a magical treat ready to impress everyone!
Step 1: Whisk the Base
Start by grabbing a large mixing bowl. Pour in the heavy cream, sweetened condensed milk, and vanilla extract. Whisk them together until the mixture is well combined and slightly thickened. This creamy base is the heart of your ice cream, so make sure it’s smooth and luscious!
Step 2: Color the Mixture
Next, divide the creamy mixture into two separate bowls. In one bowl, add the blue food coloring. Stir until you achieve your desired ocean-like shade. In the other bowl, mix in the green food coloring. This vibrant duo will create the enchanting mermaid effect in your ice cream!
Step 3: Layer the Ice Cream
Now comes the fun part! Grab a freezer-safe container and start layering. Alternate spoonfuls of the blue and green mixtures, creating a swirled effect. Use a knife or skewer to gently swirl the colors together for a marbled look. This step is where the magic truly begins!
Step 4: Add Toppings
Once your layers are in place, it’s time to sprinkle on the fun! Add the crushed graham crackers, mini marshmallows, and rainbow sprinkles on top. These toppings not only add texture but also make your Mermaid Ice Cream look like a treasure trove of delights!
Step 5: Freeze and Serve
Cover your container with a lid or plastic wrap and pop it in the freezer. Let it freeze for at least 4 hours or until firm. When you’re ready to serve, scoop out the colorful ice cream into bowls or cones. Enjoy the magical treat that’s as delightful to eat as it is to look at!

Tips for Success
- Make sure your heavy cream is cold for better whipping.
- Use gel food coloring for more vibrant hues.
- Don’t skip the swirling step; it creates a beautiful marbled effect.
- For a creamier texture, let the ice cream sit at room temperature for a few minutes before scooping.
- Experiment with different toppings to personalize your mermaid creation!
Equipment Needed
- Mixing bowl: A large bowl for whisking the ingredients. A sturdy pot can work in a pinch.
- Whisk: Essential for blending. A fork can substitute if you’re in a bind.
- Freezer-safe container: To hold your ice cream. Any airtight container will do.
- Knife or skewer: For swirling the colors. A chopstick is a great alternative!
Variations
- Fruit Swirls: Add pureed strawberries or mango for a fruity twist. Just swirl it in with the blue and green mixtures!
- Chocolate Delight: Mix in chocolate chips or chunks for a rich contrast to the sweet flavors.
- Nutty Crunch: Incorporate crushed nuts like almonds or pecans for an added crunch and flavor depth.
- Vegan Version: Use coconut cream and dairy-free sweetened condensed milk for a delicious dairy-free treat.
- Flavor Infusions: Experiment with different extracts like almond or coconut to create unique flavor profiles.
Serving Suggestions
- Pair your Mermaid Ice Cream with fresh fruit like strawberries or blueberries for a refreshing contrast.
- Serve it alongside a slice of chocolate cake for a delightful dessert duo.
- Use colorful cones to enhance the visual appeal of your magical treat.
- Top with whipped cream and a cherry for an extra special touch!
FAQs about Mermaid Ice Cream
Can I make Mermaid Ice Cream without dairy?
Absolutely! For a dairy-free version, simply swap the heavy cream with coconut cream and use dairy-free sweetened condensed milk. You won’t lose any of the magic!
How long does it take to freeze?
You’ll need to freeze your Mermaid Ice Cream for at least 4 hours or until it’s firm. Patience is key, but the wait is worth it for this colorful treat!
Can I use different colors for the ice cream?
Of course! Feel free to get creative with your colors. Use any food coloring you like to create your own unique mermaid masterpiece!
What toppings work best with Mermaid Ice Cream?
While crushed graham crackers, mini marshmallows, and rainbow sprinkles are fantastic, you can also try fresh fruit, chocolate chips, or even edible glitter for an extra magical touch!
How should I store leftover Mermaid Ice Cream?
Store any leftovers in an airtight container in the freezer. It should stay fresh for about a week, but I doubt it will last that long!
Final Thoughts
Creating Mermaid Ice Cream is more than just making a dessert; it’s about crafting joyful moments. Each scoop is a burst of color and flavor, reminiscent of carefree summer days. I love how this recipe invites creativity, whether through vibrant colors or whimsical toppings. It’s a treat that brings smiles to faces of all ages, making it perfect for gatherings or quiet evenings at home. So, gather your ingredients, unleash your inner mermaid, and dive into this magical experience. Trust me, every bite will transport you to a world of sweetness and delight!
Mermaid Ice Cream: Discover the Magical Recipe Today!
Ingredients
Method
- In a large mixing bowl, whisk together the heavy cream, sweetened condensed milk, and vanilla extract until well combined and slightly thickened.
- Divide the mixture into two separate bowls. In the first bowl, add the blue food coloring and mix until you achieve your desired shade. In the second bowl, add the green food coloring and mix until well combined.
- In a freezer-safe container, layer the blue and green ice cream mixtures alternately, creating a swirled effect. Use a knife or skewer to gently swirl the colors together for a marbled look.
- Sprinkle the crushed graham crackers, mini marshmallows, and rainbow sprinkles on top of the ice cream mixture.
- Cover the container with a lid or plastic wrap and freeze for at least 4 hours or until firm.
- Scoop and serve the mermaid ice cream in bowls or cones, and enjoy the colorful treat!
Nutrition
Notes
- For a dairy-free version, substitute the heavy cream with coconut cream and use a dairy-free sweetened condensed milk.
- To make it even more magical, add edible glitter or star-shaped sprinkles on top before serving.

Leave a Reply