
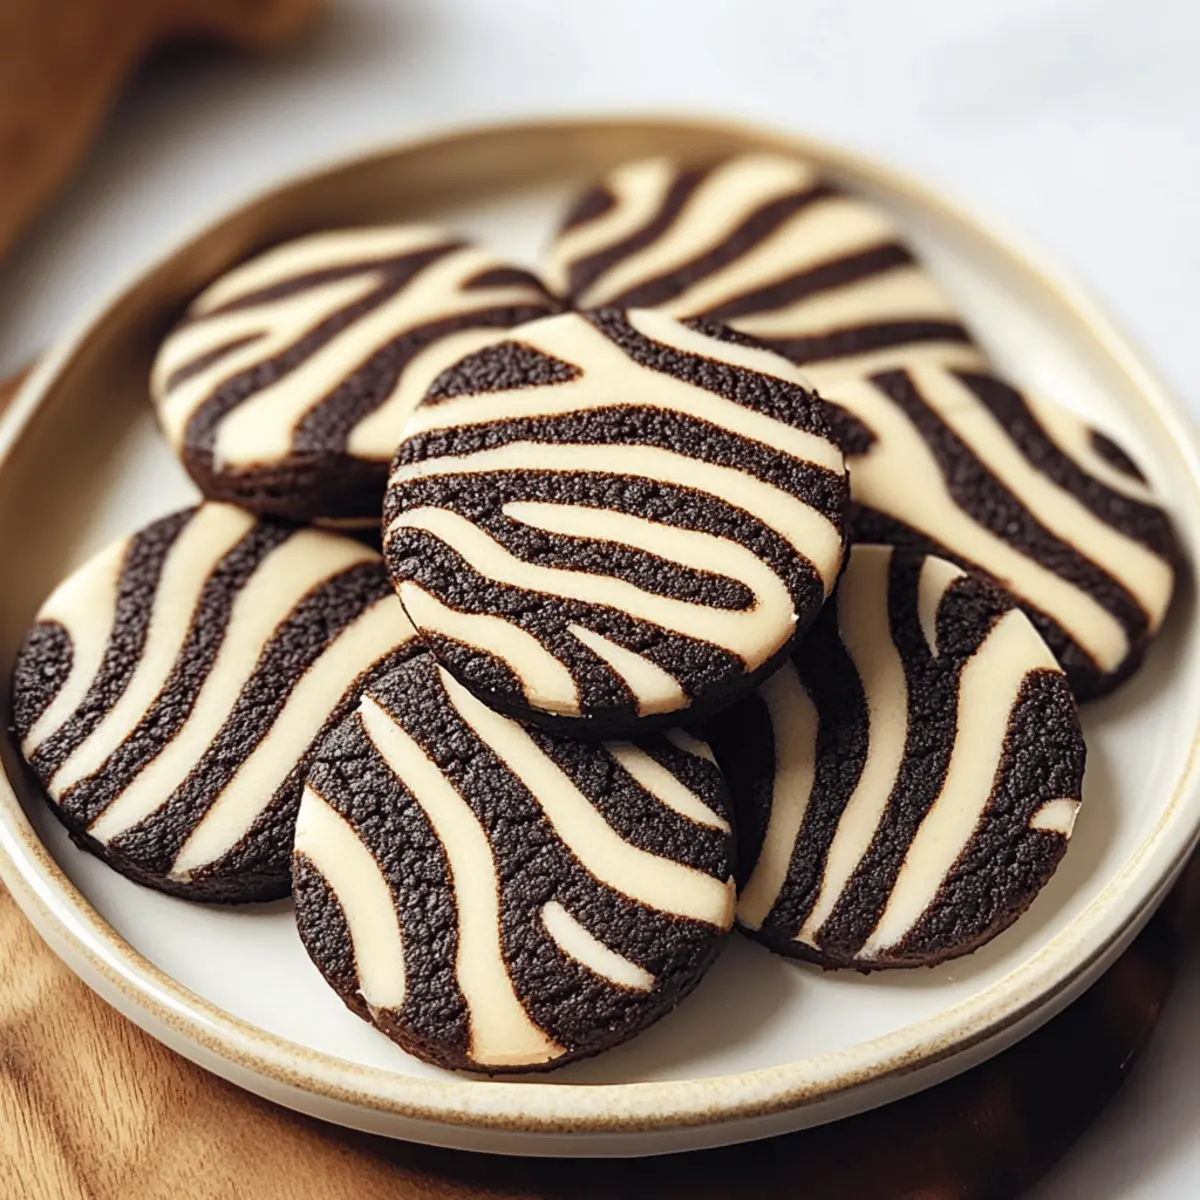
As I was experimenting in the kitchen one afternoon, I stumbled upon a delightful surprise: Zebra Cookies. These eye-catching treats combine rich chocolate and sweet vanilla into a stunning spiral design that instantly brightens up any gathering. Not only are these cookies a visual delight, but they’re also surprisingly easy to whip up—a perfect recipe to impress your friends and family. Their soft, buttery texture makes them an excellent choice for tea time, lunchboxes, or as thoughtful gifts during the holidays. Plus, with an array of creative variations at your fingertips, you can make them uniquely yours! What twist will you add to your own batch of Zebra Cookies?
Why are Zebra Cookies so irresistible?
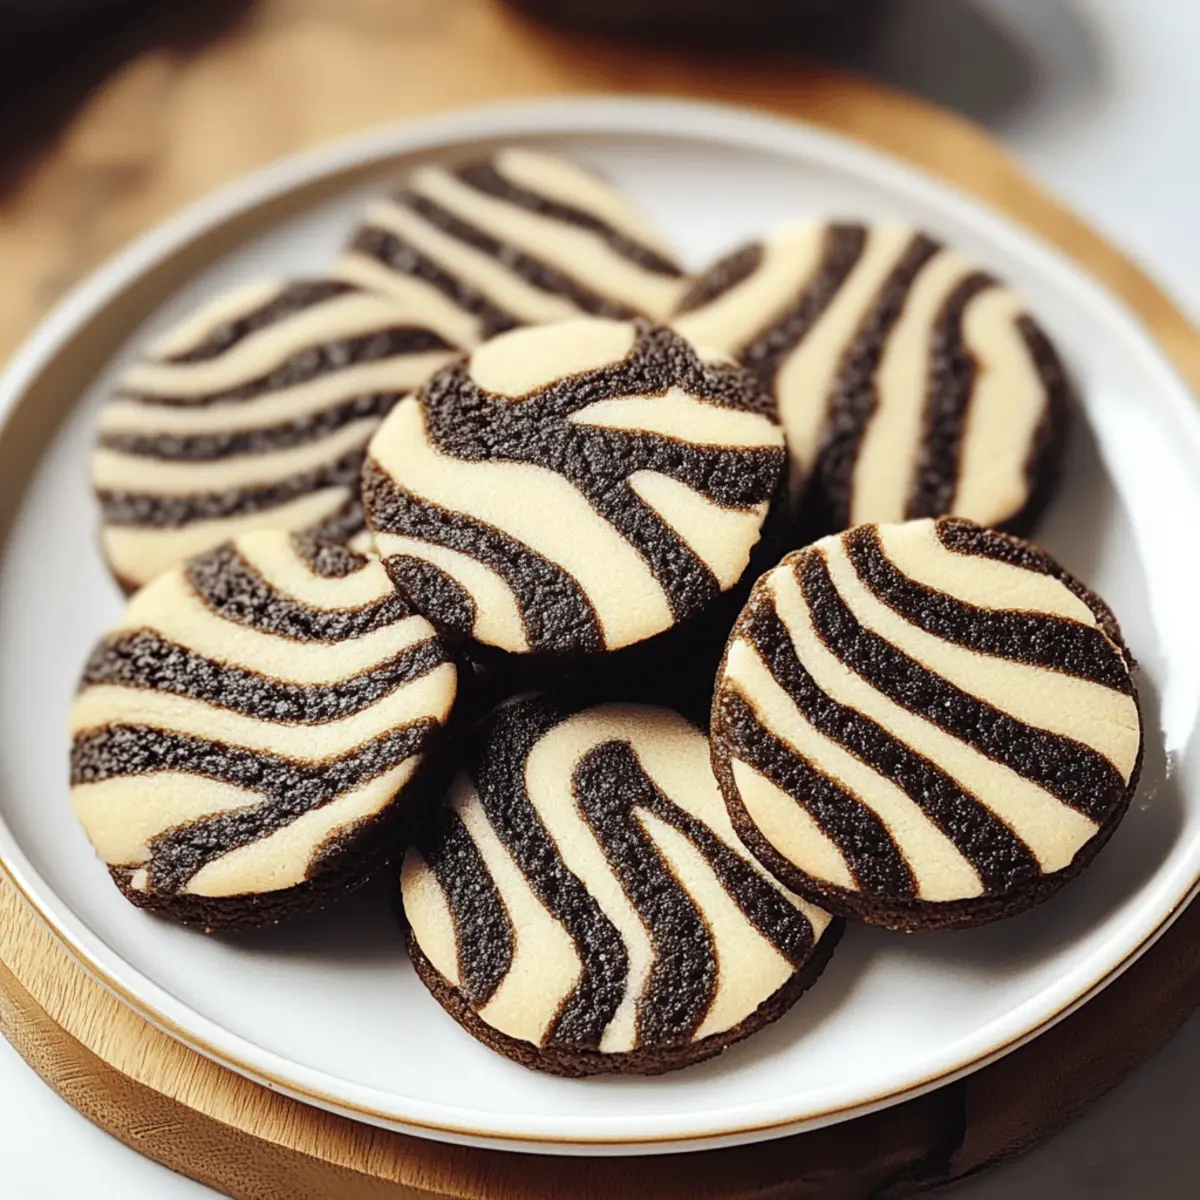
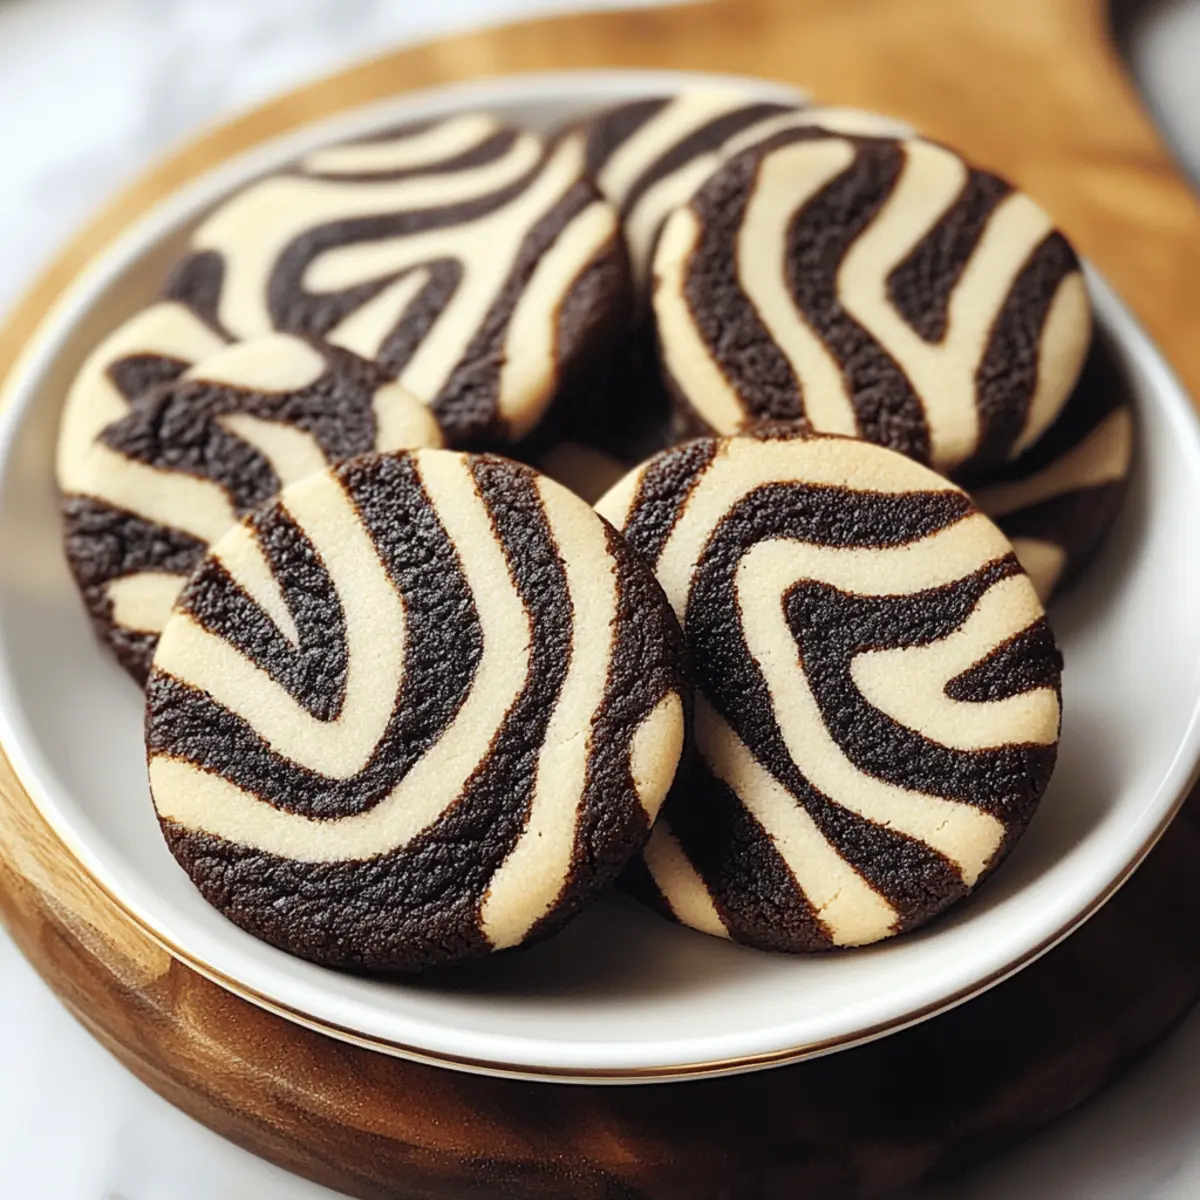
Visual Appeal: The stunning black and white spiral design makes these cookies not just a treat but a showstopper at any gathering.
Surprisingly Easy: With simple ingredients and straightforward steps, even beginner bakers can create these beautiful delights effortlessly.
Perfect for Gifting: Wrapped in a box or tin, Zebra Cookies make thoughtful homemade gifts that friends and family will adore.
Flavor Fusion: The combination of rich cocoa and sweet vanilla delivers a delightful taste explosion, appealing to both chocolate lovers and vanilla enthusiasts alike.
Creative Variations: From matcha to citrusy twists, there are endless ways to personalize these cookies to suit your taste or occasion. Try them in combination with other favorites like Brownie Mix Cookies or Soft Chewy Cookies for even more deliciousness!
Zebra Cookies Ingredients
For the Cookie Dough
- Unsalted Butter – Adds richness and tenderness, ensuring a delightful melt-in-your-mouth experience.
- Powdered Sugar – Provides the perfect sweetness and a light, airy texture to the dough.
- All-Purpose Flour – The backbone of the recipe, it creates a sturdy structure for the zebra cookies.
- Cornstarch – Enhances the lovely tender texture, making these cookies wonderfully soft.
- Salt – Elevates the sweetness and balances flavors beautifully.
- Vanilla Extract – Infuses a fragrant sweetness, complementing the rich cocoa nicely.
- Cocoa Powder (Unsweetened) – Delivers deep chocolate flavor to half the dough, creating that signature zebra pattern.
- Milk – Adjusts the dough consistency for the perfect rollability when crafting your zebra cookies.
Step‑by‑Step Instructions for Zebra Cookies
Step 1: Cream the Butter and Sugar
In a large mixing bowl, cream together 1 cup of softened unsalted butter and 1 cup of powdered sugar until the mixture is light and fluffy, about 2-3 minutes. Use an electric mixer on medium speed for the best texture. You should see a pale and airy mixture that’s ready to embrace the flavors of your Zebra Cookies.
Step 2: Add the Vanilla Extract
Next, incorporate 1 teaspoon of vanilla extract into the creamed butter and sugar. Mix until well combined, ensuring that the vanilla thoroughly infuses the mixture with its fragrant sweetness. This step will enhance the overall flavor profile, setting the foundation for your delightful Zebra Cookies.
Step 3: Combine the Dry Ingredients
Sift together 2 cups of all-purpose flour, 1/4 cup of cornstarch, and 1/2 teaspoon of salt directly into the bowl. Gently mix using a spatula or wooden spoon until a soft dough begins to form. Be cautious not to overmix at this stage; you want to maintain the tender texture that makes Zebra Cookies so irresistible.
Step 4: Divide the Dough
Divide the dough into two equal halves, placing one half in a separate bowl. To one half, add 1/4 cup of unsweetened cocoa powder and 1-2 tablespoons of milk as needed. Mix until a smooth chocolate dough forms, ensuring an even incorporation of cocoa. The vibrant contrast in color will give your Zebra Cookies their signature look.
Step 5: Roll Out the Doughs
On a lightly floured surface, roll out both the vanilla and chocolate dough halves into equal-sized rectangles, approximately 1/4 inch thick. Use a rolling pin, applying gentle pressure. Aim for smooth, even surfaces to create beautiful layers in your Zebra Cookies, which will add to their visual appeal.
Step 6: Layer the Doughs
Carefully place the chocolate dough on top of the vanilla dough. Trim any uneven edges for a clean finish, then gently press the layers together. Roll the dough tightly into a log, sealing in the contrasting colors. This is where the mesmerizing zebra swirl will form, so take your time to create a neat log.
Step 7: Chill the Dough
Wrap your dough log tightly in plastic wrap and chill in the refrigerator for at least 1 hour. This crucial step allows the dough to firm up, making it easier to slice later. Enjoy the anticipation as your Zebra Cookies transform into something special while waiting patiently for them to chill.
Step 8: Preheat the Oven
While the dough chills, preheat your oven to 350°F (175°C). Prepare a baking sheet by lining it with parchment paper, ensuring convenience when placing your sliced cookies. A hot oven will ensure even baking and help create the perfect texture for your Zebra Cookies.
Step 9: Slice the Dough Log
Once chilled, remove the log from the refrigerator and unwrap it. Using a sharp knife, slice the log into 1/4-inch thick rounds. A clean, steady motion will yield beautiful cookie rounds showcasing the zebra pattern. Place each slice on the prepared baking sheet, spacing them about 2 inches apart.
Step 10: Bake the Cookies
Bake your Zebra Cookies in the preheated oven for 10-12 minutes, or until the edges are lightly golden. Keep an eye on them, as the visual cue of browning around the edges signals that they are done. Allow the cookies to cool on the baking sheet for a few minutes before transferring them to a wire rack to cool completely.
What to Serve with Zebra Cookies
Indulging in Zebra Cookies is sure to delight your taste buds, but pairing them with the right accompaniments makes the experience even richer.
- Rich Hot Chocolate: The warm, creamy beverage complements the delightful flavors of the cookies, enhancing their chocolatey depth.
- Herbal Tea: A soothing chamomile or peppermint tea will offer a refreshing contrast, balancing the sweetness of the cookies perfectly.
- Fruit Platter: Fresh berries or sliced apples add a vibrant touch, providing a fruity freshness that brightens up the dessert table.
- Cheese Board: Pairing with a soft cheese like brie introduces creaminess, creating a delightful balance with the buttery texture of the cookies.
Consider a dessert board to showcase the Zebra Cookies alongside other treats like brownies and nuts. A well-curated selection provides diverse textures and flavors that elevate any gathering.
- Vanilla Ice Cream: Serve alongside a scoop of velvety vanilla ice cream for an indulgent combination that melts in your mouth.
- Sparkling Lemonade: The citrusy fizz cuts through the richness, leaving you refreshed between bites.
- Chocolate Dipping Sauce: Dip half the cookie in warm chocolate for an extra layer of decadence.
- Chocolate Milk: This nostalgic drink pairs perfectly, echoing the cocoa flavors while bringing a comforting element to the mix.
Make Ahead Options
Zebra Cookies are ideal for meal prep lovers looking to save time in the kitchen! You can prepare the dough up to 24 hours in advance by following steps 1 to 6; simply wrap the rolled log tightly in plastic wrap and refrigerate. For even longer storage, slice your cookies and place them in an airtight container or freeze them for up to 2 months—just ensure the cookies are completely cool before freezing to prevent moisture. When you’re ready to enjoy these delightful treats, preheat your oven, slice the chilled dough into rounds, and bake them as instructed. This way, you’ll have freshly baked Zebra Cookies with minimal effort, perfect for surprising guests or enjoying as a delightful snack!
Expert Tips for Zebra Cookies
-
Butter Temperature: Use softened butter for optimal creaming, which ensures a light and fluffy texture for your Zebra Cookies. Cold butter can lead to dense cookies.
-
Mixing Care: Avoid overmixing the dough after adding flour to keep the texture tender. Overmixing can develop gluten, resulting in tough cookies.
-
Slicing Technique: Use a sharp knife for clean slices of the chilled dough. A serrated knife can help maintain the zebra pattern when cutting.
-
Chilling Time: Don’t rush the chilling step; letting the dough rest ensures it firms up, making slicing easier and yielding a cleaner design.
-
Baking Attention: Bake the cookies until the edges are lightly golden. Checking at the lower end of the baking time keeps them soft inside while achieving a beautiful outer crust.
Storage Tips for Zebra Cookies
-
Room Temperature: Store cooled Zebra Cookies in an airtight container at room temperature for up to 1 week to maintain their delightful texture and flavor.
-
Refrigeration: If you want to keep them fresh longer, store in the fridge for up to 2 weeks. They may soften slightly, but a brief re-crisp in the oven will help.
-
Freezing: Both baked cookies and unbaked dough logs can be frozen for up to 2 months. Ensure they are cool before freezing; layer baked cookies between parchment paper for easy access later.
-
Reheating: To revive chilled or frozen Zebra Cookies, warm them in a 300°F (150°C) oven for a few minutes. This will enhance their flavor and restore a bit of their original texture.
Zebra Cookies: Creative Twists and More
Feel free to let your imagination soar as you explore these delicious adaptations of Zebra Cookies!
-
Citrusy Zing: Add orange zest to the vanilla dough for a fresh, vibrant flavor. This citrus twist brightens up each bite, perfect for a sunny afternoon treat.
-
Coffee Kick: Stir in espresso powder to the cocoa dough for a delightful coffee-flavored variant. The unique depth of flavor will satisfy chocolate and coffee lovers alike.
-
Vibrant Matcha: Substitute cocoa powder with matcha for a stunning green and white version. Not only does it look fabulous, but the delicate flavor adds a beautiful spin.
-
Rainbow Delight: Use food coloring instead of cocoa to create a rainbow version that kids will adore. Each cookie becomes a burst of joy, sure to brighten up lunchboxes or parties.
-
Nutty Flavor: Incorporate chopped nuts like almonds or walnuts into the dough for a delightful crunch. The texture contrast enhances the cookie and adds a layer of flavor that is oh-so-satisfying.
-
Fruity Swirl: Add dried fruits, such as cranberries or apricots, to the dough for extra sweetness and a chewy texture. The fruity bits create a lovely surprise in every bite.
-
Gluten-Free Option: Substitute all-purpose flour with a gluten-free blend for a safe and delicious version for those with dietary needs. Enjoy all the flavors of Zebra Cookies without missing out.
-
Additional Suggestions: Feeling adventurous? Try experimenting with spices like cinnamon or nutmeg in the vanilla dough for a cozy flavor profile. You can easily pair these cookies with treats like Zebra Cookies Discover or Marshmallow Swirl Cookies for a delightful dessert spread.
Zebra Cookies Recipe FAQs
What type of butter should I use for Zebra Cookies?
Absolutely! Using unsalted butter is ideal for Zebra Cookies because it allows you to control the saltiness of the final product. Always ensure that your butter is softened to room temperature, which will help you achieve that perfect light and fluffy texture when creaming with sugar.
How should I store Zebra Cookies?
You can store your delightful Zebra Cookies in an airtight container at room temperature for up to 1 week. They’ll maintain their buttery goodness and beautiful texture. If you happen to have leftovers (which is rare!), you can also refrigerate them for up to 2 weeks. Just remember to give them a quick warm-up in the oven to refresh their texture.
Can I freeze Zebra Cookies?
Absolutely! Zebra Cookies freeze wonderfully. You can freeze both the baked cookies and unbaked dough logs for up to 2 months. To freeze baked cookies, ensure they’re completely cooled, then layer them between sheets of parchment paper in an airtight container. For unbaked cookie logs, wrap them in plastic wrap and place them in a freezer-safe bag. When you’re ready to bake, you can slice the logs straight from the freezer!
What adjustments can I make for dietary restrictions?
If you’re accommodating dietary restrictions, you might try using a gluten-free flour blend as a substitute for all-purpose flour, which can work well in cookie recipes. For a dairy-free version, use coconut oil or vegan butter in place of unsalted butter. Just ensure that the cocoa powder you use is also dairy-free!
What if my dough is too crumbly?
Very! If you find that your dough is too crumbly and won’t hold together, try adding a little more milk—start with a teaspoon at a time and mix gently until the desired consistency is achieved. Remember, it’s important not to overmix after adding the flour, which can lead to tougher cookies! Aim for a soft but manageable dough that can easily be rolled out.
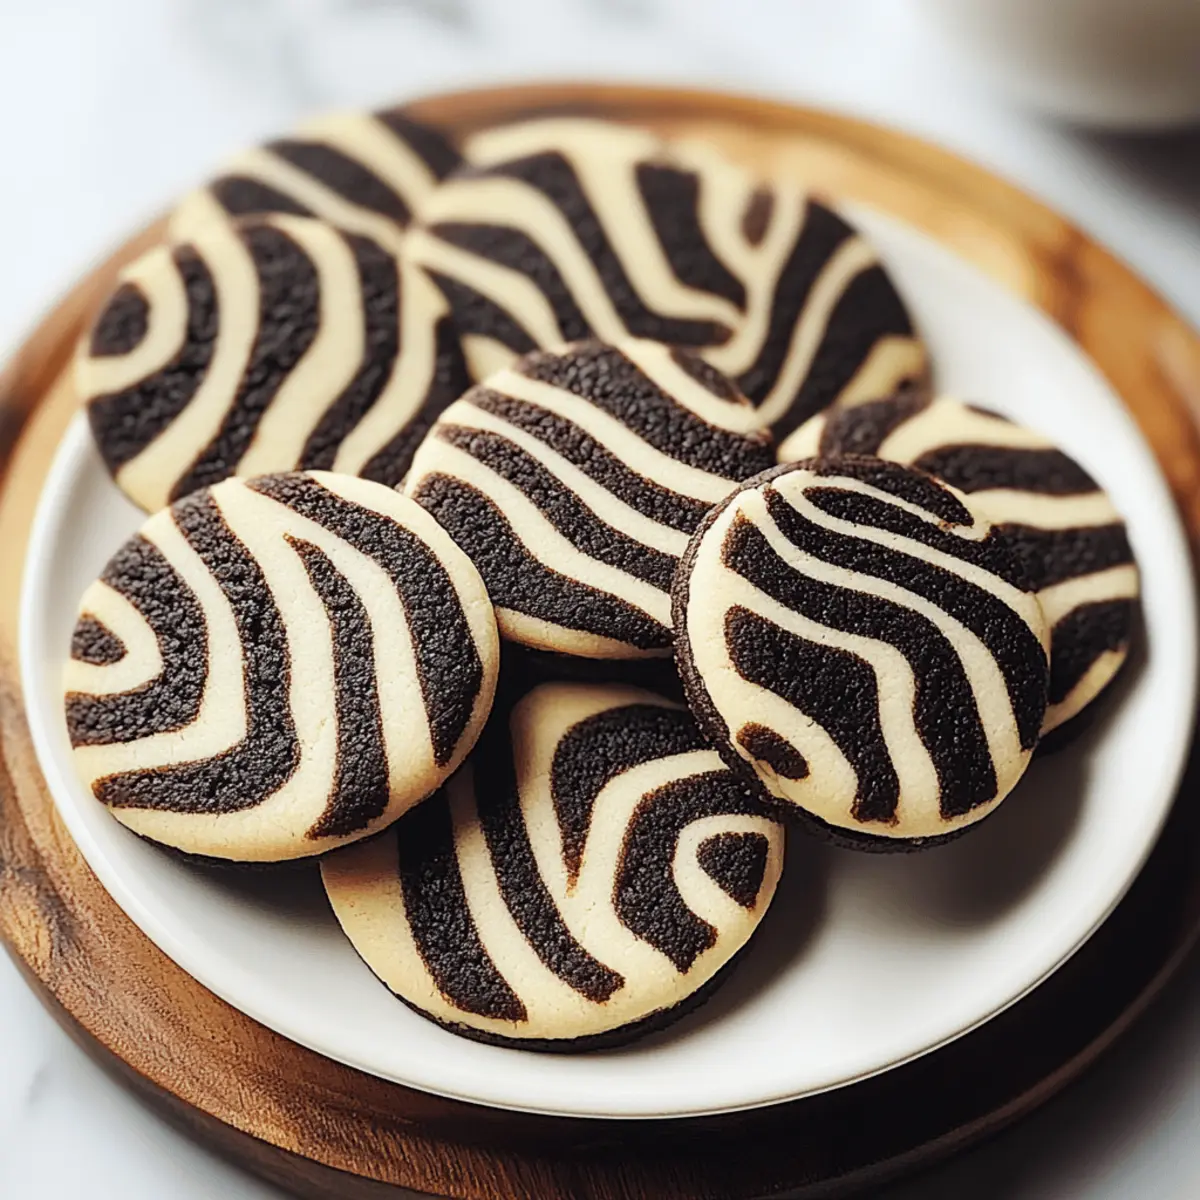
Delicious Zebra Cookies: A Beautiful Twist on Classic Treats
Ingredients
Equipment
Method
- Cream together 1 cup of softened unsalted butter and 1 cup of powdered sugar until light and fluffy, about 2-3 minutes.
- Incorporate 1 teaspoon of vanilla extract into the creamed mixture.
- Sift together 2 cups of all-purpose flour, 1/4 cup of cornstarch, and 1/2 teaspoon of salt into the bowl.
- Divide the dough into two halves; mix 1/4 cup of cocoa powder and 1-2 tablespoons of milk into one half.
- Roll out both the vanilla and chocolate dough into equal-sized rectangles, about 1/4 inch thick.
- Place the chocolate dough on top of the vanilla dough; roll tightly into a log.
- Wrap the dough log in plastic wrap and chill in the refrigerator for at least 1 hour.
- Preheat the oven to 350°F (175°C) and line a baking sheet with parchment paper.
- Slice the chilled dough log into 1/4-inch thick rounds and place them on the baking sheet.
- Bake the cookies for 10-12 minutes, until the edges are lightly golden.
Leave a Reply