
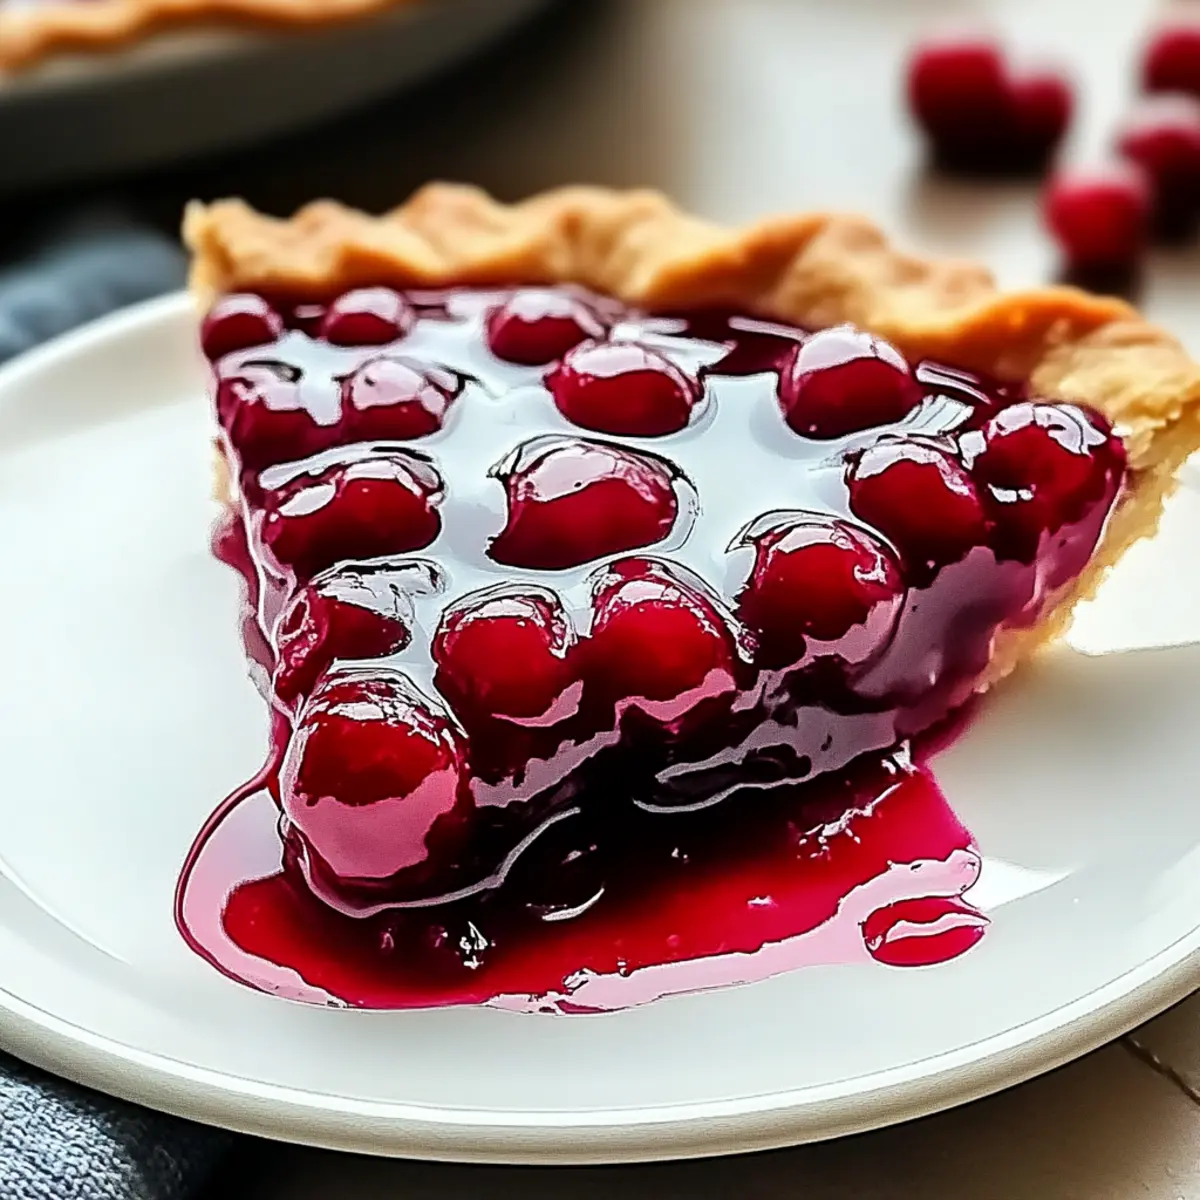
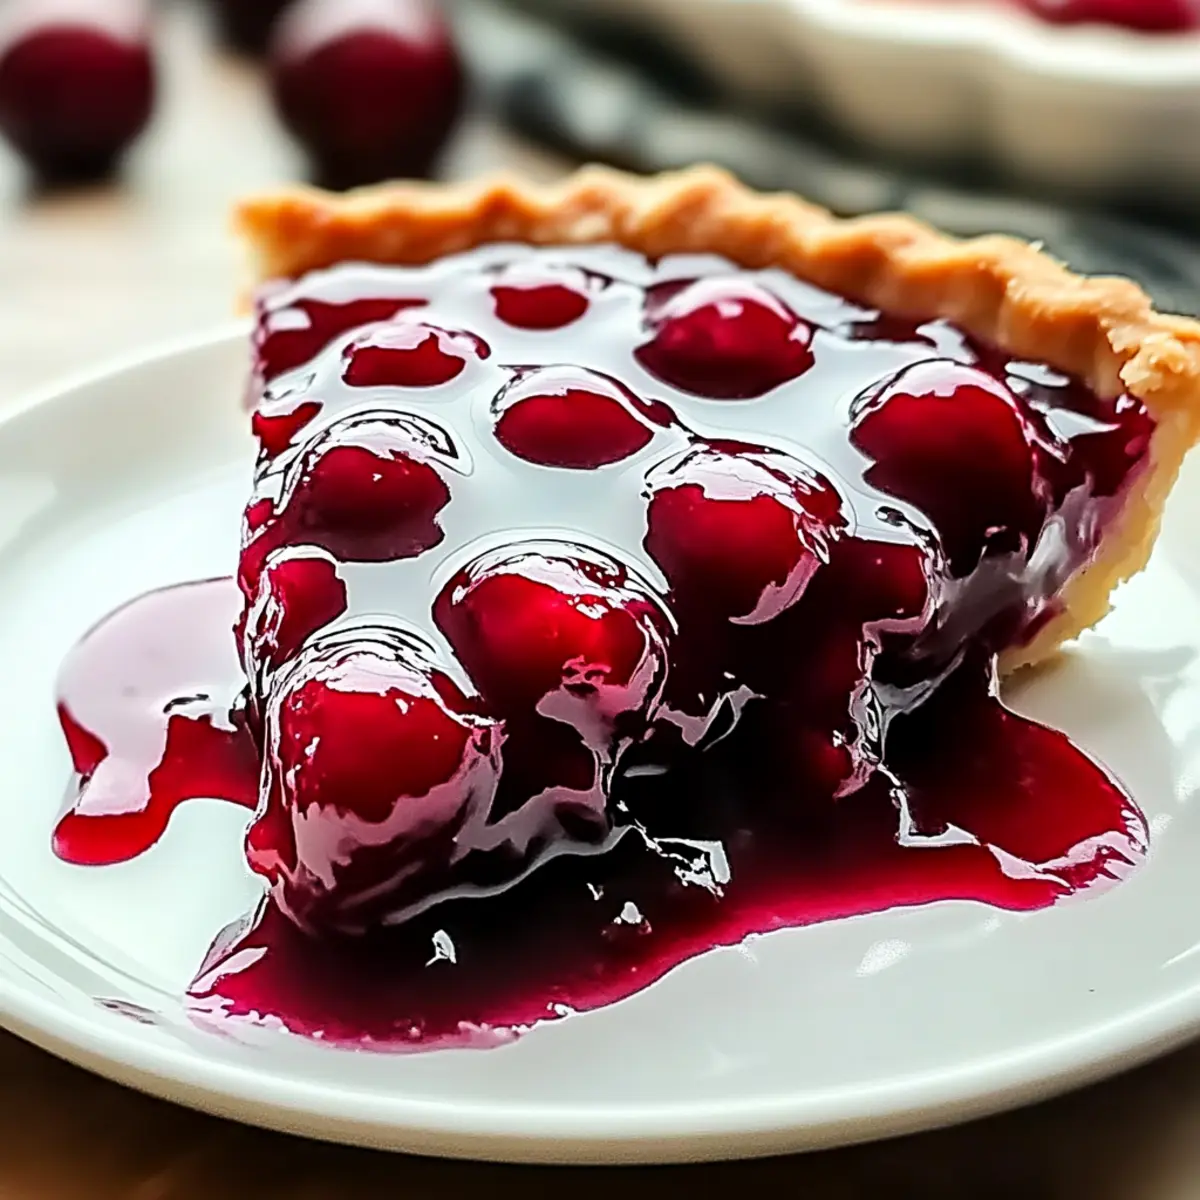
As the sweet scent of summer wafts through the kitchen, there’s nothing quite like the magic of homemade cherry pie filling to capture that sun-kissed essence. With this Easy Homemade Cherry Pie Filling, you’ll find a versatile recipe that’s not only incredibly simple but also a guaranteed crowd-pleaser at any gathering. Just a handful of fresh ingredients transforms into a glossy, tart-sweet concoction that elevates your favorite desserts, whether you’re layering it in a flaky pie, drizzling it over pancakes, or dolloping it on yogurt. This filling is your ticket to making any summer dessert a showstopper. Are you ready to delight your taste buds and add a fruity twist to your baking adventures?

Why is Homemade Cherry Pie Filling a Must-Try?
Irresistible Flavor: Each bite of this homemade cherry pie filling bursts with the natural sweetness of ripe cherries, perfectly balanced with a tangy twist.
Versatile Delight: Use it as a topping for pancakes, swirl it into yogurt, or layer it in a cheesecake—this filling is a game changer for any dessert!
Simplicity at Its Best: The process is straightforward with just a few ingredients, making it perfect for both novice cooks and seasoned chefs.
Crowd-Pleaser: Your guests will be begging for the recipe after tasting this vibrant, glossy filling that captures the essence of summer.
For those looking to explore more delightful flavors, try this Boston Cream Pie to add even more variety to your dessert table!
Homemade Cherry Pie Filling Ingredients
For the Filling
- Fresh Cherries – Use ripe, plump cherries for the best taste; tart cherries will also add a delightful zing.
- Sugar – Sweeten the filling according to your preference; adjust depending on the natural sweetness of the cherries you use.
- Cornstarch – This essential thickener ensures your filling reaches that perfect, luscious consistency.
- Lemon Juice – A splash brightens the flavors and offers a pleasant tartness that complements the sweetness.
- Water – Helps dissolve sugar and is crucial for cooking down the cherries to a glorious syrupy mixture.
Step‑by‑Step Instructions for Homemade Cherry Pie Filling
Step 1: Prepare Cherries
Begin by washing and pitting 4 cups of fresh cherries; you can slice them in half to release their juices more easily. This step ensures you’re left with only the sweet, succulent fruit for your homemade cherry pie filling. Set the prepared cherries aside while you get the cooking mixture ready.
Step 2: Cook Base Mixture
In a medium saucepan, combine the prepared cherries with 1 cup of sugar and 1/2 cup of water. Stir the mixture well and place it over medium heat. Allow the mixture to come to a gentle boil, bubbling for about 5-7 minutes until the cherries begin to soften and release their flavorful juices.
Step 3: Thicken Filling
While the cherry mixture is bubbling, mix 2 tablespoons of cornstarch with 2 tablespoons of water in a small bowl to create a smooth slurry. Gradually stir this slurry into the bubbling cherry mix, then reduce heat slightly. Continue cooking for another 3-5 minutes until the filling thickens into a luscious, glossy consistency, perfect for your pie.
Step 4: Add Lemon Juice
Once the cherry mixture has thickened, remove it from the heat and stir in 1 tablespoon of lemon juice. This addition brightens the flavors, enhancing the overall taste of your homemade cherry pie filling. Let the mixture sit for a minute, allowing the lemon essence to meld beautifully with the cherries.
Step 5: Cool Filling
Transfer the hot cherry filling to a bowl and allow it to cool completely at room temperature. Cooling is essential as it helps deepen the flavors and ensures that your homemade cherry pie filling doesn’t run when baked in your crust. This cooling process takes about 30 minutes, and it will be well worth the wait!
What to Serve with Easy Homemade Cherry Pie Filling
Transform your cherry pie filling into a delightful dessert experience with these complementary dishes that balance flavors and textures beautifully.
-
Flaky Pie Crust: This classic pairing allows the sweet-tart filling to shine, creating a satisfying contrast with its crispy base.
-
Vanilla Ice Cream: The creamy richness of vanilla ice cream mellows the tanginess of the cherry filling, making each bite a harmonious blend of flavors.
-
Pancakes: A drizzle of cherry pie filling over fluffy pancakes adds an exciting burst of sweetness, perfect for a weekend brunch.
-
Yogurt Parfaits: Layering cherry filling with yogurt and granola offers a delightful balance of creamy and crunchy textures while enhancing breakfast or snack time.
-
Cheesecake: The rich, creamy texture of cheesecake is beautifully complemented by the bright flavors of homemade cherry pie filling, creating a luxurious dessert experience.
-
Chocolate Cake: For a stunning twist, pair the cherry filling with a slice of moist chocolate cake. The tartness of the cherries cuts through the richness, creating a perfect balance.
-
Sparkling Water: Serve a refreshing glass of sparkling water or lemonade alongside your dessert. The effervescence enhances the cherry flavor and cleanses the palate perfectly.
Expert Tips for Homemade Cherry Pie Filling
-
Choose Wisely: Use ripe, plump cherries for the best flavor; overripe or bruised fruits can lead to an unappetizing filling.
-
Adjust Sweetness: Always taste your mixture while cooking. You may need to tweak the sugar according to the natural sweetness of your cherries for the perfect homemade cherry pie filling.
-
Avoid Runny Filling: If your filling turns out too runny, quickly mix in extra cornstarch slurry while cooking to achieve the right consistency.
-
Cool Completely: Allow the filling to cool completely before using. This step is crucial to prevent a soggy pie crust during baking.
-
Flavor Variations: Don’t hesitate to experiment! Adding almond extract or spices can elevate your homemade cherry pie filling with a unique twist.
Homemade Cherry Pie Filling Variations
Customize your cherry pie filling with these delicious tweaks that will elevate any dessert experience!
-
Berries Mix: Swap cherries for blueberries or raspberries for a vibrant fruit medley that brightens your filling. The combination of flavors creates a unique twist that’s equally delicious in pies or atop yogurt.
-
Almond Extract: Add a splash of almond extract for enhanced flavor. Just a teaspoon can transform your filling into a luxurious, fragrant treat that pairs wonderfully with vanilla ice cream.
-
Spicy Twist: Mix in warm spices like cinnamon or nutmeg for a cozy flavor profile. A pinch of these spices evokes comforting memories, making your filling perfect for autumn-themed treats.
-
Citrus Swap: Use orange juice instead of lemon juice for a sweeter profile. This swap not only adds sweetness but also infuses your filling with a delightful citrus aroma that complements the cherries beautifully.
-
Nutty Crunch: Stir in chopped walnuts or pecans for an unexpected crunch. This variation brings out a delightful texture contrast and a nutty flavor that elevates the overall pie experience.
-
Chocolate Drizzle: For the ultimate indulgence, drizzle chocolate over your finished cherry filling before serving. This decadent addition transforms simple desserts into luxurious bites everyone will adore.
-
Heat It Up: Mix in a hint of chili powder or cayenne if you love a bit of heat. Just a dash can add a surprising warmth, making your dessert an exciting culinary adventure.
-
Frozen Treats: Turn your cherry filling into an ice cream topping or mix it with yogurt for a refreshing summer snack. This versatility allows you to enjoy the delicious flavors in multiple, delightful ways!
These variations can transform your cherry pie filling from the classic to extraordinary—perfect for layering on desserts like this delightful Boston Cream Pie, making every bite a sweet surprise!
Storage Tips for Homemade Cherry Pie Filling
-
Fridge: Store your homemade cherry pie filling in an airtight container for up to 5 days. This keeps it fresh and ready for your sweet creations.
-
Freezer: For longer storage, freeze the filling for up to 3 months. Be sure to use a freezer-safe container, and thaw it in the refrigerator before use to maintain quality.
-
Reheating: To enjoy your cherry filling warm, gently reheat it in a saucepan over medium heat, stirring occasionally until heated through. This brings back that fresh-from-the-stovetop flavor!
Make Ahead Options
Homemade Cherry Pie Filling is perfect for meal prep! You can prepare this luscious filling up to 3 days in advance, allowing the flavors to meld beautifully while it sits in the refrigerator. To do this, simply follow the steps for cooking the filling and let it cool completely. Once cooled, transfer it to an airtight container and refrigerate it until you’re ready to use it. When it’s time to serve, reheat the filling gently on the stove over low heat until warmed through. This way, you enjoy the same delightful taste and texture as if you had just made it, all while saving precious time for your busy weeknights!
Homemade Cherry Pie Filling Recipe FAQs
How do I choose the best cherries for my filling?
Absolutely! Look for ripe, plump cherries; they should be firm and free from any bruises or dark spots. If you’re opting for tart cherries, they can add a lovely bold flavor to your filling. If possible, taste them before buying! Sweet cherries should be extra sweet and aromatic to ensure the best flavor in your homemade cherry pie filling.
What’s the best way to store leftover cherry pie filling?
Very good question! You can store your homemade cherry pie filling in an airtight container in the refrigerator for up to 5 days. To keep it fresh and delicious, be sure to press a piece of plastic wrap directly onto the surface of the filling before sealing the container. This helps prevent any air from spoiling your vibrant filling.
Can I freeze my homemade cherry pie filling?
Absolutely! To freeze your filling, let it cool completely and then transfer it to a freezer-safe container, leaving some space at the top for expansion. It can stay in the freezer for up to 3 months. To use, thaw it in the refrigerator overnight for the best flavor and consistency when you’re ready to bake!
What should I do if my cherry filling is too runny?
No worries at all! If your filling is too runny, you can quickly fix it by mixing 1 tablespoon of cornstarch with 1 tablespoon of cold water to create a slurry. Gradually stir this into the bubbling cherry mixture and let it cook for 1-2 more minutes. Keep stirring until the filling thickens to your desired texture; you’ll have a fork-friendly filling in no time!
Is this cherry pie filling safe for my pets?
While fresh cherries are safe in moderation, the pits can be harmful to pets, especially dogs. It’s best to keep all cherry products, including your homemade filling, out of their reach. Furthermore, if your pet has any allergies or dietary restrictions, it’s wise to consult your veterinarian before sharing any of your delicious cherry concoctions.
How can I adjust the sweetness of my filling?
Great question! Adjusting sweetness is all about your personal taste. During the cooking process, start with the recommended amount of sugar, taste the mixture, and if you find it’s not sweet enough, slowly add more sugar, a tablespoon at a time. Remember, some cherries’ sweetness varies, so this step is important for a perfect homemade cherry pie filling!

Delightful Homemade Cherry Pie Filling for Summer Treats
Ingredients
Equipment
Method
- Begin by washing and pitting 4 cups of fresh cherries; slice in half to release juices.
- In a medium saucepan, combine cherries with 1 cup of sugar and 1/2 cup of water. Heat over medium until it reaches a gentle boil for 5-7 minutes.
- Mix 2 tablespoons of cornstarch with 2 tablespoons of water in a bowl to create a slurry. Stir into cherry mixture and continue cooking for another 3-5 minutes.
- Remove from heat and stir in 1 tablespoon of lemon juice, letting it meld for a minute.
- Transfer the filling to a bowl and let it cool completely at room temperature for about 30 minutes.
Leave a Reply