
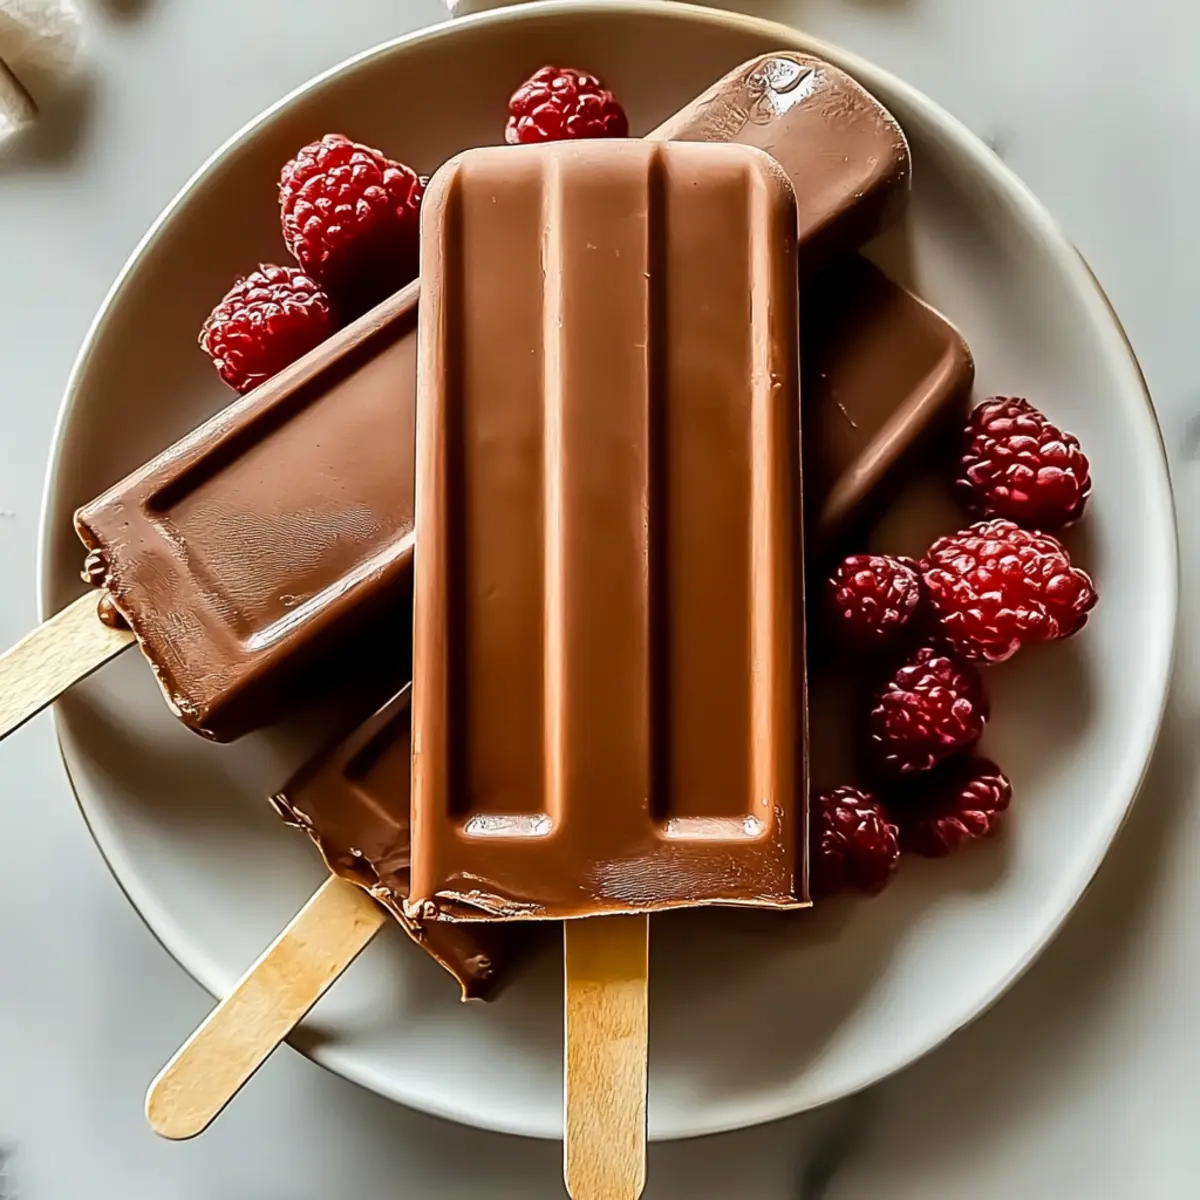
As I stood in my kitchen one sweltering afternoon, the sound of ice cream trucks jingling down the street transported me back to carefree summer days. Those moments of indulgence inspired me to create my own cool treat, leading to these Easy Dairy-Free Creamy Chocolate Popsicles. As delicious as they are nostalgic, each bite delivers a rich, velvety chocolate experience—all while being vegan and incredibly easy to make! Perfect for those hot days, they take just minutes to prepare and can be customized with your favorite mix-ins for an extra touch of creativity. Whether you’re hosting a summer gathering or enjoying a casual afternoon in the sun, these creamy chocolate popsicles are just a scoop away. Ready to dive into homemade ice cream bliss? Let’s get started!
Why Are These Popsicles a Must-Try?
Unforgettable Flavor: Each creamy chocolate popsicle is bursting with rich, indulgent chocolate goodness that transforms your summer dessert game.
Customizable Creations: With endless mix-ins like fresh berries or crunchy nuts, you can easily tailor these popsicles to suit your taste buds.
Fast and Fun: Whip up this treat in just minutes, making it a breeze for families to enjoy together!
Guilt-Free Indulgence: Being dairy-free and vegan-friendly, these popsicles cater to everyone, even those with dietary restrictions!
Perfect for Gatherings: These decadent treats are sure to impress at barbecues or pool parties, becoming the star of your dessert table.
For more delightful dessert ideas, don’t miss out on our Chocolate Marshmallow Swirl or Firecracker Chocolate Truffles.
Creamy Chocolate Popsicles Ingredients
• The ingredients you’ll need to craft these irresistible creamy chocolate popsicles are simple and easy to find!
For the Base
- Full-Fat Coconut Milk – Provides a rich, creamy texture that mimics traditional ice cream; opt for full-fat for the best results.
- Unsweetened Cocoa Powder – Adds intense chocolate flavor without extra sugar; always sift before adding to prevent clumps.
- Maple Syrup – Sweetens the popsicles naturally; honey or agave can be substituted for a different sweetness.
- Vanilla Extract – Elevates the overall flavor for a gourmet touch; use pure vanilla for the best taste.
For the Molds
- Popsicle Molds – Essential for shaping the popsicles; silicone molds are easier for unmolding.
Now you’re all set to make these delightful creamy chocolate popsicles! Just remember, they’re dairy-free and perfect for a summer dessert.
Step‑by‑Step Instructions for Creamy Chocolate Popsicles
Step 1: Mix the Base
In a mixing bowl, combine the full-fat coconut milk, unsweetened cocoa powder, maple syrup, and vanilla extract. Whisk together vigorously for about 2-3 minutes until the mixture is smooth and lump-free. This is essential to ensure that your Creamy Chocolate Popsicles have a rich and velvety texture, so take your time to achieve that perfect blend.
Step 2: Taste and Adjust
After mixing, take a moment to taste the chocolate mixture. If you desire a sweeter flavor, feel free to add a bit more maple syrup, whisking again to incorporate. This step allows you to customize your Creamy Chocolate Popsicles according to your sweet preferences, ensuring a delightful experience with each bite.
Step 3: Fill the Molds
Carefully pour the chocolate mixture into your popsicle molds, filling each one to about three-quarters full. Leave a little space at the top for expansion during freezing, which usually happens in about 10-15 minutes. This step is crucial for achieving perfectly shaped popsicles that don’t overflow as they freeze.
Step 4: Insert the Sticks
Once the molds are filled, gently insert popsicle sticks into the center of each one. Ensure they are upright and stable, allowing the mixture to set around the sticks without them tipping over. This step is vital for creating the Creamy Chocolate Popsicles that are easy to handle and enjoy.
Step 5: Freeze to Perfection
Place the filled molds in the freezer and freeze for at least 4-6 hours, or until they are completely solid. This freezing time ensures that your popsicles acquire a creamy texture reminiscent of ice cream, ready to be enjoyed on a hot summer day.
Step 6: Unmold with Ease
To unmold your creamy chocolate popsicles, run warm water over the outside of each mold for about 10-15 seconds. This slight warmth helps release the popsicles effortlessly without breaking them. Take care to gently pull on the sticks as you remove the popsicles to ensure they come out whole and ready to serve.
How to Store and Freeze Creamy Chocolate Popsicles
Fridge: Keep any leftover popsicles in the fridge for up to 3 days, covered loosely to maintain texture while avoiding freezer burn.
Freezer: Store finished popsicles in an airtight container in the freezer for up to two weeks. For longer storage, wrap each popsicle tightly in plastic wrap, then place them in a freezer bag to keep them fresh for up to three months.
Reheating: For instant enjoyment, run warm water over the outside of the molds for a few seconds before unmolding, ensuring easy release without damage.
Make-Ahead Tip: Prepare the chocolate mixture up to 24 hours in advance and pour it into molds whenever you’re ready for a delightful treat!
Expert Tips for Creamy Chocolate Popsicles
-
Smooth Mixture: Whisk thoroughly: Ensure all ingredients are completely blended, preventing lumps that can ruin the creamy texture of your popsicles.
-
Leave Space: Don’t overfill molds: Always leave a little room at the top of molds, allowing the mixture to expand as it freezes—this avoids messy spills.
-
Taste Test: Adjust sweetness: Before freezing, sample your mixture; feel free to add extra maple syrup for a sweeter treat tailored to your liking.
-
Easier Unmolding: Warm water trick: Briefly running warm water over the molded popsicles helps them release easily, ensuring they come out intact and ready to enjoy.
-
Mix-In Magic: Get creative: Consider adding fresh fruits, nuts, or spices as mix-ins to enhance your creamy chocolate popsicles with unique flavors and textures.
What to Serve with Easy Dairy-Free Creamy Chocolate Popsicles
Elevate your summer dessert experience with delightful pairings that complement these luscious treats perfectly!
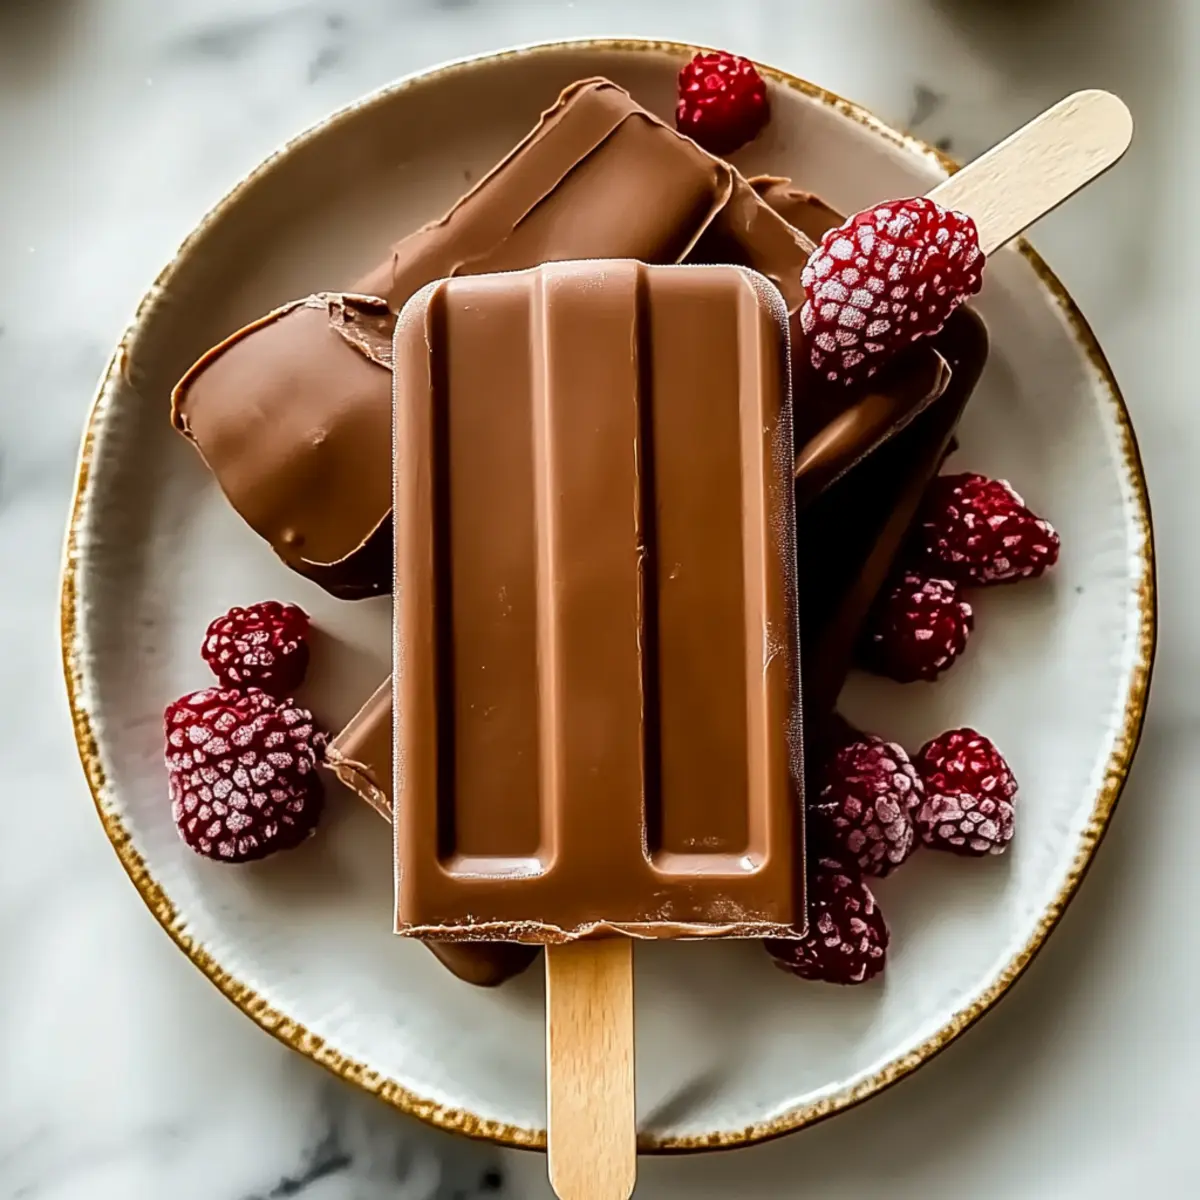
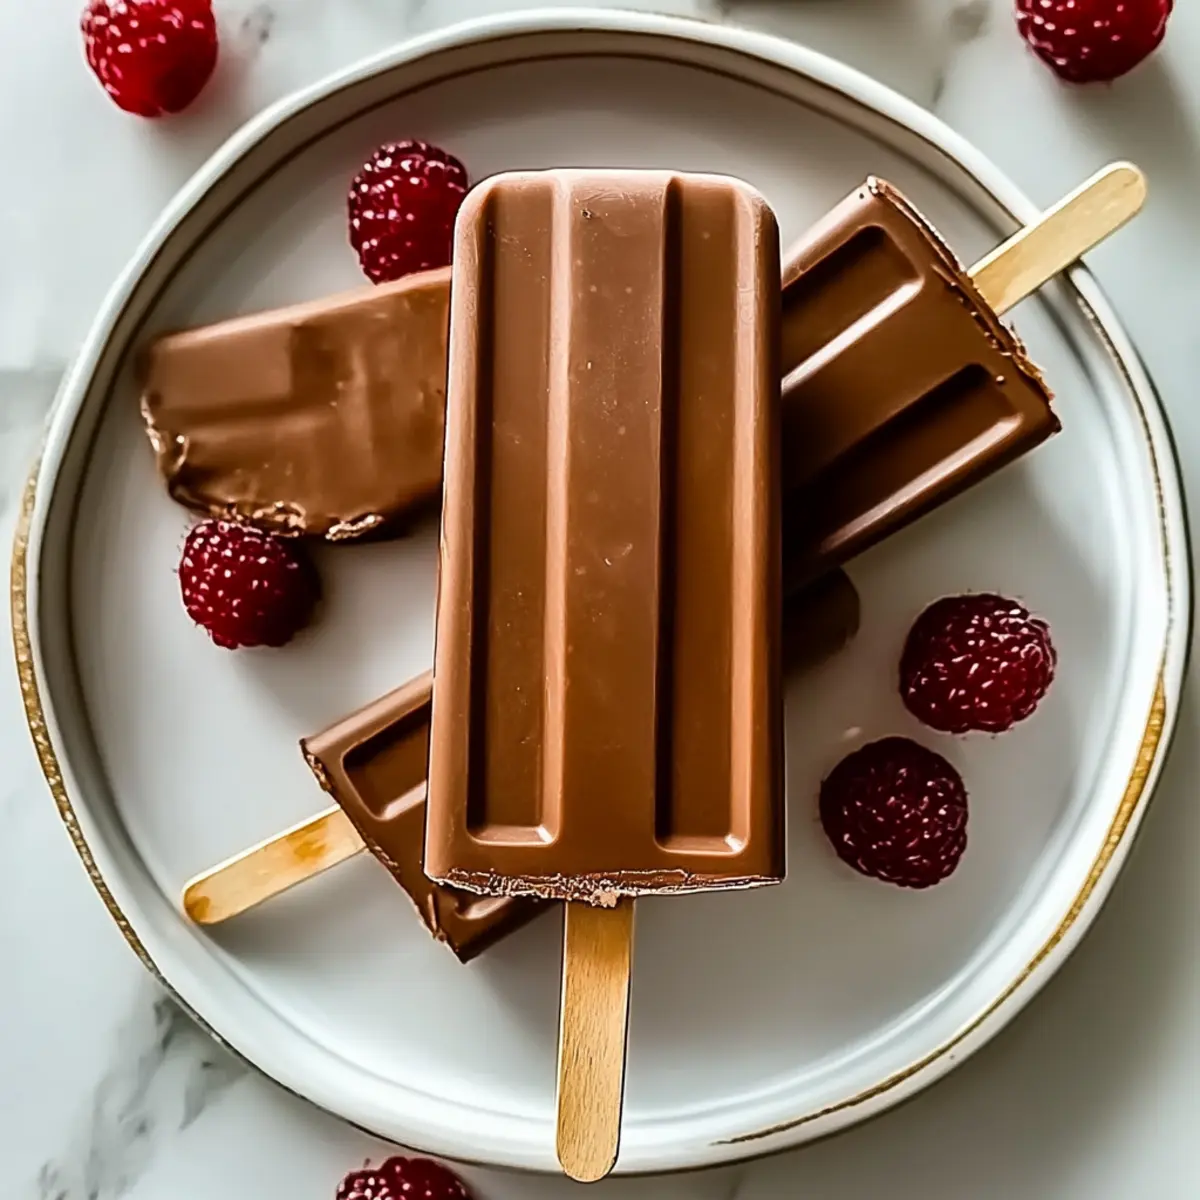
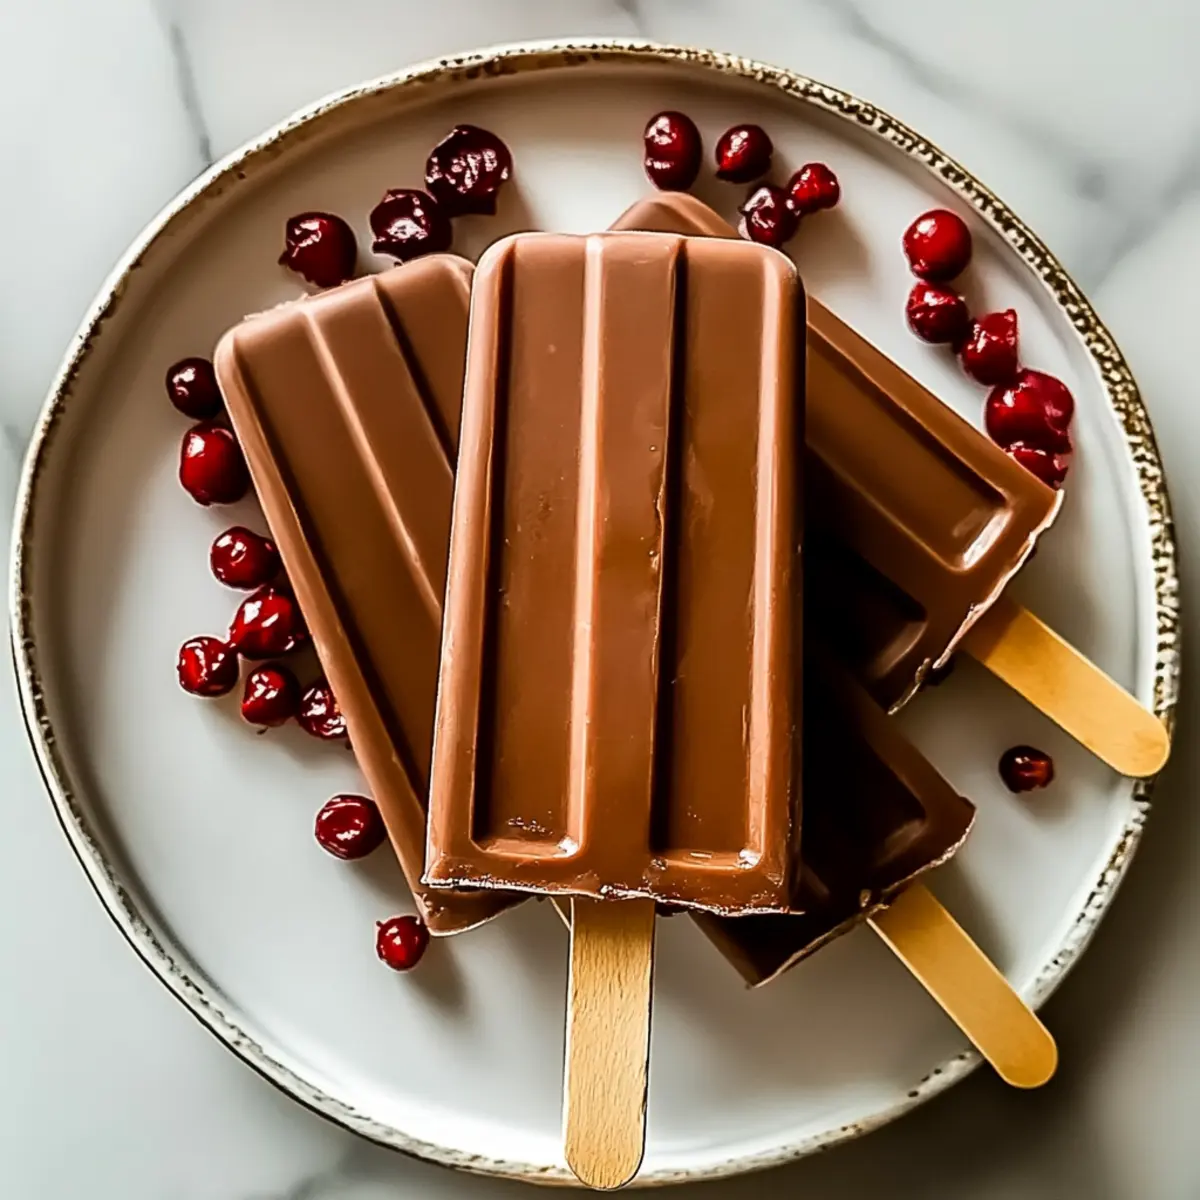
- Fresh Berries: The juicy sweetness of strawberries or raspberries balances the rich chocolate, adding vibrant color and a refreshing contrast.
- Granola Toppings: A sprinkle of crunchy granola adds texture and nutty flavor, making every bite a delightful blend of creamy and crispy.
- Coconut Whipped Cream: A dollop of this fluffy, dairy-free cream enhances the tropical vibe and adds an extra layer of richness.
- Chocolate Sauce: Drizzling melted dark chocolate over your popsicles takes the chocolaty goodness to a whole new level of indulgence.
- Mint Leaves: A few fresh mint leaves provide a burst of refreshing flavor, cutting through the sweetness while adding a gorgeous visual appeal.
- Nut Butter Swirls: Swirling almond or peanut butter adds a creamy, nutty twist, introducing a delightful contrast to the chocolate popsicles.
- Iced Tea: The subtle flavors of refreshing iced tea perfectly round out this dessert, offering a cool sip on a hot day.
- Fruit Salad: A bowl of assorted fresh fruits can act as a stunning side, adding a light, healthy touch to your chocolatey indulgence.
- Lemonade: A tangy glass of lemonade provides a bright, citrusy zing that balances the sweetness of the popsicles beautifully.
- Cheesecake Bites: End on a sweet note by pairing with mini cheesecake bites for a delightful combination of creamy, tangy, and chocolaty goodness.
Make Ahead Options
These Easy Dairy-Free Creamy Chocolate Popsicles are perfect for busy home cooks looking to save time on hot summer days! You can prepare the chocolate mixture up to 24 hours in advance by whisking together the coconut milk, cocoa powder, maple syrup, and vanilla extract, then refrigerating it in an airtight container. This step not only saves time but also allows the flavors to marry beautifully. When you’re ready to serve, simply pour the mixture into molds, insert sticks, and freeze for 4-6 hours or until solid. By prepping ahead, you ensure that your popsicles maintain their luscious quality while being a delightful treat just waiting in your freezer!
Creamy Chocolate Popsicles Variations
Feel free to play with these variations and make the recipe your own with delightful twists!
-
Nutty Delight: Swirl in almond or peanut butter for a nutty chocolate experience. The creaminess of the nut butter blends beautifully, creating a luscious flavor contrast that’ll satisfy your cravings.
-
Berry Boost: Add fresh or frozen raspberries for a burst of fruity goodness. This combination not only enhances the pops with vibrant color but also brings a refreshing tartness that perfectly balances the sweetness.
-
Minty Fresh: Incorporate peppermint extract for a refreshing mint-chocolate treat. This twist adds a cool note, reminiscent of your favorite mint chocolate desserts, making it a perfect summer indulgence.
-
Coconut Crunch: Mix in shredded coconut for a tropical flair. This variation not only adds texture but also transports you to a sunny beach with every creamy bite!
-
Spiced Chocolate: Add a pinch of cinnamon or cayenne for an unexpected warm kick. Just a hint of spice elevates the chocolate flavor, transforming each popsicle into an exciting taste adventure.
-
Zest of Orange: Stir in fresh orange zest for a zesty chocolate sensation. The bright citrus complements the deep chocolate perfectly, delivering a refreshing, fragrant surprise in each mouthful.
-
Layer Different Flavors: Blend fruits like strawberries or bananas for layers in the molds alongside the chocolate mixture. This creates stunning visuals and delightful contrasting flavors for an unforgettable popsicle experience.
For even more tempting recipes, consider trying out our Garlic Shrimp Spinach or the luscious Green Goddess Pasta. Enjoy the creative cooking!
Creamy Chocolate Popsicles Recipe FAQs
How do I select the right coconut milk for the popsicles?
Absolutely! For the richest texture, I recommend using full-fat coconut milk. This gives the popsicles a creamy mouthfeel similar to traditional ice cream. Light coconut milk just won’t deliver the same velvety experience, so stick with the full-fat variety for the best results!
How should I store leftover popsicles?
It’s best to keep any remaining popsicles in an airtight container in the freezer, where they can last up to two weeks. If you want to save them for longer, wrap each one tightly in plastic wrap and place them in a freezer bag to prevent freezer burn. This way, they can stay fresh for up to three months!
Can these creamy chocolate popsicles be frozen?
Yes, indeed! To freeze them, simply pour your chocolate mixture into popsicle molds and freeze for 4-6 hours. If you want to enjoy your popsicles later, you can wrap them tightly once solid and ensure they’re in an airtight container or bag to lock in flavor and freshness.
What if my popsicles are hard to unmold?
No worries! If you find them difficult to remove from the molds, try running warm water over the outside of each mold for about 10-15 seconds. This slight warmth helps loosen the popsicles without breaking them. Just gently pull on the sticks while you do this, and they should come out easily!
Are these popsicles suitable for people with allergies?
Great question! These creamy chocolate popsicles are dairy-free and vegan-friendly, making them suitable for those with lactose intolerance or dairy allergies. However, be sure to check the specific brands of your ingredients—particularly the maple syrup and any mix-ins you choose—if you’re accommodating other allergies.
What are some creative mix-ins I can use?
Get creative! You can mix in fresh or frozen fruits like raspberries for a berry boost, swirl in almond or peanut butter for a nutty delight, or even add a pinch of cinnamon for a spiced chocolate twist. The more the merrier, so feel free to experiment until you find your favorite combination!
Creamy Chocolate Popsicles That Are Simply Irresistible
Ingredients
Equipment
Method
- In a mixing bowl, combine the full-fat coconut milk, unsweetened cocoa powder, maple syrup, and vanilla extract. Whisk together for about 2-3 minutes until smooth.
- Taste the mixture and adjust sweetness with more maple syrup if desired, whisking again to incorporate.
- Pour the chocolate mixture into your popsicle molds, filling each about three-quarters full.
- Insert popsicle sticks into the center of each mold, ensuring they are upright and stable.
- Freeze the molds for at least 4-6 hours, or until completely solid.
- Run warm water over the outside of each mold for 10-15 seconds to unmold the popsicles easily.
Leave a Reply