
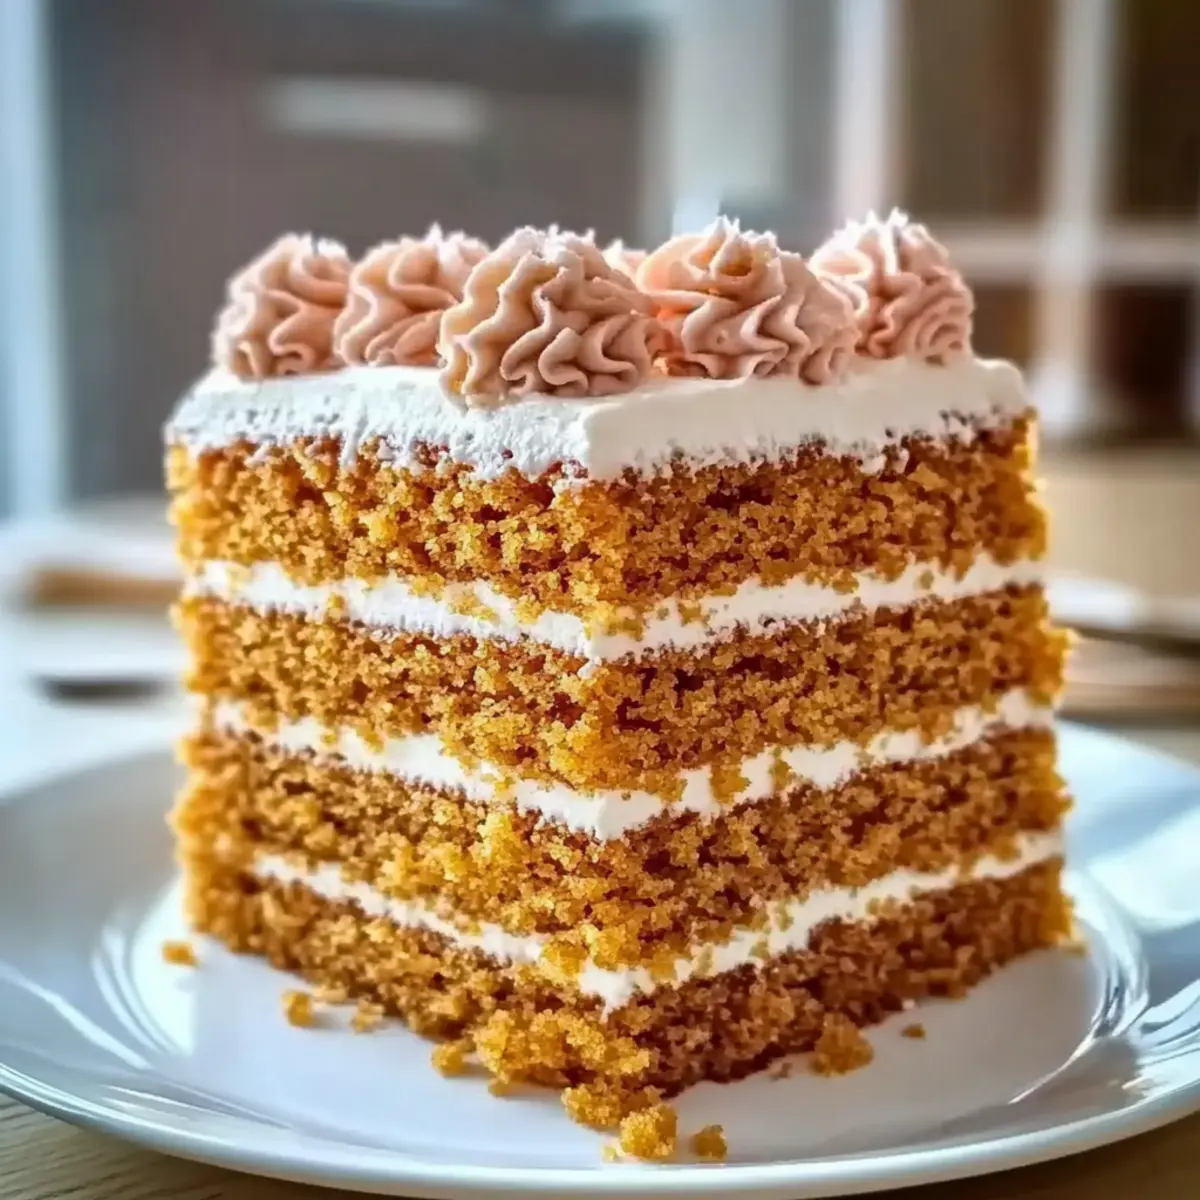
The moment I took my first bite of a Traditional Russian Honey Cake, I was transported to a quaint café, with the warm, rich aroma of honey wafting through the air. This delightful dessert is not just a sight to behold with its soft, honey-infused layers; it’s a sweet adventure that effortlessly combines creamy frostings with nutty undertones. What I love most about this recipe is how approachable it is—perfect for both seasoned bakers and those new to the kitchen—allowing everyone to impress family and friends alike. Plus, it’s ideal for special celebrations or simply when you want to indulge in a homemade treat. Are you ready to create your own slice of heaven in the kitchen?

Why Is Russian Honey Cake a Must-Try?
Irresistible Flavor: The blend of honey and cream creates a luscious taste that everyone adores.
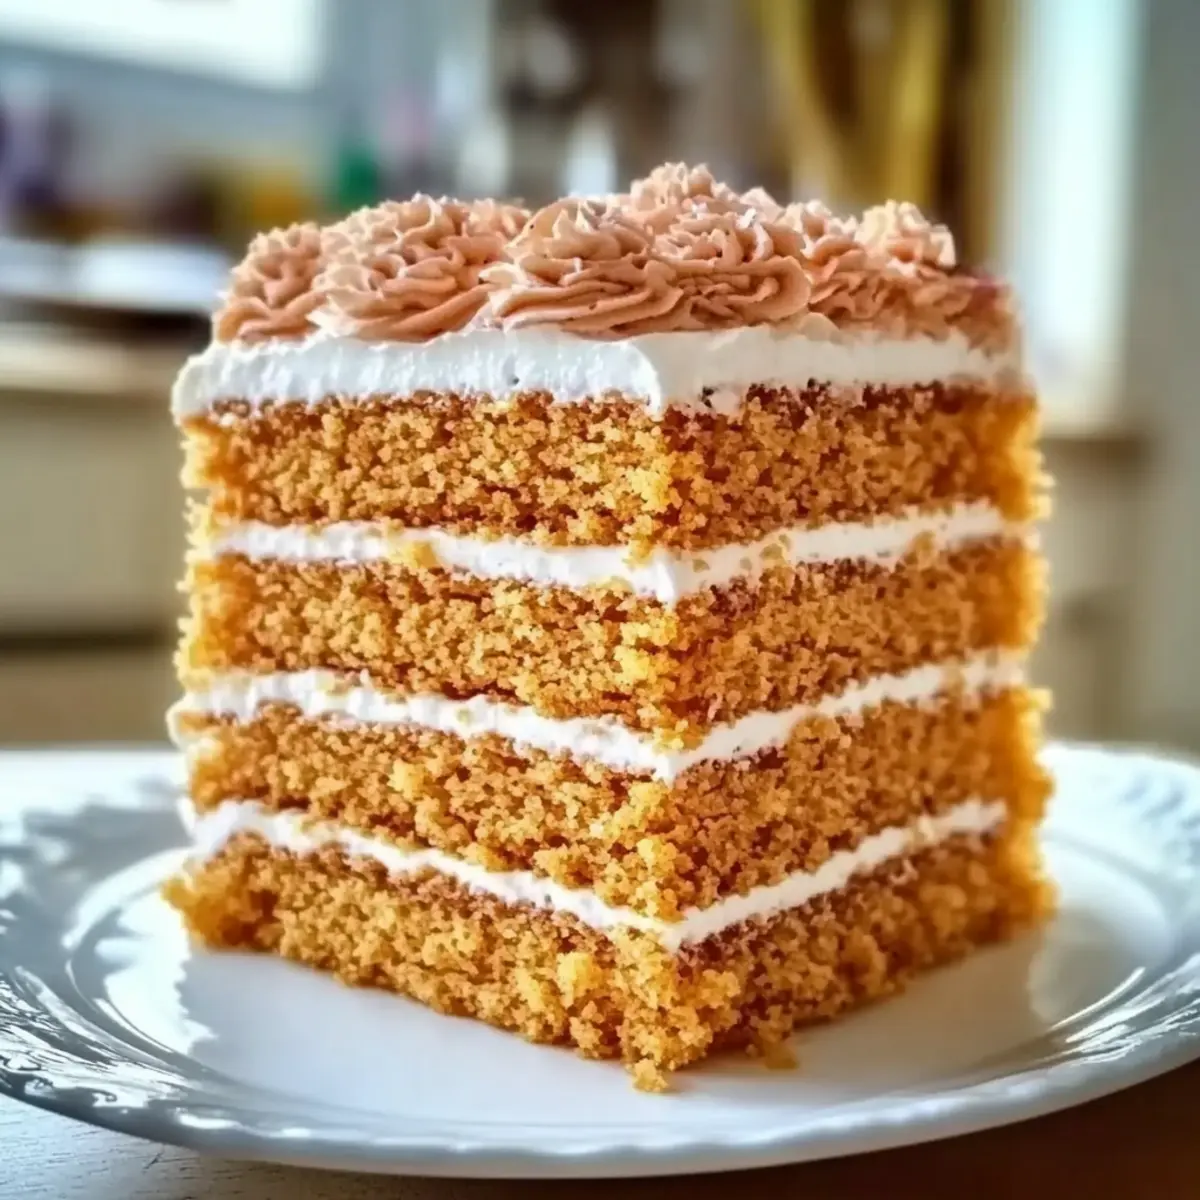
Layered Perfection: Each layer is tender and moist, making every bite a melt-in-your-mouth experience.
Simple to Make: You don’t need advanced skills—even beginners can shine in the kitchen with this recipe!
Crowd-Pleasing: This cake is perfect for gatherings, impressing guests alongside a cup of tea or coffee. You can even pair it with a refreshing Buffalo Chicken Salad for a delightful meal.
Versatile Treat: Whether it’s a birthday or a casual dessert night, this Honey Cake fits the bill any day!
Russian Honey Cake Ingredients
For the Cake Layers
- All-Purpose Flour – Provides structure and stability to the cake layers; measure accurately for the best results.
- Granulated Sugar – Adds sweetness and moisture; can be substituted with brown sugar for a richer flavor.
- Honey – The key flavor component that brings depth to the cake; use clover or wildflower honey for the best taste.
- Eggs – Bind ingredients together while adding richness; ensure they are at room temperature for better incorporation.
- Baking Soda – Acts as a leavening agent for rising; check freshness for optimal results.
- Baking Powder – Works alongside baking soda to achieve light texture in the cake layers.
- Unsalted Butter – Provides moisture and flavor; you can substitute coconut oil for a dairy-free alternative.
- Sour Cream – Adds richness and moisture; Greek yogurt can serve as a suitable substitute.
- Vanilla Extract – Enhances overall flavor and aroma; opt for pure vanilla extract for the best results.
- Pinch of Salt – Balances sweetness and elevates flavor profiles throughout the cake.
For the Frosting
- Heavy Cream – Forms the creamy base of the frosting; ensure it’s cold for best whipping results.
- Powdered Sugar – Sweetens and thickens the frosting; sift before use for a smoother finish.
- Vanilla Extract – Adds depth of flavor to the frosting; use the same high-quality vanilla for consistency.
This Russian Honey Cake is a beautiful blend of flavors, textures, and a perfect centerpiece for your dessert table. Enjoy the baking experience!
Step‑by‑Step Instructions for Russian Honey Cake: An Amazing Ultimate Recipe You Must Try
Step 1: Preheat the Oven
Begin by preheating your oven to 350°F (175°C). While the oven warms up, line a round cake pan with greased parchment paper to ensure easy removal of the beautiful layers of Russian Honey Cake later on. This preparation helps create a smooth baking surface for your cake.
Step 2: Make the Dough
In a mixing bowl, whisk together the honey, granulated sugar, and eggs until they are fully blended and the mixture is smooth. This should take about 2-3 minutes. The honey will bring a lovely sweetness to the dough, setting a delicious foundation for your cake layers.
Step 3: Add Dry Ingredients
Sift together the all-purpose flour, baking soda, baking powder, and a pinch of salt in a separate bowl. Gradually incorporate this dry mixture into the honey and egg mixture while adding the softened butter. Mix well until a soft, cohesive dough forms, which should take about 4-5 minutes of gentle stirring.
Step 4: Divide the Dough
Once your dough is ready, divide it into 8 equal portions, shaping each into disks. Arrange these disks on a tray and cover them with plastic wrap. Chill in the refrigerator for about 20 minutes to firm up, making them easier to roll out for your Russian Honey Cake layers.
Step 5: Bake Layers
After chilling, preheat your oven again and roll out each disk into a circle that will fit your prepared cake pan. Bake each layer for 4-5 minutes until they turn golden brown, keeping an eye on them to prevent over-baking. Allow the cake layers to cool completely on a wire rack once baked.
Step 6: Prepare Frosting
In a large bowl, take the cold heavy cream and whip it until soft peaks begin to form, which should take about 3-4 minutes. Gradually add the powdered sugar and vanilla extract, continuing to whip until the frosting is light and fluffy. This creamy frosting will bring a delightful richness to your Russian Honey Cake.
Step 7: Assemble the Cake
Begin layering your cooled disks on a serving plate, spreading a generous amount of frosting between each layer. Repeat this process until all layers are stacked, creating a delicious tower of honey cake. The frosting will not only enhance flavor but also provide stability and moisture to each layer.
Step 8: Decorate
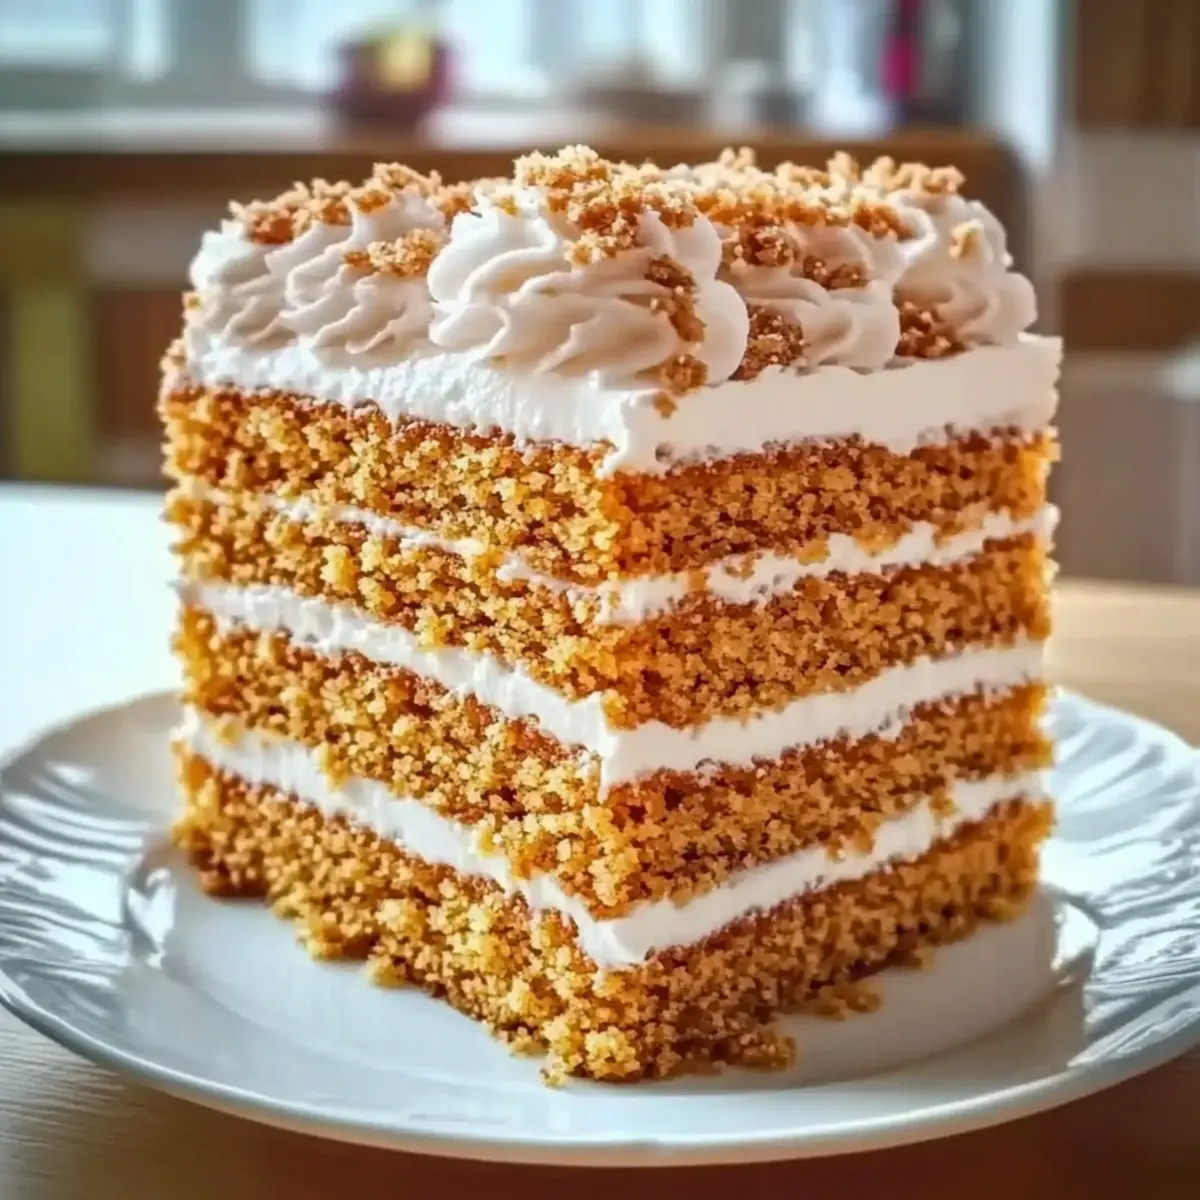
Carefully cover the entire cake with the remaining frosting, smoothing it out for a gorgeous finish. You can also use any leftover cake crumbs to garnish the top, adding a rustic touch while enhancing the visual appeal of your Russian Honey Cake.
Step 9: Chill
Once decorated, refrigerate your fully assembled cake for at least 1 hour. This chilling time allows the layers to set and meld together, resulting in a more flavorful and cohesive dessert when you are ready to serve.
Step 10: Serve
After chilling, slice your delightful Russian Honey Cake into generous portions. Serve alongside coffee or tea to share an unforgettable sweet treat with family and friends. Enjoy the comforting flavors of this traditional recipe and bask in the cheerful ambiance it brings!
What to Serve with Traditional Russian Honey Cake
Indulge your senses and elevate the experience of savoring this luscious dessert with delightful accompaniments.
-
Fresh Berries: A medley of strawberries, raspberries, and blueberries adds a bright, tart contrast to the cake’s sweetness, creating a refreshing balance. Their vibrant colors also enhance the presentation beautifully.
-
Creamy Vanilla Ice Cream: The cool creaminess of vanilla ice cream perfectly complements the warm honey layers, offering a delightful temperature contrast that enhances every bite.
-
Chai Tea: A spiced chai warms your soul while harmonizing with the honey’s sweetness, delivering a cozy, aromatic experience to this beloved cake.
-
Dark Chocolate Shavings: A sprinkle of rich chocolate brings a luxurious touch to every slice, adding depth while allowing the honey flavors to shine even brighter.
-
Toasted Nuts: Nuts like walnuts or hazelnuts provide an enjoyable crunch, enhancing the cake’s texture. Their nutty flavor beautifully complements the honey, creating a well-rounded dessert experience.
-
Honey Drizzle: For an extra touch, drizzle honey over each slice just before serving. This accentuates the cake’s honey profile and brings a delightful sweetness to the forefront.
-
Sweetened Coffee: Pair your cake with a cup of sweetened coffee, where the warmth and bitterness of the brew enhance the honey’s sweetness, making it a delightful way to enjoy dessert.
Expert Tips for Russian Honey Cake
-
Room Temperature Ingredients: Make sure your eggs and butter are at room temperature. This helps create a smoother batter, ensuring your Russian Honey Cake has an even texture.
-
Avoid Overmixing: Once you add the dry ingredients, mix gently until just combined. Overmixing can lead to a denser cake, which is not what you want for this layered delight!
-
Cool Layers Completely: Allowing each baked layer to cool completely prevents sogginess. This results in clean, distinct layers when assembling your cake.
-
Make Ahead for Flavors: Consider preparing your Russian Honey Cake a day in advance. Tastes develop beautifully overnight, giving you a richer flavor for your guests to enjoy!
-
Frosting Consistency: For a fluffy frosting, be careful not to over-whip the cream. Stop when soft peaks form to maintain a light, airy texture.
Make Ahead Options
These Russian Honey Cake layers are perfect for meal prep, allowing you to enjoy this delightful dessert with minimal last-minute fuss. You can prepare the cake layers up to 24 hours in advance by baking and cooling them thoroughly, then storing the layers in an airtight container in the refrigerator to maintain their moisture. Additionally, you can whip up the frosting ahead of time and refrigerate it for up to 3 days—just give it a quick re-whip before using to restore its fluffy texture. When you’re ready to serve, simply layer the chilled cake with frosting and refrigerate for about an hour to set. With these make-ahead tips, your Russian Honey Cake will be just as delicious, allowing you to enjoy quality time with loved ones!
How to Store and Freeze Russian Honey Cake
Room Temperature: Place the cake in a cool, dry spot covered with a cake dome for up to 1 day. Avoid exposure to sunlight to maintain its texture.
Fridge: Store leftovers in an airtight container in the refrigerator for up to 5 days. The flavors will deepen as it sits, making each slice even more delightful.
Freezer: Wrap slices tightly in plastic wrap and then in aluminum foil, freezing for up to 3 months. Thaw them in the fridge overnight before enjoying for the best texture.
Reheating: For a warm slice, gently microwave for 10-15 seconds. This revitalizes the creamy frosting and brings out the honey flavor beautifully in your Russian Honey Cake.
Russian Honey Cake: Exciting Variations to Try
Feel free to explore these delicious twists on the traditional Russian Honey Cake, making it your own culinary creation.
- Agave Sweetener: Replace honey with agave syrup for a kid-friendly cake that’s lower on the glycemic index. This way, everyone can indulge guilt-free.
- Nutty Layers: Incorporate chopped walnuts or hazelnuts between each layer for delightful crunch and an added flavor dimension. The nuts contrast beautifully with the soft layers, creating a texture celebration!
- Cream Cheese Frosting: Switch up the frosting by opting for a tangy cream cheese frosting instead of the traditional whipped cream. It adds a delightful zest that balances the sweetness of the cake.
- Spiced Variation: Enhance the flavor by adding a pinch of cinnamon or nutmeg to the batter. These warm spices will bring an inviting aroma and depth, making each bite even more delightful.
- Chopped Fruit: Layer in some diced apples or peaches for a fruity surprise between the cake layers. This adds freshness and moisture alongside the honey’s sweetness.
- Coconut Flour Substitute: For a gluten-free option, try swapping all-purpose flour with coconut flour. This will change the cake’s flavor and texture effortlessly while keeping it enjoyable.
- Chocolate Drizzle: Elevate your cake with a rich chocolate ganache drizzle on top for an extra layer of dessert indulgence. Pair it with a classic Cheesy Garlic Chicken for a comforting meal!
- Savory Companion: Serve alongside a spicy and refreshing salad, like a Buffalo Chicken Salad, to balance the cake’s sweetness and create a stunning contrast for your palate.
Let your imagination soar as you explore these variations! Each offers a unique take on the beloved Russian Honey Cake while delivering joy to your table.
Russian Honey Cake Recipe FAQs
How do I choose the right honey for this recipe?
Absolutely! For the best flavor in your Russian Honey Cake, opt for clover or wildflower honey. These varieties offer a lovely floral note that complements the cake’s sweetness. Be sure to choose high-quality honey as it serves as the main flavor component.
What is the best storage method for leftover cake?
I recommend storing leftovers in an airtight container in the refrigerator for up to 5 days. This not only keeps the cake moist but also allows the flavors to meld together, enhancing the overall taste. Just make sure it’s completely cooled before sealing to avoid condensation.
Can I freeze Russian Honey Cake? If so, how?
Yes, you can absolutely freeze this delightful cake! Wrap individual slices tightly in plastic wrap and then in aluminum foil, ensuring no air gets in. You can store them in the freezer for up to 3 months. When you’re ready to enjoy, simply thaw in the fridge overnight for the best texture.
What should I do if my cake layers are too thick or uneven?
Very! If you notice that your cake layers are thicker than desired, keep in mind that the key is in rolling them out evenly before baking. Use a rolling pin to achieve a uniform thickness of about 1/8 inch. If they bake unevenly, you can level them with a serrated knife once cooled. This will ensure perfectly layered cake for your Russian Honey Cake.
Are there any allergy considerations I should keep in mind?
It’s essential to be cautious. The primary allergens in this recipe include eggs, dairy (from the butter and sour cream), and gluten (from the flour). If you have guests with allergies, consider using dairy-free alternatives like coconut oil and almond milk for the frosting or substituting the sour cream with a plant-based yogurt. Always check for gluten-free flour options if necessary as well!
Delightful Russian Honey Cake: The Ultimate Recipe You Need
Ingredients
Equipment
Method
- Preheat your oven to 350°F (175°C) and line a round cake pan with greased parchment paper.
- In a mixing bowl, whisk together the honey, granulated sugar, and eggs until smooth.
- Sift together the flour, baking soda, baking powder, and a pinch of salt. Gradually incorporate into the honey mixture while adding softened butter. Mix until a soft dough forms.
- Divide the dough into 8 equal portions and shape into disks. Cover with plastic wrap and chill for 20 minutes.
- Roll out each disk into a circle and bake for 4-5 minutes until golden brown. Cool completely on a wire rack.
- Whip the cold heavy cream until soft peaks form, then gradually add powdered sugar and vanilla extract until the frosting is light and fluffy.
- Layer the cooled disks on a serving plate, spreading frosting between each layer.
- Cover the entire cake with the remaining frosting, smoothing it out.
- Refrigerate the fully assembled cake for at least 1 hour to meld flavors.
- Slice and serve with coffee or tea for a delightful treat.
Leave a Reply