
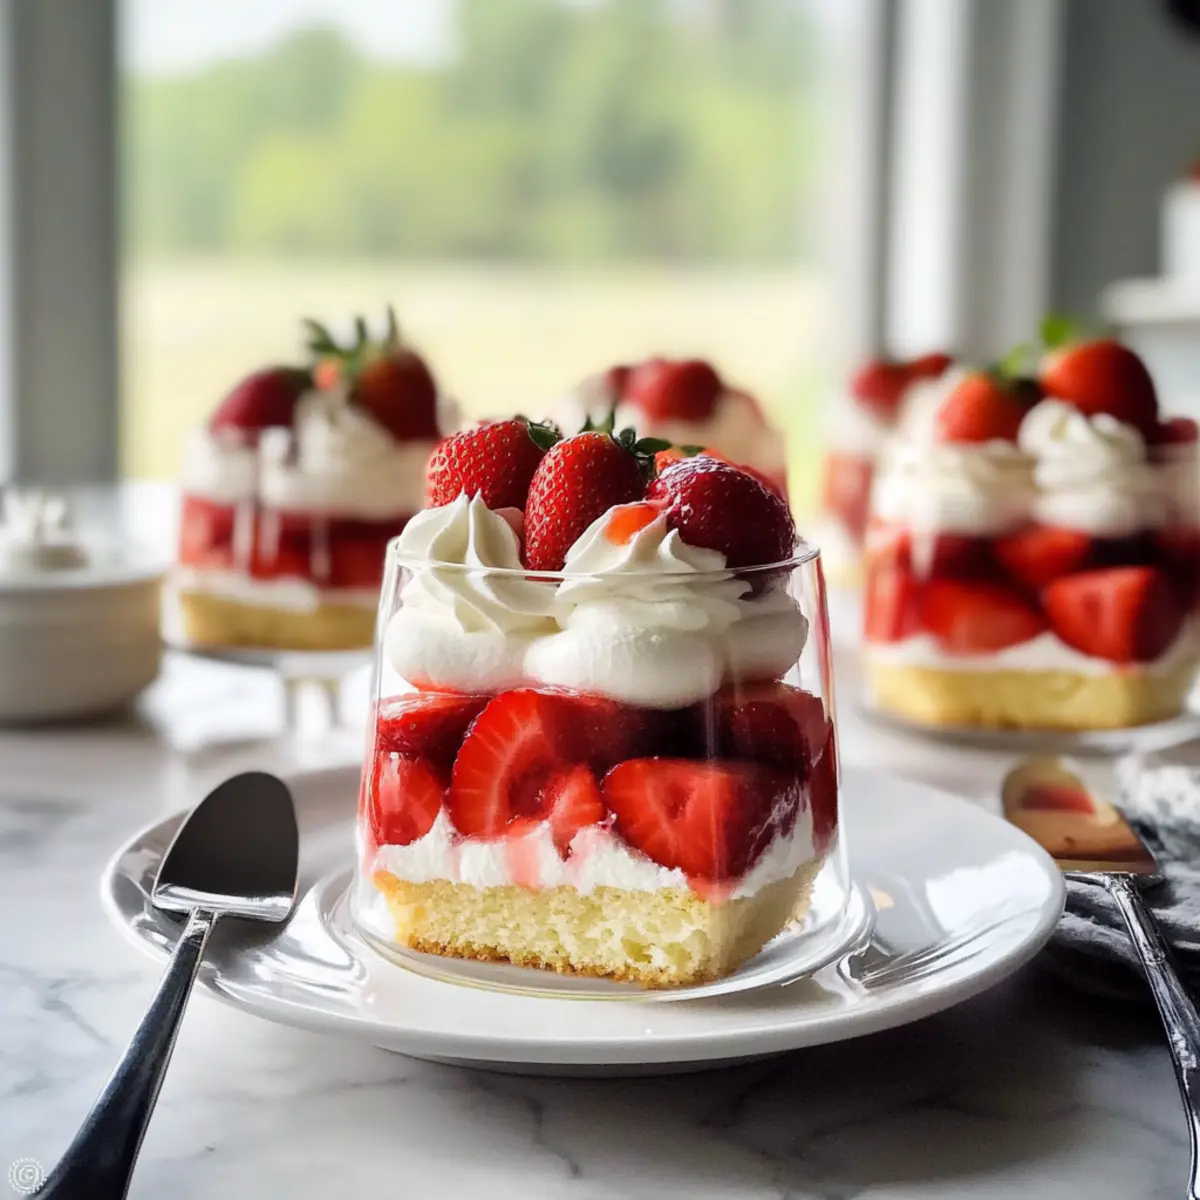
As I sifted through my memories of past Mother’s Days, I was reminded of the warm smiles and joyful laughter that filled the kitchen while we assembled our favorite treats. This year, let’s bring that spirit back with Classic Strawberry Shortcake Cups! These delightful desserts are perfect for celebrating the special women in our lives, combining the sweetness of strawberries with the lightness of freshly whipped cream. Not only are they incredibly simple to make, but they also provide the comfort of homemade goodness without overwhelming your schedule—ideal for a busy spring celebration. With each bite, you’ll create sweet memories without needing complicated techniques. Ready to whip up something wonderfully nostalgic for Mother’s Day? Let’s dive into these delightful strawberry shortcake cups that are sure to impress!
Why are Classic Strawberry Shortcake Cups irresistible?
Simplicity at Its Finest: These cups require minimal ingredients and straightforward methods, making them perfect for all home chefs.
Fresh Flavor: The combination of ripe strawberries and freshly whipped cream creates a burst of springtime goodness that delights the palate.
Quick Preparation: With just a few steps, these desserts come together in no time, allowing you to spend more cherished moments with loved ones.
Customizable: Feel free to swap out strawberries for other fruits like blueberries, or even add a layer of chocolate for a fun twist!
Crowd Pleaser: Their charming presentation and familiar flavors make them a wonderful addition to any Mother’s Day celebration, sure to impress everyone at the table.
Whether you’re looking for a sweet finish to brunch or a delightful treat for coffee time, these Classic Strawberry Shortcake Cups are sure to bring back fond memories and create new ones. For more fruity inspiration, check out our Strawberry Shortcake Ice or the refreshing Strawberry Shortcake Protein smoothie recipes!
Classic Strawberry Shortcake Cups Ingredients
For the Strawberries
• Strawberries – Use fresh and ripe strawberries for the sweetest flavor; slice them for maximum syrup and pairing.
• Sugar – This will draw out the strawberries’ natural juices and enhance their sweetness; consider brown sugar for a richer taste.
For the Cream
• Heavy Cream – Ensure it’s cold for the best whipped texture, creating a luscious topping for your shortcake.
• Powdered Sugar – Sweetens the cream while helping it hold its shape; start with a small amount and adjust to taste.
For the Shortcake
• Butter – Use unsalted butter for better control of saltiness, adding rich flavor to your shortcakes.
• Flour – All-purpose flour is perfect here; consider using a gluten-free blend for those with dietary needs.
• Baking Powder – This leavening agent helps the shortcakes rise for a light and fluffy texture.
• Eggs – At room temperature, they help bind the batter and create lift in your shortcakes.
• Milk – Adds moisture and a tender crumb to the overall dessert; feel free to substitute with almond or oat milk for a dairy-free option.
Whip up these Classic Strawberry Shortcake Cups effortlessly, and enjoy their fresh flavors and sweet memories this Mother’s Day!
Step‑by‑Step Instructions for Classic Strawberry Shortcake Cups
Step 1: Prepare the Strawberries
Begin by washing and slicing your fresh strawberries, placing them in a medium bowl. Sprinkle sugar over the top, gently tossing until the sugar coats all the slices. Let them sit for about 15 minutes at room temperature — this will allow the berries to release their natural juices, creating a sweet syrup that beautifully complements the Classic Strawberry Shortcake Cups.
Step 2: Make the Shortcakes
Preheat your oven to 400°F (200°C). In a large mixing bowl, whisk together flour, baking powder, and a pinch of salt. In a separate bowl, cream together unsalted butter and sugar until light and fluffy, about 3 minutes. Incorporate the eggs, one at a time, followed by the milk until just combined. Gradually add the dry ingredients to the wet mixture, being careful not to over-mix.
Step 3: Bake the Shortcakes
Pour the batter into a greased muffin or shortcake pan, filling each cavity about two-thirds full. Bake in the preheated oven for 15-20 minutes, or until the tops are golden brown and a toothpick inserted into the center comes out clean. Allow the Classic Strawberry Shortcake Cups to cool in the pan for a few minutes before transferring them to a wire rack to cool completely.
Step 4: Whip the Cream
While the shortcakes cool, prepare the whipped cream. In a chilled mixing bowl, combine heavy cream and powdered sugar. Using an electric mixer, whip on medium-high speed until soft peaks begin to form, about 3-5 minutes. Be careful not to overbeat; you’re aiming for a silky texture that will elevate your Classic Strawberry Shortcake Cups.
Step 5: Assemble the Cups
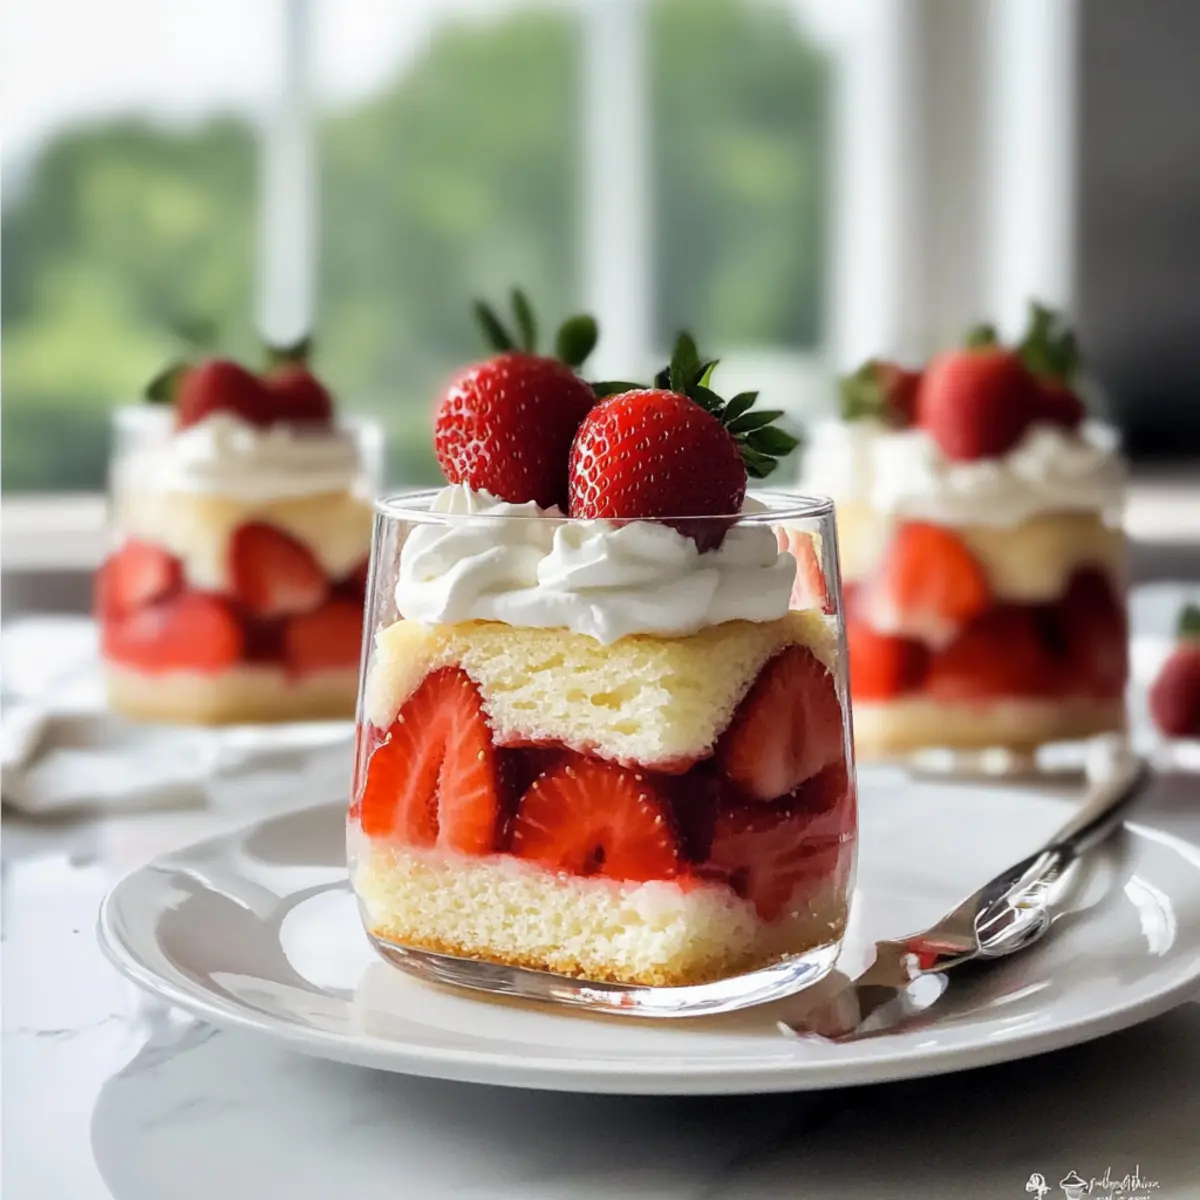
Once the shortcakes are cool, break each one into halves or quarters and layer them in serving glasses or bowls. Begin with a layer of shortcake, followed by a generous spoonful of strawberries along with some of the syrup created earlier. Top with a dollop of freshly whipped cream, repeating the layers until you reach the rim.
Step 6: Chill and Serve
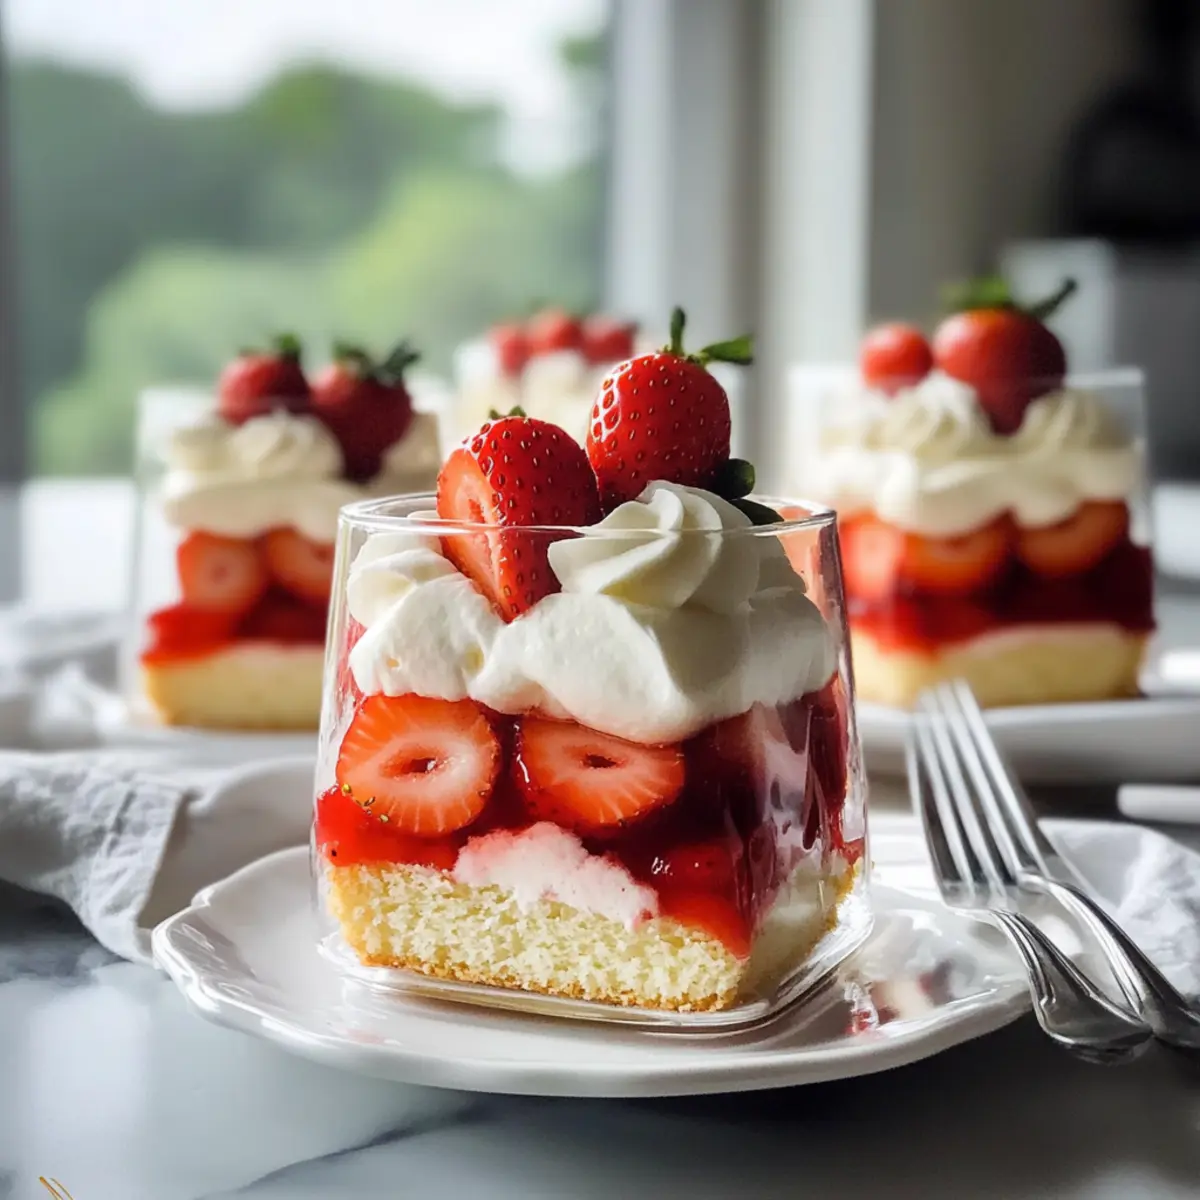
If desired, chill the assembled Classic Strawberry Shortcake Cups in the refrigerator for about 30 minutes to let the flavors meld together. When ready to serve, garnish with a sprig of mint or additional fresh strawberries for a delightful finishing touch that enhances the overall presentation.
Storage Tips for Classic Strawberry Shortcake Cups
Fridge: Keep assembled Classic Strawberry Shortcake Cups covered in the refrigerator for up to 2 days to maintain their freshness and flavor.
Freezer: For best results, freeze shortcakes only (without the strawberries or whipped cream) for up to 2 months, wrapping them in plastic wrap and placing them in an airtight container.
Reheating: If you’ve frozen shortcakes, thaw them in the fridge overnight and enjoy them at room temperature or gently warm them in a low oven before assembling.
Assembling Ahead: For optimal texture, assemble your cups just before serving; however, prepped strawberries can be stored in the fridge for up to 3 days in an airtight container.
Make Ahead Options
These Classic Strawberry Shortcake Cups are perfect for busy home cooks looking to save time while creating a delicious dessert! You can prepare the strawberry mixture and whipped cream up to 24 hours in advance by refrigerating them separately. The shortcake can also be baked 1-2 days ahead and stored in an airtight container, maintaining its soft texture. When you’re ready to serve, simply layer the shortcake with the strawberries and whipped cream, and if desired, chill the assembled cups for about 30 minutes to enhance flavor before serving. This way, you can enjoy a heartfelt homemade dessert without the last-minute rush!
Classic Strawberry Shortcake Cups Variations
Feel free to add your personal touch to these delightful Classic Strawberry Shortcake Cups with these easy swaps and twists!
-
Gluten-Free: Substitute all-purpose flour with a gluten-free blend for a delicious dessert that everyone can enjoy. Many high-quality blends work seamlessly, ensuring your shortcakes rise beautifully.
-
Berry Mix: Swap strawberries for a medley of seasonal berries like blueberries or raspberries for a colorful and flavorful twist. Each berry brings its unique sweetness, making your dessert even more delightful.
-
Coconut Whipped Cream: For a tropical flair, use chilled coconut cream instead of heavy cream to create a light, dairy-free topping. This addition adds a subtle coconut flavor that perfectly complements the fresh fruit.
-
Almond Extract: Replace vanilla extract with almond extract in the cream for a nutty essence that elevates the taste profile. This small swap adds warmth and complexity, making your dessert unforgettable.
-
Chocolate Drizzle: Finish your cups with a drizzle of melted dark, milk, or white chocolate for an extra hint of indulgence. This simple touch enhances both presentation and taste, turning a classic into an elegant treat.
-
Lavender Infused: Add a hint of lavender to the whipped cream by steeping dried lavender buds in the cream before whipping. This unique flavor will transport your taste buds to a delightful spring garden.
-
Layered Parfait: Assemble your ingredients in jars or tall glasses for a stunning parfait presentation. Not only does this make for a beautiful display, but it also offers layers of flavor in every mouthful.
Explore these variations to make your Classic Strawberry Shortcake Cups uniquely yours this Mother’s Day! For more fruity inspiration, check out our Strawberry Shortcake Ice or the refreshing Strawberry Shortcake Protein smoothie recipes!
What to Serve with Classic Strawberry Shortcake Cups?
Elevate your Mother’s Day brunch with these irresistible pairings that perfectly complement the sweetness and lightness of your delightful dessert.
-
Fresh Mint Tea: The herbal notes of mint tea enhance the fruity flavors and add a refreshing touch to your meal, perfect for warm spring days.
-
Coffee: A warm cup of coffee balances the sweetness of the shortcake, making it a classic pairing for a delightful brunch experience.
-
Lemonade Spritzer: A fizzy lemonade spritzer provides a zesty, refreshing contrast to the creaminess of the dessert, perfectly tailored for sunny celebrations.
-
Chocolate Dipped Fruit: For an extra surprise, serve bite-sized chocolate-dipped fruits alongside the shortcake cups. The richness of chocolate and the freshness of fruit create a delightful textural contrast.
-
Sliced Almonds: Scatter some toasted sliced almonds on top for extra crunch and nutty flavor, elevating each bite with a satisfying crunch.
-
Berry Salad: A light berry salad brings vibrant colors and a burst of freshness to the table, complementing the strawberries while adding a healthy zing.
-
Sparkling Water: Crisp, bubbly sparkling water with a splash of citrus is an elegant choice that cleanses the palate, allowing the flavors of your dessert to shine.
-
Vanilla Ice Cream: A scoop of creamy vanilla ice cream served alongside your shortcake adds a luxurious richness that everyone will adore.
With these tasty pairings, prepare to create a memorable and heartwarming Mother’s Day gathering!
Expert Tips for Classic Strawberry Shortcake Cups
-
Choose the Right Strawberries: Opt for ripe, fresh strawberries to ensure maximum sweetness and flavor; look for vibrant red color and firm texture.
-
Perfect Whipped Cream: Use cold heavy cream for whipping, and avoid overbeating to maintain a silky texture, enhancing the Classic Strawberry Shortcake Cups.
-
Avoid Dense Shortcakes: Be careful not to over-mix the batter when combining wet and dry ingredients; this keeps the shortcakes light and fluffy.
-
Layer Smartly: When assembling, start with shortcake, then strawberries, followed by cream—this layering not only looks beautiful but also ensures balanced flavors in every bite.
-
Chill for Flavors: Give the assembled cups a bit of time in the fridge before serving; this allows the flavors to meld beautifully for a more delicious dessert experience.
Classic Strawberry Shortcake Cups Recipe FAQs
How do I select ripe strawberries for my shortcake cups?
Absolutely! Look for strawberries that are vibrant red, firm, and free from dark spots or soft areas. The sweetest strawberries will have a strong, fruity aroma. Avoid any that show signs of molding or excessive bruising, as these won’t provide the fresh flavor you want in your dessert.
What’s the best way to store my Classic Strawberry Shortcake Cups?
For optimal freshness, cover the assembled shortcake cups and store them in the refrigerator for up to 2 days. If you have leftover components, such as strawberries or whipped cream, store them separately; the strawberries can last up to 3 days when kept in an airtight container.
Can I freeze the shortcakes?
Yes! You can freeze the baked shortcakes for up to 2 months. Allow them to cool completely, then wrap each shortcake in plastic wrap and place them in an airtight container. When you’re ready to enjoy them, thaw them in the fridge overnight, and they’ll be lovely at room temperature or gently warmed in a low oven.
What should I do if my whipped cream is too runny?
If your whipped cream doesn’t hold its shape, it’s likely under-whipped. To fix this, simply return the under-beaten cream to a cold mixing bowl, and use a chilled whisk or electric mixer to whip it again until you reach the soft peaks stage. Be cautious not to overbeat, as this can turn the cream into butter!
Can I customize the recipe for dietary restrictions?
Very much! You can substitute coconut cream for heavy cream to make a dairy-free version of the whipped topping. Additionally, if gluten-free is your target, swap all-purpose flour for a gluten-free blend in the shortcake. Just ensure other ingredients, like the baking powder, are also gluten-free to maintain the integrity of the recipe.
Is this dessert suitable for pets?
While strawberries are safe for dogs in moderation, the sugar content and whipped cream are not ideal for their diets. Always consult your vet before sharing any human food with your furry friends. Enjoy your indulgence, but keep it separate for those special pooches!
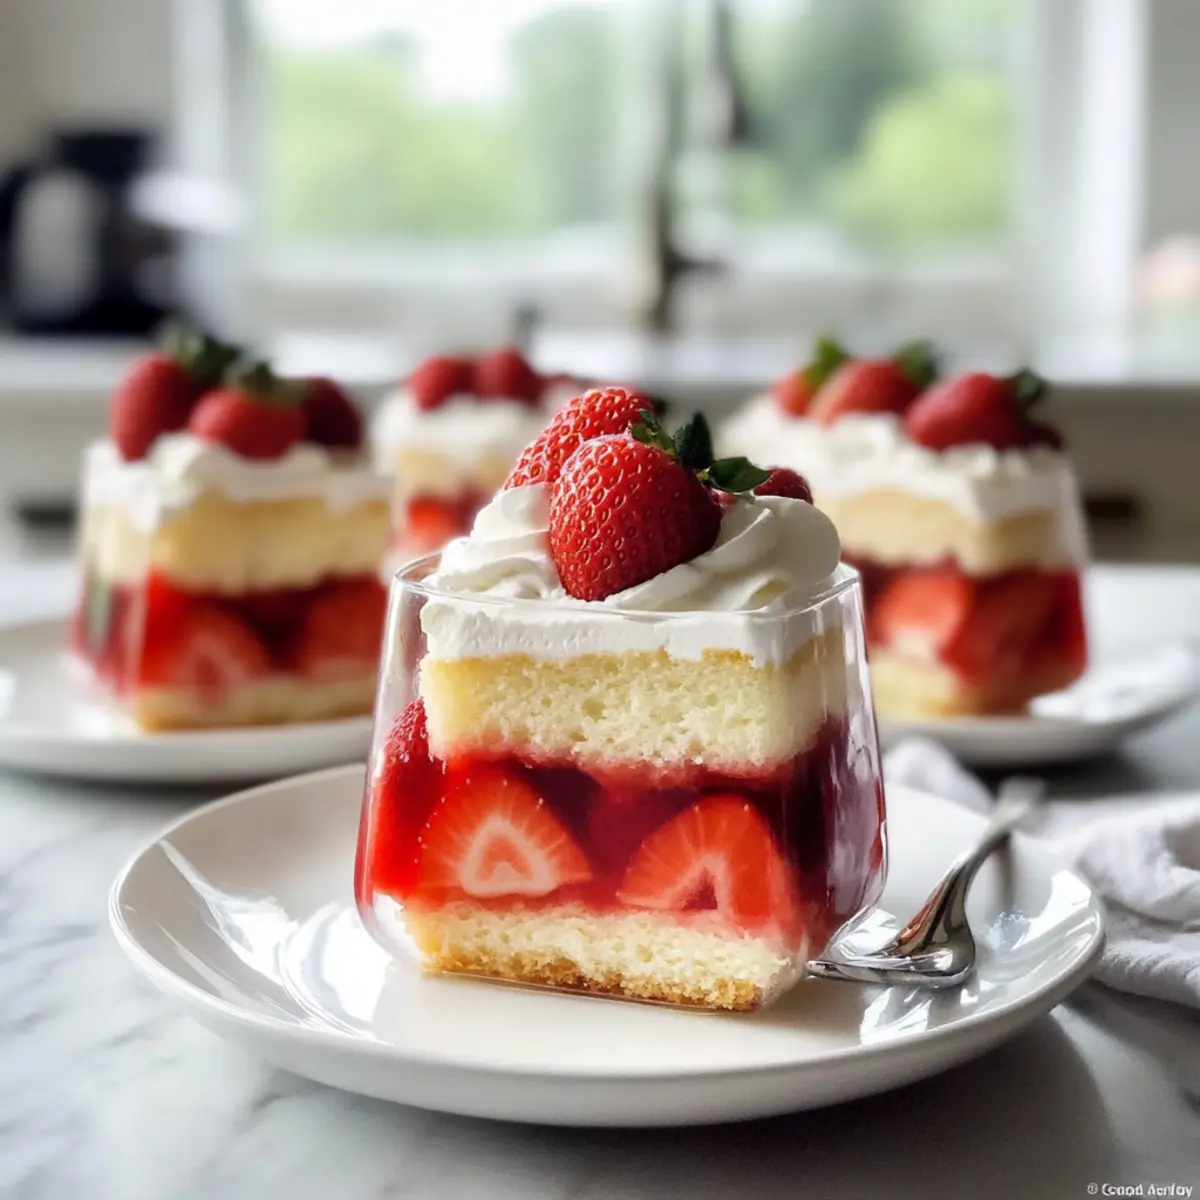
Delicious Classic Strawberry Shortcake Cups to Impress Mom
Ingredients
Equipment
Method
- Wash and slice fresh strawberries, placing them in a medium bowl. Sprinkle sugar over them, toss gently, and let sit for about 15 minutes.
- Preheat oven to 400°F (200°C). Whisk together flour, baking powder, and salt. Cream butter and sugar until fluffy, incorporate eggs and milk. Gradually add dry ingredients.
- Pour batter into a greased muffin or shortcake pan, filling each cavity two-thirds full. Bake for 15-20 minutes until golden brown.
- In a chilled bowl, combine heavy cream and powdered sugar. Use an electric mixer to whip until soft peaks form, about 3-5 minutes.
- Once shortcakes are cool, break into halves or quarters. Layer in serving glasses starting with shortcake, then strawberries and syrup, followed by whipped cream. Repeat layers.
- Chill assembled cups in the refrigerator for about 30 minutes. Garnish with mint or extra strawberries before serving.
Leave a Reply