
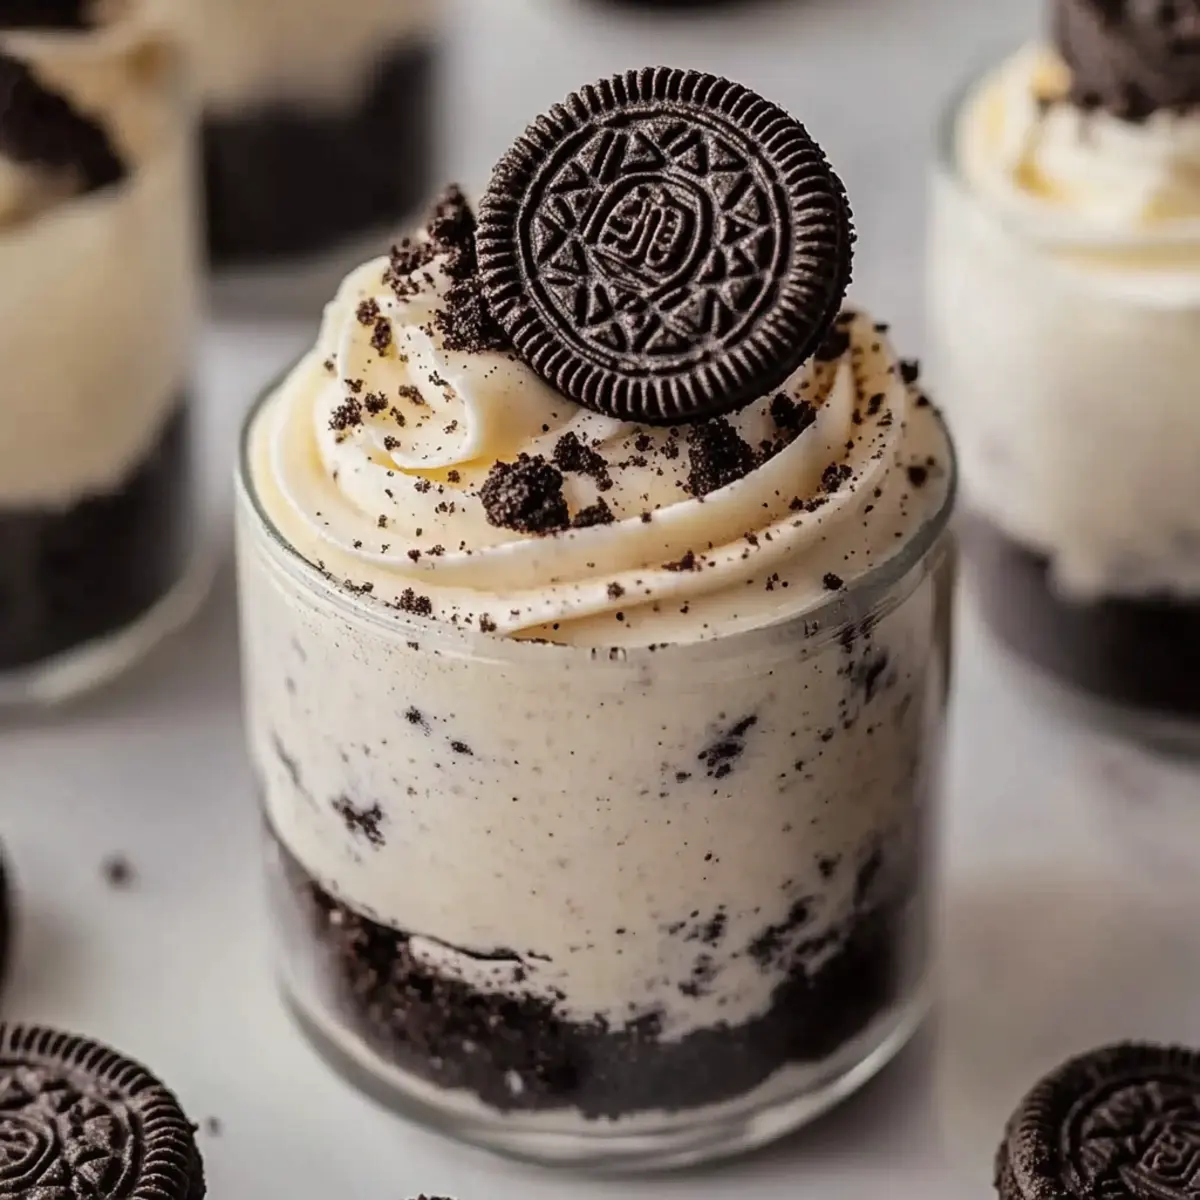
It’s the kind of day that leaves you craving something sweet but doesn’t quite lend itself to the idea of turning on the oven. Enter my No Bake Oreo Cheesecake Cups—your new go-to dessert that delivers indulgence without the hassle! In just 15 minutes, you can whip up these heavenly little cups that combine velvety cream cheese with the nostalgic crunch of Oreos. They’re not only easy but also perfect for any gathering, whether it’s a casual hangout or a festive celebration. Plus, with no baking required, you can skip the heat and still impress your friends and family. Are you ready to dive into this effortless dessert that’s as fun to make as it is to enjoy? Let’s get started!
Why Are These Cheesecake Cups So Irresistible?
Ease of Preparation: You’ll love how straightforward it is to create these No Bake Oreo Cheesecake Cups, needing only 15 minutes of your time with no oven involved!
Nostalgic Taste: The harmonious blend of rich cream cheese and classic Oreos delivers a sweet nostalgia that takes you back to childhood treats.
Versatile Delight: Feel free to customize your dessert with toppings like fresh fruit or chocolate drizzle, making them perfect for any occasion!
Crowd Favorite: These cups are always a hit at gatherings, leaving guests impressed and asking for the recipe. For other easy yet delightful desserts, check out my No Bake Key Lime Cheesecake Jars or Lemon Blueberry Cheesecake Bars.
Make-Ahead Magic: Simply prepare in advance and let them chill, enhancing the flavors while saving you time on the day of your event.
No Bake Oreo Cheesecake Cups Ingredients
For the Cheesecake Filling
- Cream Cheese – Use full-fat, softened to room temperature for a smooth and creamy base.
- Sugar – Adjust sweetness to personal preference; a little goes a long way in this delicious dessert.
- Heavy Cream – Whipped to stiff peaks for an airy texture; it’s the secret to fluffy filling!
- Vanilla Extract – Adds depth of flavor; opt for pure vanilla for the best taste.
For the Crust
- Oreo Cookies – Crush these iconic cookies for a rich, chocolatey crust; substitutes like chocolate wafers can work too.
- Butter – Melted butter is essential to bind the crushed Oreos together and create a sturdy crust.
Optional Toppings
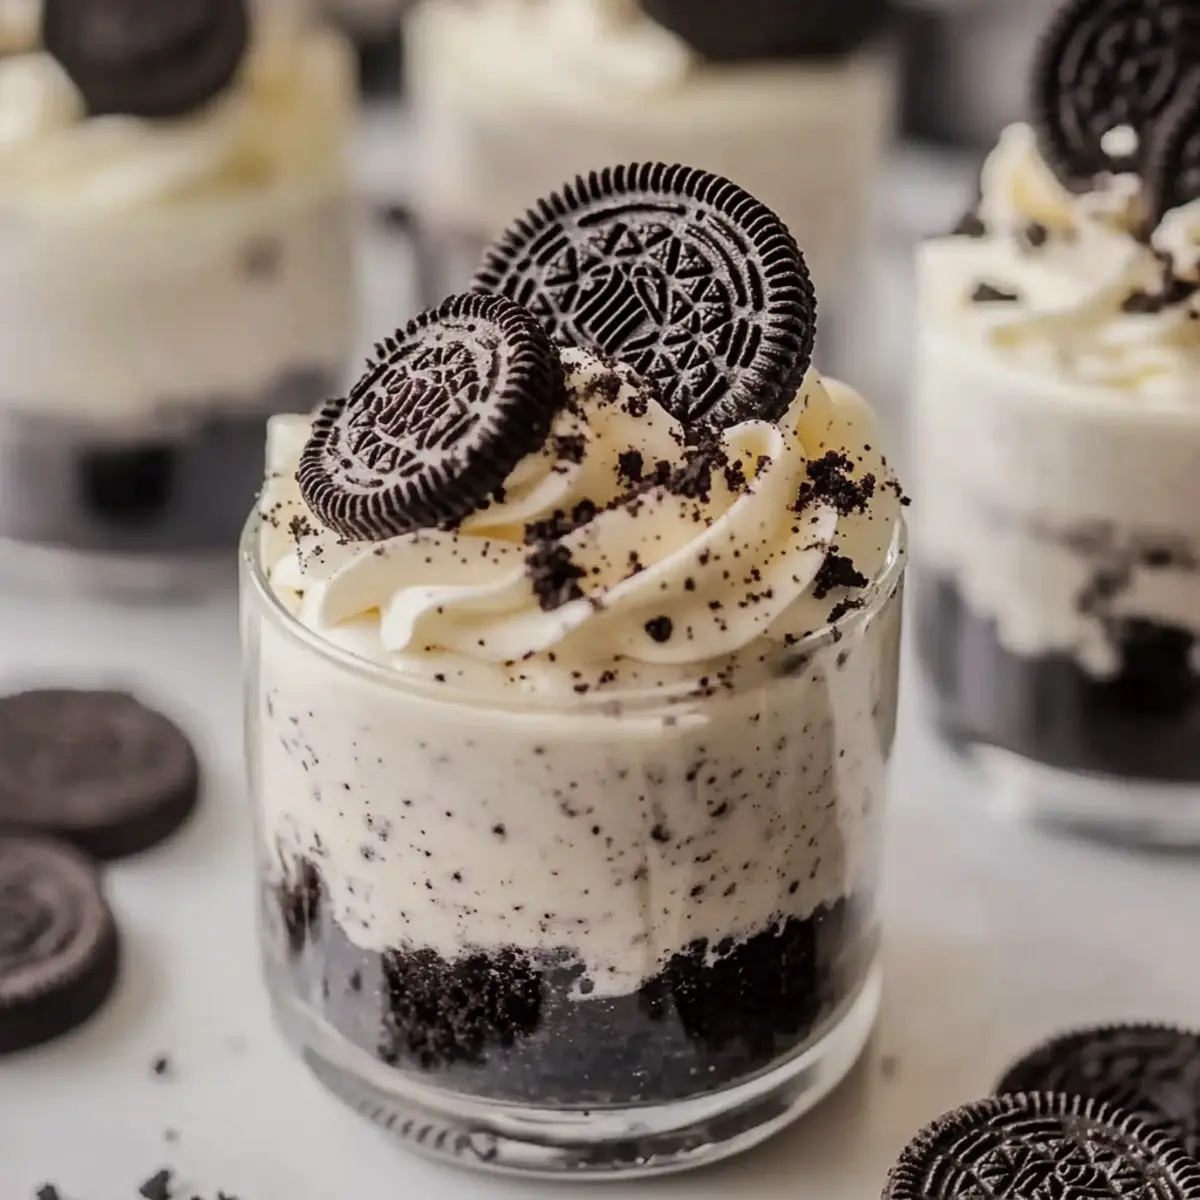
- Extra Crushed Oreos – Sprinkle on top for added crunch and visual appeal.
- Whipped Cream – A dollop of whipped cream takes these cups to the next level of indulgence!
These No Bake Oreo Cheesecake Cups are sure to impress with minimal effort! Enjoy creating this delightful treat!
Step‑by‑Step Instructions for No Bake Oreo Cheesecake Cups
Step 1: Prepare the Crust
Begin by crushing 15 Oreo cookies into fine crumbs, using a food processor or by placing them in a zip-top bag and rolling over with a rolling pin. In a bowl, combine the cookie crumbs with 2 tablespoons of melted butter, mixing until the texture resembles wet sand. Firmly press this mixture into the bottom of your serving cups to form a stable crust that will hold up when filling.
Step 2: Make the Cheesecake Filling
In a large mixing bowl, beat 8 ounces of softened cream cheese and 1/2 cup of sugar using an electric mixer until smooth and creamy, about 2-3 minutes. Next, gently fold in 1 cup of whipped heavy cream and 1 teaspoon of vanilla extract with a spatula, mixing until just combined. The goal is to keep the airiness, so be careful not to overmix the filling.
Step 3: Assemble the Cups
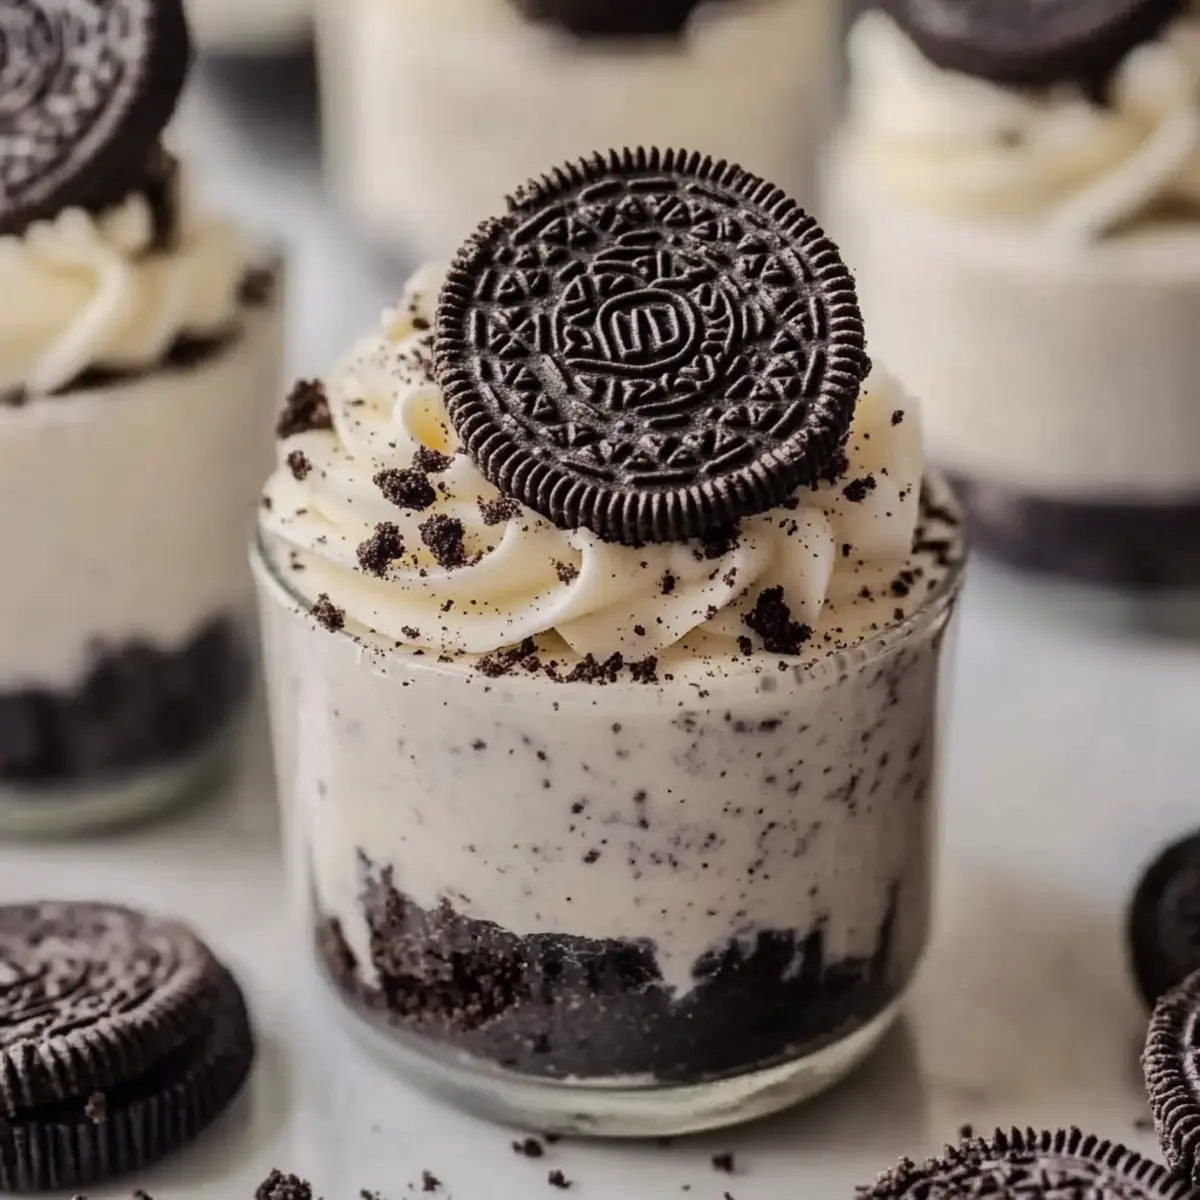
Spoon the creamy cheesecake filling generously over the prepared crust in each cup, ensuring you leave some room at the top for garnishing. Use the back of a spoon to create a smooth, even layer, leveling off the filling for a tidy appearance. This layering of the No Bake Oreo Cheesecake Cups sets the stage for a delightful treat that will impress everyone.
Step 4: Chill
Cover the assembled cups with plastic wrap and place them in the refrigerator. Allow them to chill for at least 2 hours, or until the filling has set and is firm to the touch. This waiting period is crucial for the best flavor and texture, as the cheesecake filling will thicken and become wonderfully creamy.
Step 5: Garnish and Serve
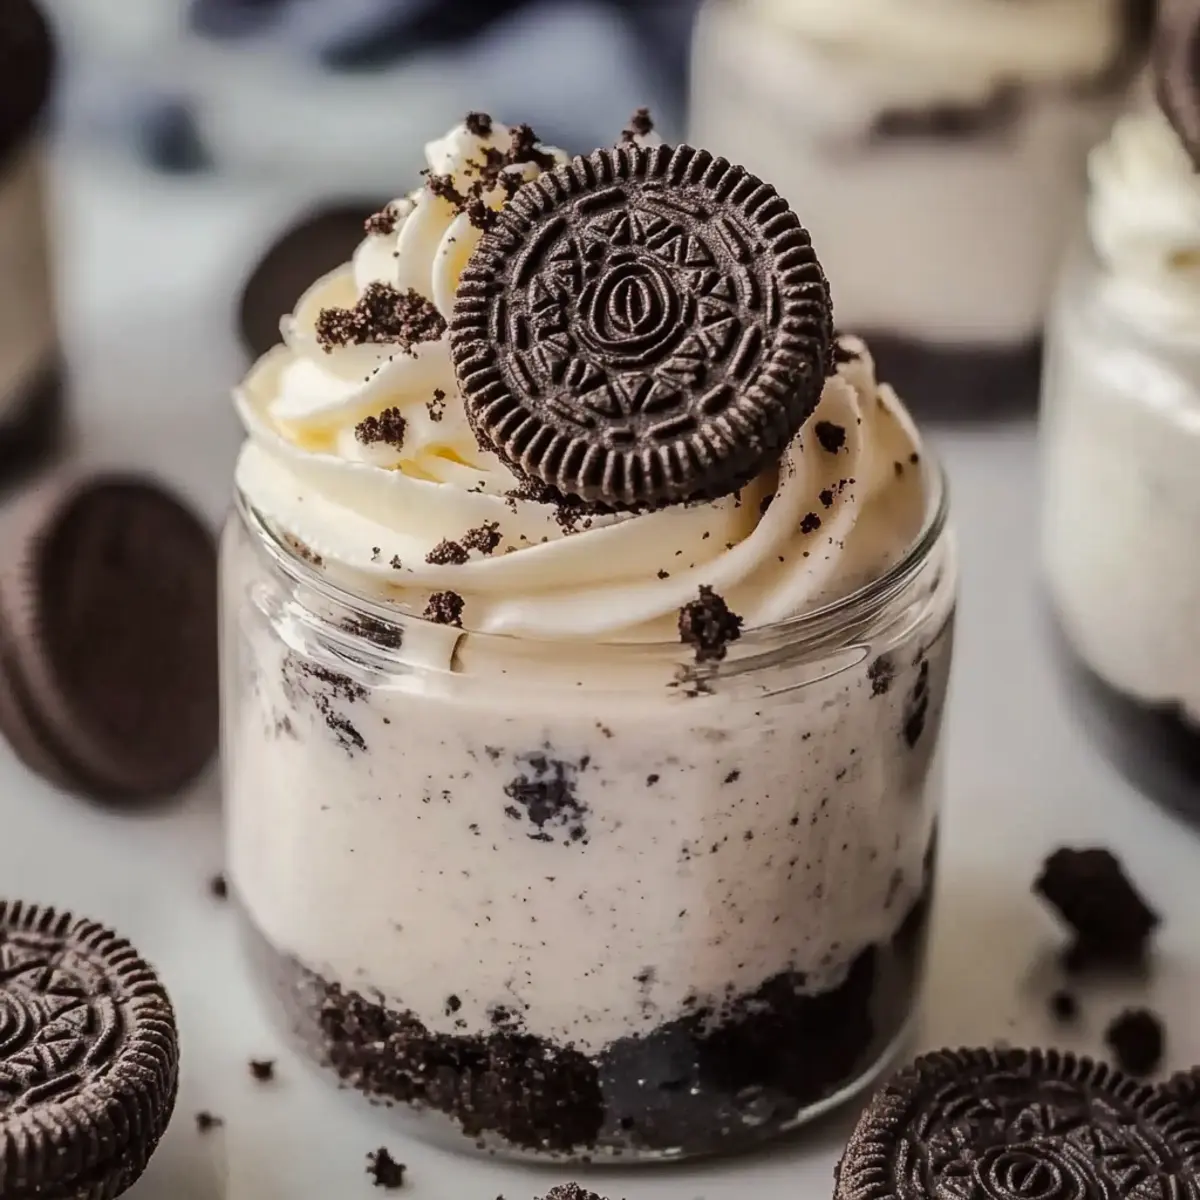
Once the No Bake Oreo Cheesecake Cups have chilled, remove them from the refrigerator, and garnish with extra crushed Oreos or a dollop of whipped cream if desired. This last touch adds an inviting visual appeal and extra texture. Serve chilled and delight in the satisfied smiles as you share these scrumptious treats with friends and family!
Make Ahead Options
These No Bake Oreo Cheesecake Cups are a fantastic choice for meal prep enthusiasts! You can prepare both the crust and the cheesecake filling up to 24 hours in advance, allowing the flavors to meld beautifully over time. To do this, simply crush the Oreo cookies and mix with melted butter for the crust, then press firmly into your cups. Mix the filling and spoon it over the crust, but keep your cups covered in the refrigerator until you’re ready to serve. This ensures their delightful texture remains just as creamy and inviting when you bring them to the table. When it’s time to impress your guests, simply add your desired garnishes, and you’re all set for a crowd-pleasing dessert!
No Bake Oreo Cheesecake Cups Variations
Feel free to let your creativity run wild with these delightful twists on your No Bake Oreo Cheesecake Cups!
-
Gluten-Free: Substitute gluten-free Oreo cookies for a tasty version that everyone can enjoy. This ensures no one misses out on the creamy goodness!
-
Nutty Crunch: Add crushed nuts like pecans or walnuts to the crust for an extra layer of flavor and texture. It gives a lovely crunch that contrasts with the creamy filling.
-
Mint Chocolate: Switch out regular Oreos for mint-flavored ones to create a refreshing twist. The peppermint adds a fun, festive touch that’s always a hit!
-
Peanut Butter Swirl: Mix in creamy peanut butter into the cheesecake filling for a nutty richness that pairs beautifully with Oreos. Swirling it in creates a stunning visual and flavor explosion!
-
Berry Blast: Top with fresh berries like raspberries or strawberries to brighten up the dessert. Their natural sweetness and tartness create a lovely balance with the creamy filling.
-
Chocolate Drizzle: After chilling, drizzle melted chocolate over the top before serving. This adds an irresistible layer of decadence that looks stunning!
-
Coconut Delight: Incorporate shredded coconut into the crust or sprinkle on top for a tropical flavor. It transports you to a sunny beach with every delightful bite!
-
Spicy Kick: For those who love heat, add a dash of cayenne pepper to the filling for a surprising kick. This unexpected flavor combination will intrigue adventurous taste buds!
No matter how you choose to customize your No Bake Oreo Cheesecake Cups, you’re sure to impress your guests with each unique twist. For those looking for other dessert ideas, try the delightful Fruity Pebbles Cheesecake Tacos or a rich Patriotic Hot Fudge Cheesecake Trifle.
What to Serve with No Bake Oreo Cheesecake Cups
The delightful charm of these dessert cups makes them the perfect centerpiece for any sweet spread, inviting a world of delicious pairings.
-
Fresh Berries: Bright, juicy strawberries or raspberries complement the rich cheesecake nicely, adding a refreshing burst of flavor.
-
Chocolate Drizzle: A drizzle of warm chocolate sauce over the tops adds a decadently sweet touch that enhances the Oreo flavor.
-
Coffee or Espresso: The bitterness of coffee balances the sweetness, making each bite of cheesecake even more indulgent and enjoyable.
-
Fruit Salad: A medley of colorful, seasonal fruits offers a light contrast, making for a beautifully vibrant and refreshing accompaniment.
Pairing dessert with vibrant and contrasting flavors can transform your meal into a delightful experience. Each addition brings its own magic to these No Bake Oreo Cheesecake Cups, amplifying your gathering’s sweetness!
How to Store and Freeze No Bake Oreo Cheesecake Cups
Fridge: Store the No Bake Oreo Cheesecake Cups in an airtight container in the refrigerator. They will keep fresh for up to 3 days, ensuring you can enjoy them over multiple days.
Freezer: If you want to extend their shelf life, freeze the cheesecake cups for up to 2 months. Wrap each cup tightly in plastic wrap before placing them in a freezer-safe container.
Thawing: To thaw, simply transfer the cups from the freezer to the fridge for several hours before serving. This gentle thawing will keep the texture luscious and creamy.
Reheating: No need to reheat these treats! Enjoy them chilled for the best experience, and feel free to garnish with extra crushed Oreos or whipped cream just before serving.
Expert Tips for No Bake Oreo Cheesecake Cups
- Whip it Right: Make sure your heavy cream is whipped to stiff peaks for the lightest, fluffiest filling. A runny mixture will compromise the texture!
- Sweetness Balance: Taste your cream cheese mixture before pouring; adjust sugar according to your preference for the most enjoyable dessert experience.
- Crust Stability: Press the crust firmly into the cups to prevent it from crumbling when you dig in. A solid base makes all the difference!
- Chill Time: Don’t rush the chilling process—let the cups set in the fridge for at least 2 hours. This enhances flavor and ensures a creamy filling.
- Make-Ahead Magic: Considering a gathering? Prepare your No Bake Oreo Cheesecake Cups a day in advance. The flavors deepen beautifully overnight!
No Bake Oreo Cheesecake Cups Recipe FAQs
What type of cream cheese should I use for the filling?
I recommend using full-fat cream cheese that is softened to room temperature. This ensures a smooth and creamy texture that blends perfectly with the other ingredients, helping to create that indulgent filling we love!
How long can I store No Bake Oreo Cheesecake Cups in the fridge?
Absolutely! You can store your No Bake Oreo Cheesecake Cups in an airtight container in the refrigerator for up to 3 days. This way, you can enjoy their deliciousness over several days without compromising flavor or texture.
Can I freeze No Bake Oreo Cheesecake Cups?
Yes! To freeze, wrap each cup tightly in plastic wrap and place them in a freezer-safe container. They can be frozen for up to 2 months. When you’re ready to enjoy them, just transfer the cups to the fridge for several hours to thaw gently. This helps maintain their luscious texture.
What should I do if my whipped cream isn’t thickening?
Don’t worry! If your heavy cream isn’t whipping to stiff peaks, it might be too warm or you may not be using enough fat. Make sure your heavy cream is cold, and consider using heavy cream with a higher fat content (at least 36%). Whip until it achieves a thicker consistency, which is essential for a fluffy and stable filling.
Are there any dietary considerations for pets or allergies?
Yes! Since these No Bake Oreo Cheesecake Cups contain ingredients like cream cheese and sugar, they’re not suitable for pets. Additionally, if anyone has allergies, be mindful that Oreos contain wheat, dairy, and soy. For a gluten-free option, you might try using gluten-free cookies as a substitute for the crust. Always double-check ingredient labels for allergens!
Can I make these cups in advance?
Very much so! Preparing your No Bake Oreo Cheesecake Cups in advance is a great idea. You can make both the crust and the filling up to 24 hours in advance. Just assemble them, cover well, and let them chill in the fridge until you’re ready to serve. The flavors actually deepen with time, making them even more delightful!
No Bake Oreo Cheesecake Cups for Effortless Sweet Joy
Ingredients
Equipment
Method
- Begin by crushing 15 Oreo cookies into fine crumbs using a food processor or by placing them in a zip-top bag and rolling over with a rolling pin.
- In a bowl, combine the cookie crumbs with 2 tablespoons of melted butter, mixing until the texture resembles wet sand.
- Firmly press this mixture into the bottom of your serving cups to form a stable crust.
- In a large mixing bowl, beat 8 ounces of softened cream cheese and 1/2 cup of sugar using an electric mixer until smooth and creamy.
- Gently fold in 1 cup of whipped heavy cream and 1 teaspoon of vanilla extract with a spatula.
- Spoon the creamy cheesecake filling generously over the prepared crust in each cup.
- Cover the assembled cups with plastic wrap and place them in the refrigerator for at least 2 hours.
- Once chilled, remove them from the refrigerator and garnish with extra crushed Oreos or a dollop of whipped cream.
- Serve chilled and enjoy!
Leave a Reply