
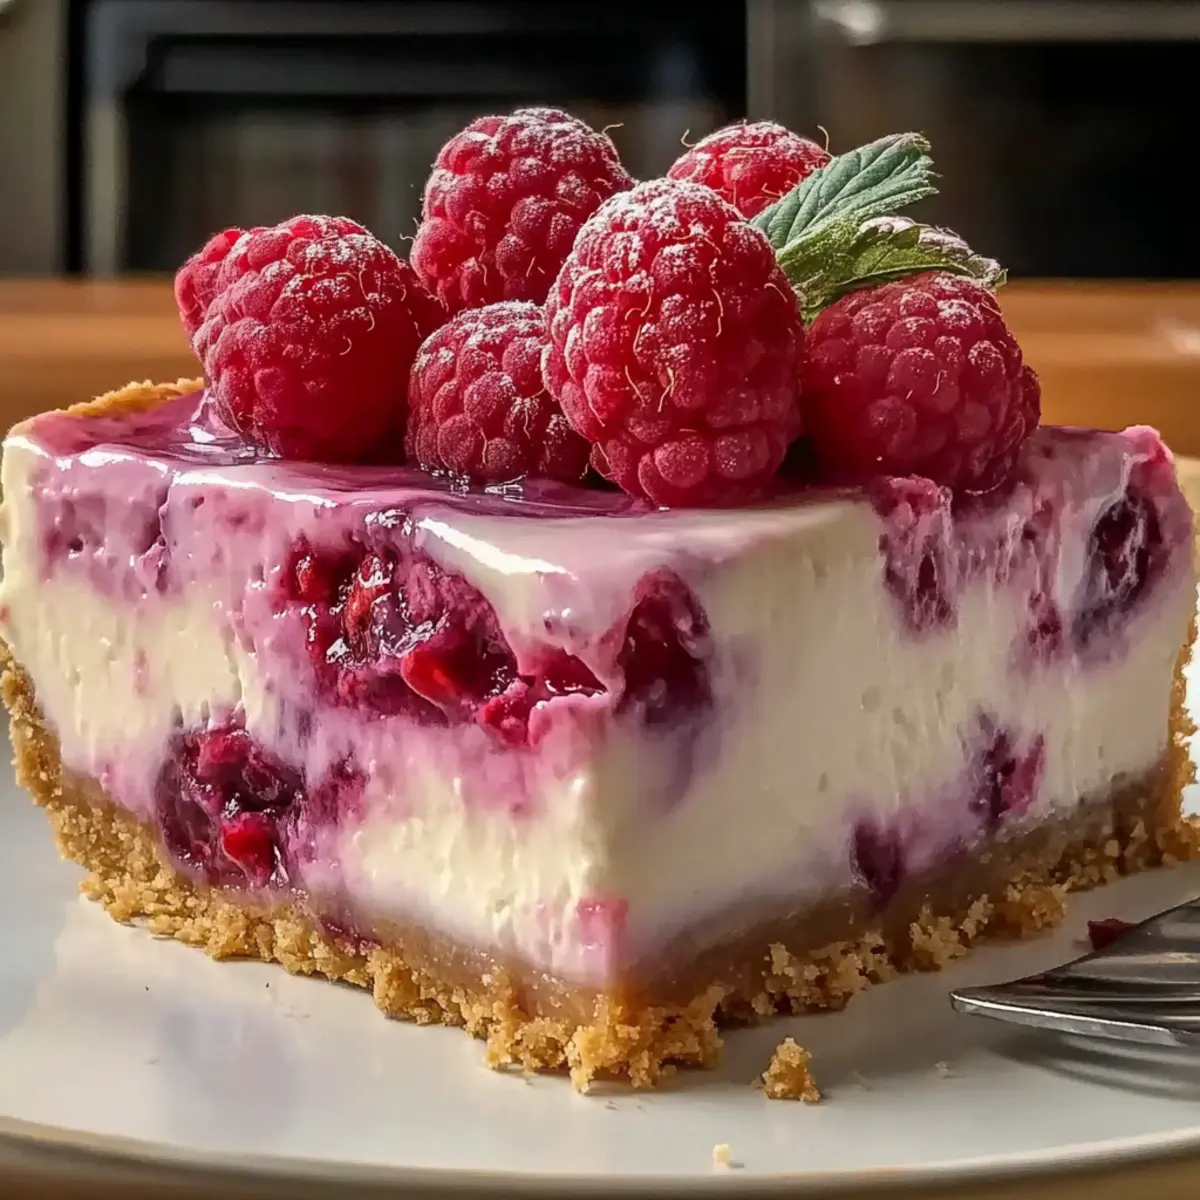
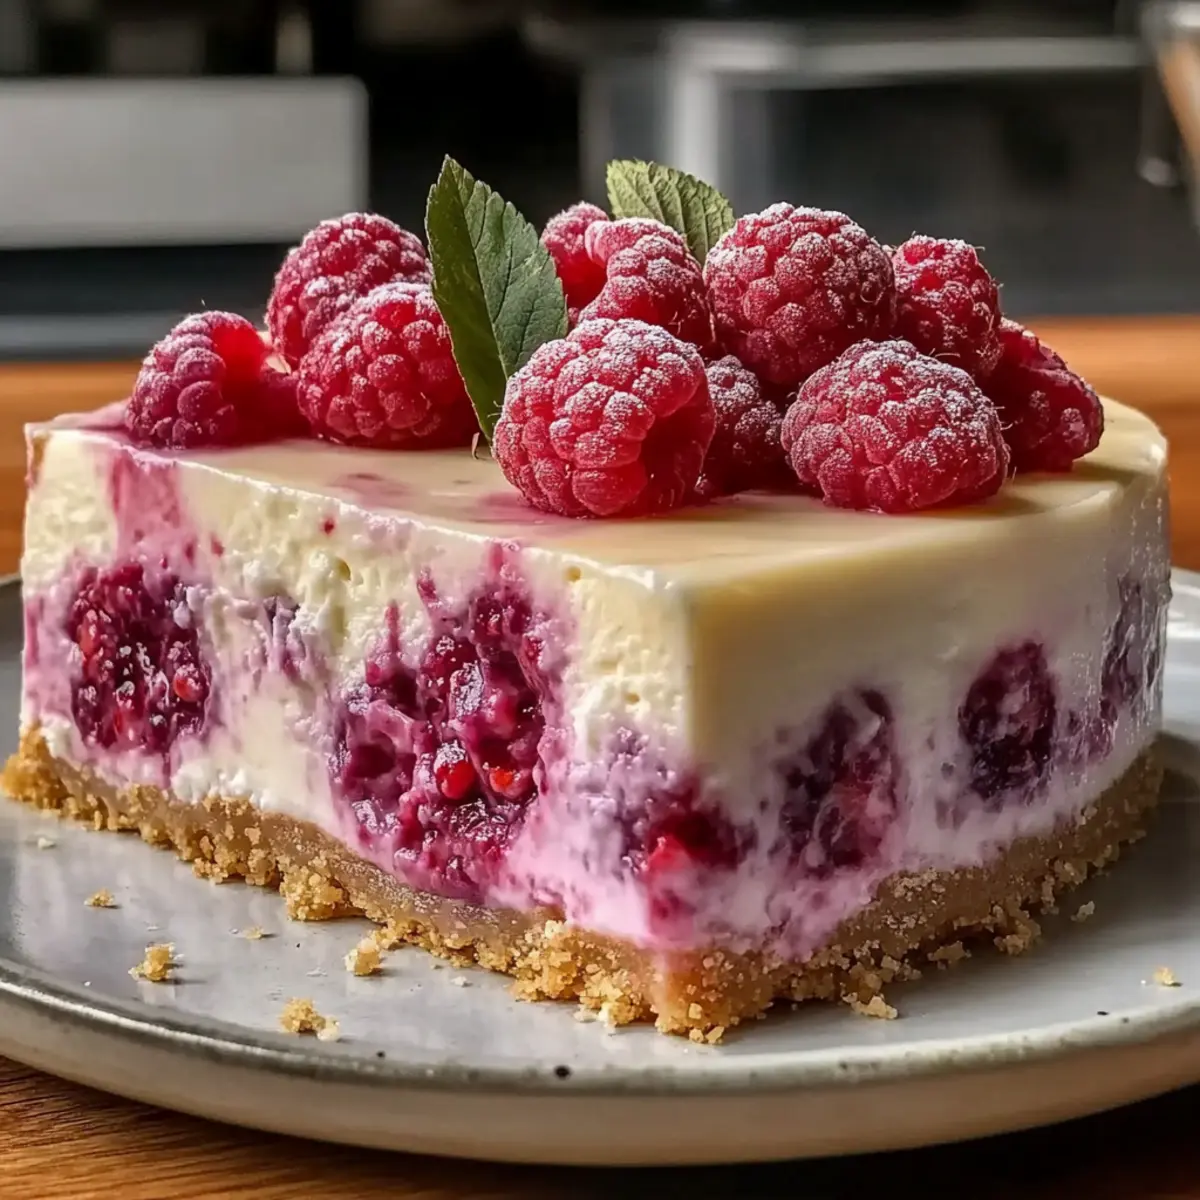
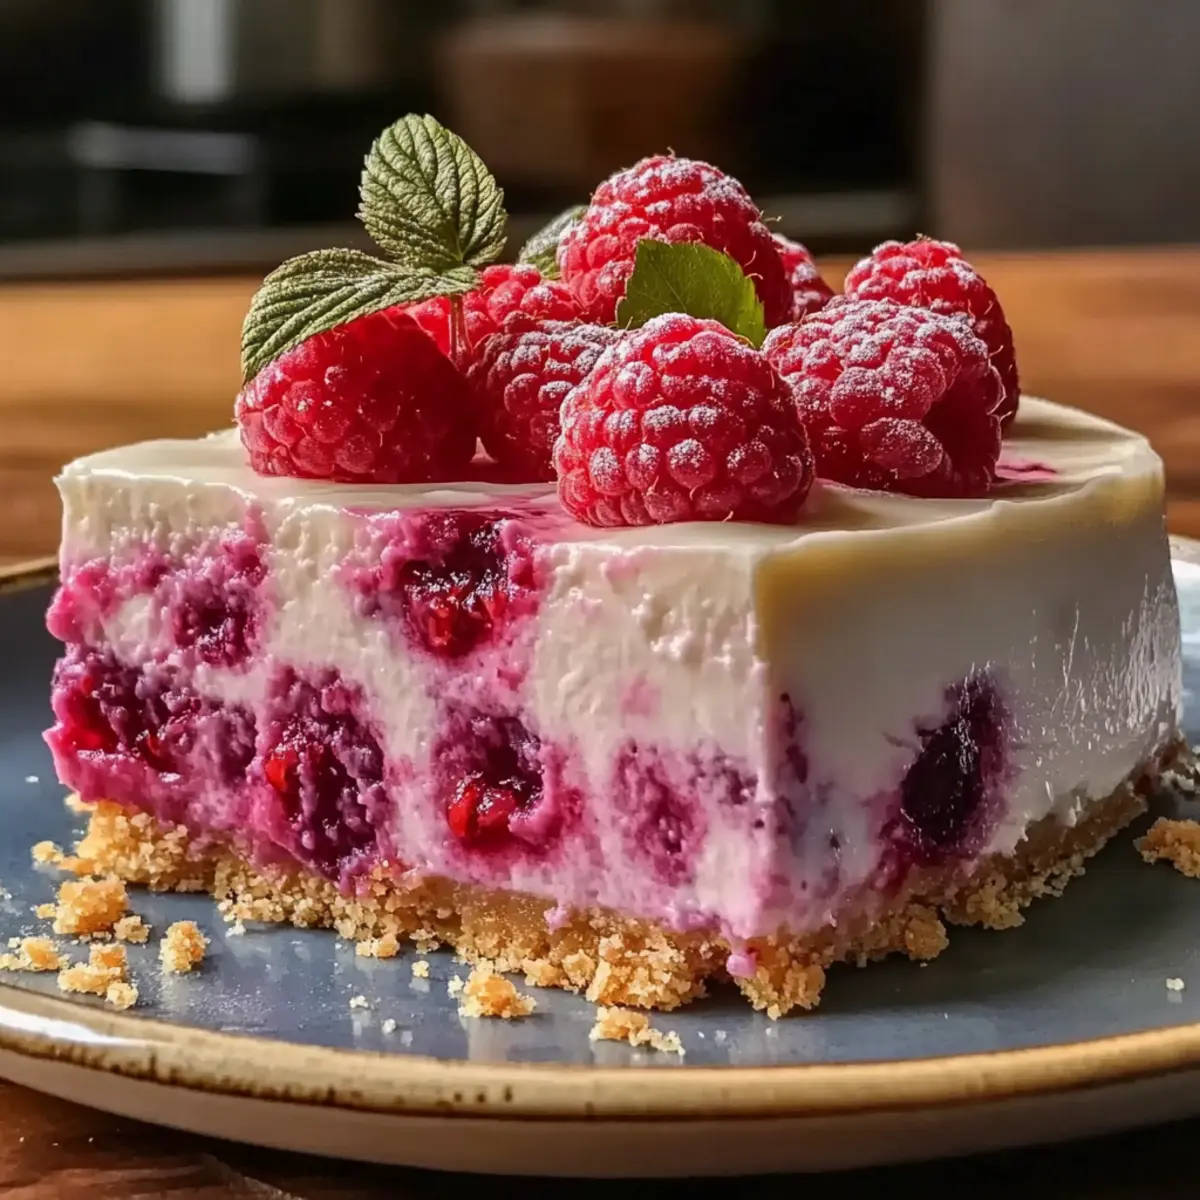
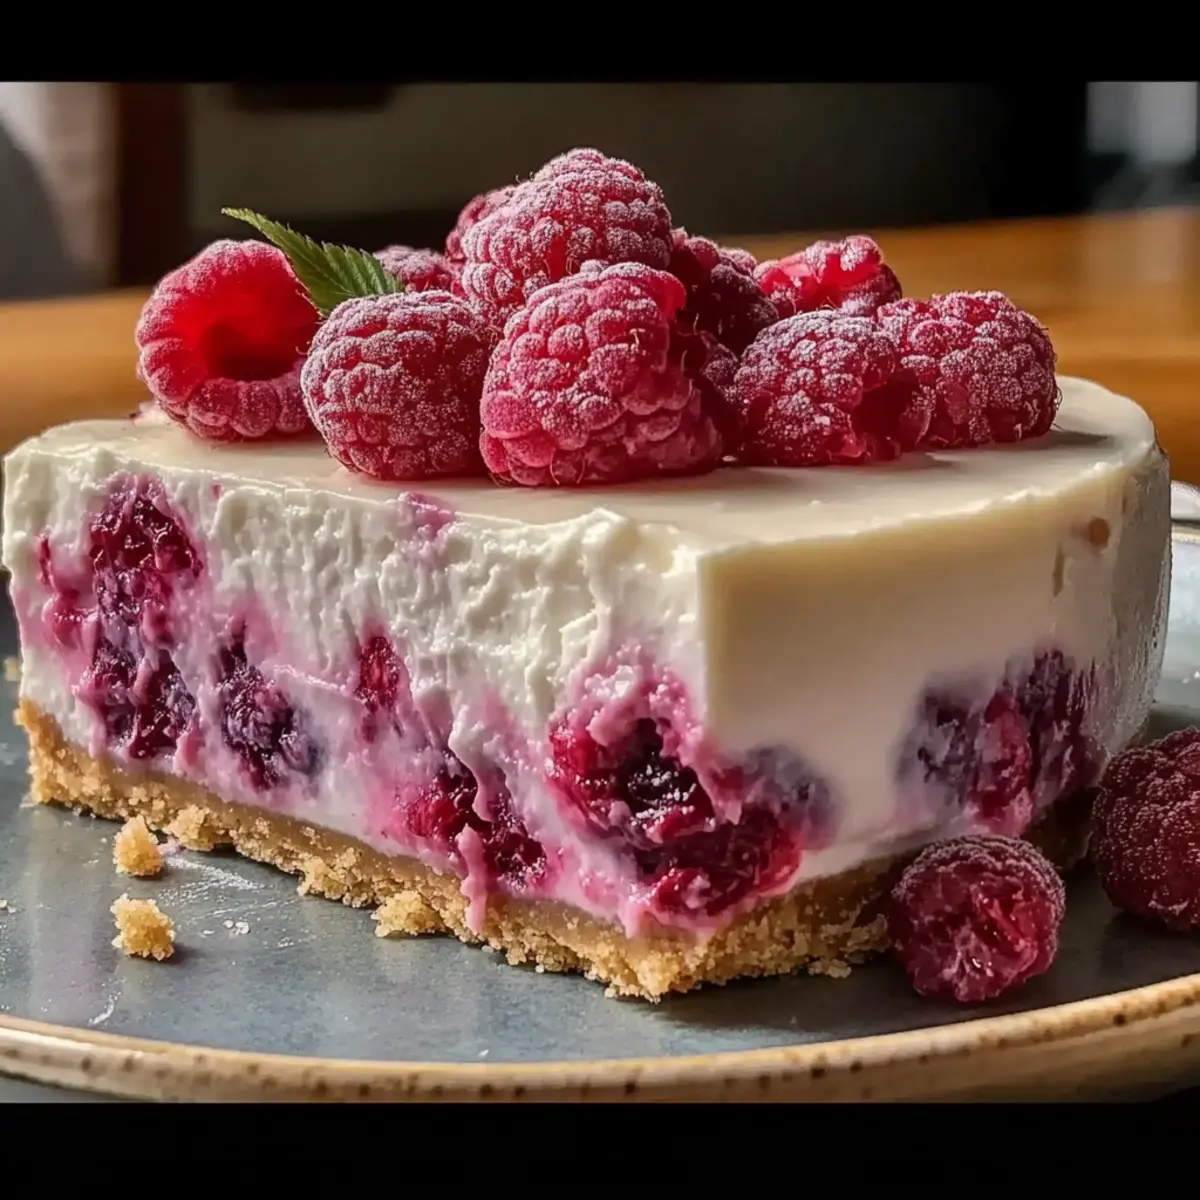
As I stood in my kitchen, the sweet aroma of ripe raspberries mingled with the unmistakable scent of rose water, creating an enchanting atmosphere. This Creamy No-Bake Raspberry Rose Cheesecake is my go-to dessert for those moments when I crave something light yet indulgent. With its effortless preparation, this easy dessert lets you enjoy a touch of elegance without ever turning on the oven. Plus, it’s a crowd-pleaser, catering to both gluten-free and dairy-free diets with simple ingredient swaps. Each velvety bite transports you to a sunlit garden, making it perfect for any occasion or just as a sweet escape after a long day. Ready to indulge your senses and impress your loved ones? Let’s dive into this delightful recipe!
Why Is This Cheesecake a Must-Try?
Ease of Preparation: This no-bake delight requires minimal effort—perfect for busy home cooks!
Elegant Presentation: The floral notes from rose water paired with fresh raspberries create a stunning dessert that feels fancy, yet is incredibly simple to make.
Versatile Ingredients: Easily modify it to be gluten-free or dairy-free by swapping cream cheese for plant-based alternatives—everyone can enjoy!
Crowd Favorite: This cheesecake is a guaranteed hit at gatherings, leaving your guests enchanted with every creamy, airy bite.
Refreshing Taste: The combination of sweet and tangy flavors will transport you to a sunlit garden, making it an ideal choice for warm weather or special celebrations.
For an extra treat, check out my Lemon Blueberry Cheesecake for a refreshing twist!
Creamy Raspberry Rose Cheesecake Ingredients
• Prepare to create a delightful masterpiece with these essential components!
For the Filling
- Cream Cheese – Provides a rich, creamy base for the cheesecake; make sure it’s at room temperature to avoid lumps.
- Heavy Cream – Adds smoothness and a light texture; substitute with coconut cream for a dairy-free alternative.
- Fresh Raspberries – Bring natural sweetness and tanginess; frozen raspberries work too if properly thawed and drained.
- Rose Water – Infuses subtle floral notes that elevate the flavors; start with 1 teaspoon to prevent overpowering the dessert.
- Sugar – Sweetens the filling; try using sugar substitutes for a lower carb option.
For the Crust
- Graham Cracker Crumbs/Almond Flour – Forms the base; use almond flour for a gluten-free option or gluten-free cookie crumbs.
This Creamy Raspberry Rose Cheesecake is a delightful treat that everyone will love!
Step‑by‑Step Instructions for Creamy Raspberry Rose Cheesecake
Step 1: Prepare the Crust
In a mixing bowl, combine graham cracker crumbs or almond flour with melted butter until well combined. Press this mixture firmly into the bottom of a springform pan, flattening it with the back of a measuring cup for an even surface. Once pressed, place the pan in the refrigerator for at least 30 minutes to chill and firm up the crust.
Step 2: Whip the Cream
While the crust sets, pour heavy cream into a clean mixing bowl. Using an electric mixer, whip the cream on medium-high speed until soft peaks form, which should take about 3-5 minutes. Be careful not to overwhip, as you want a light and airy texture. Once ready, set the whipped cream aside to be folded into the filling later.
Step 3: Combine Filling
In another large mixing bowl, add softened cream cheese and sugar. Using an electric mixer, beat the mixture on medium speed until it’s smooth and creamy—this should take about 2-3 minutes. Gradually mix in the rose water and raspberry puree, ensuring everything is well blended and fully incorporated before proceeding to the next step.
Step 4: Fold and Combine
Gently fold the whipped cream into the cream cheese mixture using a spatula. Start by adding a third of the whipped cream to lighten the mixture, then carefully fold in the remaining whipped cream until no streaks remain. This technique keeps the filling airy and fluffy, ensuring your Creamy Raspberry Rose Cheesecake has a delightful texture.
Step 5: Assemble Cheesecake
Pour the luscious filling over the chilled crust in the springform pan. Use a spatula to spread the mixture evenly to the edges, ensuring a smooth top. Once assembled, cover the cheesecake with plastic wrap and refrigerate for at least 4 hours, or preferably overnight, allowing it to set properly before serving.
Step 6: Serve
To serve your Creamy Raspberry Rose Cheesecake, carefully run a warm knife around the edge of the springform pan before releasing the sides. Slice the cheesecake into wedges using the warm knife for clean cuts. Serve chilled, garnishing each slice with additional raspberries or a dollop of whipped cream for an extra touch of elegance and flavor.
What to Serve with Creamy No-Bake Raspberry Rose Cheesecake
Elevate your dessert experience by pairing this luscious cheesecake with delightful accompaniments that enhance its elegant flavors.
-
Fresh Berries: Juicy strawberries or blueberries offer a fresh, vibrant contrast to the creamy cheesecake, bringing extra sweetness and color to your plate.
-
Whipped Coconut Cream: A light, dairy-free alternative that adds a tropical twist while complementing the cheesecake’s floral notes and smooth texture.
-
Almond Biscotti: These crunchy cookies provide a perfect balance of texture, ideal for dipping into the cheesecake or enjoying alongside it with coffee.
-
Herbal Tea: A calming beverage like chamomile or mint counters the sweetness beautifully, creating a soothing end to your meal that refreshes the palate.
-
Sparkling Rosé: A glass of bubbly rosé adds a chic touch to your dessert table, its fruity notes perfectly accentuating the raspberry flavor in the cheesecake.
-
Chocolate-Dipped Strawberries: For an extra indulgence, these elegant treats add richness and romance, transforming every bite into a sweet celebration.
-
Raspberry Coulis: A drizzle of tangy raspberry sauce not only enhances the flavor but also serves as a stunning visual element on your serving plate.
-
Lemon Sorbet: A light and zesty sorbet acts as a palate cleanser, providing a cooling contrast to the creaminess and floral elements of the cheesecake.
Variations & Substitutions for Creamy Raspberry Rose Cheesecake
Feel free to get creative with your cheesecake by swapping ingredients or adding new flavors!
-
Dairy-Free: Substitute cream cheese with a plant-based alternative to make this a delightful dairy-free dessert everyone can enjoy.
-
Gluten-Free: Use almond flour or gluten-free cookie crumbs instead of graham cracker crumbs for a sturdy crust that’s still delicious.
-
Floral Twist: Swap rose water for orange blossom water or a hint of lavender for a unique floral flavor that will surprise your taste buds.
-
Berry Medley: Replace fresh raspberries with mixed berries like blueberries or strawberries for a colorful and flavorful twist. Together, they make gorgeous layers.
-
Lemon Infusion: For a zesty version, substitute raspberries with freshly squeezed lemon juice and zest to create a refreshing no-bake lemon cheesecake.
-
Nutty Crust: Add crushed nuts like pecans or walnuts to your crust for extra flavor and a hint of crunch that complements the smooth filling beautifully.
-
Chocolate Drizzle: Drizzle melted dark chocolate over the top before serving to elevate the dessert to a decadent level that chocolate lovers will adore.
-
Layered Parfait: Serve the cheesecake in individual cups layered with whipped cream and fresh berries for a fun and elegant presentation, perfect for gatherings.
For vibrant flavors, consider adding a twist to your dessert by pairing it with a fruity treat. Check out my delicious Cheesecake Fruit Salad for a delightful side dish!
How to Store and Freeze Creamy Raspberry Rose Cheesecake
Fridge: Store your Creamy Raspberry Rose Cheesecake in an airtight container for up to 3 days. Be sure to keep it well covered to maintain freshness.
Freezer: You can also wrap the cheesecake tightly and freeze it for up to 1 month. For the best texture, let it thaw overnight in the refrigerator before serving.
Serving: When ready to enjoy, slice using a warm knife for clean cuts, and serve chilled. Add extra raspberries on top for a delightful garnish!
Leftovers: If you have leftovers, try layering them in parfaits with yogurt or granola for a simple and tasty treat.
Make Ahead Options
This Creamy No-Bake Raspberry Rose Cheesecake is perfect for meal prep, allowing busy home cooks to save time without sacrificing flavor. To ease your prep, you can make the crust up to 24 hours in advance; simply press it into the springform pan and refrigerate to firm up. You can also whip the cream and prepare the filling up to 3 days ahead; store them separately in airtight containers in the fridge. When you’re ready to assemble, just mix the filling with the whipped cream and pour it over the crust. This way, you’ll enjoy a delectable dessert with minimal effort, just as delicious and fresh when served!
Expert Tips for Creamy Raspberry Rose Cheesecake
-
Soften the Cream Cheese: Ensure your cream cheese is at room temperature to avoid lumps. Cold cream cheese can lead to a grainy texture in your filling.
-
Be Careful with Rose Water: Start with just a teaspoon of rose water when making your Creamy Raspberry Rose Cheesecake. It’s easy to overpower the delicate flavor, so adjust according to your taste.
-
Perfect Whipped Cream: When whipping the heavy cream, stop once soft peaks form. Overwhipping can turn the cream grainy, impacting the overall texture of your cheesecake.
-
Chill the Crust: Don’t skip chilling the crust for at least 30 minutes. Chilling helps it set properly, providing a sturdy base for your cheesecake filling.
-
Clean Slicing: To achieve clean slices, warm your knife by dipping it in hot water before cutting, then wipe it dry. This prevents sticking and keeps your cheesecake looking beautiful.
Creamy No-Bake Raspberry Rose Cheesecake Recipe FAQs
How do I choose ripe raspberries for this cheesecake?
Absolutely! When selecting fresh raspberries, look for firm, plump berries with a vibrant color. Avoid any that have dark spots or appear mushy, as these may be overripe and could affect the texture and flavor of your cheesecake.
What is the best way to store leftovers?
To keep your Creamy Raspberry Rose Cheesecake fresh, store it in an airtight container in the refrigerator for up to 3 days. Make sure it’s well-covered to prevent it from absorbing other odors. If you want to save it for longer, you can wrap it tightly in plastic wrap and freeze it for up to 1 month. Just remember to thaw it overnight in the fridge before serving!
Can I freeze this cheesecake? What’s the process?
Yes, you can freeze this Creamy Raspberry Rose Cheesecake! First, let it set completely in the fridge. Then, wrap it tightly in plastic wrap and foil to minimize freezer burn. When you’re ready to enjoy it, thaw it in the refrigerator for 6 to 8 hours or overnight. For an added touch, top with fresh raspberries or whipped cream before serving to make it look fabulous!
What should I do if my cheesecake mix is lumpy?
Very! First, make sure your cream cheese is at room temperature before mixing—this helps prevent lumps. If lumps do occur, try using a food processor to blend everything until smooth. If you’re folding in whipped cream and notice lumps, don’t overmix; just gently incorporate until blended. It’s all about keeping that lovely airy texture!
Is there a dairy-free option for this cheesecake?
Absolutely! You can substitute the cream cheese with a plant-based cream cheese alternative to make this dessert dairy-free. Additionally, replace the heavy cream with coconut cream for a rich consistency. This way, everyone can indulge in the delightful charm of your Creamy Raspberry Rose Cheesecake!
Creamy Raspberry Rose Cheesecake You Can Make in Minutes
Ingredients
Equipment
Method
- In a mixing bowl, combine graham cracker crumbs or almond flour with melted butter and press into the bottom of a springform pan. Refrigerate for at least 30 minutes.
- Pour heavy cream into a clean mixing bowl and whip on medium-high speed until soft peaks form, about 3-5 minutes. Set aside.
- In another bowl, beat softened cream cheese and sugar until smooth, then mix in rose water and raspberry puree.
- Gently fold the whipped cream into the cream cheese mixture until no streaks remain.
- Pour the filling over the chilled crust, cover with plastic wrap, and refrigerate for at least 4 hours or overnight.
- Run a warm knife around the edge of the pan before releasing the sides. Slice and serve chilled, garnishing with raspberries or whipped cream.
Leave a Reply