
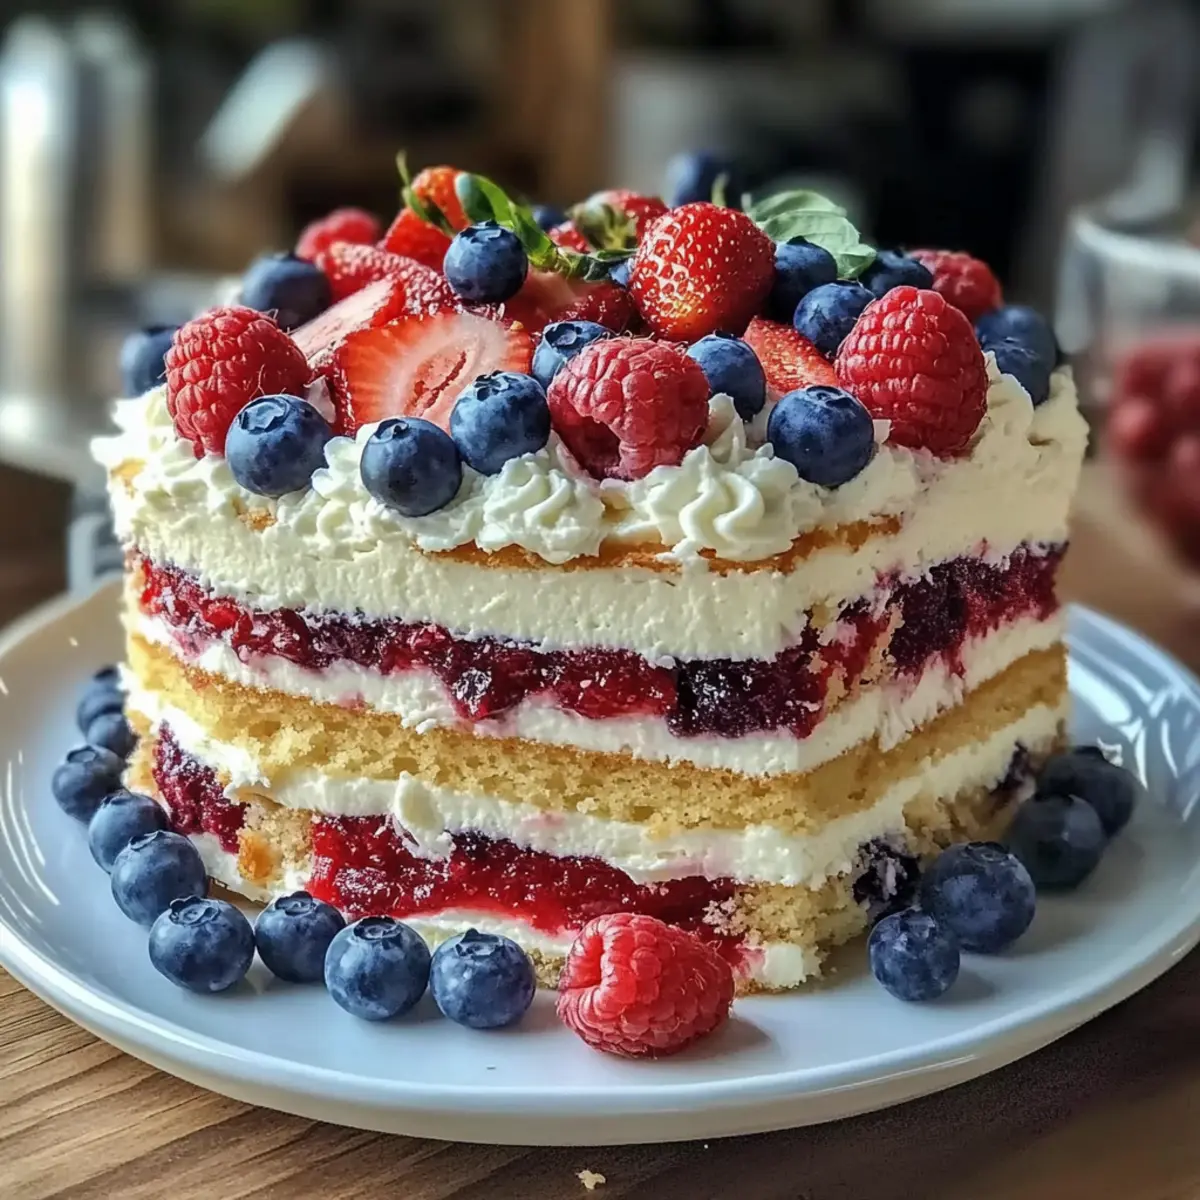
As the sun sets on the 4th of July, the tantalizing aroma of baking cake fills the air, stirring memories of summer barbecues and fireworks lighting up the night sky. This Layered Flag Cake isn’t just a dessert; it’s a festive centerpiece that captures the spirit of celebration with its vibrant layers of fluffy vanilla cake and a colorful assortment of fresh berries. Not only is it visually striking, but this easy cake recipe also ensures that you can impress family and friends without spending hours in the kitchen. With its perfect balance of sweetness and tartness, it’s bound to be the showstopper at any summer gathering. Ready to bring a slice of patriotism to your table? Let’s dive into this delightful recipe!
Why Is This Flag Cake So Special?
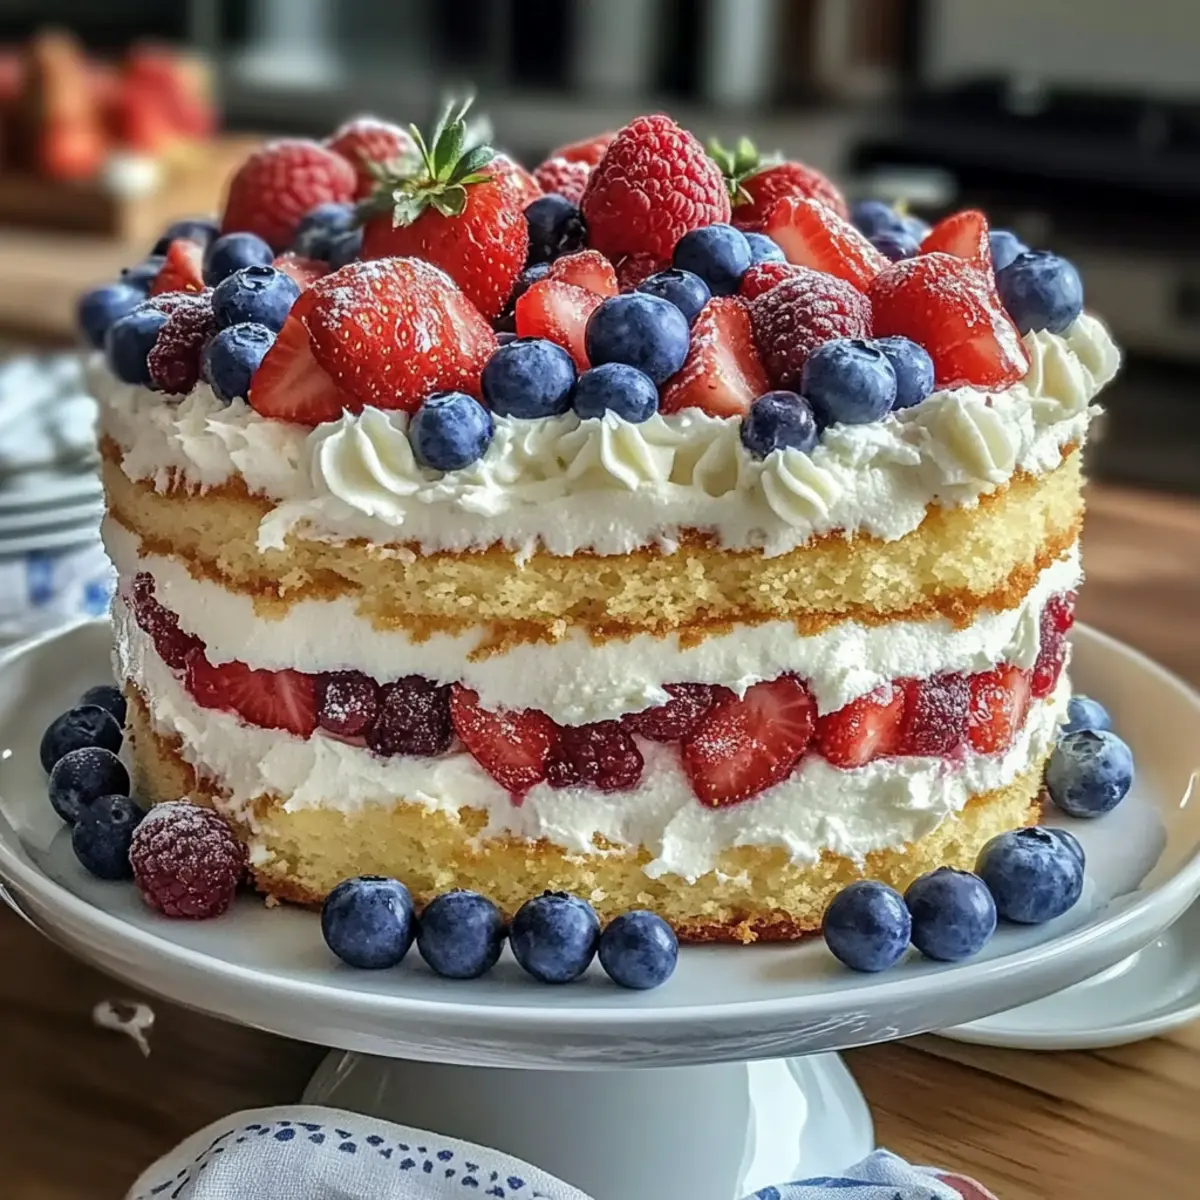
Flavorful Delight: Each bite offers a delicious balance of sweet vanilla cake and fresh, tangy berries that will have everyone asking for seconds.
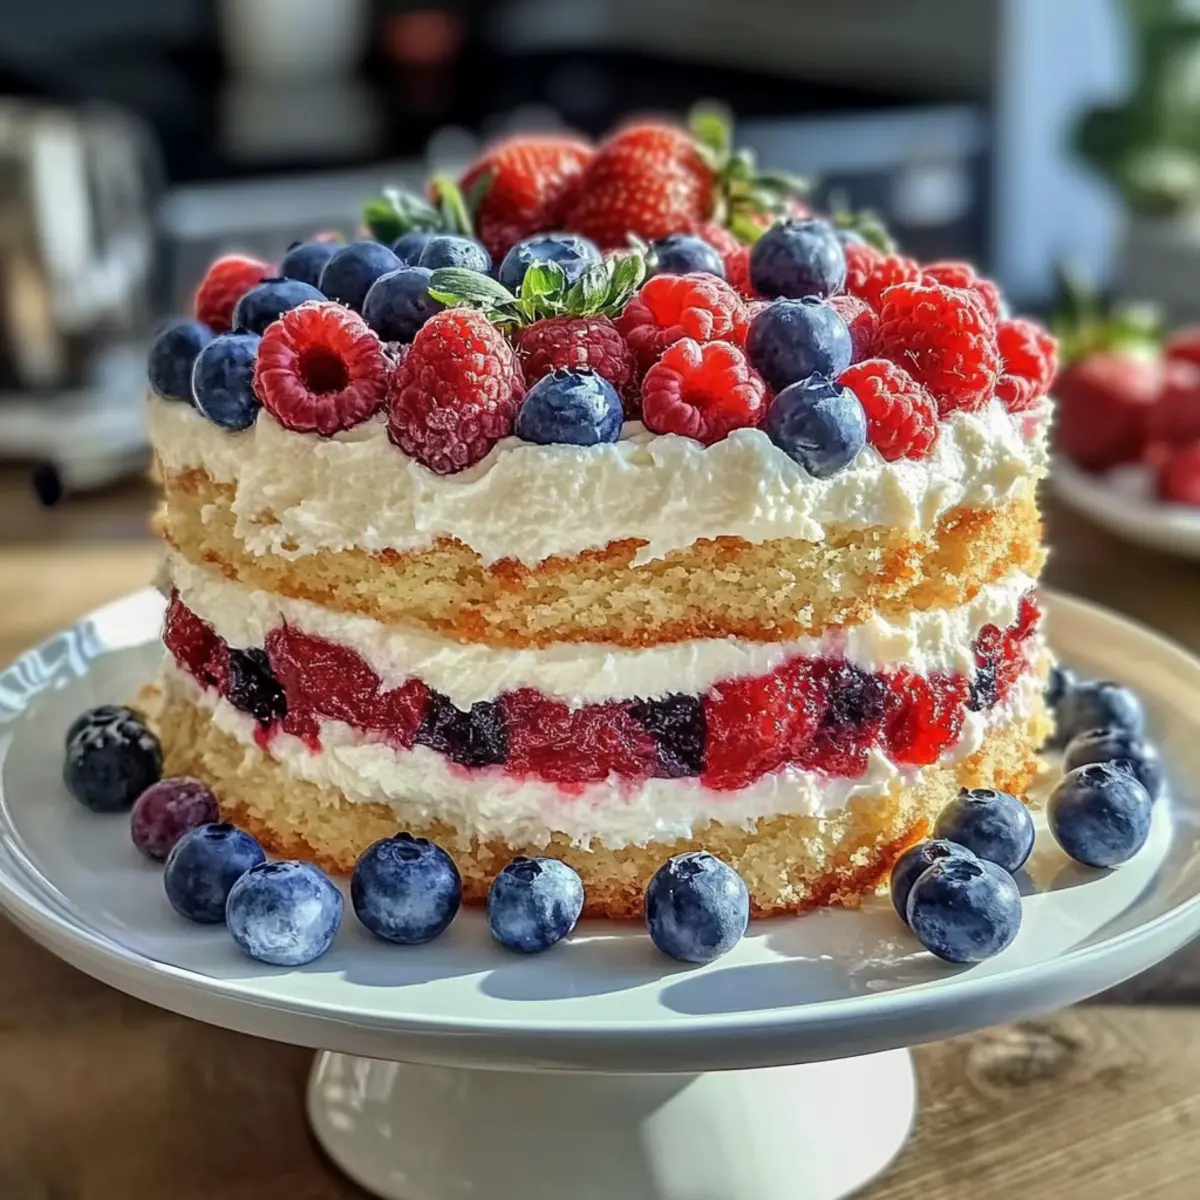
Eye-Catching Presentation: Its stunning red, white, and blue design makes it the perfect patriotic dessert to wow your guests.
Quick and Easy: This recipe requires minimal time and effort, so you can enjoy the festivities without being stuck in the kitchen.
Versatile Options: Feel free to experiment with different fruits, or try a Coconut Cloud Cake for a tropical twist!
Crowd Favorite: Whether it’s a BBQ, picnic, or family get-together, this Layered Flag Cake brings smiles and satisfaction to all.
Make-Ahead Convenience: Bake layers a day ahead and enjoy the ease of assembling them just before serving for a fresh, festive treat!
Layered Flag Cake Ingredients
• Get ready to celebrate with this easy layered flag cake!
For the Cake
- All-Purpose Flour – Provides structure to the cake; remember to sift it for a lighter texture.
- Baking Powder – Acts as a leavening agent to help the cake rise; always check for freshness.
- Salt – Enhances flavor; sea salt or kosher salt can be used for a different touch.
- Unsalted Butter – Contributes richness; ensure it’s at room temperature for the best mixing results.
- Granulated Sugar – Offers sweetness; feel free to substitute with your favorite sweetener if desired.
- Eggs – Adds moisture and binds the cake together; using room temperature eggs works best.
- Vanilla Extract – Infuses depth of flavor; opt for pure vanilla extract for a superior taste.
- Milk – Helps hydrate the batter; whole or 2% milk works beautifully here.
For the Buttercream
- Powdered Sugar – Sweetens the buttercream; sift it to avoid any lumps for a smooth frosting.
- Heavy Cream – Adjusts the consistency; add more if the buttercream seems too thick.
For the Decoration
- Fresh Berries (Blueberries, Strawberries, Raspberries) – Adds a burst of color and flavor; choose firm berries for the best presentation.
This Layered Flag Cake is not just a dessert; it’s a burst of summer festivities on your table!
Step‑by‑Step Instructions for Layered Flag Cake
Step 1: Preheat the Oven
Begin by preheating your oven to 350°F (175°C). While the oven warms up, grease and flour two 9-inch round cake pans, ensuring every inch is covered to prevent sticking. This preparation sets the stage for your fluffy Layered Flag Cake to rise beautifully.
Step 2: Mix the Dry Ingredients
In a large mixing bowl, sift together 2 cups of all-purpose flour, 1 tablespoon of baking powder, and ½ teaspoon of salt. Sifting these dry ingredients provides aeration, which is essential for a light cake texture. Once combined, set this mixture aside while you prepare the wet ingredients.
Step 3: Cream Butter and Sugar
In another bowl, cream together 1 cup of unsalted butter and 1 ½ cups of granulated sugar using an electric mixer on medium speed. Beat until the mixture turns pale and fluffy, about 3-5 minutes. This step incorporates air, contributing to a light and airy cake, perfect for your Layered Flag Cake.
Step 4: Add the Eggs
Add 4 large, room temperature eggs to the butter-sugar mixture one at a time, mixing well after each addition. After all eggs are incorporated, pour in 1 tablespoon of vanilla extract. The mixture should be smooth and creamy, creating a delightful base for your cake batter.
Step 5: Combine Ingredients
Gradually alternate adding the dry ingredient mixture and 1 cup of milk to the creamed butter and sugar. Start with the dry mix and finish with it, mixing on low speed until just combined. Be careful not to overmix, as this can lead to a dense Layered Flag Cake.
Step 6: Bake the Cakes
Pour equal portions of the batter into the prepared cake pans. Bake in the preheated oven for 25-30 minutes, or until a toothpick inserted in the center comes out clean. Once done, remove the cakes from the oven and allow them to cool in the pans for about 10 minutes before transferring to a wire rack.
Step 7: Cool the Cakes
Let the cakes cool completely on the wire racks. This cooling step is crucial; if the cakes are still warm, they may not hold up well during icing and assembly. The cooled, fluffy layers will create the perfect base for your stunning Layered Flag Cake.
Step 8: Prepare the Buttercream
In a large bowl, beat 1 cup of softened unsalted butter until smooth. Gradually add 4 cups of sifted powdered sugar, then mix in 1 tablespoon of vanilla extract and 2-4 tablespoons of heavy cream until the buttercream is fluffy and spreadable. This creamy frosting is essential for lacing your Layered Flag Cake.
Step 9: Assemble the Cake
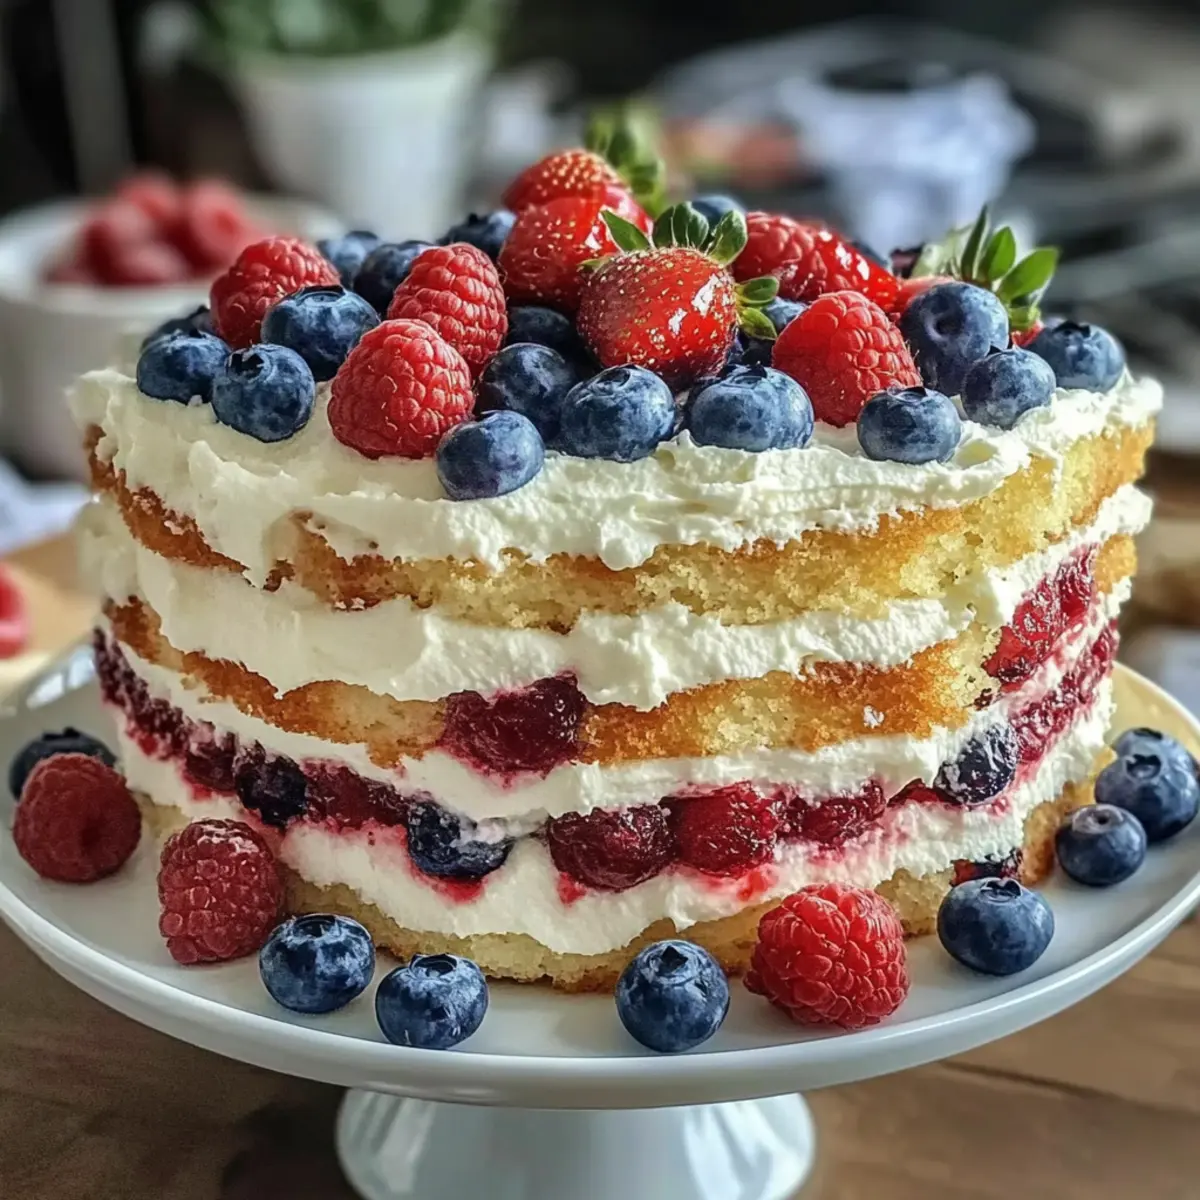
Start assembling your Layered Flag Cake by placing one cooled cake layer on a decorative platter. Generously spread a layer of buttercream on top before placing the second cake layer on top. Apply a thin crumb coat of buttercream around the sides of the cake to seal in crumbs for a neat finish.
Step 10: Decorate the Cake
Smooth a final layer of buttercream over the entire cake. Arrange fresh berries—strawberries, blueberries, and raspberries—in the design of a flag on top of the cake, making it festive and eye-catching. Chill the cake for at least 30 minutes before serving to allow the buttercream to set and the flavors to meld.
Layered Flag Cake Variations
Feel free to put your unique twist on this delightful dessert and make it your own!
-
Lemon Curd Buttercream: Replace some buttercream with lemon curd for a zesty, tangy flavor that brightens every bite!
-
Berry Medley: Use a mix of fresh raspberries, strawberries, and blackberries for a colorful and tangy twist. The more, the merrier!
-
Almond-Infused Cake: Swap vanilla extract for almond extract in the cake for a nutty depth that pairs beautifully with berries. This unique twist is a lovely surprise!
-
Gluten-Free: Substitute all-purpose flour with a 1:1 gluten-free flour blend. Perfect for those needing a gluten-free dessert that doesn’t sacrifice flavor!
-
Cream Cheese Frosting: Try mixing cream cheese in with the butter for your frosting to add a delightful tang that balances the sweetness. It’s rich and creamy—a perfect combo!
-
Chocolate Layers: Add cocoa powder to half the batter to create a delicious chocolate layer. The contrast between vanilla and chocolate makes each slice a delightful adventure.
-
Spicy Heat: Add a hint of cayenne pepper or cinnamon to the buttercream for an unexpected kick! It’s a fun way to surprise your guests.
For a tropical twist, consider a delectable Coconut Cloud Cake to complement summer vibes. And if you’re a fan of ice cream, don’t miss out on a refreshing Strawberry Shortcake Ice Cream Cake for an ultimate summer delight.
What to Serve with 4th of July Layered Flag Cake
As you savor each slice of this patriotic dessert, consider complementing it with delightful pairings that enhance the festive spirit of summer gatherings.
- Refreshing Fruit Salad: A mix of melons, citrus, and berries brings a burst of freshness that balances the sweetness of the cake.
- Tangy Lemonade: This thirst-quenching drink provides a zesty contrast, making it the perfect sip alongside your sweet slice of layered flag cake.
- Grilled Veggie Skewers: Seasoned and charred veggies add a savory touch to your spread, beautifully balancing the richness of the cake.
- Creamy Coleslaw: The crunch and creaminess bring delightful texture and flavor, making it a hit at any barbecue alongside your cake.
- Chocolate Ice Cream: Scoops of luscious chocolate ice cream serve as a decadent contrast to the lightness of the flag cake, creating a delightful flavor pairing.
- Patriotic Punch: Mix cranberry juice, lemon-lime soda, and blueberries for a refreshing drink that echoes the cake’s colors while enhancing the festive atmosphere.
- Mini Cheesecake Bites: These bite-sized treats offer a rich and creamy contrast to the light cake, adding variety to your dessert lineup.
- Pineapple Upside-Down Cake: Delve into another classic sweetness while adding a tropical flair that pairs effortlessly with the flavors of summer.
- Sparkling Water with Mint: A bubbly, refreshing option that cleanses the palate, keeping your guests refreshed alongside their layered flag cake.
- Mojito Mocktail: A minty lime drink that adds an exciting flavor twist, making it a fantastic non-alcoholic option for summer parties.
Make Ahead Options
These festive Layered Flag Cakes are perfect for meal prep enthusiasts! You can bake the cake layers up to 24 hours in advance; simply wrap them tightly in plastic wrap and store at room temperature or refrigerate. Additionally, the buttercream can be whipped up up to 3 days ahead; just be sure to refrigerate it and re-whip before using to maintain its creamy consistency. For the best results, assemble the cake on the day you plan to serve it. When ready to enjoy, layer the cakes with buttercream and fresh berries for that stunning patriotic presentation, leaving you with a show-stopping dessert that is just as delicious and fresh as if made that day!
Expert Tips for Layered Flag Cake
- Room Temperature Ingredients: Always start with room temperature butter, eggs, and milk. This ensures your batter mixes evenly for a lighter, fluffier Layered Flag Cake.
- Sift Your Flour: Sifting your all-purpose flour with baking powder and salt prevents lumps and promotes a uniform rise, giving you that perfect cake texture.
- Don’t Overmix: When combining your batter, mix until just combined for the best results. Overmixing can lead to a dense cake, which is not what you want for this festive treat!
- Chill for Easier Icing: After assembling your cake, chilling it for about 30 minutes helps the buttercream set and makes it easier to decorate without disturbing the layers.
- Choose Fresh Berries: For decoration, opt for firm, fresh berries. This helps maintain the cake’s appearance and prevents excess juiciness that could affect the overall look.
- Make Ahead: Bake your cake layers and prepare buttercream a day in advance. This not only deepens the flavors but also reduces stress on serving day!
How to Store and Freeze Layered Flag Cake
Fridge: Keep any leftover Layered Flag Cake wrapped in plastic wrap or in an airtight container for up to 3 days. This helps maintain its freshness and prevents it from drying out.
Freezer: You can freeze unassembled cake layers for up to 3 months. Wrap each layer tightly in plastic wrap, then in foil to prevent freezer burn. Thaw in the fridge before decorating.
Reheating: If you prefer your cake served at room temperature, allow it to sit out for about an hour before slicing. This brings back the delightful flavors and textures.
Buttercream Storage: Store leftover buttercream in an airtight container in the fridge for up to 2 weeks. Re-whip with a splash of cream before using for a fresh, fluffy consistency.
Layered Flag Cake Recipe FAQs
What should I look for when selecting fresh berries?
When choosing fresh berries for your Layered Flag Cake, look for fruits that are firm and vibrant in color. Avoid any with dark spots or signs of mold, as they can spoil quickly. If possible, buy organic to ensure the best flavor!
How long can I store the Layered Flag Cake in the fridge?
You can store any leftover Layered Flag Cake in an airtight container or wrapped in plastic wrap for up to 3 days in the fridge. Make sure it’s sealed well to prevent it from drying out and losing its delightful freshness.
Can I freeze the cake layers?
Absolutely! You can freeze the unassembled cake layers for up to 3 months. Wrap each layer tightly in plastic wrap to protect it from freezer burn, then cover with foil. When you’re ready to use them, thaw in the fridge overnight before decorating.
What should I do if my cake layers are domed or uneven?
If you find your cake layers have a dome, it’s easy to fix. Once they have completely cooled, place the layer upside down on a cutting board and use a serrated knife to level the tops gently. This ensures a more stable stack when assembling your Layered Flag Cake.
Are there any dietary considerations with this cake?
If you or your guests have allergies, be mindful of the main ingredients like gluten in flour and dairy in butter and cream. You can substitute gluten-free flour for a similar texture and use non-dairy butter and milk, making this cake adaptable for those with dietary restrictions.
How can I make this cake in advance?
For make-ahead convenience, you can bake the cake layers one day in advance and store them at room temperature, tightly wrapped. The buttercream can also be prepared ahead of time; just remember to re-whip it before using to restore its fluffy consistency.
Celebrate with a Delicious Layered Flag Cake for Summer Fun
Ingredients
Equipment
Method
- Preheat your oven to 350°F (175°C). Grease and flour two 9-inch round cake pans.
- In a large mixing bowl, sift together the flour, baking powder, and salt.
- Cream together the unsalted butter and granulated sugar using an electric mixer until pale and fluffy.
- Add the eggs one at a time to the butter-sugar mixture, mixing well after each addition. Add vanilla extract.
- Gradually alternate adding the dry ingredients and the milk to the creamed mixture, mixing on low speed until just combined.
- Pour equal portions of the batter into the prepared cake pans and bake for 25-30 minutes.
- Let the cakes cool in the pans for about 10 minutes before transferring to a wire rack to cool completely.
- Beat the softened unsalted butter and gradually add the powdered sugar, followed by vanilla extract and heavy cream.
- Assemble the cake by spreading buttercream between the layers and around the sides. Apply a final layer of buttercream over the entire cake.
- Decorate with fresh berries arranged in the design of a flag and chill for at least 30 minutes before serving.
Leave a Reply