
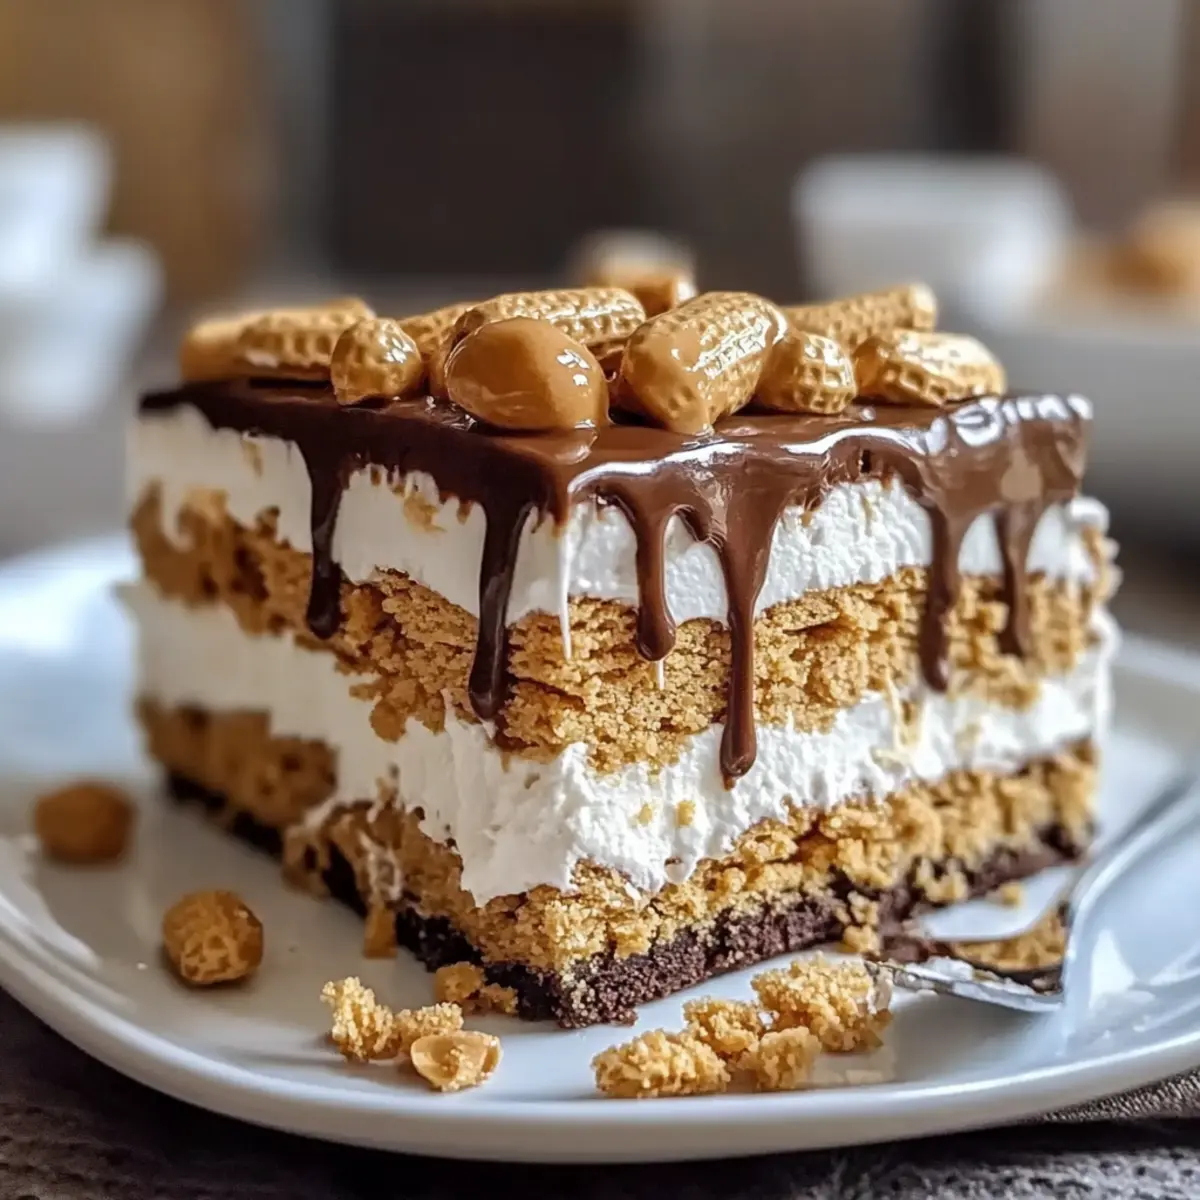
There’s nothing quite like the sweet nostalgia of a no-bake dessert to bring families together, especially when it’s a Peanut Butter Icebox Cake. As I was experimenting in my kitchen, the combination of creamy peanut butter and light whipped cream had me reminiscing about carefree childhood days spent devouring treats made with love. This easy dessert not only requires minimal effort—perfect for weeknight cravings—but also delights both young and mature palates, making it an ideal choice for gatherings. With layers of graham crackers that soak up the flavors, you’ll find this Peanut Butter Icebox Cake is not just a dessert; it’s an instant classic. Curious about how to bring this delicious fusion into your home? Let’s dive in!

Why is This Cake a Must-Try?
Easy Preparation: This no-bake dessert requires minimal kitchen skills, making it accessible for everyone.
Flavor Explosion: The harmonious blend of creamy peanut butter and fluffy whipped cream will satisfy your sweet tooth like no other.
Crowd-Pleasing Delight: Perfect for gatherings, everyone from kids to adults will rave about this treat, ensuring you’ll be the star of the event.
Versatile Options: Want to switch it up? Add chocolate chips or layer in fresh fruit for a unique twist—endless possibilities await!
Quick Chill Time: With only a few hours needed to set, you won’t be waiting long to enjoy this delightful cake.
This Peanut Butter Icebox Cake is more than dessert; it’s nostalgia on a plate, perfect for family dinners or summer barbecues. If you’re looking for more delicious options, check out my Garlic Butter Beef or Coconut Cloud Cake for a sweet treat.
Peanut Butter Icebox Cake Ingredients
For the Filling
• Creamy Peanut Butter – Main flavor component, providing richness and nutty taste. Substitution: Natural peanut butter may be used but could affect texture.
• Whipped Cream – Adds lightness and creaminess to balance the dessert. Substitution: For a non-dairy option, use full-fat coconut cream or soy-based whipping cream.
• Powdered Sugar – Sweetens the whipped cream and stabilizes it. Note: Adjust sweetness to taste.
For the Base
• Graham Crackers – Form the base structure of the cake, adding crunch. Tip: For variation, you can use digestive biscuits or cookie crumbs.
Step‑by‑Step Instructions for Peanut Butter Icebox Cake
Step 1: Prepare the Filling
In a medium mixing bowl, combine 1 cup of creamy peanut butter with 1 cup of powdered sugar. Using an electric mixer, beat the mixture on medium speed until fully blended, which should take about 2 minutes. You’ll want the mixture to be smooth and creamy, with no lumps remaining. Set this peanut butter filling aside to prepare the whipped cream.
Step 2: Whip the Cream
In a separate large bowl, pour in 2 cups of heavy whipping cream. Using a hand mixer or a stand mixer, beat the cream on high speed until soft peaks form, which typically takes about 3-5 minutes. Be careful not to overbeat, as you want a light and fluffy texture. Once ready, gently fold the whipped cream into the peanut butter mixture until fully combined and smooth.
Step 3: Layering the Cake
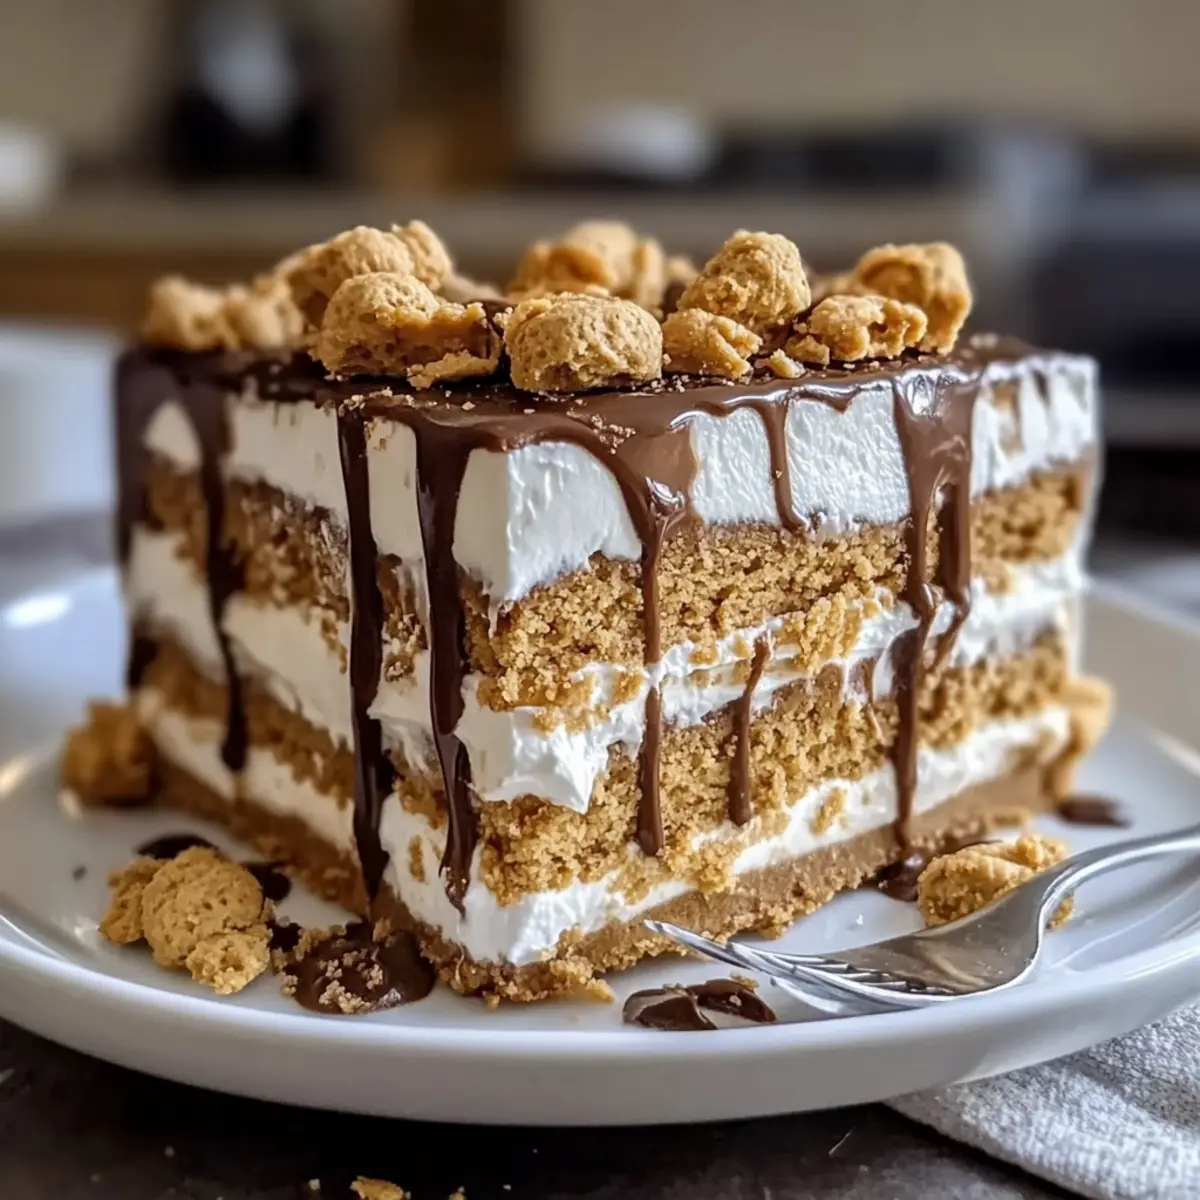
Grab a rectangular baking dish (approximately 9×13 inches) and layer the bottom with graham crackers, ensuring they fit snugly. Take a generous portion of the peanut butter filling and spread it evenly over the crackers. Repeat the layering process with additional graham crackers and filling, finishing with a final layer of the peanut butter mixture on top. This structure will create a delightful Peanut Butter Icebox Cake.
Step 4: Chill the Cake
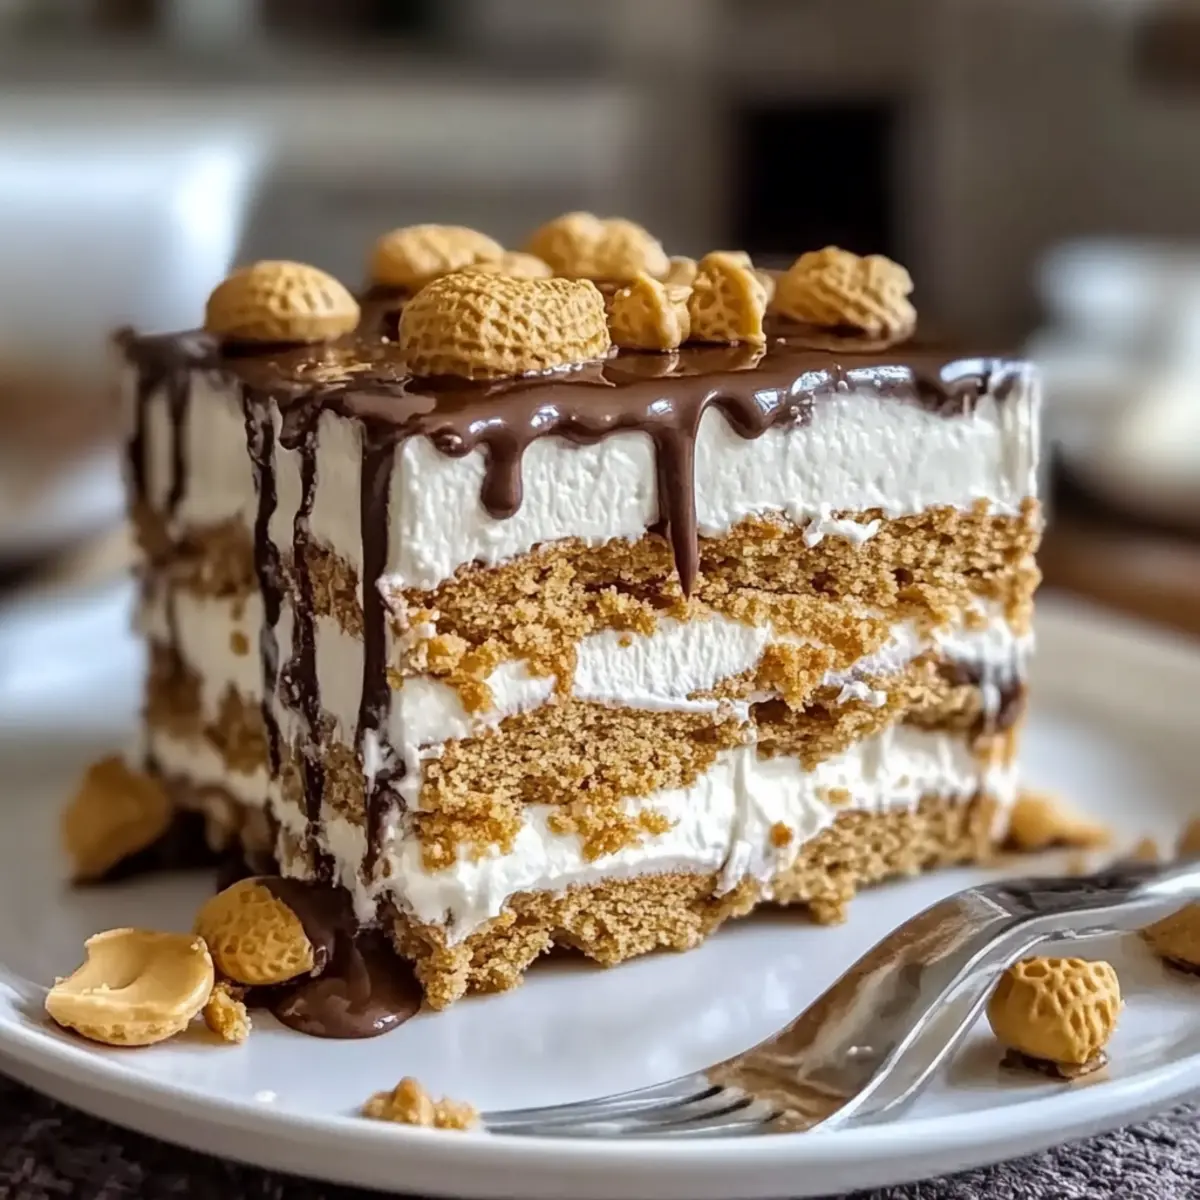
Cover the baking dish tightly with plastic wrap or aluminum foil. Place it in the refrigerator and chill for a minimum of 4 hours, or ideally overnight. This chilling time allows the graham crackers to soften and the flavors to meld beautifully, resulting in a creamy dessert that’s both delightful and easy to slice.
Step 5: Serve
Once chilled, remove the Peanut Butter Icebox Cake from the fridge. Using a sharp knife, slice it into squares or rectangles, allowing for easy serving. If desired, you can garnish with additional whipped cream or a drizzle of chocolate sauce before serving. Enjoy this delicious homemade dessert with your favorite beverage!
What to Serve with Peanut Butter Icebox Cake
Nothing complements the indulgent layers of a creamy dessert quite like a thoughtful selection of sides and sips.
-
Fresh Berries: Juicy strawberries or blueberries provide a refreshing contrast, adding a tart brightness against the sweet, rich cake. A sprinkle of mint leaves can also elevate this pairing, adding a delightful herbal note.
-
Chocolate Sauce: Drizzling warm chocolate sauce over slices offers an extra layer of decadence, playing beautifully with the peanut butter flavor. It’s a simple addition that transforms the dessert into a more luxurious treat.
-
Vanilla Ice Cream: A scoop of classic vanilla ice cream provides a cold, creamy counterpart that balances the flavors perfectly. As it melts slightly over the cake, it creates a heavenly blend that everyone will adore.
-
Coffee: A cup of rich, freshly brewed coffee or espresso cuts through the sweetness, enhancing the dessert experience. Consider a light roast for a fruity note or a darker blend for a smoother finish.
-
Milkshake: A thick and creamy milkshake mirrors the cake’s texture while adding a fun and playful element. Chocolate or vanilla flavors work perfectly to complement the peanut butter without overpowering it.
-
Lemonade: Bright and zesty lemonade introduces a vibrant citrusy note, providing a refreshing palate cleanser between bites of the rich cake.
-
Nutty Toppings: Chopped peanuts or crushed pralines sprinkled on top add a delightful crunch that contrasts nicely with the creaminess of the cake. Their nutty flavor enhances the overall peanut butter taste, creating a harmonious blend.
Incorporating these pairings ensures that your Peanut Butter Icebox Cake is not just a dessert but part of an inviting culinary experience.
Peanut Butter Icebox Cake Variations
Feel free to unleash your creativity and customize your Peanut Butter Icebox Cake to suit your taste buds!
-
Nut Butters: Substitute peanut butter with almond or cashew butter for a nutty twist. It’s a great way to add variety while keeping the creamy texture you love.
-
Dairy-Free: Swap regular whipped cream for coconut cream or soy-based whipped cream to make this dessert suitable for those avoiding dairy. The coconut adds a hint of tropical flavor that works wonderfully with the peanut butter.
-
Fruity Layers: Enhance freshness by layering in sliced bananas or strawberries. The fruit not only adds a pop of color but also introduces a delightful, natural sweetness.
-
Chocolate Indulgence: Add chocolate chips or crushed Oreo cookies between the layers for a rich, chocolatey experience. It creates a luscious contrast to the creamy peanut butter flavor.
-
Flavor Boost: Incorporate vanilla extract or a pinch of cinnamon into the filling for an aromatic twist. A little spice can elevate the overall taste and warmth of the cake.
-
Crunchy Texture: For added crunch, sprinkle chopped nuts like peanuts or almonds on top before serving. It’ll provide a satisfying texture that complements the softness of the cake.
-
Zesty Finish: Drizzle honey or maple syrup on top for an extra layer of sweetness and shine when serving. This touch brings out the nostalgic flavors beautifully.
-
Frozen Treat: Freeze individual slices for a refreshing peanut butter icebox delight during hot weather. It transforms this dessert into a cool treat that’s perfect for summertime.
With these variations in mind, your Peanut Butter Icebox Cake can always be a new and exciting dessert! For more delicious ideas, check out my scrumptious Garlic Butter Steak or a light Coconut Cloud Cake for your next gathering.
Make Ahead Options
These Peanut Butter Icebox Cakes are a dream for busy home cooks! You can prepare the rich peanut butter filling and layer it between graham crackers up to 24 hours in advance. Simply complete steps 1 through 3, cover the baking dish with plastic wrap, and refrigerate. To maintain the cake’s delightful creaminess, avoid pre-slicing it until you’re ready to serve. When it’s time to indulge, chill the cake for a minimum of 4 hours—preferably overnight—to allow flavors to meld. Simply slice it up and enjoy a treat that’s just as delicious as when freshly made, making your life a little easier on hectic days!
Storage Tips for Peanut Butter Icebox Cake
Fridge: Store leftovers in an airtight container in the refrigerator for up to 4 days; this allows the flavors to deepen while keeping the cake fresh.
Freezer: The cake can be frozen for up to 1 month—wrap it tightly in plastic wrap or aluminum foil to prevent freezer burn.
Thawing: To enjoy frozen Peanut Butter Icebox Cake, transfer it to the fridge and let it thaw overnight before serving.
Reheating: This dessert is best enjoyed chilled, so there’s no need for reheating; simply slice and serve straight from the fridge.
Tips for the Best Peanut Butter Icebox Cake
-
Quality Peanut Butter: Use a high-quality creamy peanut butter for the best flavor. Avoid natural ones that are excessively oily, as they might affect the cake’s texture.
-
Gentle Folding: When combining the whipped cream with the peanut butter mixture, fold gently. This preserves the light texture crucial to the Peanut Butter Icebox Cake.
-
Layer Evenly: Make sure to layer your graham crackers and peanut butter filling evenly. This ensures each slice is balanced, enhancing the overall dessert experience.
-
Chill Time Matters: Don’t rush the chilling process. Letting the cake chill overnight not only enhances flavors but also ensures the graham crackers soften perfectly for a creamy texture.
-
Serving Suggestion: For an extra touch, serve slices topped with chocolate sauce or a sprinkle of chopped nuts to elevate presentation and flavor enjoyment.
Peanut Butter Icebox Cake Recipe FAQs
How do I choose the best peanut butter for this recipe?
Absolutely! For the best flavor, opt for a creamy peanut butter that has a good balance of sweetness and saltiness. Avoid natural varieties that are overly oily, as they can cause the filling to be too runny and affect the cake’s texture. A classic brand that you love will work wonders!
What’s the best way to store leftovers?
Very! You can store any leftover Peanut Butter Icebox Cake in an airtight container in the refrigerator for up to 4 days. This not only keeps the cake fresh but also allows the flavors to deepen, making for an even tastier dessert with time.
Can I freeze this cake, and if so, how?
Absolutely! To freeze your Peanut Butter Icebox Cake, wrap it tightly in plastic wrap or aluminum foil to prevent freezer burn. It can be stored in the freezer for up to 1 month. When you’re ready to enjoy, simply transfer it to the refrigerator and let it thaw overnight before serving.
I over-whipped my cream! What should I do?
No worries! If you’ve accidentally over-whipped the cream, you can try to salvage it. Gently fold in a small amount of unwhipped cream to smooth it out and regain that airy texture. Alternatively, you can use it as is in a different recipe, like topping for pancakes or waffles!
Is this cake suitable for people with nut allergies?
Not at all! This Peanut Butter Icebox Cake contains peanuts, which can trigger allergies for some individuals. For a safe alternative, you could use sun butter, made from sunflower seeds, which provides a similar texture without the nuts, making it more allergy-friendly. Just ensure that your cream and sugar are also free of cross-contaminants.
What is the best way to serve the cake for gatherings?
Very much! To impress guests, slice the Peanut Butter Icebox Cake into neat squares or rectangles and serve with a dollop of whipped cream on top. A drizzle of chocolate sauce or a sprinkle of chopped nuts can elevate its presentation and flavor. This dessert definitely shines when paired with a nice chilled glass of milk!
Irresistible Peanut Butter Icebox Cake for Sweet Nostalgia
Ingredients
Equipment
Method
- In a medium mixing bowl, combine 1 cup of creamy peanut butter with 1 cup of powdered sugar. Beat until smooth and creamy, about 2 minutes.
- In a separate larger bowl, beat 2 cups of heavy whipping cream on high speed until soft peaks form, about 3-5 minutes. Gently fold the whipped cream into the peanut butter mixture until fully combined.
- Layer the bottom of a rectangular baking dish with graham crackers. Spread a generous portion of the peanut butter filling over the crackers. Repeat the layering process, finishing with a final layer of peanut butter on top.
- Cover the dish tightly with plastic wrap. Chill in the refrigerator for a minimum of 4 hours or overnight.
- Once chilled, slice the cake and serve. Optionally, garnish with additional whipped cream or chocolate sauce.
Leave a Reply