
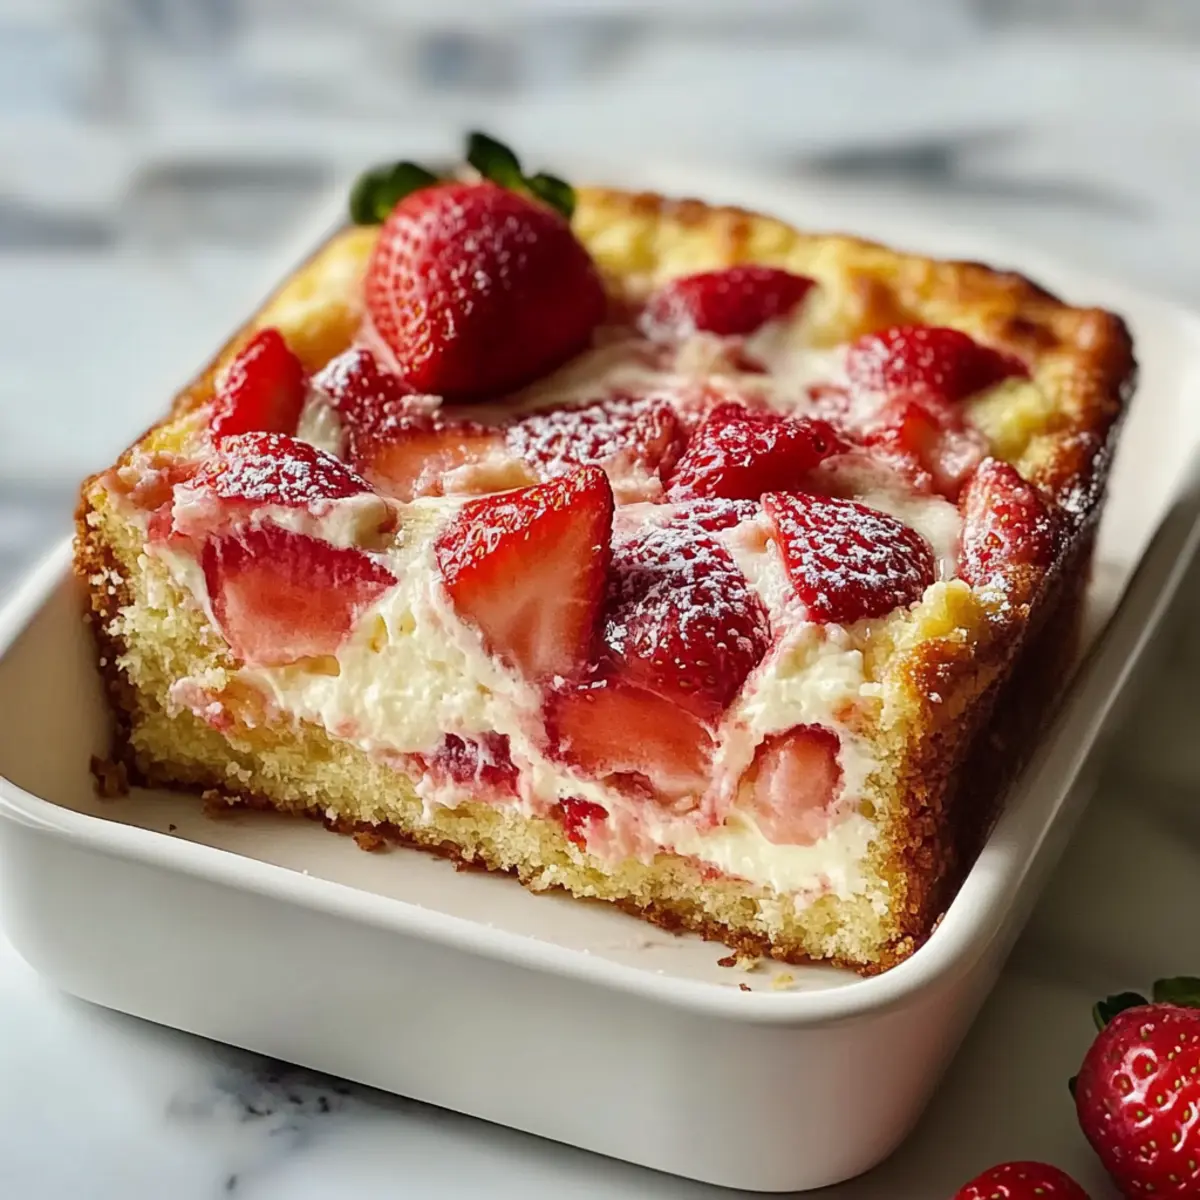
As I pulled my Strawberry Earthquake Cake from the oven, the tantalizing aroma of baked strawberries and creamy swirls surrounded my kitchen like a warm hug. This stunning dessert doesn’t just please the eyes; it captivates the palate with its delightful textures and flavors that make every slice a celebration. What’s even better? This Strawberry Earthquake Cake is easy to whip up, making it an ideal choice for both seasoned bakers and eager novices. With its gorgeous layers of freshness and a crackly finish, this cake promises to be the star of your dessert table, wowing friends and family alike. Are you ready to indulge in a slice of this fruity goodness? Let’s dive into the recipe!
Why is Strawberry Earthquake Cake a Must-Try?
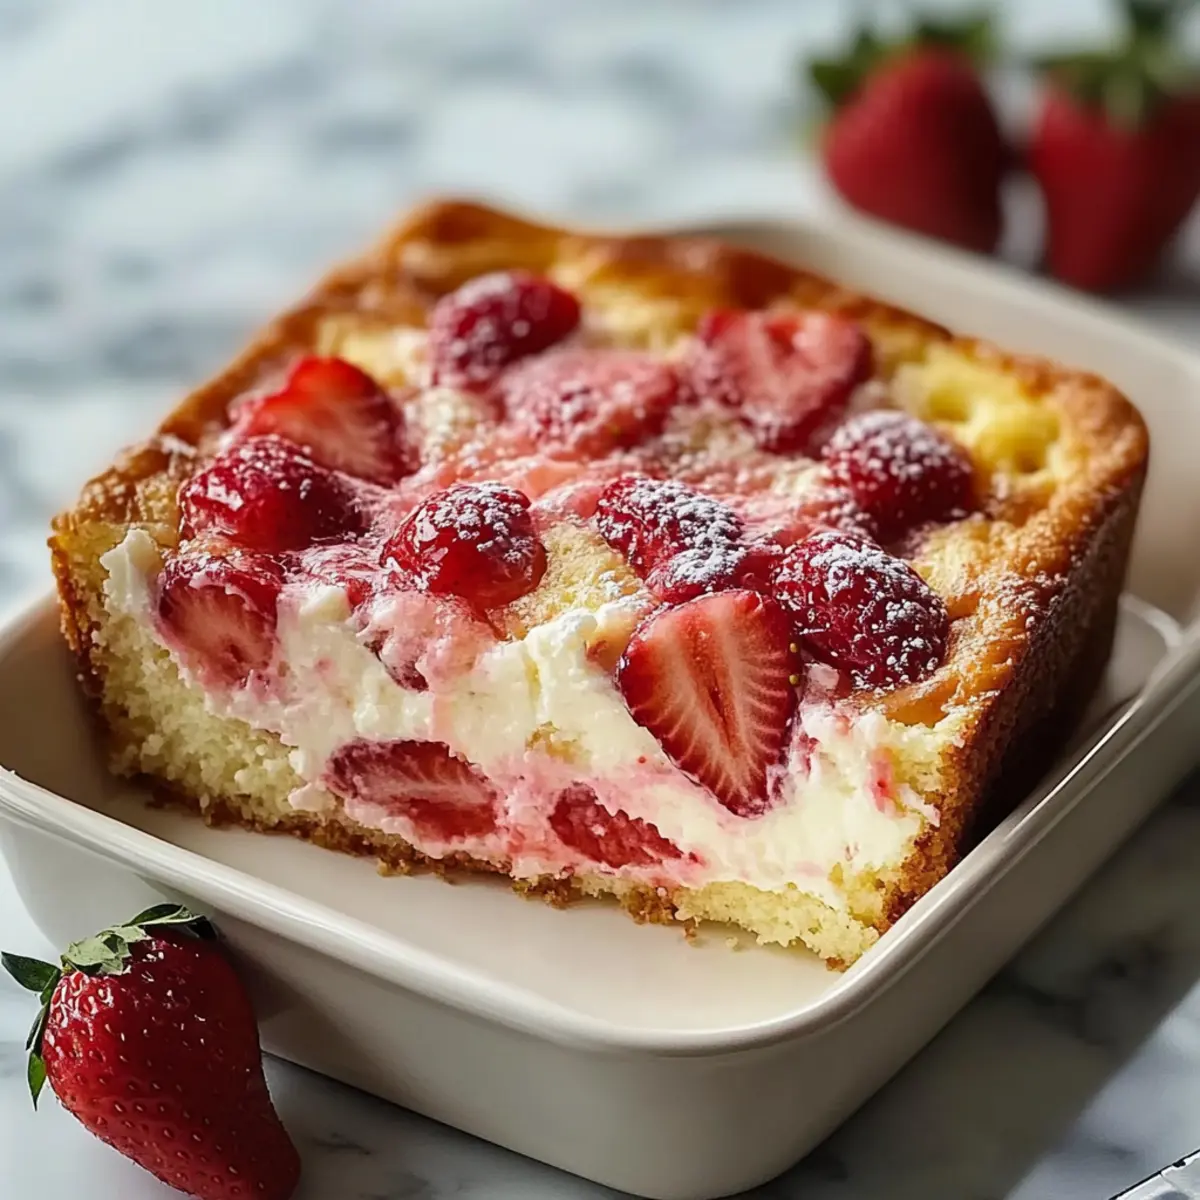
Irresistible flavors: This cake combines the sweetness of fresh strawberries with rich cream cheese, creating a flavor explosion in every bite.
Visually stunning: With its creamy swirls and crackled top, it’s not just a treat; it’s a beautiful centerpiece for any gathering.
Quick preparation: Thanks to using cake mix, you can whip this up in no time, making it perfect for those busy days when you want something special without spending hours in the kitchen.
Endless customization: Feel free to experiment with different cake mixes or toppings, from whipped cream to extra sliced strawberries, just like with a Blueberry Cream Cake or a light accompany of Strawberry Shortcake Ice for that extra indulgence.
Guaranteed crowd-pleaser: Whether it’s a birthday celebration or a simple family dinner, this cake is bound to impress, leaving everyone asking for seconds!
Strawberry Earthquake Cake Ingredients
Note: Gather these ingredients for a delightful treat that bursts with strawberry flavor!
For the Cake Base
• Strawberry Cake Mix – the fruity foundation of the cake; you can substitute with white or yellow cake mix if preferred.
• Sliced Fresh Strawberries – these add natural sweetness; consider using extra diced strawberries between layers for enhanced flavor.
• Eggs (3 Large) – essential for binding the ingredients together.
• Vegetable Oil (0.5 cup) – contributes moisture and richness; a neutral oil can be used as a replacement.
• Milk (1 cup) – helps create a tender texture.
For the Cream Cheese Swirl
• Sweetened Shredded Coconut (1 cup) – infuses extra texture and flavor depth.
• Chopped White Chocolate (1 cup) – brings sweetness and a creamy mouthfeel; semi-sweet or yogurt chips can serve as a substitute.
• Butter (0.5 cup, melted) – enriches the cream cheese mixture.
• Cream Cheese (8 oz, softened) – adds the signature creaminess to the swirl.
• Powdered Sugar (2 cups) – sweetens the cream cheese for a delightful contrast.
• Alcohol-free Vanilla (1 tsp) – enhances the flavor profile of the cream cheese swirl.
This Strawberry Earthquake Cake will undeniably become a cherished recipe in your collection, serving as a sweet reminder to enjoy life’s simple pleasures!
Step‑by‑Step Instructions for Strawberry Earthquake Cake
Step 1: Preheat the Oven
Start by preheating your oven to 350°F (175°C). While the oven warms, grab a 9×13-inch baking pan and generously grease it with cooking spray or butter to ensure your Strawberry Earthquake Cake releases easily once baked. Set the pan aside as you prepare the delicious layers that will make this cake truly special.
Step 2: Layer the Base
Spread the sweetened shredded coconut evenly along the bottom of the greased pan, creating a delightful foundation for your cake. Sprinkle the chopped white chocolate over the coconut, followed by the sliced fresh strawberries. You want to ensure an even distribution of these ingredients for a beautifully layered cake that holds an explosion of flavors in each bite.
Step 3: Prepare the Cake Batter
In a large mixing bowl, combine the strawberry cake mix, large eggs, vegetable oil, and milk. Using a whisk, blend these ingredients until the mixture is smooth and free of lumps, which should take about 2 to 3 minutes. This step is key to achieving a tender, moist base for your Strawberry Earthquake Cake that pairs wonderfully with the fruity layers beneath.
Step 4: Pour the Batter
Carefully pour the smooth cake batter over the layered base in the pan, making sure to cover the strawberries and chocolate evenly. Use a spatula to gently spread the batter into the corners of the pan. Visualize the deliciousness beginning to merge as the batter envelops the vibrant layers below, creating a delightful cake that’s ready to be swirled with creaminess.
Step 5: Create the Cream Cheese Swirl
In another mixing bowl, beat the softened cream cheese, melted butter, powdered sugar, and alcohol-free vanilla until fluffy, which should take about 3 to 4 minutes. This creamy mixture will add a luscious swirl to your cake. Once combined, drop spoonfuls of this cream cheese mixture evenly over the cake batter, preparing it for a gentle marbling.
Step 6: Swirl for Marbling
Using a knife, gently swirl through the dollops of the cream cheese mixture into the cake batter. Aim for a marbled effect without fully blending, which creates beautiful creamy pockets throughout the Strawberry Earthquake Cake. Take care to create a stunning visual pattern while ensuring each slice will be a mix of the cake’s fruity base and rich creaminess.
Step 7: Bake the Cake
Place the pan in the preheated oven and bake for 40 to 45 minutes. You’ll know it’s done when the edges are set, and the center is slightly jiggly but not wobbly. Keep an eye on the cake in the last few minutes; the top should develop a lovely crackled appearance, adding to the allure of your Strawberry Earthquake Cake as it bakes.
Step 8: Cool and Serve
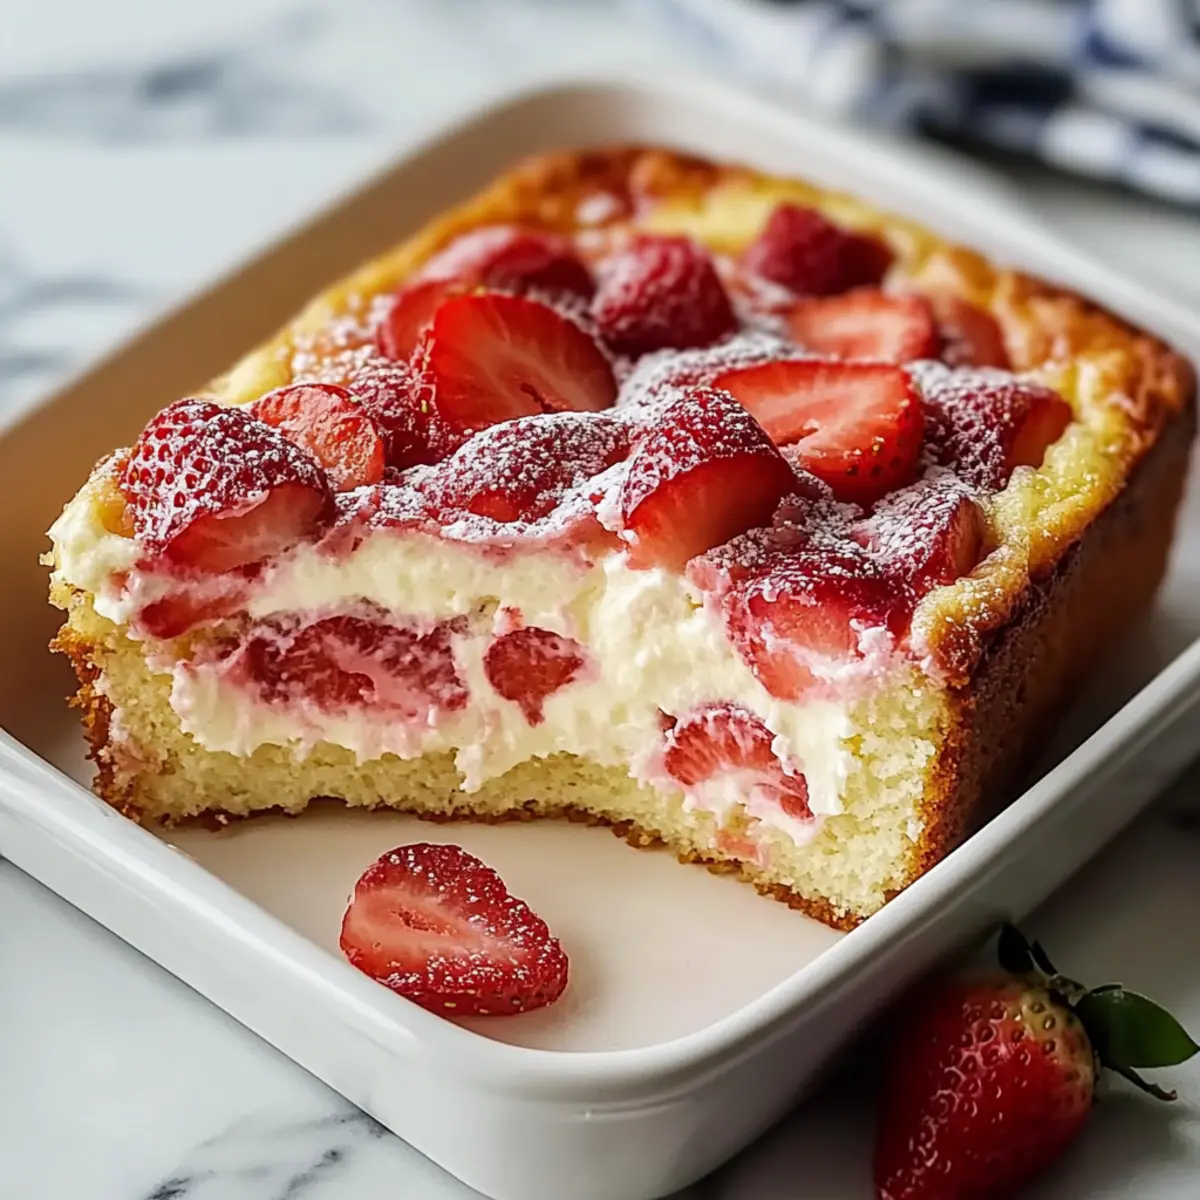
Once baked, remove the Strawberry Earthquake Cake from the oven and allow it to cool in the pan for at least 15 minutes. After that, transfer it to a wire rack to cool completely. This cooling time is essential for achieving clean slices when serving. For an extra touch, garnish with a few remaining strawberries before digging into this fruity delight!

How to Store and Freeze Strawberry Earthquake Cake
Fridge: Store any leftover Strawberry Earthquake Cake in an airtight container in the refrigerator for up to 5 days to maintain its freshness and flavor.
Freezer: For longer storage, wrap the cake tightly in plastic wrap and then aluminum foil, freezing for up to 2 months. This helps preserve its delightful texture and taste.
Thawing: When you’re ready to enjoy, thaw the frozen cake overnight in the fridge or at room temperature for a few hours before serving.
Reheating: If desired, warm individual slices in the microwave for about 15-20 seconds to enjoy a cozy, slightly gooey treat!
Expert Tips for Strawberry Earthquake Cake
-
Cool Completely: Allow the cake to cool completely before cutting for the cleanest and most beautiful slices, showcasing the lovely layers.
-
Check Doneness: Insert a toothpick in the cake portion, not the cream cheese swirl, to test doneness; it should come out clean or with a few moist crumbs for best results.
-
Store Wisely: Leftover cake can be stored in the refrigerator for up to 5 days or frozen for up to 2 months, maintaining its delightful strawberry flavor and creaminess.
-
Layering Matters: For a flavor boost, consider adding extra diced strawberries between the cake layers, enhancing both taste and visual appeal.
-
Substitution Success: Feel free to experiment with different flavored cake mixes; white or yellow mixes work well, ensuring your Strawberry Earthquake Cake stays delicious and versatile!
Make Ahead Options
This Strawberry Earthquake Cake is an excellent choice for meal prep! You can prepare the cake batter and layer the coconut, white chocolate, and strawberries up to 24 hours in advance. Simply cover the baking pan tightly with plastic wrap and refrigerate it to maintain freshness. The cream cheese mixture can also be made ahead and stored in the fridge for up to 3 days. When you’re ready to bake, just pour the batter over the prepared layers and swirl in the cream cheese mixture before popping it in the oven for that delicious, baked perfection. This way, you’ll save precious time on busy nights, and your Strawberry Earthquake Cake will be just as delightful!
What to Serve with Strawberry Earthquake Cake
Imagine the joy of creating a memorable gathering enhanced by delightful side dishes that truly elevate your dessert experience.
-
Whipped Cream: A dollop of fluffy whipped cream adds lightness, balancing the sweetness of the cake while enhancing its creamy texture.
-
Vanilla Ice Cream: Serve a scoop of velvety vanilla ice cream alongside for a classic combination that melts beautifully into the warm cake.
-
Fresh Mint Leaves: Bright and refreshing, mint leaves add a pop of color and a burst of refreshing aroma that complements the strawberries perfectly.
-
Chocolate Drizzle: A drizzle of rich chocolate sauce over each slice intensifies the sweetness and adds a bittersweet contrast that delights the taste buds.
-
Berry Compote: A warm berry compote made from mixed fruits enhances the fruity flavor, creating a decadent topping that perfectly harmonizes with the cake.
-
Chilled Fruit Salad: Pair with a vibrant fruit salad for a refreshing side that brings a balance of textures and colors to the dessert table.
-
Sparkling Lemonade: A glass of chilled sparkling lemonade adds a touch of brightness, its citrus notes cutting through the cake’s richness for a refreshing finish.
-
Coffee or Tea: For a cozy end to the meal, serve alongside a warm cup of coffee or herbal tea to complement the flavors and enhance the overall experience.
These pairings not only support the flavors of the Strawberry Earthquake Cake, but they also create an inviting atmosphere for your loved ones to enjoy every delightful bite.
Strawberry Earthquake Cake Variations
Feel free to personalize your Strawberry Earthquake Cake with these fun and delicious twists that will make every slice an adventure!
-
Frozen Strawberries: Swap fresh strawberries for thawed, drained frozen berries. They provide a similar flavor and are great when fresh isn’t an option.
-
Chocolate Lovers: Substitute the white chocolate with dark chocolate chips for a richer, deeper flavor that pairs beautifully with the strawberries. This adds a cocoa twist everyone will love.
-
Nutty Addition: Add chopped nuts, such as pecans or walnuts, to enhance the texture and flavor. This not only gives a satisfying crunch but also elevates the taste profile!
-
Dairy-Free: Use plant-based cream cheese and milk substitutes to create a dairy-free version, ensuring that everyone can enjoy a slice of this delightful dessert.
-
Extra Zest: Add a teaspoon of lemon or orange zest to the cream cheese swirl for a refreshing citrus note that perfectly complements the sweetness of the strawberries.
-
Syrupy Sweetness: Drizzle a bit of strawberry syrup over each slice before serving for an extra burst of flavor. This makes for a beautiful presentation that’s irresistibly inviting.
-
Layering Variety: Consider using other flavored cake mixes, like lemon or chocolate, for a unique spin, while still enjoying the luscious strawberry filling and creaminess.
-
Spice It Up: For a touch of warmth, add a dash of cinnamon or nutmeg to the batter or cream cheese swirl. This subtle spice adds depth and elevates the overall flavor experience.
With these variations, your Strawberry Earthquake Cake can become a canvas for endless creativity, much like how a gorgeous Coconut Cloud Cake or a whimsical Sugar Cookie Cake invites you to explore new flavors! Enjoy baking!
Strawberry Earthquake Cake Recipe FAQs
How do I know when my strawberries are ripe enough to use?
Absolutely! Look for strawberries that are vibrant red, firm to the touch, and fragrant. If you notice any dark spots or signs of mushiness, it’s best to avoid those as they may not taste as sweet. For optimal flavor, try to select strawberries that are slightly soft, which indicates they are ripe and bursting with juice.
What is the best way to store leftover Strawberry Earthquake Cake?
To keep your Strawberry Earthquake Cake fresh, store any leftovers in an airtight container in the refrigerator for up to 5 days. If you want to prolong its deliciousness, you can also wrap it tightly in plastic wrap and then aluminum foil and freeze it for up to 2 months. This ensures the cake maintains its delightful taste and texture.
Can I freeze Strawberry Earthquake Cake? How should I do it?
Certainly! Freezing your Strawberry Earthquake Cake is easy. Simply allow it to cool completely after baking. Then, wrap individual slices or the whole cake tightly in plastic wrap, followed by a layer of aluminum foil. This double-wrapping prevents freezer burn. When you’re ready to enjoy, thaw the cake overnight in the refrigerator or let it sit at room temperature for a few hours before serving for the best results.
What if my Cream Cheese Swirl doesn’t set properly?
If your cream cheese swirl seems too runny or hasn’t set, it might be due to under-mixing the cream cheese or not allowing the cake to cool sufficiently before serving. Ensure you blend the cream cheese, butter, and sugar until fluffy for a nice consistency. If you’re concerned before serving, let the cake sit in the refrigerator for a couple of hours to help firm up the cream cheese layer.
Are there any allergy considerations for this recipe?
Very! If you or your guests have allergies, it’s essential to be cautious. The Strawberry Earthquake Cake contains dairy (butter, milk, cream cheese) and gluten (cake mix). You can substitute with lactose-free dairy options and gluten-free cake mixes as needed. Always check labels to ensure they meet your dietary requirements.
Can I use frozen strawberries instead of fresh?
Certainly! If fresh strawberries aren’t available, you can use thawed and drained frozen strawberries. Just make sure to pat them dry to avoid excess moisture that can affect the texture of the cake. This substitution will still provide lovely flavor and sweetness, making your Strawberry Earthquake Cake just as delightful!
Strawberry Earthquake Cake: A Creamy Slice of Joy
Ingredients
Equipment
Method
- Preheat your oven to 350°F (175°C) and grease a 9x13-inch baking pan.
- Spread the sweetened shredded coconut evenly along the bottom of the greased pan.
- Combine the cake mix, eggs, vegetable oil, and milk in a large bowl and blend until smooth.
- Pour the batter over the layered base in the pan.
- Beat the cream cheese with melted butter, powdered sugar, and vanilla until fluffy.
- Drop spoonfuls of the cream cheese mixture over the cake batter and swirl with a knife.
- Bake for 40 to 45 minutes until the edges are set and the center is slightly jiggly.
- Allow the cake to cool in the pan for at least 15 minutes before transferring to a wire rack.
Leave a Reply