
As the warm sun dips low in the sky and the scent of summer fills the air, there’s nothing quite like the joy of celebrating the 4th of July with vibrant desserts. This year, I’m excited to share my favorite Cherry Danish Pastries, which are perfect for catching the eye and delighting the taste buds of your summer gathering. These easy-to-make treats are not only visually stunning with their red and white layers, but they also take the stress out of holiday baking, allowing you to prep ahead and enjoy the festivities. Plus, with their delightful combination of flaky pastry and sweet cherry filling, these pastries are guaranteed to impress both your family and friends. Ready to whip up some delicious memories this Independence Day? Let’s dive into the fun together!
Why Choose Cherry Danish Pastries?
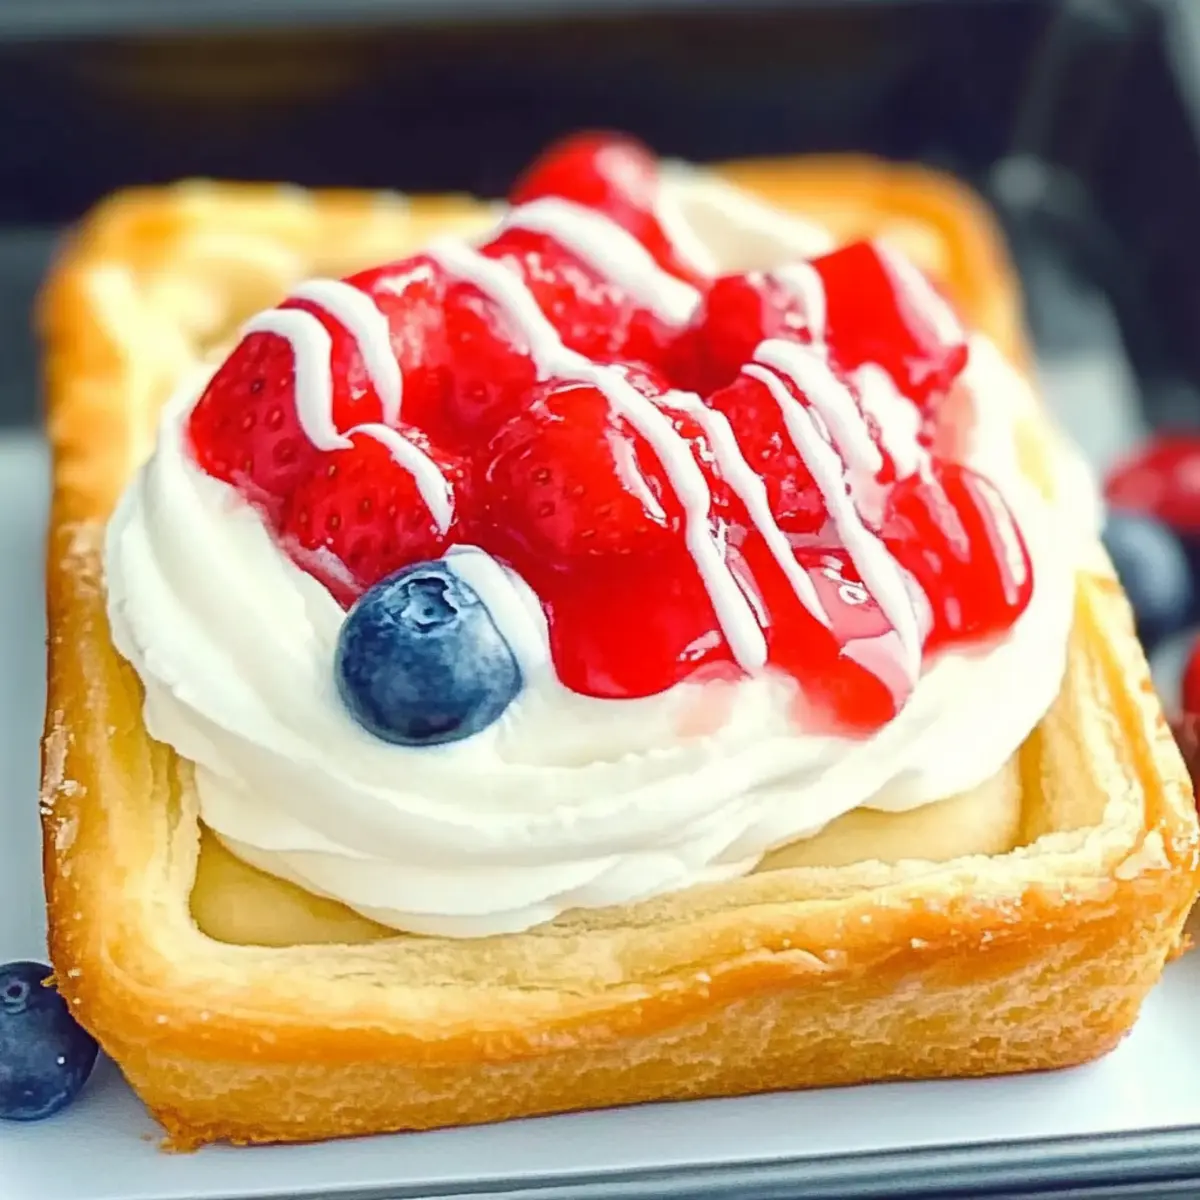
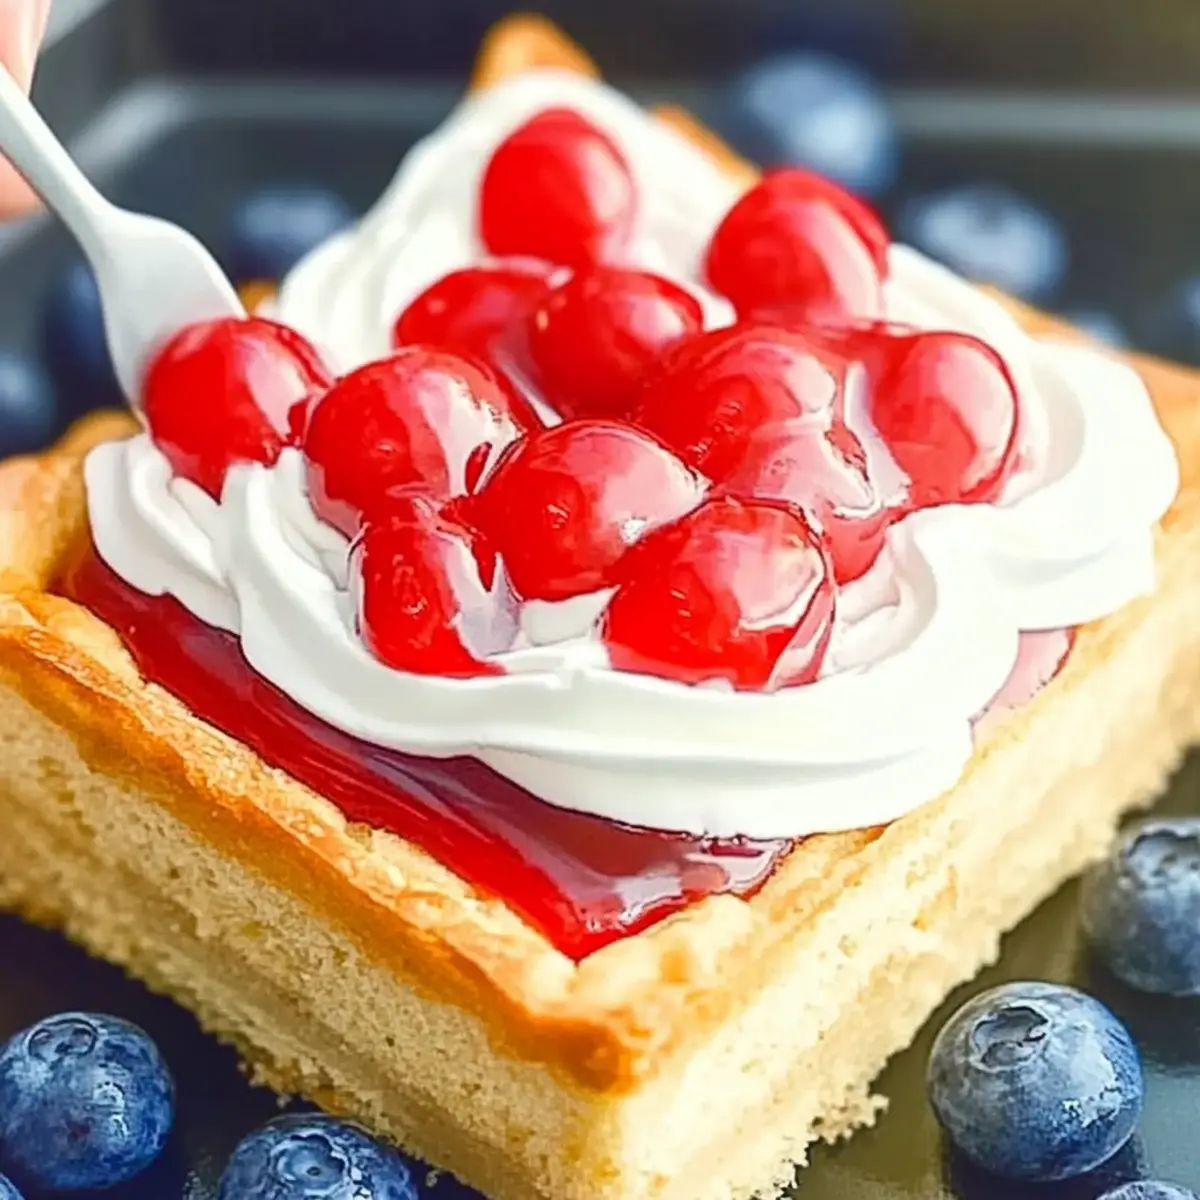
Irresistible Flavor: The sweet, tart cherry filling combined with flaky pastry creates a delightful taste experience that will have everyone coming back for seconds.
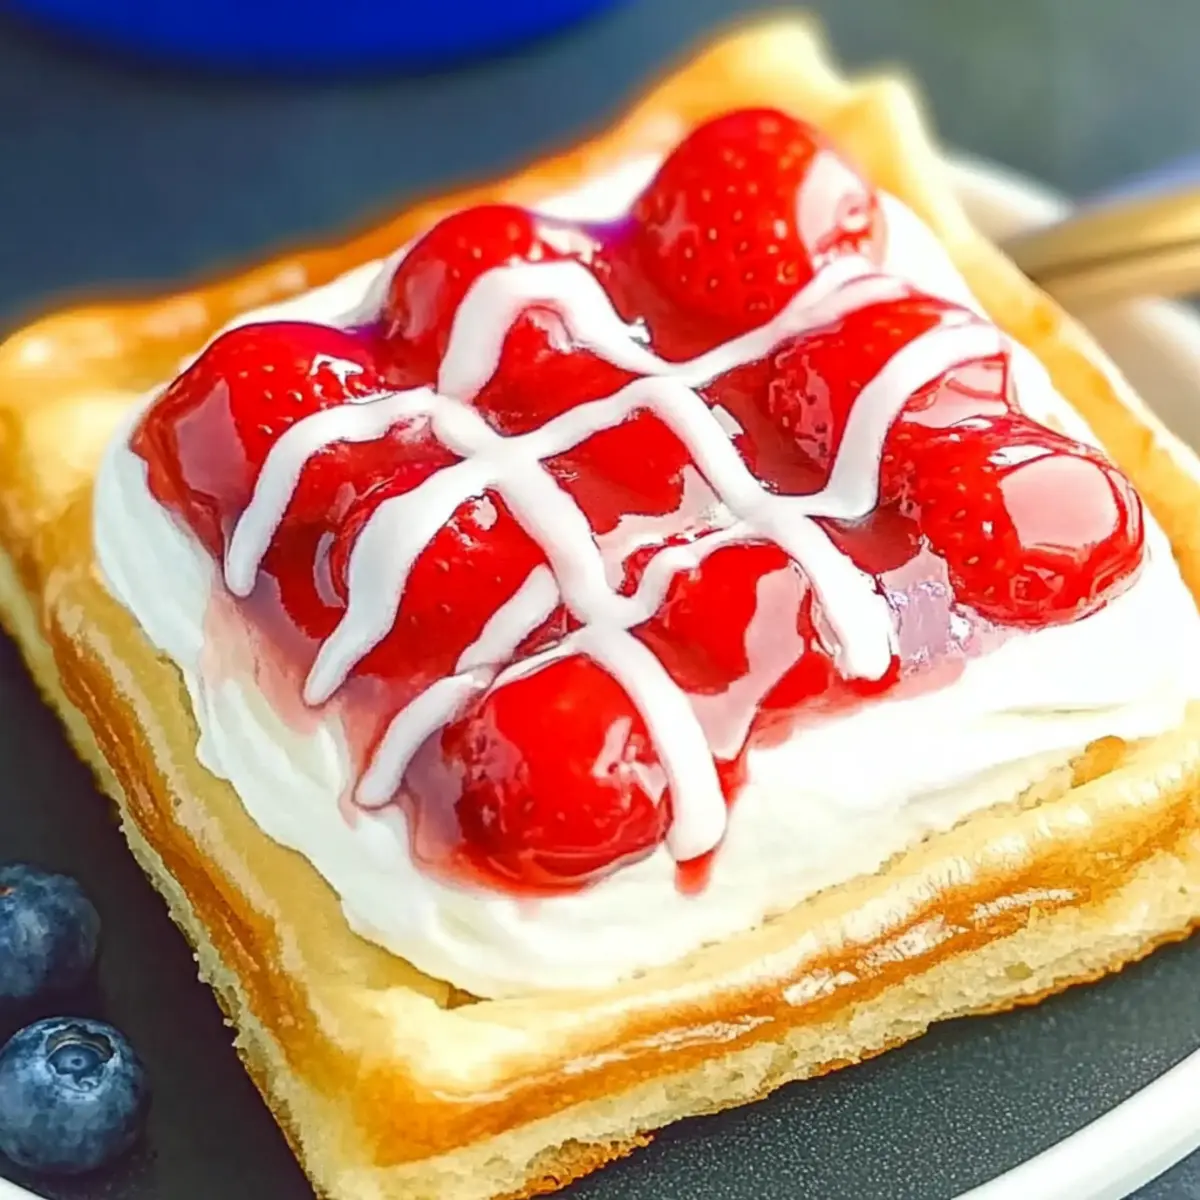
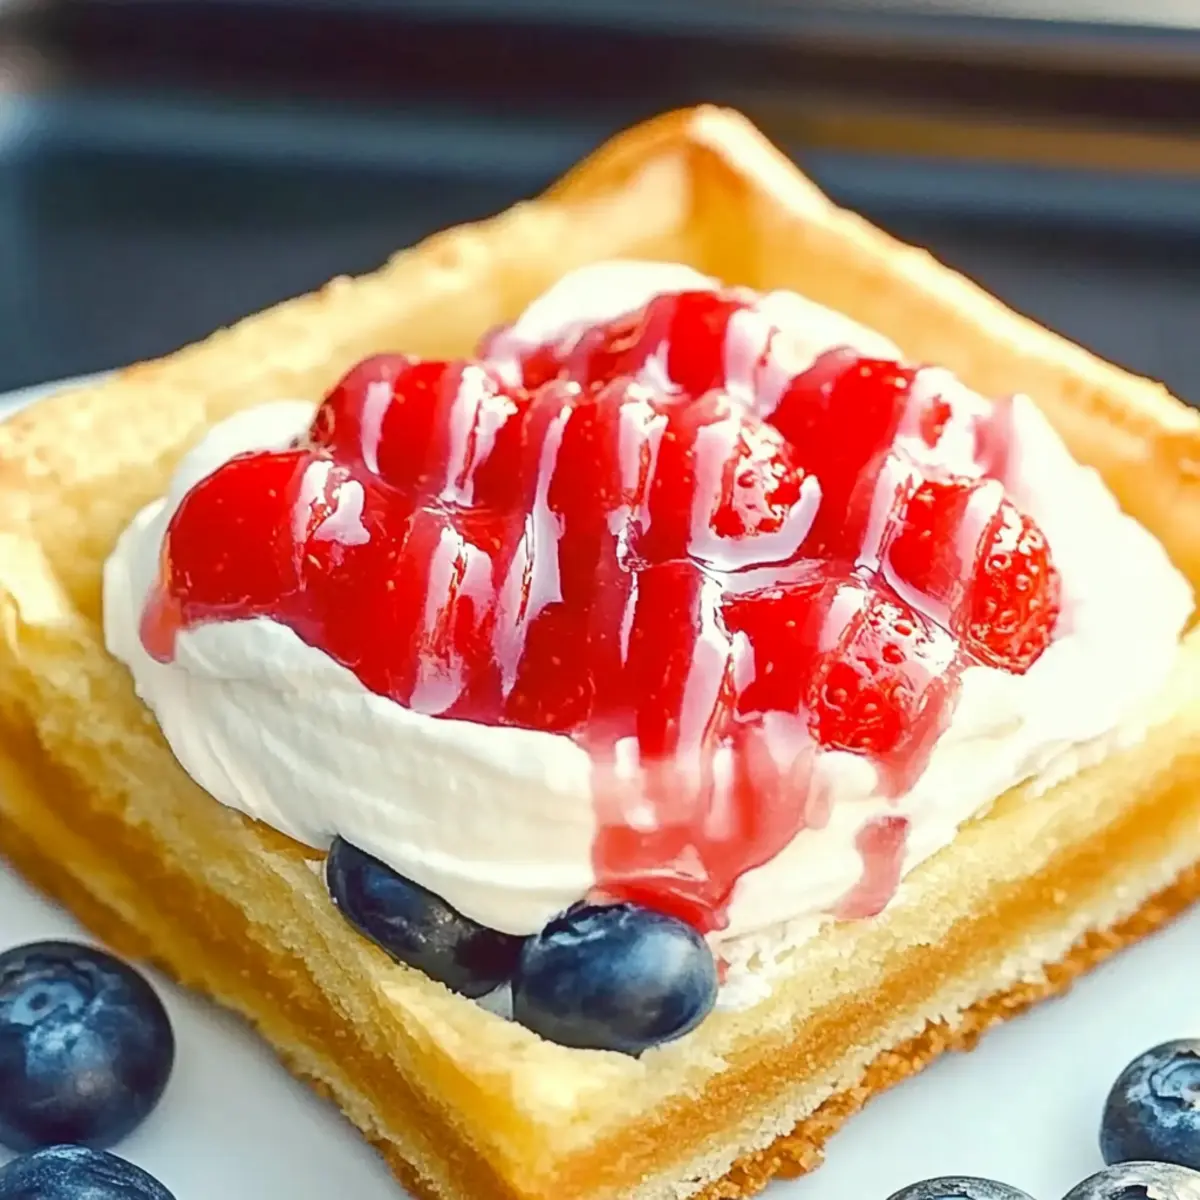
Festively Visually Stunning: Their vibrant red and white layers make them a visual centerpiece for any July 4th celebration.
Stress-Free Preparations: These pastries can be made ahead of time, saving you precious moments on party day.
Versatile Options: Feel free to use other fruits like blueberries or mixed berries to customize your pastries for any occasion.
Perfect for Sharing: Easy to slice and serve, they’re ideal for potlucks or gatherings, making them a crowd-pleaser.
Simple Preparation: With easy-to-follow instructions, even novice bakers can whip up these delightful treats. Enjoy the fun of creating memories with your loved ones while savoring every bite! For more inspiration, check out my 4th of July Desserts.
Cherry Danish Pastry Ingredients
For the Pastry
• Puff Pastry – A flaky base that provides a light, airy texture; you can use store-bought for convenience.
• Eggs – Essential for binding and adding richness; replace with aquafaba for a vegan option.
• Vanilla Extract – Enhances the overall flavor; try almond extract for a unique twist.
For the Cherry Filling
• Fresh or Frozen Cherries – Provides the sweet and tart flavor; feel free to substitute with raspberries for a berry mix.
• Sugar – Sweetens the filling; you can use honey for a natural alternative.
• Cornstarch – Helps thicken the cherry mix; arrowroot powder is a good gluten-free option.
• Lemon Juice – Balances sweetness and brightens the cherry flavor; use lime juice for a zesty note.
For the Glaze
• Powdered Sugar – Sweetens and adds a glossy finish; swap with coconut sugar for a healthier choice.
• Milk or Dairy Alternative – Helps achieve the desired consistency; almond milk or oat milk works well.
Each of these ingredients combines beautifully to create the perfect Cherry Danish Pastries that are not only delicious but visually appealing for your 4th of July celebrations!
Step‑by‑Step Instructions for Cherry Danish Pastries
Step 1: Prepare the Pastry
Begin by preheating your oven to 400°F (200°C) and lining a baking sheet with parchment paper. Roll out the puff pastry on a lightly floured surface, and cut it into squares, about 4×4 inches. Place the squares on the prepared baking sheet and use a fork to gently poke holes in the center, leaving a border to create a crust for your Cherry Danish Pastries.
Step 2: Make the Cherry Filling
In a medium saucepan over medium heat, combine the fresh or frozen cherries, sugar, cornstarch, and lemon juice. Stir until the mixture is bubbly and thickens, which should take about 5-7 minutes. Remove the pan from the heat and allow the cherry filling to cool slightly, as this will prevent the puff pastry from becoming soggy when assembled.
Step 3: Assemble the Pastries
Spoon a generous amount of the cooled cherry filling into the center of each pastry square, making sure to keep it within the borders. Beat an egg in a small bowl, and brush the edges of the pastry with the egg wash for a beautiful golden finish. This step adds an appealing sheen to your Cherry Danish Pastries as they bake.
Step 4: Bake to Perfection
Carefully place the baking sheet in the preheated oven and bake the Cherry Danish Pastries for 15-20 minutes, or until they are puffed and golden brown. Keep an eye on them to ensure they don’t over-bake, as you want that flaky texture and delightful color to shine.
Step 5: Prepare the Glaze
While the pastries are baking, whisk together the powdered sugar and milk or dairy alternative in a small bowl until smooth. Start with a smaller amount of milk and gradually add more until you reach a drizzle-worthy consistency. This delicious glaze will add a sweet finish to your Cherry Danish Pastries.
Step 6: Glaze and Serve
Once your pastries have cooled slightly after baking, drizzle the glaze over each one to give these cherry-filled delights a lovely touch. Serve them warm or at room temperature, and enjoy the joy they bring to your summer gathering!
Expert Tips for Cherry Danish Pastries
-
Keep Pastry Chilled: Make sure your puff pastry stays cold until you’re ready to bake; this ensures a flaky, tender texture and prevents stretching while assembling.
-
Don’t Overfill: Be generous, but avoid overfilling the pastries with cherry filling; this can cause spills during baking and hinder that lovely, golden crust.
-
Watch the Baking Time: Each oven is different; keep an eye on the Danish pastries as they bake to avoid over-browning and maintain that irresistible crispiness.
-
Use Fresh Ingredients: Fresh cherries will provide the best flavor and texture for your Cherry Danish Pastries. If using frozen cherries, ensure they are fully thawed and drained to prevent excess moisture.
-
Experiment with Flavors: Feel free to mix in other fruits or flavor extracts to create variations of your pastries. A splash of almond or orange zest can elevate the cherry flavor beautifully.
Variations & Substitutions for Cherry Danish Pastries
Feel free to get creative with these Cherry Danish Pastries, allowing your personal touch to shine through in every bite!
-
Vegan Option: Replace butter with coconut oil and use aquafaba in place of eggs for a dairy-free delight.
Making these substitutions not only accommodates dietary preferences but also keeps the flaky pastry texture intact, creating a treat everyone can enjoy. -
Fruit Swaps: Use blueberries, raspberries, or peaches instead of cherries for versatile flavors.
Each fruit brings its unique sweetness, allowing for seasonal variations that are just as delicious as the original. -
Gluten-Free Pastry: Substitute with gluten-free puff pastry for a delightful twist that caters to gluten-sensitive guests.
This small change ensures that everyone can savor these pastries while still enjoying that irresistible flaky texture. -
Zesty Flavor Boost: Add lemon or orange zest to the cherry filling for a bright, fresh note.
A little citrus can elevate the sweetness of the cherries, bringing an unforgettable zing to each bite. -
Almond Glaze: Swap milk for almond milk in the glaze for a subtle nutty flavor.
This distinctive twist adds an extra layer of delight, enhancing the overall taste profile. -
Maple Sweetener: Replace sugar in the filling with maple syrup for a more natural sweetness.
This change offers a rich flavor that pairs beautifully with the cherries while making it feel like a wholesome option. -
Crunchy Topping: Sprinkle chopped nuts or granola on top of the glaze for added texture and flavor.
The crunch creates a lovely contrast with the soft pastry, making each bite even more delightful. -
Berry Compote Layer: Layer a homemade berry compote beneath the cherry filling for added depth and flavor.
This step not only looks gorgeous but introduces a delightful medley of sweet-tart flavors that complement the cherries perfectly.
For even more ideas, consider how easy it can be to build on your previous dessert experiences, or find inspiration through traditional treats like 4th of July Desserts. Happy baking!
How to Store and Freeze Cherry Danish Pastries
-
Room Temperature: Allow your pastries to cool completely, then store them in an airtight container at room temperature for up to 2 days to maintain their flaky texture.
-
Fridge: If you want to extend their freshness, keep the Cherry Danish Pastries in an airtight container in the refrigerator for up to 5 days. Just note that refrigeration may affect the flakiness.
-
Freezer: To freeze, wrap each pastry individually in plastic wrap, then place them in a freezer-safe bag. They can be stored in the freezer for up to 3 months.
-
Reheating: To reheat, simply place the pastries in a preheated oven at 350°F (175°C) for about 10-15 minutes until warmed through, ensuring they regain their delightful texture.
What to Serve with Cherry Danish Pastries?
Delight your guests at any gathering with a selection that perfectly complements these enchanting pastries.
-
Fresh Berry Salad: A medley of strawberries, blueberries, and raspberries adds a refreshing contrast to the sweet pastries while keeping the color theme vibrant.
-
Vanilla Ice Cream: Creamy and indulgent, a scoop of vanilla ice cream perfectly balances the fruity tartness of the cherry filling, creating a delightful dessert experience.
-
Sparkling Lemonade: This citrusy, bubbly drink refreshes the palate and enhances the festive atmosphere, making it an ideal beverage for hot summer days.
-
Chocolate Drizzle: A simple chocolate drizzle over the pastries adds a rich and decadent touch, elevating their appeal and satisfying chocolate lovers.
-
Whipped Cream: A dollop of lightly sweetened whipped cream offers a luscious texture that complements the flaky pastry while brightening the overall dessert.
-
Iced Coffee: For those craving a caffeine boost, a cool iced coffee pairs wonderfully, emphasizing the sweetness of the cherries while providing a refreshing kick.
-
Toasted Almonds: Sprinkling some toasted almonds over the pastries adds a delightful crunch, bringing a nutty flavor that enhances the cherry filling beautifully.
Make Ahead Options
These Cherry Danish Pastries are perfect for meal prep, allowing you to enjoy the festivities without the last-minute rush! You can prepare the pastry squares and cherry filling up to 24 hours in advance. Simply cut the puff pastry into squares and store them in an airtight container in the refrigerator. Prepare the cherry filling and let it cool completely before refrigerating it as well to maintain its texture. When you’re ready to enjoy your pastries, assemble them by spooning in the filling, brush with the egg wash, and bake according to the instructions. This way, your pastries will be just as delicious and flaky, making for a stress-free and delightful 4th of July celebration!
Cherry Danish Pastries Recipe FAQs
How do I select the best cherries for my filling?
Look for fresh cherries that are plump and firm with a deep red color; dark, sweet cherries often work best. If you’re using frozen cherries, ensure they are from a trusted brand and have been properly thawed and drained to avoid excess moisture in your filling.
How should Cherry Danish Pastries be stored?
Once cooled, store your pastries in an airtight container at room temperature for up to 2 days for optimal flaky texture. If you want to keep them for longer, place them in the refrigerator for up to 5 days, but keep in mind that refrigeration may reduce their flakiness.
Can I freeze Cherry Danish Pastries?
Absolutely! To freeze, wrap each cooled pastry individually in plastic wrap and place them in a freezer-safe bag. They can be stored for up to 3 months. When ready to enjoy, reheat in a preheated oven at 350°F (175°C) for about 10-15 minutes to revive their flaky goodness.
What can I do if my cherry filling is too runny?
If your filling seems too runny, you can simmer it longer to thicken it up. Make sure the sugar and cornstarch are well combined, and if needed, add a little more cornstarch mixed with a touch of cold water (a slurry) to the filling while cooking until it reaches the desired thickness.
Are there any dietary considerations for Cherry Danish Pastries?
Yes! If you’re catering to dietary needs, you can replace the eggs with aquafaba for a vegan option. For those with gluten sensitivities, using gluten-free puff pastry will allow everyone to enjoy these scrumptious pastries without worry.
How can I customize the flavor of my Cherry Danish Pastries?
Feel free to experiment with your filling! Adding almond extract or lemon zest can elevate the cherry flavor beautifully. You can also mix in other fruits, such as raspberries or blueberries, to create a delightful berry medley that’s perfect for any occasion.
Cherry Danish Pastries: A Sweet Treat for Every Occasion
Ingredients
Equipment
Method
- Preheat your oven to 400°F (200°C) and line a baking sheet with parchment paper.
- Roll out the puff pastry on a lightly floured surface, and cut it into squares, about 4x4 inches.
- Place the squares on the prepared baking sheet and use a fork to poke holes in the center, leaving a border.
- In a medium saucepan over medium heat, combine fresh or frozen cherries, sugar, cornstarch, and lemon juice.
- Stir until the mixture is bubbly and thickens, about 5-7 minutes. Allow to cool slightly.
- Spoon a generous amount of the cooled cherry filling into the center of each pastry square.
- Beat the egg and brush the edges of the pastry with the egg wash for a golden finish.
- Place the baking sheet in the oven and bake for 15-20 minutes or until puffed and golden brown.
- Whisk together the powdered sugar and milk until smooth, adding more milk to reach desired consistency.
- Drizzle the glaze over each pastry after cooling slightly.
Leave a Reply