
As the sizzling sound of beef hitting a hot grill filled the air, I smiled at the delicious aromas dancing around my kitchen. Today, I’m excited to share my take on a quick and flavorful Beef Yakiniku, a mouthwatering dish that perfectly captures the essence of Japanese cuisine. With its blend of sweet, savory, and spicy notes, this recipe is not only a speedy weeknight dinner option but also a fantastic way to elevate your home-cooked meals. Best of all, it comes together in under 30 minutes and can be customized with a variety of cuts of steak and tasty marinade options. So, why not grab your favorite ingredients and join me in creating this delightful dish that’s sure to impress both family and friends? What are you waiting for? Let’s dive into the wonderful world of Beef Yakiniku!
Why is Beef Yakiniku a must-try?
Quick Prep Time: Whip up this dish in under 30 minutes, perfect for busy weeknights.
Flavor Explosion: The harmony of sweet, savory, and spicy flavors ensures every bite is unforgettable.
Versatile Ingredients: Customize with different cuts of steak or substitute marinade components for a personal touch. Try sirloin for a leaner option or go for ribeye if you crave richness.
Impressive Presentation: Serve beautifully with garnishes like sesame seeds and fresh veggies for an Instagram-worthy meal.
Crowd-Pleasing Delight: Whether it’s family dinner or a gathering with friends, Beef Yakiniku is sure to impress—everyone loves grilled beef!
For more savory inspirations, check out my Savory Roast Beef Sliders or a delightful Cheesy Ground Beef Potato Bake.
Beef Yakiniku Ingredients
• Ready to grill up some deliciousness?
For the Marinade
- Low-Sodium Soy Sauce – A key base that adds umami; use tamari or coconut aminos for a gluten-free option.
- Gochujang – This Korean chili paste elevates the dish with heat and depth; substitute with sriracha if needed.
- Mirin – Adds a touch of sweetness; can be swapped with rice vinegar for a different zing.
- Minced Ginger – Fresh ginger brings aromatic flavor; powdered ginger will work in a pinch.
- Garlic Powder/Paste – Enhances the overall flavor; consider using fresh garlic for a punchier taste.
- Sesame Oil – Infuses a nutty richness into the marinade.
- Neutral Oil (e.g., avocado or rapeseed) – Essential for searing to achieve that perfect caramelization.
- Light Brown Sugar – Balances out flavors with a hint of sweetness; swap with coconut sugar for less refinement.
For the Beef
- Flank or Skirt Steak – The star of the show, thinly sliced against the grain for tenderness; substitutions like sirloin or ribeye are great too.
To Serve
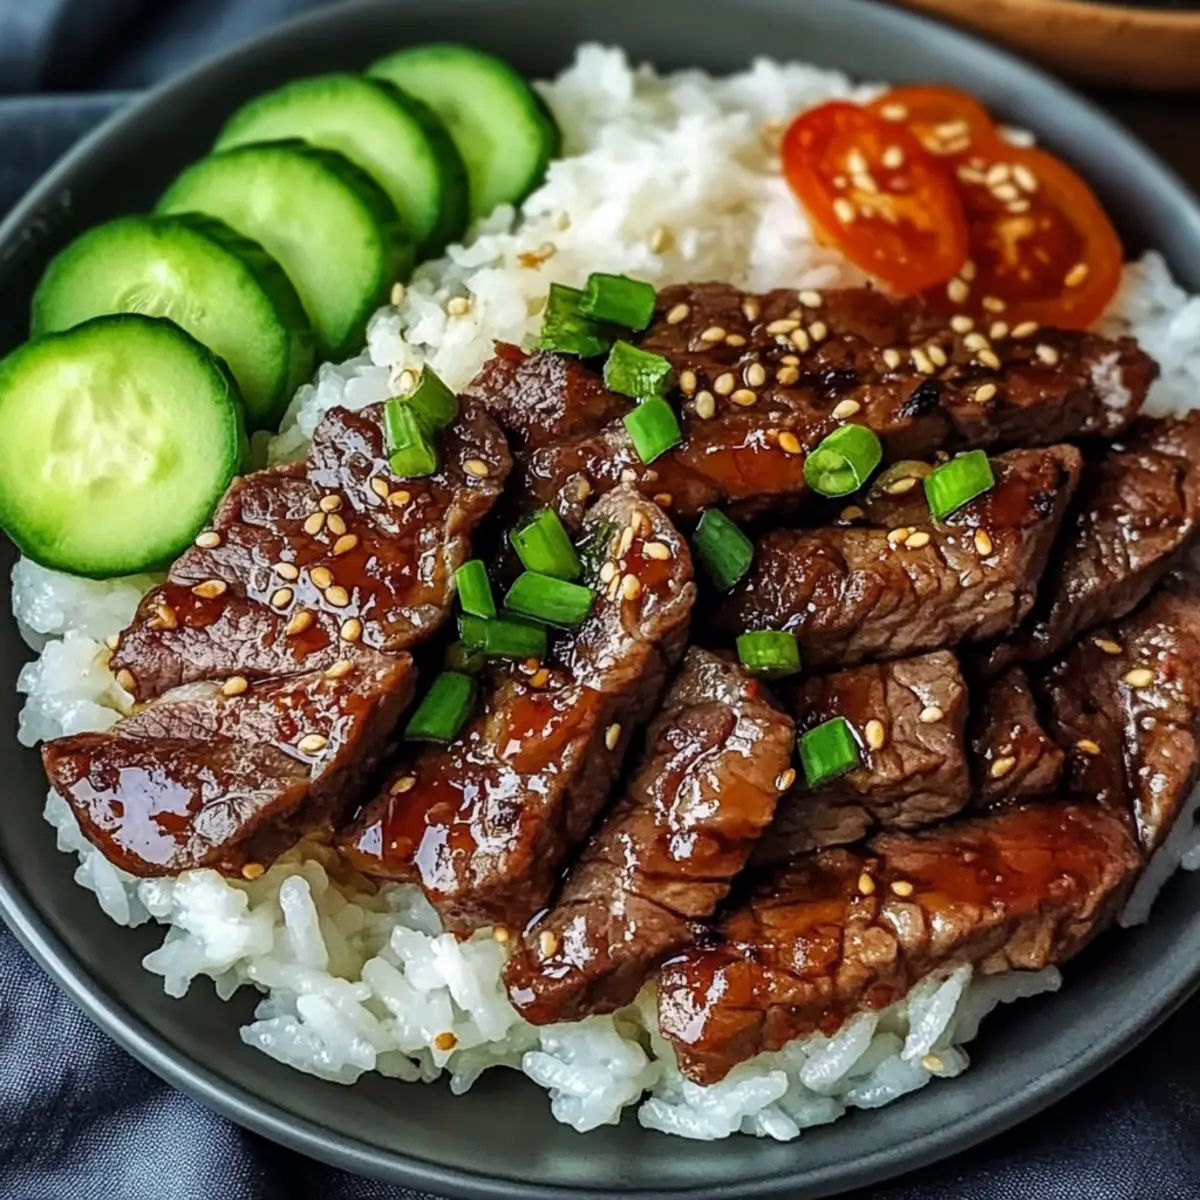
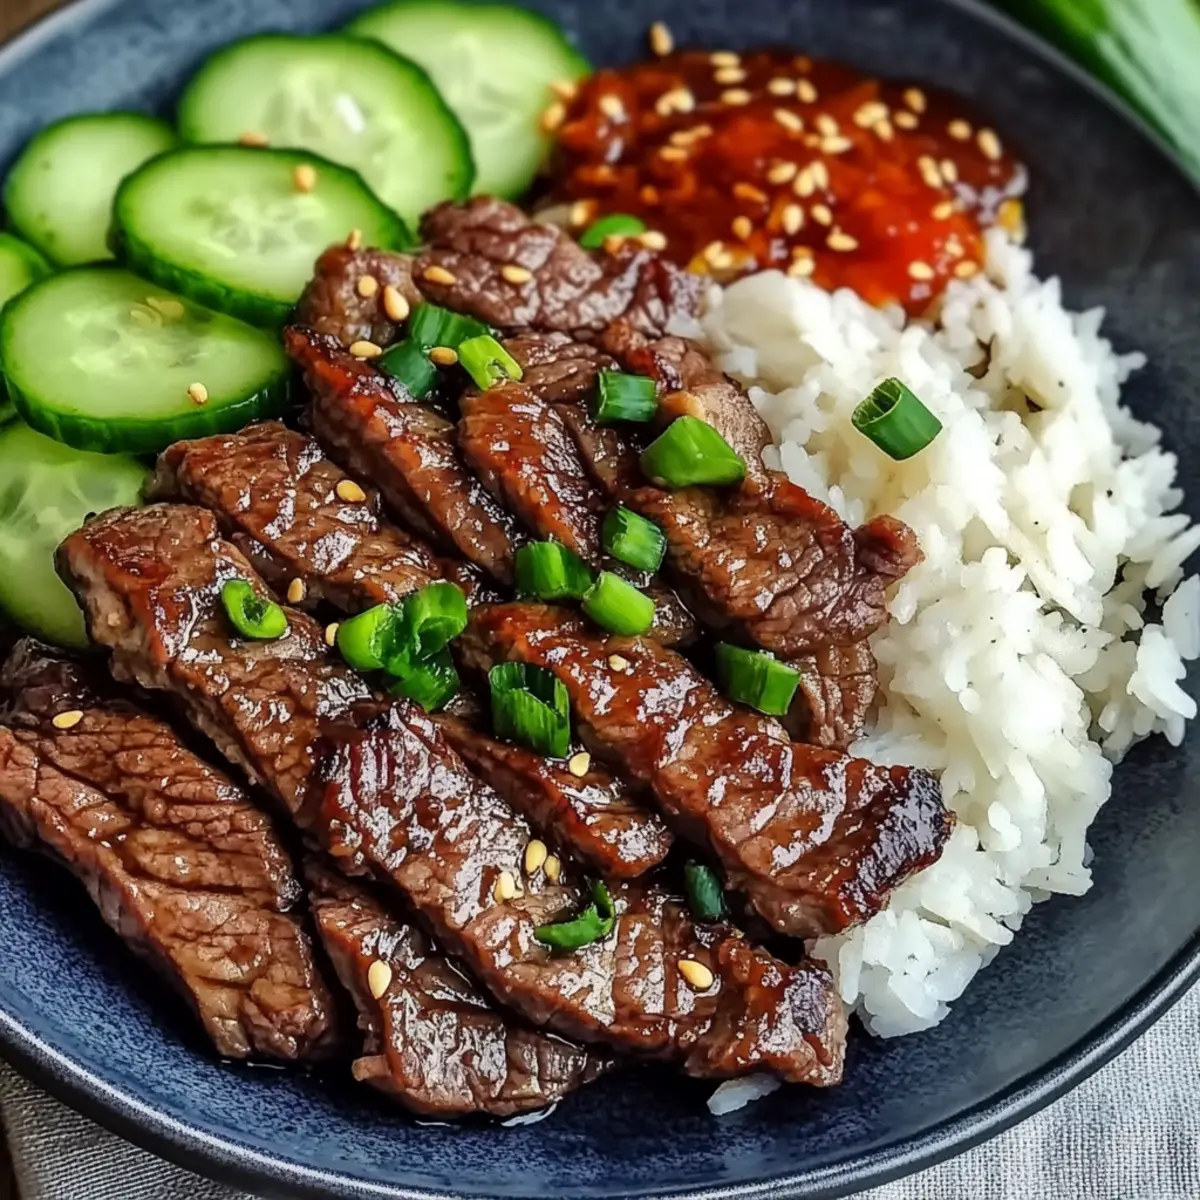
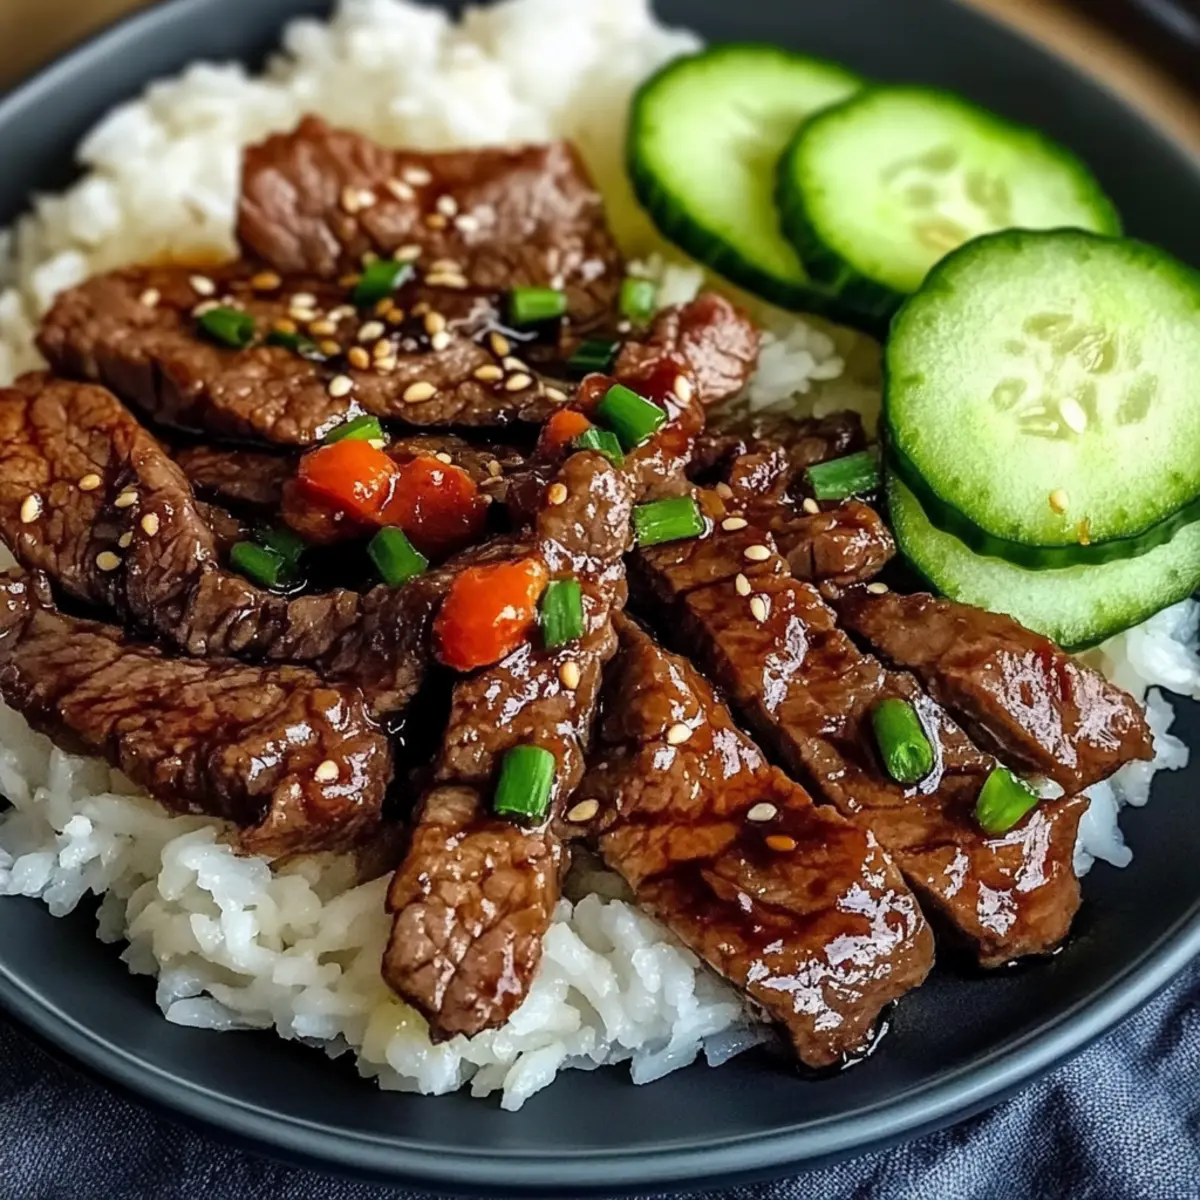
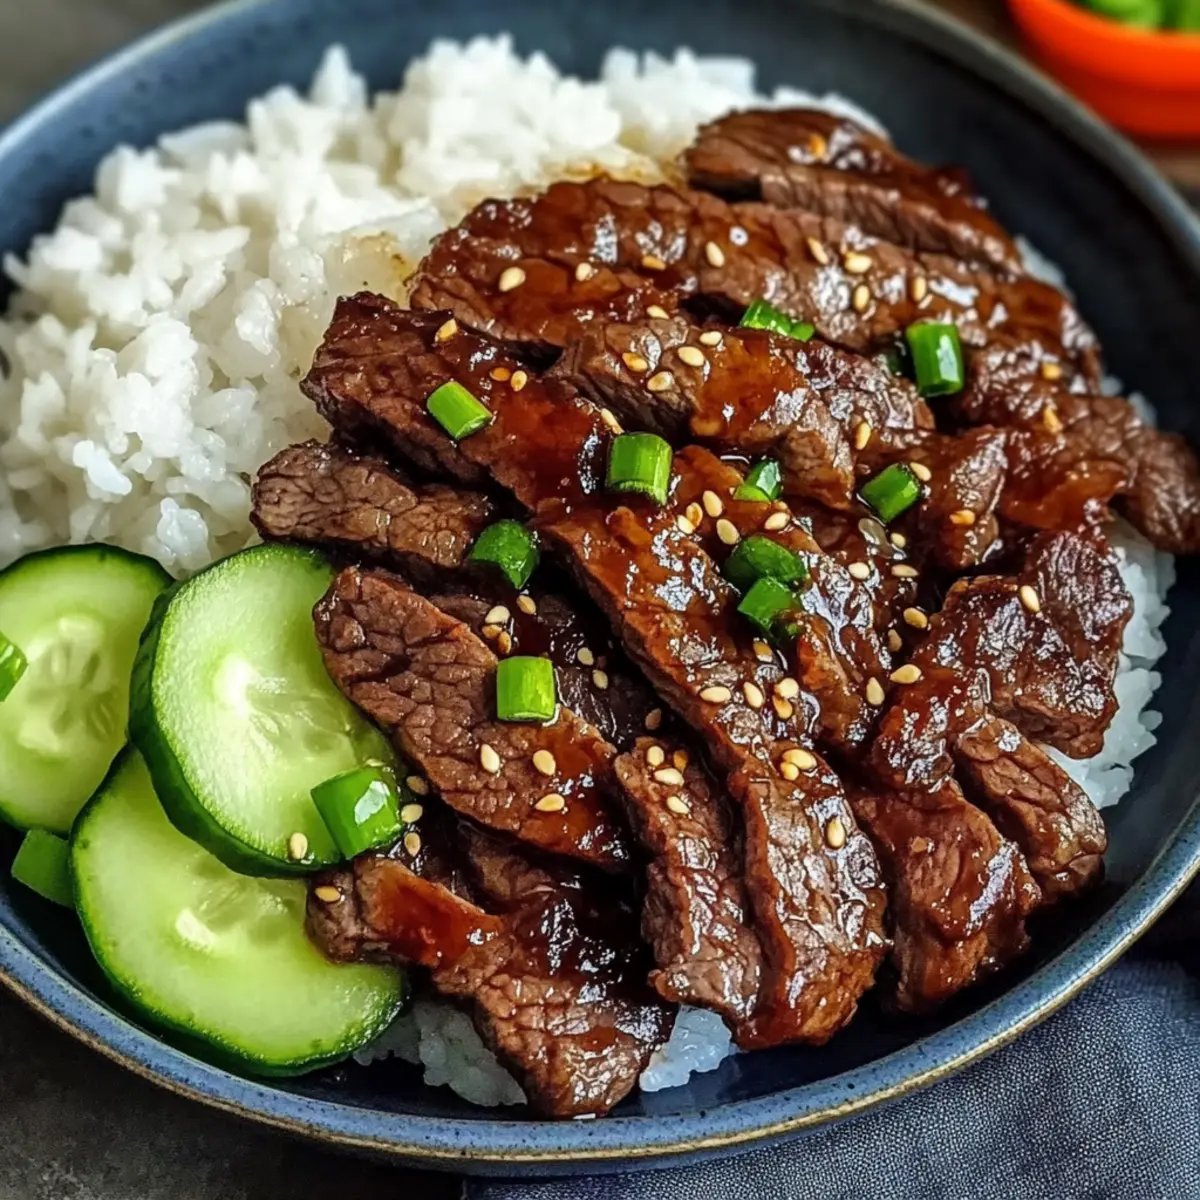
- Boiled Rice – A hearty base that pairs beautifully with the beef.
- Sesame Seeds – A sprinkle adds texture and a touch of elegance.
- Chopped Cucumber and Tomato – Fresh garnishes that brighten up the plate.
Step‑by‑Step Instructions for Beef Yakiniku
Step 1: Prepare Marinade
In a mixing bowl, whisk together 80 ml of low-sodium soy sauce, ½ tbsp gochujang, 1 tbsp mirin, 2 tsp minced ginger, ½ tsp garlic powder, 1 tbsp sesame oil, 1 tbsp neutral oil, and 4 tbsp light brown sugar until smooth and well combined. The mixture should be glossy and aromatic, encapsulating the rich flavors that will penetrate the beef.
Step 2: Marinate Steak
Thinly slice 750 g of flank or skirt steak against the grain for maximum tenderness. Place the sliced beef into the marinade, ensuring every piece is well coated. Cover the bowl with plastic wrap and refrigerate for about 2 hours to allow the flavors to meld beautifully, resulting in a depth of taste in your Beef Yakiniku.
Step 3: Preheat Pan
While the beef is marinating, preheat a wok or a large frying pan over high heat until it’s smoking hot; this typically takes about 5 minutes. To ensure your cooked beef stays warm, place a serving bowl in the oven on a low setting. The high heat is crucial for achieving that perfect sear on your Beef Yakiniku.
Step 4: Cook Steak
Once your pan is at the right temperature, add the marinated beef in batches to avoid overcrowding. Sear each batch for about 3 minutes without moving them to develop a nice caramelization. Afterward, stir and cook for an additional 2-3 minutes until the beef is browned, slightly crispy on the edges, and cooked through, showcasing the beautiful glaze from the marinade.
Step 5: Garnish/Serve
After cooking each batch, transfer the seared beef to your warm bowl, keeping everything hot and inviting. Sprinkle with sesame seeds for added texture and a delightful crunch. Serve immediately alongside boiled rice and freshly chopped cucumber and tomato for a refreshing touch, completing your delicious Beef Yakiniku masterpiece ready to devour.
Expert Tips for Beef Yakiniku
-
Slice Against the Grain: Ensure you slice the steak thinly against the grain for maximum tenderness; this really enhances your Beef Yakiniku experience.
-
Don’t Skimp on Marinade Time: Marinating for at least 2 hours helps the flavors fully penetrate the meat, so don’t rush this step!
-
Preheat for Success: Achieving a smoking hot pan is crucial for caramelization; don’t settle for medium heat or you’ll steam rather than sear the beef.
-
Cook in Batches: Overcrowding the pan leads to steaming, not browning. Sear in small batches to get that perfect texture every time!
-
Watch the Sugar: Be mindful of the sugar balance; it enhances flavor but can burn quickly, so adjust cooking time accordingly.
-
Experiment with Marinades: Don’t be afraid to mix things up! Try different marinades or cuts of beef to make this Beef Yakiniku uniquely yours.
Make Ahead Options
Beef Yakiniku is a fantastic recipe for meal prep enthusiasts! You can prepare the marinade and slice the beef up to 24 hours in advance. Simply whisk together the marinade ingredients and pour them over the thinly sliced beef, ensuring each piece is coated. Cover and refrigerate to let the flavors develop. Additionally, you can chop your garnishes, like cucumber and tomatoes, and store them in the fridge for quick assembly. When you’re ready to cook, just preheat your pan and sear the beef in batches as directed, ensuring its tenderness and flavor remain just as delicious as if freshly made. This makes weekday dinners stress-free and scrumptiously satisfying!
How to Store and Freeze Beef Yakiniku
Fridge: Store cooked Beef Yakiniku in an airtight container for up to 3 days. Reheat gently in the microwave or on the stovetop to maintain its flavorful texture.
Freezer: If you want to keep leftovers longer, freeze the cooked beef in a sealed freezer bag for up to 2 months. Thaw it in the fridge overnight before reheating.
Marinated Beef: Uncooked marinated beef can be kept in the fridge for up to 24 hours before cooking. For longer storage, freeze the marinated beef for up to 2 months—just transfer it to the fridge to thaw before cooking.
Reheating: When reheating, do so on medium heat to ensure the beef remains tender and juicy. Enjoy your Beef Yakiniku just as deliciously as the day it was made!
What to Serve with Quick & Flavorful Beef Yakiniku
As your kitchen fills with the mouthwatering aroma of grilled beef, let’s elevate your meal by pairing it with delightful sides!
-
Steamed Jasmine Rice: A classic complement, its fluffy texture absorbs the savory flavors from the beef beautifully. The warmth of the rice balances the dish perfectly, creating a comforting harmony.
-
Fresh Cucumber Salad: Crisp and refreshing, this salad adds a burst of color and crunch to your plate. Toss in a simple rice vinegar dressing to brighten the meal.
-
Miso Soup: A warm, umami-rich soup provides a soothing contrast to your Yakiniku, enhancing the Japanese dining experience. It’s light yet flavorful, rounding out the meal beautifully.
-
Pickled Vegetables: These tangy bites offer a zesty contrast that cuts through the richness of the beef. Their crunch provides an exciting textural contrast with every bite.
-
Grilled Vegetables: Charred bell peppers, onions, or zucchini bring a smoky flavor and additional nutrients. Serve alongside for a colorful, balanced plate that elevates your dining experience.
-
Cold Sake or Green Tea: Refreshing beverages that cleanse the palate; sake enhances the meal’s Japanese essence, while green tea can provide a soothing finish to your dinner.
These pairings will make your Beef Yakiniku not just a meal but a delightful dining experience!
Beef Yakiniku Variations & Substitutions
Feel free to customize your Beef Yakiniku to suit your taste and dietary needs—there are so many exciting possibilities!
-
Gluten-Free: Use tamari or coconut aminos instead of soy sauce for a gluten-free marinade option that keeps all the flavor.
-
Low-Carb: Swap out the boiled rice for cauliflower rice to create a satisfying, low-carb meal that still delivers on taste.
-
Spicy Kick: Replace gochujang with sriracha or chili garlic sauce for a different heat profile; adjust based on your love for spice!
-
Add Veggies: Toss in sliced bell peppers, zucchini, or snap peas alongside the beef for a delightful stir-fry texture and color.
-
Herb Infusion: Introduce fresh herbs like cilantro or green onions as a garnish, adding brightness and an herby freshness to your dish.
-
Sweet Component: For a twist, consider adding a splash of orange juice to the marinade for subtle sweetness and a fruity aroma.
-
Creaminess: Pour some Asian-style mayo over the finished dish, providing a creamy element that balances the savory flavors wonderfully.
For more delicious takes on beef, explore my recipe for Savory Ground Beef or try a flavorful Beef Bok Choy.
Beef Yakiniku Recipe FAQs
What type of steak is best for Beef Yakiniku?
Absolutely! For Beef Yakiniku, flank or skirt steak is ideal due to its flavor and tenderness when sliced thinly against the grain. However, if you’re looking for a leaner alternative, sirloin works wonderfully as well! Ribeye is another fantastic choice if you prefer a richer, fattier cut.
How long can I store cooked Beef Yakiniku in the fridge?
You can store your delicious cooked Beef Yakiniku in an airtight container for up to 3 days. To reheat, I recommend using the microwave or stovetop on low heat, which helps to maintain the moist and tender texture of the beef.
Can I freeze marinated Beef Yakiniku? How?
Yes, you can definitely freeze marinated Beef Yakiniku! Just seal the marinated beef in a heavy-duty freezer bag and store it for up to 2 months. To thaw, simply transfer it to the fridge overnight before cooking it. This way, you will still enjoy all those fantastic flavors once you’re ready to cook!
What should I do if my Beef Yakiniku is tough?
If you find your Beef Yakiniku is tougher than expected, it might be due to slicing against the grain. Always slice the beef thinly against the grain, as this breaks up the muscle fibers, making it more tender. Marinating for 2 hours or more is also essential, as it helps to soften the meat through flavor absorption and enzymatic action.
Is Beef Yakiniku gluten-free?
Indeed! Beef Yakiniku can easily be made gluten-free. Just switch out the soy sauce with tamari or coconut aminos, which are both gluten-free alternatives. This way, you can enjoy this delightful Japanese dish without any gluten concerns!
Can I add vegetables to my Beef Yakiniku?
Very! Adding vegetables enhances both the flavor and nutrition of your Beef Yakiniku. You can toss in thinly sliced onion, bell peppers, or mushrooms during cooking. Just make sure to adjust the cooking time slightly, as each vegetable may require different amounts of time to become tender. Enjoy experimenting!
Savor Delicious Beef Yakiniku: Quick Japanese Grilling Magic
Ingredients
Equipment
Method
- Prepare Marinade: Whisk together soy sauce, gochujang, mirin, minced ginger, garlic powder, sesame oil, neutral oil, and brown sugar until smooth.
- Marinate Steak: Thinly slice the steak and marinate in the mixture for 2 hours.
- Preheat Pan: Heat your wok or frying pan over high heat for about 5 minutes.
- Cook Steak: Sear the marinated beef in batches for around 2-3 minutes until browned.
- Garnish/Serve: Transfer to a bowl, sprinkle with sesame seeds, and serve with rice and vegetables.
Leave a Reply