
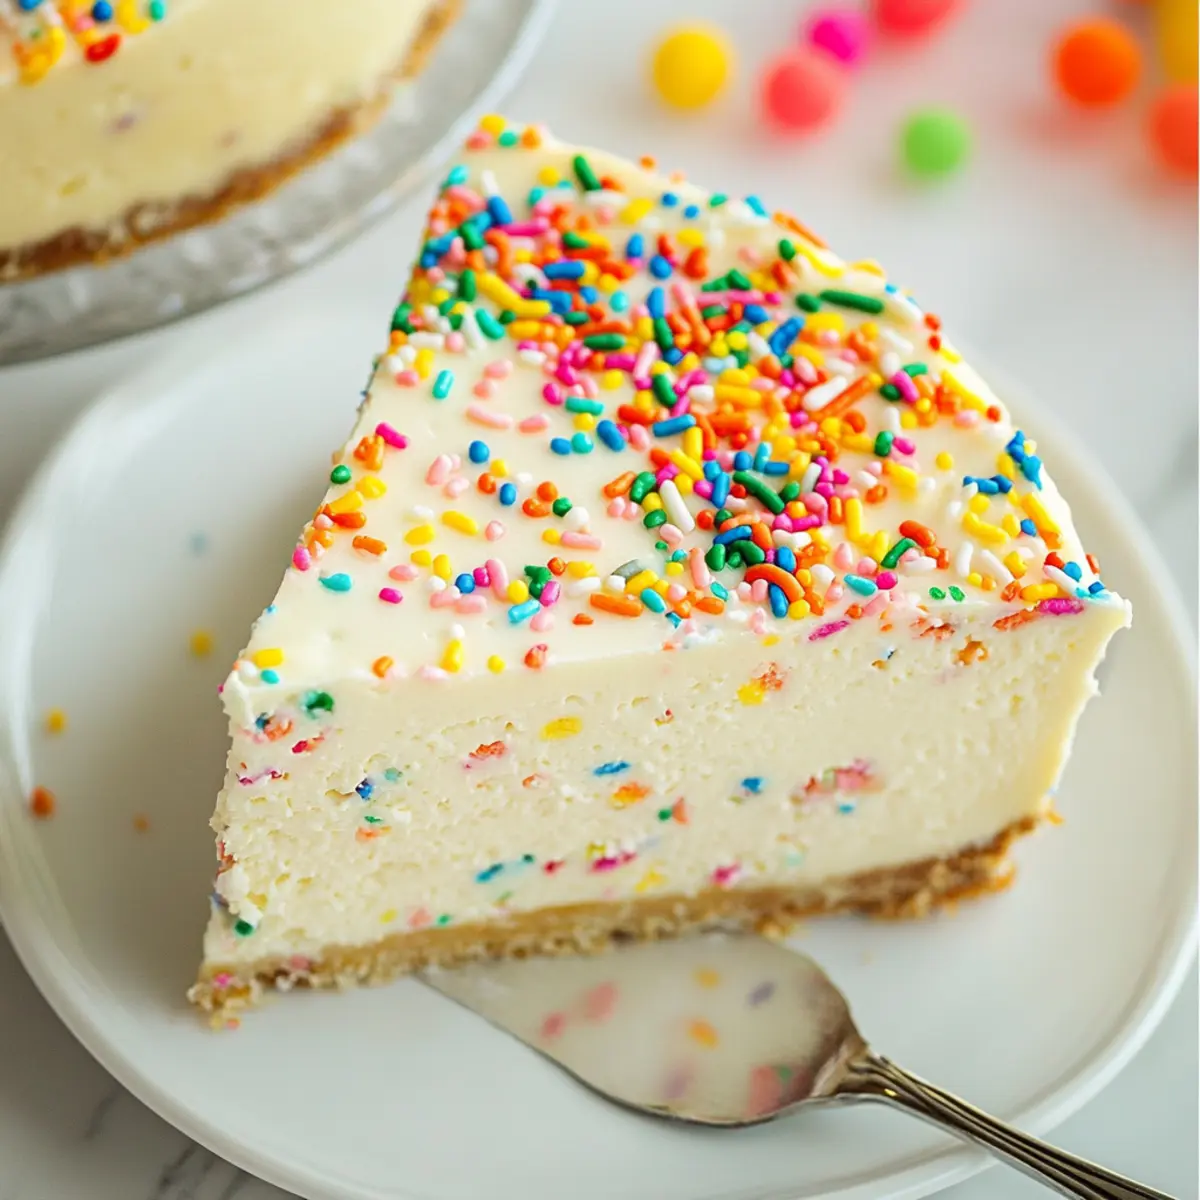
As I gathered with friends to celebrate another year of life, the unmistakable aroma of a freshly baked cheesecake filled the air, creating a perfect backdrop for laughter and joy. This Birthday Cheesecake, adorned with vibrant rainbow sprinkles, is not just a dessert; it’s a delightful twist on the classic birthday cake that transforms every celebration into a memorable feast. The creamy texture and rich flavors make it an indulgent treat that’s surprisingly quick to prepare, ensuring you can focus on making memories rather than stressing over the details. Whether you’re planning a big bash or an intimate gathering, this dessert is sure to impress. Curious about how to make your birthdays even more festive? Let’s dive into the recipe together!
Why is This Birthday Cheesecake Amazing?
Indulgent Experience: The creamy filling combined with a crunchy graham cracker crust offers a luxurious taste that makes every slice a celebration.
Easy to Make: With straightforward steps and common ingredients, you’ll whip this dessert up in no time, allowing you to enjoy more quality moments with loved ones.
Customizable Delight: Feel free to personalize with toppings! Try adding chocolate chips for a twist or a layer of whipped cream for extra decadence. For inspiration, check out my Fruity Pebbles Cheesecake or Key Lime Cheesecake for more delicious variations.
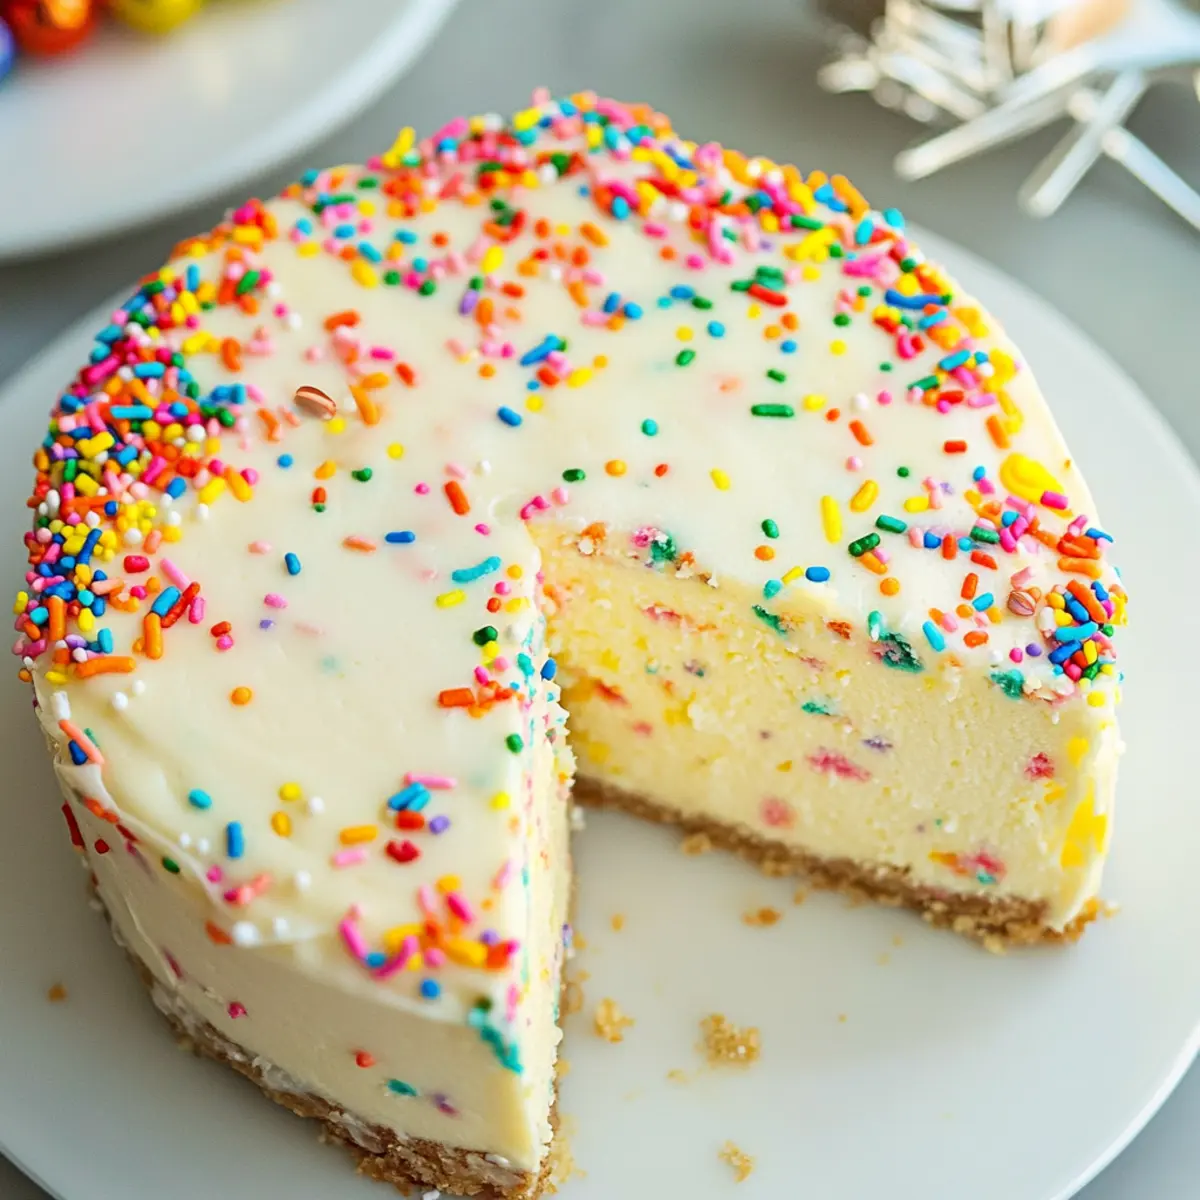
Crowd-Pleaser: With its colorful sprinkles and rich flavor, this cheesecake is bound to be a hit at any party, ensuring your guests leave with happy memories.
Perfect for Any Occasion: Not just for birthdays, it shines at any gathering, making it versatile enough for everyday indulgence or special celebrations.
Birthday Cheesecake Ingredients
• Let’s gather our ingredients to create this delightful Birthday Cheesecake!
For the Crust
• Graham Cracker Crumbs – Provides structure and a sweet, crumbly base; substitute with gluten-free options if needed.
• Salted Butter – Adds richness to the crust; unsalted butter is a suitable alternative if preferred.
• Sugar – Sweetens both the crust and filling for enhanced flavor.
For the Filling
• Cream Cheese – The star of the filling that offers creaminess and tang; opt for full-fat for the best results.
• Sour Cream – Adds a wonderful tanginess and moisture; Greek yogurt is a lighter alternative.
• Eggs – Acts as a binder to ensure a smooth texture; make sure they’re at room temperature for easier mixing.
• Almond Extract – Infuses a subtle nutty flavor; vanilla extract can be substituted if desired.
• Vanilla Extract – Enhances the flavor depth, adding complexity; optional but recommended.
• Heavy Whipping Cream – Contributes to a luxuriously smooth filling; avoid low-fat versions for the best consistency.
For the Topping
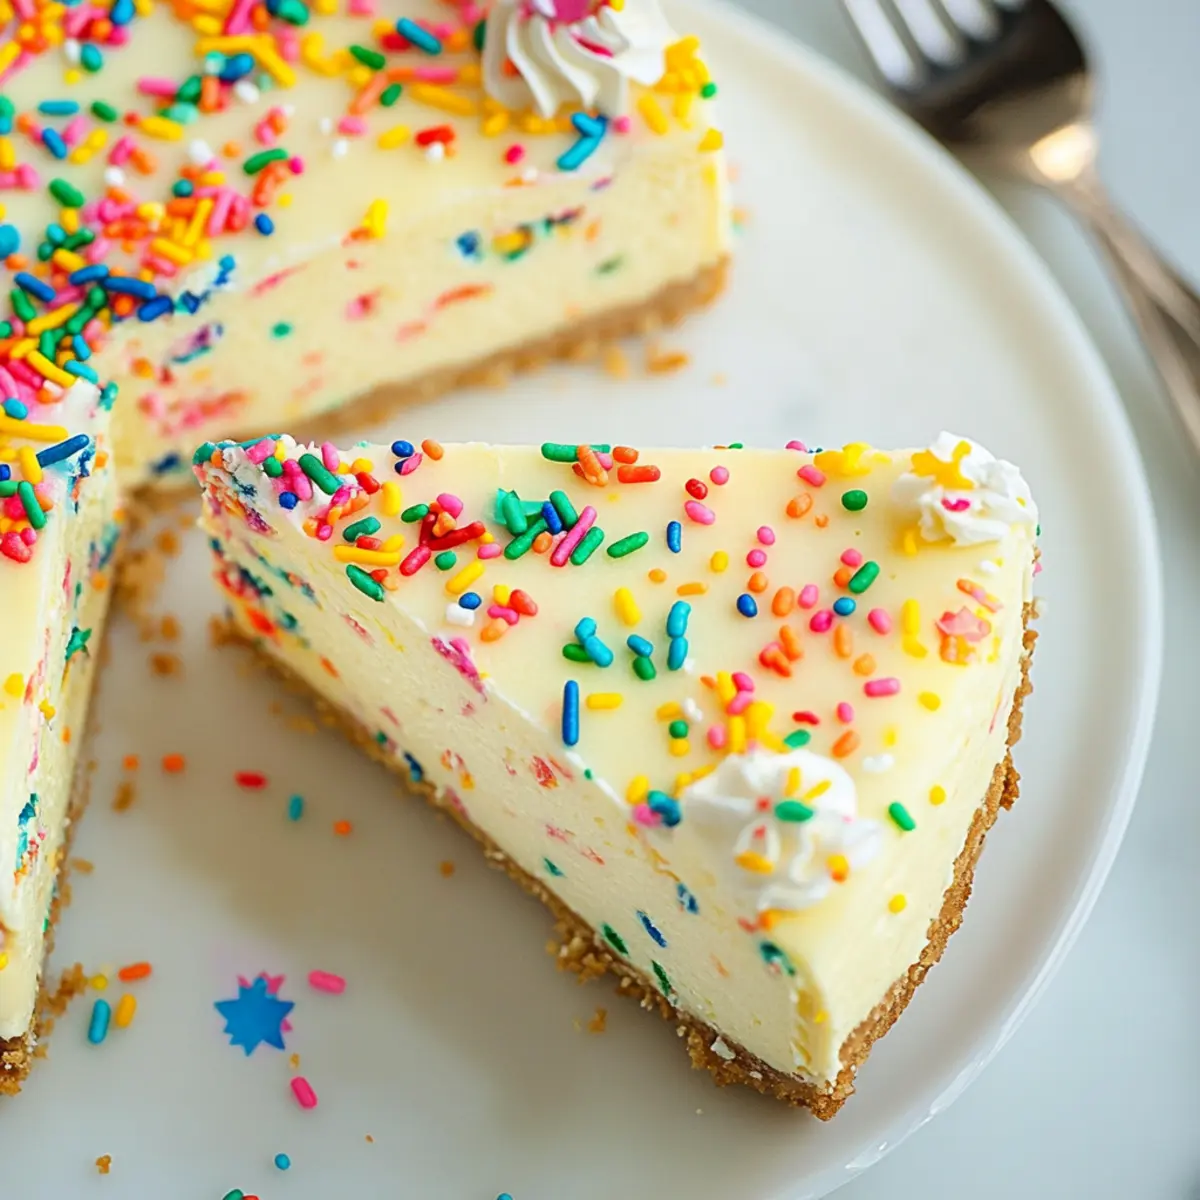
• Rainbow Sprinkles – Provides fun visual appeal and texture; feel free to sprinkle generously for that festive touch!
Step‑by‑Step Instructions for Birthday Cheesecake
Step 1: Preheat the Oven and Prepare the Pan
Begin by preheating your oven to 350°F (175°C). While it heats up, take a 9-inch springform pan and line the bottom with parchment paper, ensuring it’s greased on the sides to prevent sticking. This preparation is essential for a smooth release once your delightful Birthday Cheesecake is baked.
Step 2: Make the Crust
In a food processor, combine graham cracker crumbs, melted salted butter, and sugar to form a sandy mixture. Press this crumb mixture evenly into the bottom of your prepared springform pan, ensuring a compact base. Bake in the preheated oven for 8-9 minutes until lightly golden and fragrant. Let the crust cool completely before adding the filling.
Step 3: Prepare the Filling
In a large mixing bowl, use an electric mixer to beat softened cream cheese and sugar together on medium speed until smooth and creamy, about 2 minutes. Gradually mix in sour cream, heavy whipping cream, almond extract, and vanilla extract until everything is well blended and velvety. This rich mixture forms the heart of your Birthday Cheesecake.
Step 4: Incorporate the Eggs
With the mixer set to low speed, add eggs one at a time, ensuring each is fully incorporated before adding the next. Be careful not to over-mix, as this can cause cracks in your cheesecake. Gently fold in rainbow sprinkles using a spatula, allowing the vibrant colors to combine without losing their charm.
Step 5: Bake the Cheesecake
Pour the creamy filling over the cooled crust, smoothing the top with a spatula. Cover the sides of the springform pan with aluminum foil to prevent browning. Place the pan in a larger baking dish filled with hot water, creating a water bath. Bake in the oven for 60-70 minutes until the center is set yet slightly jiggly, signaling the perfect texture for your Birthday Cheesecake.
Step 6: Cool and Chill
Once baked, turn off the oven and allow the cheesecake to sit inside for 1 hour with the door slightly ajar. Afterward, transfer it to room temperature to cool completely. Refrigerate the cheesecake for at least 6 hours or overnight, allowing the flavors to meld beautifully while it firms up nicely.
Step 7: Serve and Enjoy
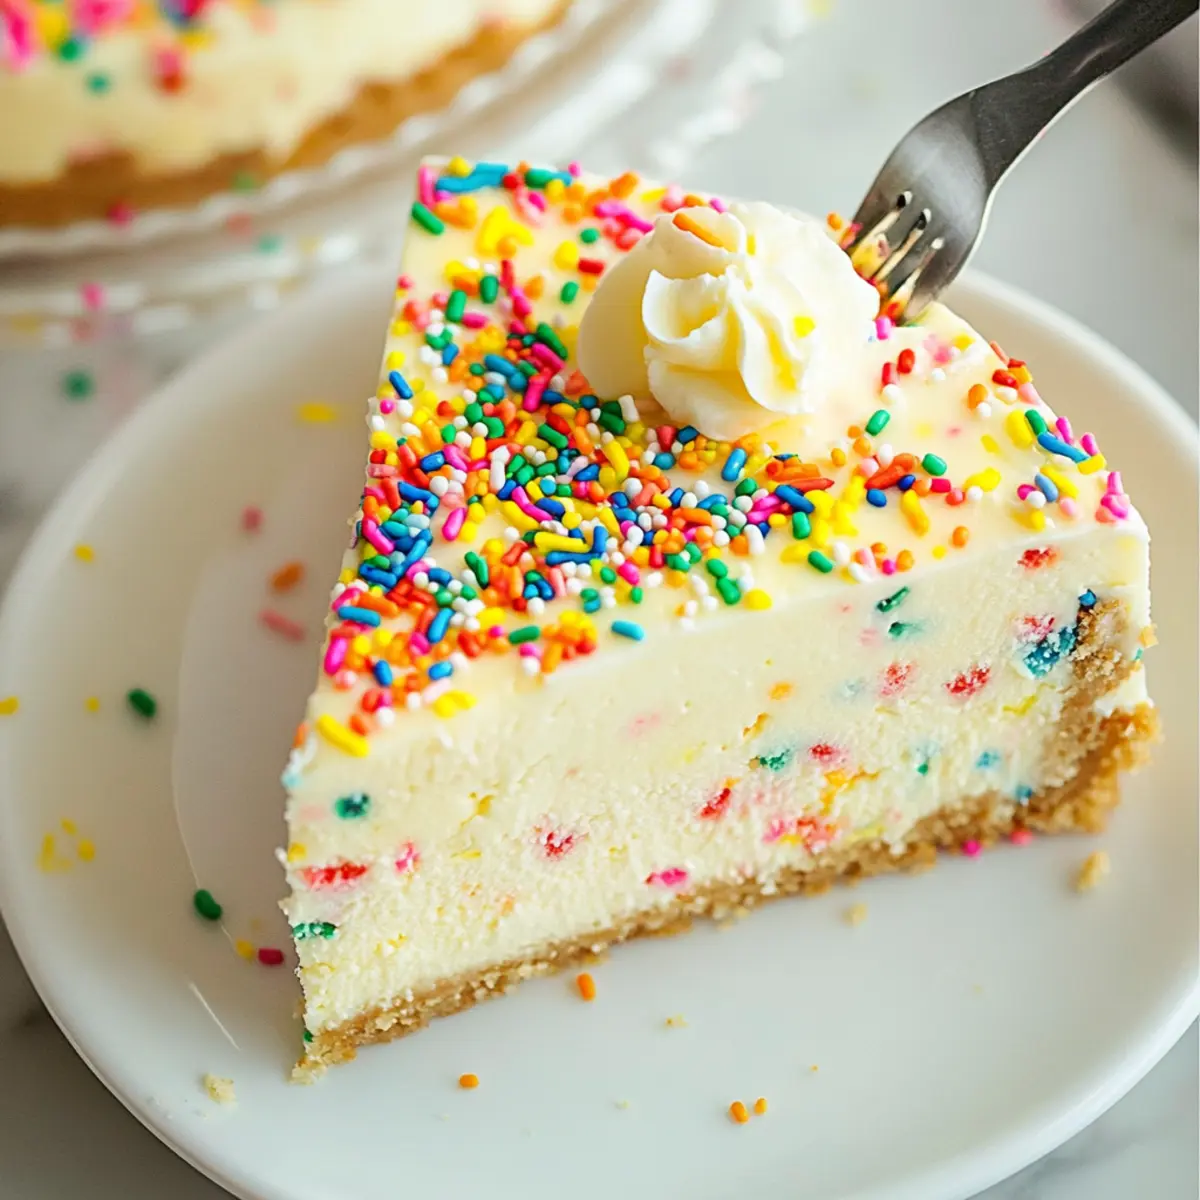
Carefully release the sides of the springform pan, revealing your stunning Birthday Cheesecake. Decorate as desired with whipped cream, extra rainbow sprinkles, or any toppings that catch your fancy. Slice into generous portions and serve chilled to bring a smile to everyone’s face during your celebration.
What to Serve with Festive Birthday Cheesecake?
Imagine the joy on your guests’ faces as they indulge in a slice of creamy cheesecake, perfectly complemented by delightful sides that enhance the experience.
-
Fresh Berries: The tartness of strawberries or blueberries cuts through the richness of the cheesecake for a refreshing contrast. Pairing these colorful fruits not only adds a pop of color but also balances flavors beautifully.
-
Whipped Cream: A light dollop of freshly whipped cream adds a luxurious touch and enhances the creaminess of the cheesecake, making every bite even more indulgent.
-
Chocolate Sauce: Drizzling warm chocolate sauce over each slice brings an irresistible richness. The deep, velvety flavor melds perfectly with the cheesecake’s sweetness, creating a heavenly combination.
-
Fruit Compote: A simple homemade fruit compote made from mixed berries or peaches offers sweetness and a touch of acidity, perfectly complementing the cheesecake’s creamy texture.
-
Coffee: A warm cup of coffee balances sweetness and adds warmth, making it an ideal drink choice to accompany your decadent dessert.
-
Sparkling Water with Citrus: Infusion of citrus in sparkling water refreshes the palate while enhancing the festive essence of the occasion. It’s a light alternative that pairs beautifully with sweets.
-
Ice Cream: A scoop of vanilla or fruity sorbet offers a cold, creamy contrast, enhancing the overall experience. The combination of textures between the cheesecake and ice cream creates a delightful treat.
-
Chocolate-Covered Strawberries: These treats can serve as an elegant bite-sized accompaniment, offering a deliciously sweet addition that pairs beautifully with the cheesecake’s flavors.
-
Cheese Platter: For a more sophisticated touch, a small cheese platter featuring mild cheeses can balance the sweetness with savory notes, pleasing a variety of palates.
Expert Tips for Birthday Cheesecake
Room Temperature Ingredients: Ensure all dairy ingredients are at room temperature for easier mixing and a silky-smooth texture in your Birthday Cheesecake.
Eggs Matter: Add eggs one at a time and mix on low to prevent over-mixing, avoiding cracks in your final cheesecake.
Water Bath Essential: Using a water bath during baking will help your cheesecake bake evenly and maintain its creamy consistency, preventing any unwanted cracks.
Cool Gradually: Allow the cheesecake to cool in the oven with the door slightly ajar for an hour; this gradual cooling helps prevent sudden temperature changes that can cause cracking.
Chill Time: Don’t rush the chilling process—letting your cake refrigerate for at least 6 hours or overnight allows flavors to deepen and improves the texture!
Make Ahead Options
This Birthday Cheesecake is a fantastic option for meal prep enthusiasts! You can prepare the crust and filling up to 24 hours in advance and refrigerate them separately. Simply bake the crust and allow it to cool, then mix the filling ingredients, cover, and store in the fridge. When you’re ready to assemble, pour the filling over the crust, bake, and follow the cooling instructions. This approach not only saves you valuable time but also ensures that your cheesecake remains just as delicious! For the best results, make sure everything is properly covered to maintain freshness and prevent any absorption of odors.
Birthday Cheesecake Variations & Substitutions
Feel free to explore delightful twists on this Birthday Cheesecake, making it uniquely yours and equally scrumptious!
- Gluten-Free Crust: Use gluten-free graham crackers instead of regular ones for a gluten-free option that retains the same delightful crunch.
- Choco Delight: Swap rainbow sprinkles for mini chocolate chips to create a decadent chocolate cheesecake that will satisfy any sweet tooth.
- Fruity Finish: Top with a rich fruit compote, like strawberry or blueberry, to introduce a refreshing fruitiness that complements the creamy cheesecake beautifully.
- Nutty Indulgence: Add crushed nuts, such as pecans or walnuts, into the crust or as a topping for a delightful crunch and nutty flavor that enriches each slice.
- Zesty Twist: Incorporate lemon zest into the filling for a zingy flavor that brightens the richness and adds an aromatic touch.
- Whipped Cream Clouds: Instead of just sprinkles, pipe flavored whipped cream on top, like vanilla or chocolate, for a fluffy finish that enhances the visual appeal and taste.
- Chocolate Ganache: Drizzle a warm chocolate ganache over the cheesecake right before serving for a rich, indulgent topping that elevates the dessert experience.
- Mini Cheesecakes: For a fun twist, turn this recipe into mini cheesecakes baked in muffin tins, perfect for parties or easy serving.
These variations provide just a glimpse into the creativity you can explore with this Birthday Cheesecake! If you’re looking for more inspiration, check out my Lemon Blueberry Cheesecake or the refreshing Key Lime Cheesecake. Enjoy customizing your cheesecake!
Storage Tips for Birthday Cheesecake
Fridge: Store your Birthday Cheesecake in an airtight container in the refrigerator for up to 4 days to preserve its creamy texture and delightful flavor.
Freezer: If you want to enjoy it later, individually wrap slices of cheesecake in plastic wrap and then place them in a freezer-safe bag. They can be stored in the freezer for up to 3 months.
Thawing: When ready to enjoy, move the frozen slices to the fridge and let them thaw overnight for the best taste and texture.
Reheating: To serve warm, you can place a slice in the microwave for about 15-20 seconds—just enough to take the chill off, maintaining its deliciousness!
Birthday Cheesecake Recipe FAQs
What type of cream cheese should I use for the Birthday Cheesecake?
I recommend using full-fat cream cheese for the best flavor and texture. Low-fat options can sometimes lead to a watery filling, which is not what we want in a rich cheesecake!
How long can I store my Birthday Cheesecake in the fridge?
You can store your Birthday Cheesecake in an airtight container in the refrigerator for up to 4 days. Just make sure it’s well covered to keep it fresh and tasty!
Can I freeze the Birthday Cheesecake, and how?
Absolutely! For freezing, wrap individual slices tightly in plastic wrap and then place them in a freezer-safe bag. This way, you can enjoy your delicious cheesecake later! It stays good for up to 3 months in the freezer. When you’re ready to indulge, just move the slices to the fridge to thaw overnight.
How do I prevent cracks in my cheesecake during baking?
To avoid cracks, follow these steps: First, ensure all your ingredients, especially eggs and dairy, are at room temperature. Mix your batter gently, adding eggs one at a time, and avoid over-mixing. Additionally, baking in a water bath will help maintain a stable temperature and allow for even cooking, resulting in a smooth surface.
What can I do if my cheesecake comes out too soft or jiggles excessively in the center?
If your cheesecake is too soft, it may need a bit more baking time. Keep an eye on it for doneness; it should be set around the edges but still slightly jiggly in the center when you take it out. If it jiggles too much, return it to the oven for a few more minutes. Remember to allow it to cool gradually in the oven after baking—this can also help stabilize the texture.
Are there any allergens I should be aware of in this Birthday Cheesecake?
Yes, this Birthday Cheesecake contains common allergens such as dairy (cream cheese, sour cream) and eggs. If you’re making this for someone with allergies, consider using dairy-free cream cheese alternatives and egg substitutes. Be sure to check labels for any cross-contamination warnings!
Decadent Birthday Cheesecake with Fun Rainbow Sprinkles
Ingredients
Equipment
Method
- Preheat your oven to 350°F (175°C). Grease the sides of a 9-inch springform pan and line the bottom with parchment paper.
- In a food processor, combine graham cracker crumbs, melted salted butter, and sugar. Press the mixture into the bottom of the prepared pan and bake for 8-9 minutes until golden. Cool completely.
- In a large bowl, beat softened cream cheese and sugar until smooth. Mix in sour cream, heavy whipping cream, almond extract, and vanilla extract until velvety.
- Add eggs one at a time, mixing on low until just incorporated. Gently fold in rainbow sprinkles.
- Pour the filling over the cooled crust, cover the sides with aluminum foil, and bake in a water bath for 60-70 minutes until set yet jiggly.
- Turn off the oven and let the cheesecake sit inside for 1 hour. Then cool to room temperature and refrigerate for at least 6 hours or overnight.
- Release the sides of the springform pan, decorate with toppings as desired, slice, and serve chilled.
Leave a Reply