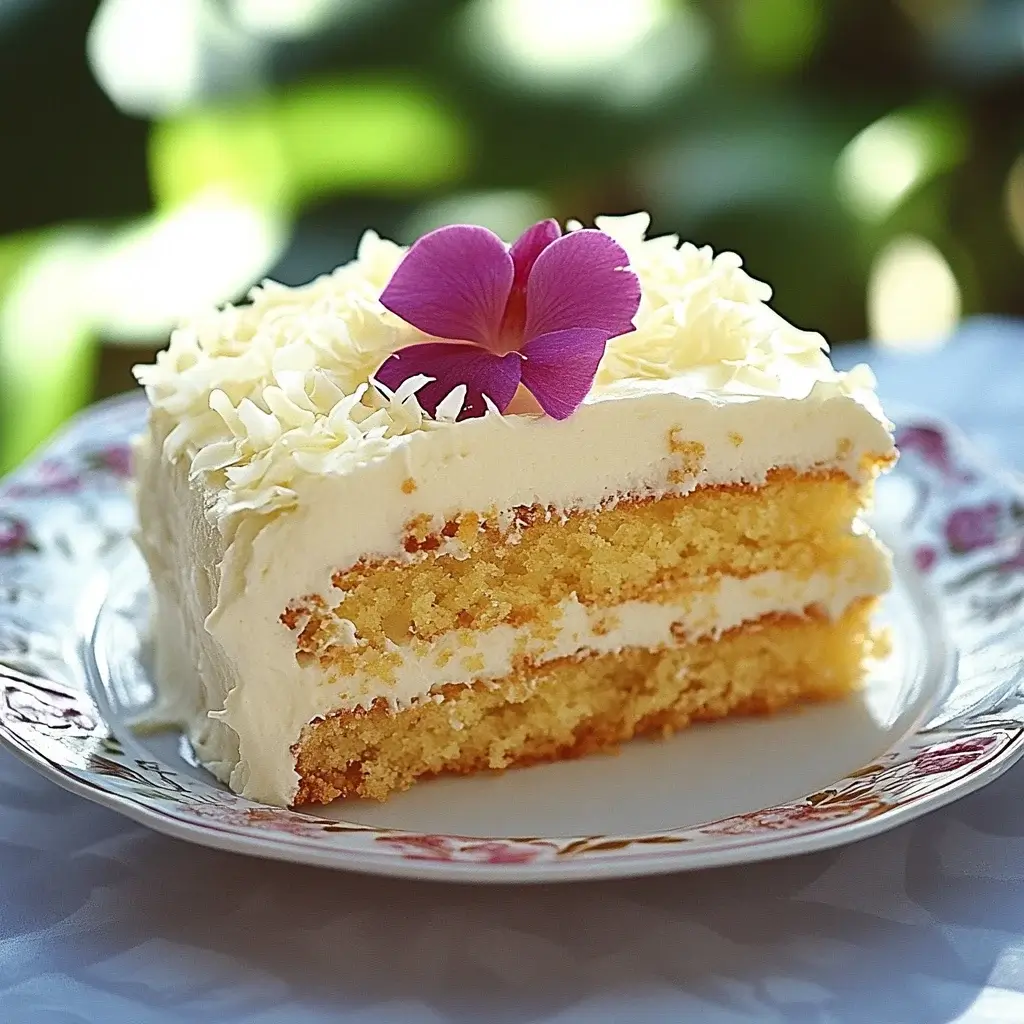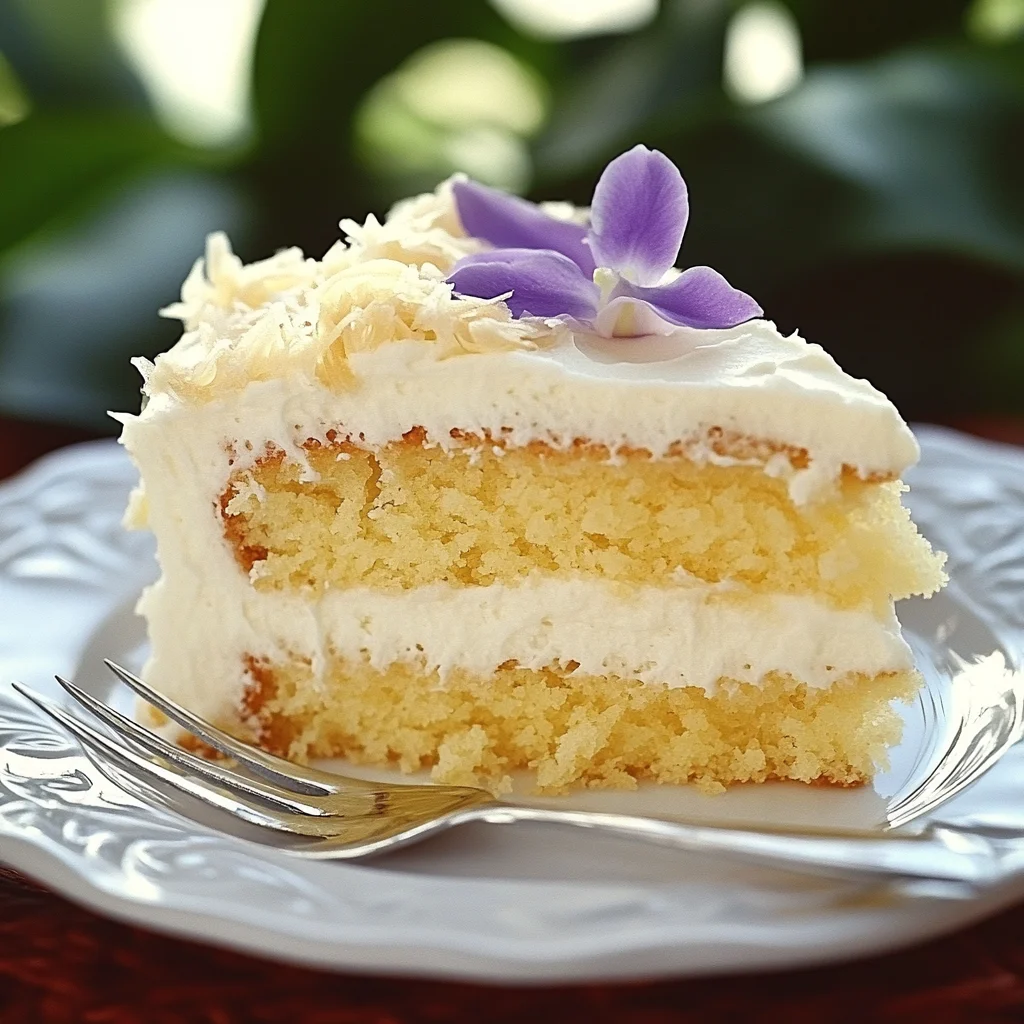
Introduction to Catch-a-Husband Cake
There’s something magical about baking a cake that can sweep someone off their feet. The Catch-a-Husband Cake is just that—a rich, chocolatey delight that’s perfect for impressing that special someone in your life. Whether you’re trying to win over a date or simply want to treat your family, this cake is a quick solution for a busy day. With its moist texture and decadent flavor, it’s bound to become a favorite. Trust me, once you whip this up, you’ll find it hard to resist going back for seconds!
Why You’ll Love This Catch-a-Husband Cake
This Catch-a-Husband Cake is not just a dessert; it’s a game-changer. It’s incredibly easy to make, even for those who claim they can’t bake. In just under an hour, you’ll have a stunning cake that tastes like it came from a fancy bakery. The rich chocolate flavor is irresistible, making it perfect for any occasion. Plus, it’s a surefire way to impress your loved ones without breaking a sweat!
Ingredients for Catch-a-Husband Cake
Gathering the right ingredients is the first step to creating your Catch-a-Husband Cake. Here’s what you’ll need:
- All-purpose flour: The backbone of your cake, providing structure and texture.
- Granulated sugar: Sweetens the cake and helps create that delightful moistness.
- Unsweetened cocoa powder: This is where the rich chocolate flavor comes from, giving the cake its deep color.
- Baking powder and baking soda: These leavening agents help the cake rise, making it light and fluffy.
- Salt: A pinch enhances the flavors, balancing the sweetness.
- Large eggs: They bind the ingredients together and add moisture.
- Whole milk: Contributes to the cake’s richness and helps create a tender crumb.
- Vegetable oil: Keeps the cake moist and adds a bit of richness without the heaviness of butter.
- Vanilla extract: A splash of this adds warmth and depth to the flavor profile.
- Boiling water: This may sound odd, but it helps to bloom the cocoa, intensifying the chocolate flavor.
- Chocolate chips (optional): For those who can’t get enough chocolate, folding in some chips adds extra richness and texture.
For exact measurements, check the bottom of the article where you can find everything listed for easy printing. Happy baking!
How to Make Catch-a-Husband Cake
Step 1: Preheat and Prepare
Start by preheating your oven to 350°F (175°C). This ensures your cake bakes evenly. While the oven warms up, grab two 9-inch round cake pans. Grease them with butter or cooking spray, then dust with flour. This step is crucial; it prevents your cake from sticking. Trust me, there’s nothing worse than a cake that won’t come out of the pan!
Step 2: Mix Dry Ingredients
In a large mixing bowl, combine the all-purpose flour, granulated sugar, unsweetened cocoa powder, baking powder, baking soda, and salt. Whisk these dry ingredients together until they’re well blended. This step is important because it ensures that the leavening agents are evenly distributed. A good mix now means a fluffy cake later. You want to see a nice, uniform color throughout!
Step 3: Add Wet Ingredients
Next, it’s time to add the wet ingredients. Crack in the large eggs, pour in the whole milk, vegetable oil, and vanilla extract. Beat this mixture on medium speed for about two minutes until it’s smooth and creamy. The batter should be thick but pourable. This is where the magic begins, as the ingredients come together to create a luscious chocolatey base!
Step 4: Combine with Boiling Water
Now, carefully stir in the boiling water. Yes, boiling water! It may seem odd, but it helps bloom the cocoa, enhancing the chocolate flavor. The batter will be quite thin, almost like a liquid. Don’t worry; this is exactly what you want. It’ll bake up beautifully, resulting in a moist and decadent cake that’s hard to resist!
Step 5: Fold in Chocolate Chips
If you’re a chocolate lover, this step is for you! Gently fold in the chocolate chips, if you’re using them. This adds an extra layer of richness and texture to your cake. Just be careful not to overmix; you want those chips to be evenly distributed without breaking apart. More chocolate is always a good idea!
Step 6: Bake the Cake
Pour the batter evenly into your prepared cake pans. Pop them into the preheated oven and bake for 30-35 minutes. To check for doneness, insert a toothpick into the center of the cakes. If it comes out clean or with a few moist crumbs, you’re good to go! Let the aroma fill your kitchen; it’s a sign that something delicious is on the way!
Step 7: Cool and Frost
Once baked, allow the cakes to cool in the pans for about 10 minutes. Then, carefully remove them and transfer to a wire rack to cool completely. This step is crucial; frosting a warm cake can lead to a melty mess. Once cooled, frost with your favorite chocolate frosting. You can even get creative with toppings like sprinkles or fresh berries for a beautiful presentation!

Tips for Success
- Measure your ingredients accurately for the best results.
- Use room temperature eggs and milk for a smoother batter.
- Don’t skip the greasing and flouring of the pans; it’s essential!
- Let the cakes cool completely before frosting to avoid melting.
- Experiment with different frostings or fillings to personalize your cake.
Equipment Needed
- Mixing bowls: A large bowl for mixing ingredients; a smaller one for whisking dry ingredients.
- Whisk: Essential for blending dry ingredients; a fork can work in a pinch.
- Measuring cups and spoons: For accurate ingredient measurements; a kitchen scale is a great alternative.
- 9-inch round cake pans: Use any similar-sized pans if you don’t have these.
- Cooling rack: Helps cakes cool evenly; a plate can substitute in a hurry.
Variations
- Gluten-Free: Substitute all-purpose flour with a gluten-free blend to make this cake suitable for those with gluten sensitivities.
- Vegan: Replace eggs with flaxseed meal and use almond or soy milk instead of whole milk. Opt for a plant-based frosting to keep it vegan-friendly.
- Nutty Twist: Add chopped walnuts or pecans to the batter for a delightful crunch and added flavor.
- Mint Chocolate: Incorporate a few drops of peppermint extract into the batter for a refreshing minty flavor that pairs beautifully with chocolate.
- Fruit-Filled: Layer the cake with fresh strawberries or raspberries between the layers for a fruity surprise that complements the rich chocolate.
Serving Suggestions
- Pair with a scoop of vanilla ice cream for a classic dessert combo.
- Serve alongside fresh berries to add a pop of color and flavor.
- Drizzle with chocolate sauce for an extra indulgent touch.
- Enjoy with a cup of coffee or a glass of milk to balance the sweetness.
- Garnish with whipped cream and mint leaves for an elegant presentation.
FAQs about Catch-a-Husband Cake
What makes the Catch-a-Husband Cake so special?
The Catch-a-Husband Cake is special because of its rich chocolate flavor and moist texture. It’s a crowd-pleaser that’s easy to make, making it perfect for impressing loved ones or celebrating special occasions. Plus, who doesn’t love chocolate?
Can I make this cake ahead of time?
Absolutely! You can bake the cake a day in advance. Just store it in an airtight container at room temperature. Frost it right before serving to keep it fresh and delicious!
What frosting pairs best with this cake?
A classic chocolate frosting is a favorite, but you can also try cream cheese frosting for a tangy twist. If you want something lighter, whipped cream with fresh berries works beautifully too!
Can I use different types of flour?
Yes, you can experiment with different flours! For a gluten-free version, use a gluten-free flour blend. Just keep in mind that the texture may vary slightly.
How do I store leftovers?
Store any leftover cake in an airtight container at room temperature for up to three days. If you want to keep it longer, refrigerate it for up to a week. Just make sure to bring it back to room temperature before serving for the best flavor!
Final Thoughts
Baking the Catch-a-Husband Cake is more than just following a recipe; it’s about creating moments that linger long after the last bite. The rich chocolate flavor and moist texture make it a delightful treat that can turn an ordinary day into something special. Whether you’re celebrating a milestone or simply indulging in a sweet craving, this cake brings joy to the table. Plus, the smiles it brings to your loved ones’ faces are priceless. So, roll up your sleeves, embrace the process, and let this cake work its magic in your kitchen!
Catch-a-Husband Cake: Discover this Irresistible Recipe!
Ingredients
Method
- Preheat your oven to 350°F (175°C). Grease and flour two 9-inch round cake pans.
- In a large mixing bowl, combine the flour, sugar, cocoa powder, baking powder, baking soda, and salt. Whisk until well blended.
- Add the eggs, milk, vegetable oil, and vanilla extract to the dry ingredients. Beat on medium speed for 2 minutes until smooth.
- Carefully stir in the boiling water until the batter is well combined. The batter will be thin.
- If using, fold in the chocolate chips.
- Pour the batter evenly into the prepared cake pans.
- Bake for 30-35 minutes, or until a toothpick inserted in the center comes out clean.
- Allow the cakes to cool in the pans for 10 minutes, then remove from the pans and transfer to a wire rack to cool completely.
- Frost with your favorite chocolate frosting once cooled.
Nutrition
Notes
- For a richer flavor, substitute brewed coffee for the boiling water.
- Add a layer of raspberry or strawberry jam between the cake layers for a fruity twist.

Leave a Reply