
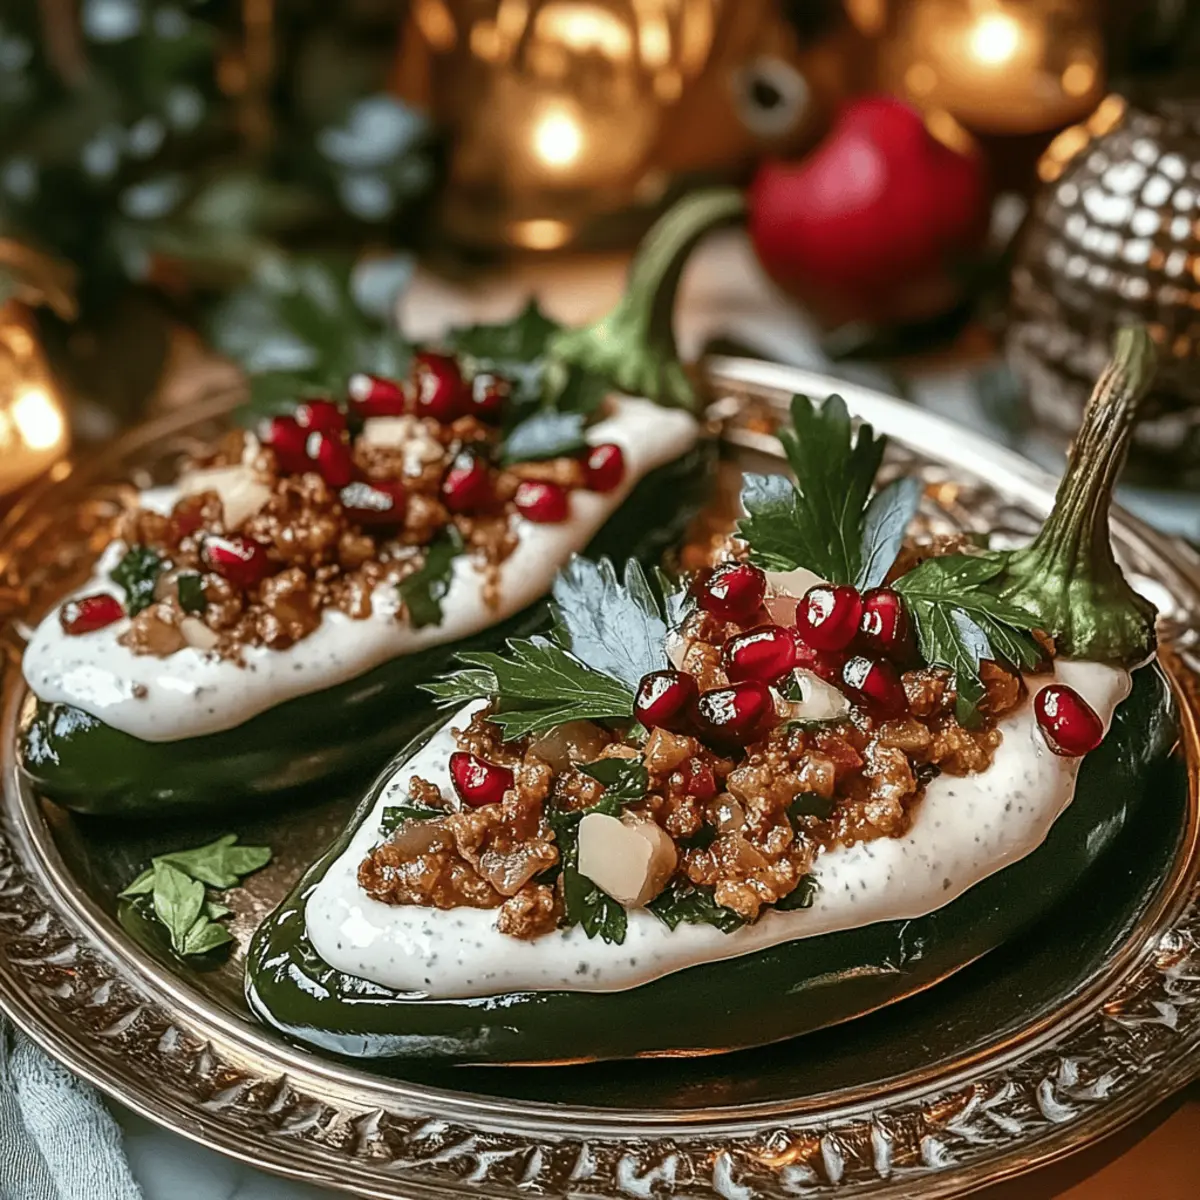
As I watched the vibrant colors dance on my plate, I couldn’t help but feel a surge of excitement. Chiles en Nogada, this traditional Mexican dish, transforms simple ingredients into an unforgettable feast for the senses. Picture roasted poblano chiles stuffed to the brim with a savory-sweet picadillo, drizzled in a creamy nogada sauce and adorned with jewel-like pomegranate seeds. Not only does this crowd-pleasing recipe make for a stunning centerpiece at festive gatherings, but it also offers plenty of room for creativity with vegetarian and dairy-free options. Just imagine the laughter and satisfaction around your table as this colorful dish is served! Ready to dive into this culinary adventure together? Let’s get started!
Why is Chiles en Nogada a must-try?
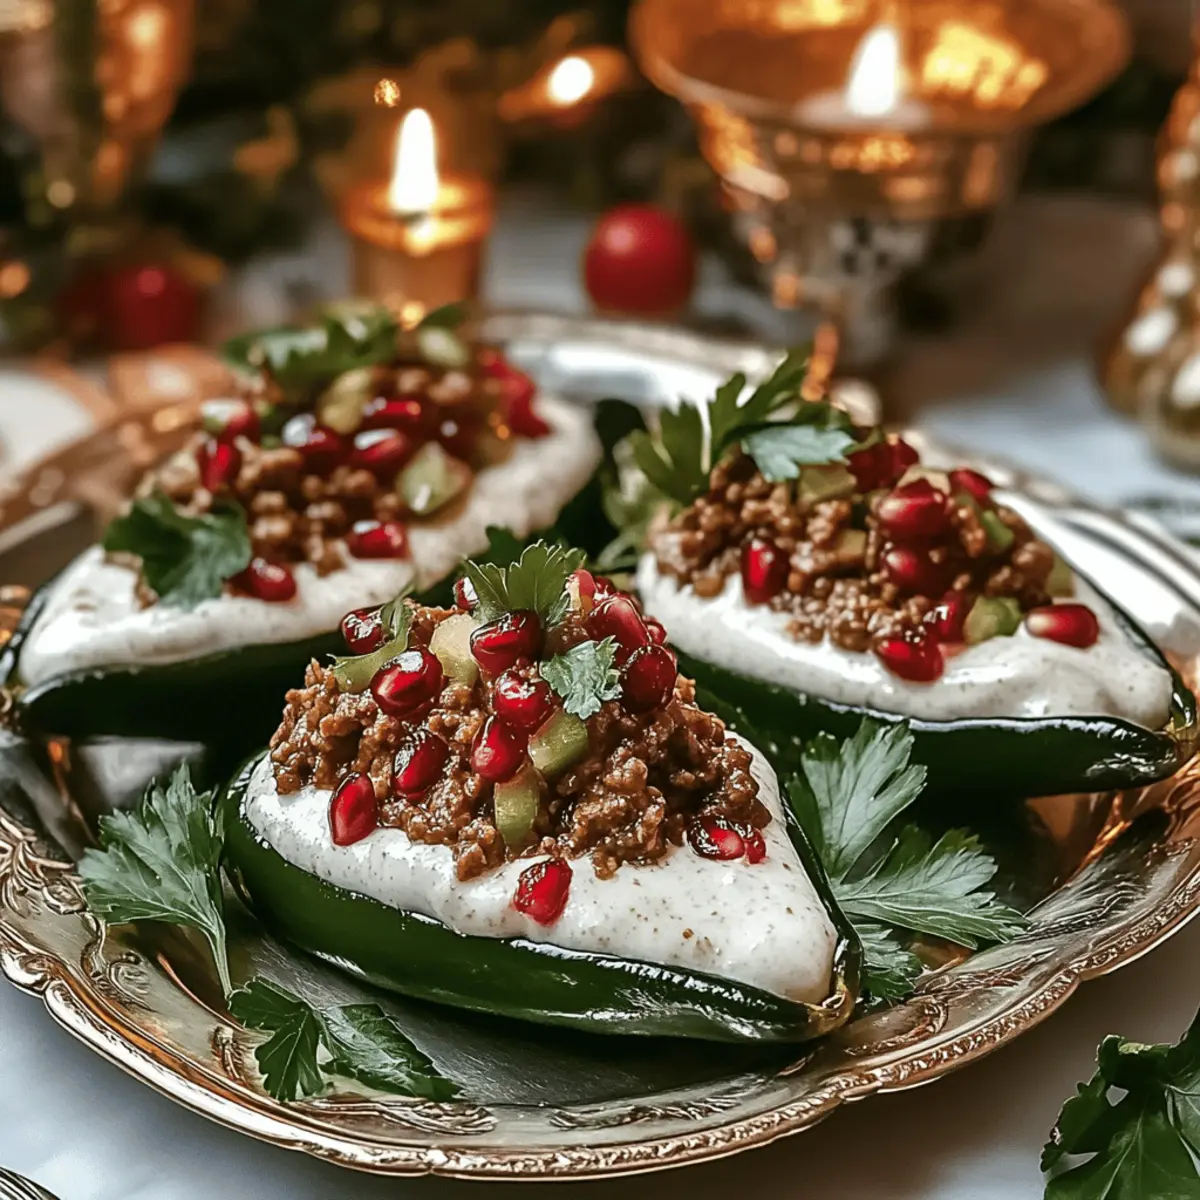
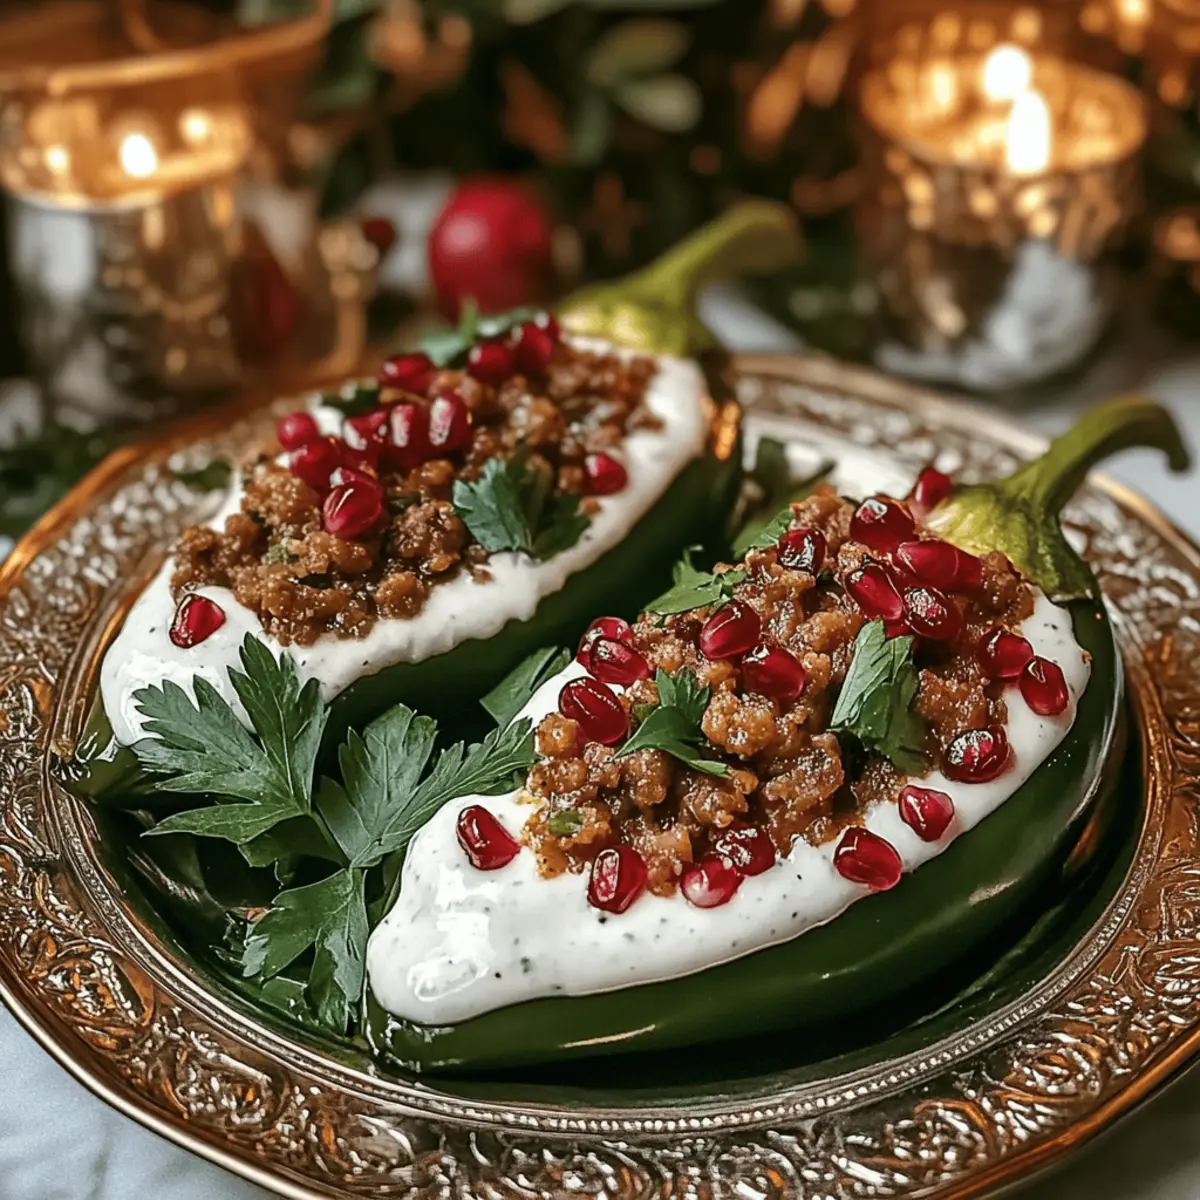
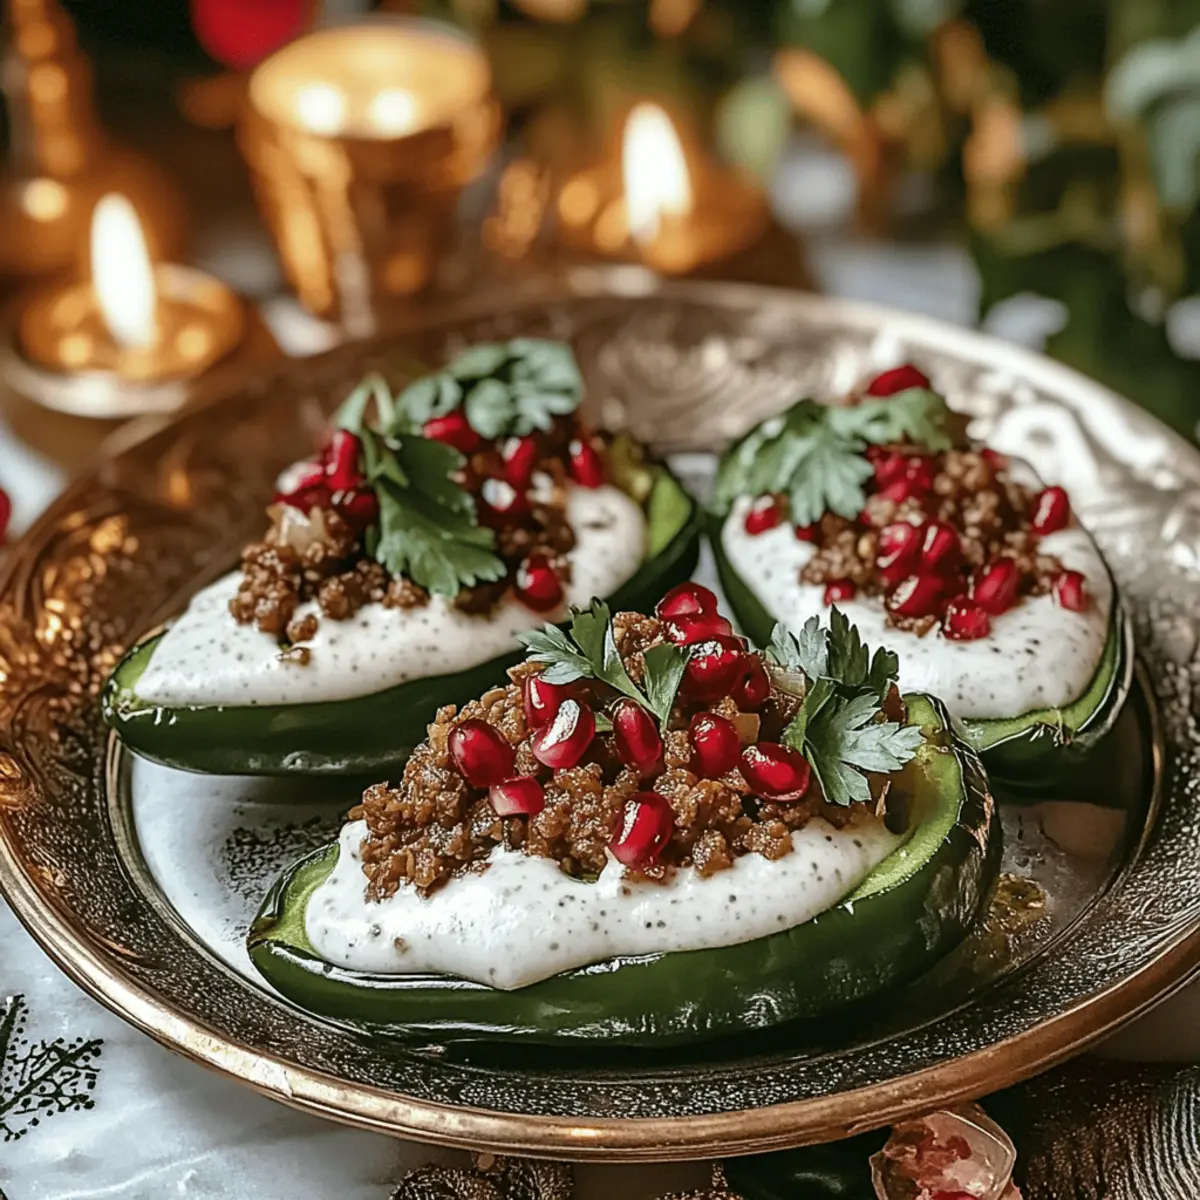
Festive Presentation: The stunning colors of roasted chiles, creamy nogada sauce, and bright pomegranate seeds create an eye-catching dish that’s perfect for celebrations.
Versatility Awaits: Whether you prefer a vegetarian twist or need a dairy-free option, this recipe easily adapts to various dietary preferences without sacrificing flavor.
Easy to Make: With straightforward steps, you’ll have a flavorful dish ready to impress your guests in no time.
Rich Flavor Combination: The sweet and savory filling mixed with warm spices creates a depth of flavor that will tantalize your taste buds.
Crowd-Pleasing Appeal: Serve it at potlucks or family gatherings, and watch everyone come back for seconds!
Chiles en Nogada Ingredients
For the Filling
• Poblano Chiles – These sturdy chiles are ideal for stuffing; choose large ones for easier filling.
• Ground Meat (Pork/Beef) – This protein-packed option adds heartiness; shredded chicken works as a light substitute.
• Dried Fruits (e.g., Apricots, Raisins) – Sweetness deepens the flavor; feel free to use your favorite dried fruit.
• Fresh Fruits (e.g., Apples, Pears) – Their natural moisture enhances the filling; swap for seasonal fruits you’d enjoy.
• Nuts (Walnuts) – Essential for that rich nogada sauce; you can use sunflower seeds for a nut-free version.
For the Nogada Sauce
• Cream or Dairy Alternatives – This creates the velvety texture of nogada; coconut cream is perfect for dairy-free diets.
• Spices (Cinnamon, Cloves) – They add warmth and complexity to your dish; don’t skip these essential flavor enhancers.
For Garnishing
• Pomegranate Seeds – These add tartness and a beautiful pop of color; a key component of the classic presentation.
• Parsley – A sprinkle of freshness brings everything together visually; it’s the perfect finishing touch for your Chiles en Nogada.
With these ingredients, you’re well on your way to creating a memorable dish that captures the essence of Chiles en Nogada!
Step‑by‑Step Instructions for Chiles en Nogada
Step 1: Prepare the Filling
In a large skillet over medium heat, add a tablespoon of oil and sauté the ground meat until browned, about 7–10 minutes. Stir in the spices, dried fruits, and chopped fresh fruits, cooking for another 10 minutes until the mixture is fragrant and flavorful. Ensure the filling is well combined, creating a savory-sweet balance, then remove from heat and set aside to cool slightly.
Step 2: Roast the Chiles
Preheat your oven to 450°F (230°C). Place the poblano chiles on a baking sheet and roast for 15-20 minutes, turning occasionally, until the skin is blistered and blackened. Remove the chiles from the oven, allow them to cool for a few minutes, then carefully peel off the skins. Cut a slit down one side and remove the seeds to ensure easier stuffing for your Chiles en Nogada.
Step 3: Stuff the Chiles
Once the chiles are peeled, generously fill each one with the prepared picadillo filling, pressing down lightly to pack it in fill. Ensure that each poblano is filled to the brim to maximize flavor in every bite. Arrange the stuffed chiles in a baking dish to prepare them for serving when you’re ready.
Step 4: Make the Nogada Sauce
In a blender, combine the toasted walnuts, cream or dairy alternative, spices, and sugar. Blend until the mixture is smooth and creamy, adjusting the consistency with a bit of milk or water if needed. Chill the nogada sauce in the refrigerator for at least 30 minutes to allow the flavors to meld and achieve a cooler, refreshing contrast to the warm chiles.
Step 5: Assemble the Dish
To serve your beautiful Chiles en Nogada, place the stuffed chiles on a large platter. Elegantly drizzle the chilled nogada sauce over the top, ensuring each chile is generously coated. Finally, sprinkle vibrant pomegranate seeds and fresh parsley on top for a striking presentation, adding a delightful crunch and brightness to your festive dish.
What to Serve with Chiles en Nogada
Delight your senses and elevate your dining experience with the perfect accompaniments to this colorful Mexican classic.
-
Cilantro Lime Rice: A fluffy, fragrant side that contrasts beautifully with the richness of chiles en nogada, adding a zing that enhances every bite. It’s light and refreshing, perfect for soaking up the delicious nogada sauce.
-
Fresh Tomato Salad: Juicy, ripe tomatoes tossed with a sprinkle of salt and a drizzle of olive oil provide a fresh, vibrant contrast. The acidity cuts through the richness of the dish, bringing balance to your plate.
-
Grilled Vegetables: A colorful medley of seasonal vegetables lightly charred adds great texture and flavor. Their smoky taste pairs well with the savory elements of the stuffed chiles, making for a satisfying feast.
-
Avocado Slices: Creamy slices of avocado lend a luxurious touch. Their rich texture melds wonderfully with the flavors of the picadillo filling, ensuring a delightful mouthfeel with each forkful.
-
Spicy Black Beans: Add a touch of heat with seasoned black beans. Their earthiness complements the sweet and savory mashup of chiles en nogada while offering a hearty dose of fiber and protein.
-
Agua Fresca: Serve a refreshing agua fresca made with fresh fruit like hibiscus or watermelon. It offers a cooling contrast and balances the rich flavors, perfect for sipping alongside your meal.
-
Churros with Chocolate Sauce: For a sweet finish, indulge in churros dusted with cinnamon sugar. Dip them into a rich chocolate sauce for a decadent capstone to your fiesta, creating delightful memories around the table.
How to Store and Freeze Chiles en Nogada
Fridge: Store the assembled Chiles en Nogada in an airtight container for up to 3 days. Keep the nogada sauce separate to maintain the creamy texture.
Freezer: For longer storage, freeze stuffed chiles without the sauce for up to 2 months. Thaw overnight in the fridge before reheating.
Reheating: To reheat, place the thawed chiles in a baking dish, cover with foil, and warm in a preheated oven at 350°F (175°C) for 20–25 minutes.
Serving Tips: After reheating, drizzle the chilled nogada sauce over the top and garnish with fresh pomegranate seeds for an impressive presentation of your Chiles en Nogada.
Expert Tips for Chiles en Nogada
-
Choosing Your Chiles: Select firm, unblemished poblano chiles for the best flavor and easy stuffing. Avoid any with soft spots or wrinkles.
-
Perfect Filling Texture: Ensure the filling isn’t too dry or too wet. If it is too thick, add a splash of broth or water to achieve the desired consistency.
-
Chilling the Nogada Sauce: Don’t skip chilling the nogada sauce. It melds flavors beautifully and provides a refreshing contrast to the warm chiles en nogada when served.
-
Optional Heat: If you like a bit of spicy kick, consider adding finely chopped jalapeños to the filling. This adds an exciting layer of flavor!
-
Make-Ahead Convenience: Prepare the filling and nogada sauce a day in advance. This not only saves time but also allows the flavors to develop even further.
-
Garnish Generously: Use plenty of pomegranate seeds and parsley for a gorgeous presentation. This not only looks lovely but adds texture and brightness to the dish.
Make Ahead Options
Chiles en Nogada is perfect for meal prep enthusiasts looking to save time during busy weeknights! You can prepare the filling and nogada sauce up to 24 hours in advance; simply store them in airtight containers in the refrigerator. To maintain the quality, keep the nogada sauce separate from the stuffed chiles until you’re ready to serve to prevent sogginess. When it’s time to impress your guests, reheat the stuffed chiles in the oven at 350°F (175°C) for about 15 minutes or until warmed through, then drizzle with the chilled nogada sauce and garnish with pomegranate seeds. This way, you’ll enjoy restaurant-quality results with minimal effort!
Chiles en Nogada Variations
Feel free to unleash your creativity and customize your Chiles en Nogada to suit your taste preferences!
-
Vegetarian: Replace meat with textured vegetable protein or finely chopped mushrooms for a heartwarming meatless option. If you’re craving the depth of flavor, sauté the veggies with the same spices as the original filling.
-
Dairy-Free: Substitute traditional cream with coconut cream or a nut-based yogurt for a rich nogada sauce that everyone can enjoy. This option doesn’t compromise on creaminess, making it an inviting alternative.
-
Sugar-Free: Swap out sugar for agave nectar or a sugar substitute in the nogada to enjoy this festive dish while keeping it wholesome. Your guests will be none the wiser—sweetness and flavor still shine through beautifully!
-
Add Heat: Incorporate jalapeños or a pinch of cayenne pepper into the filling for those who enjoy a spicy kick. It’s a delightful twist that will keep everyone guessing while enhancing the dish’s overall warmth.
-
Tropical Twist: For a refreshing twist, add diced mango or pineapple to the filling to introduce a burst of fruity goodness. This variation not only balances the spices but also creates a playful tropical vibe.
-
Grain Alternative: Substitute rice with quinoa for a nutty flavor and added protein. This simple swap will elevate your dish while catering to those seeking a gluten-free option.
-
Nut-Free: If allergies are a concern, simply replace walnuts with sunflower seeds for the nogada sauce. You’ll still achieve that luscious, creamy texture with this nut-free alternative.
Inspired by these variations? Don’t forget to check out our Easy Quinoa Recipes for more healthy grain-inspired options or explore our suggestions around Dairy-Free Dishes that make meal prep a breeze!
Chiles en Nogada Recipe FAQs
How do I choose the best poblanos for Chiles en Nogada?
Absolutely! Look for large, firm poblano chiles that are unblemished and smooth. Avoid any with dark spots or wrinkles, as these may indicate overripeness or poor quality. Firm chiles are easier to stuff and hold together better during cooking.
How should I store leftover Chiles en Nogada?
After enjoying your delicious meal, you can store the assembled Chiles en Nogada in an airtight container in the refrigerator for up to 3 days. To maintain the best texture, keep the nogada sauce separate until you’re ready to eat. This way, each component remains fresh and flavorful!
Can I freeze Chiles en Nogada, and if so, how?
Very! To freeze your Chiles en Nogada, first ensure they are completely cooled. Then, place the stuffed chiles in a single layer in an airtight container or a freezer-safe bag for up to 2 months. Remember to freeze them without the nogada sauce. When you’re ready to enjoy them, simply thaw overnight in the fridge and reheat in a 350°F (175°C) oven for 20-25 minutes before serving.
What should I do if my nogada sauce turns out too thick?
No worries! If your nogada sauce ends up thicker than you’d like, just add a splash of milk or water to the blender and blend again until you reach your desired consistency. This not only makes it pourable but also ensures a more luxurious texture that pairs well with the chiles.
Are there any dietary considerations for making Chiles en Nogada?
Of course! This dish can easily accommodate various dietary needs. For a vegetarian option, substitute the meat with textured vegetable protein, lentils, or sautéed mushrooms. If you’re looking for a dairy-free alternative, coconut cream or nut-based yogurts work wonderfully in the nogada sauce. Just make sure to check all ingredient labels if allergies are a concern!
How do I know when Chiles en Nogada are fully cooked?
To ensure your Chiles en Nogada are perfectly cooked, check that the chiles are tender and slightly charred, while the filling is heated through. You should feel the chiles give a little when pressed, but they shouldn’t be mushy. The internal temperature should ideally reach 165°F (74°C) if you’re using a meat thermometer. Enjoy your culinary adventure with this authentic dish!
Chiles en Nogada: Celebrate with This Festive Mexican Delight
Ingredients
Equipment
Method
- In a large skillet over medium heat, add a tablespoon of oil and sauté the ground meat until browned, about 7–10 minutes. Stir in the spices, dried fruits, and chopped fresh fruits, cooking for another 10 minutes until fragrant.
- Preheat your oven to 450°F (230°C). Place the poblano chiles on a baking sheet and roast for 15-20 minutes, turning occasionally, until the skin is blistered.
- Once cooled, carefully peel off the skins, cut a slit down one side, and remove the seeds.
- Generously fill each poblano with the prepared picadillo filling, pressing down lightly to pack it in.
- In a blender, combine the toasted walnuts, cream, spices, and sugar. Blend until smooth and chill for at least 30 minutes.
- To serve, place stuffed chiles on a platter, drizzle with nogada sauce, and sprinkle with pomegranate seeds and parsley.
Leave a Reply