
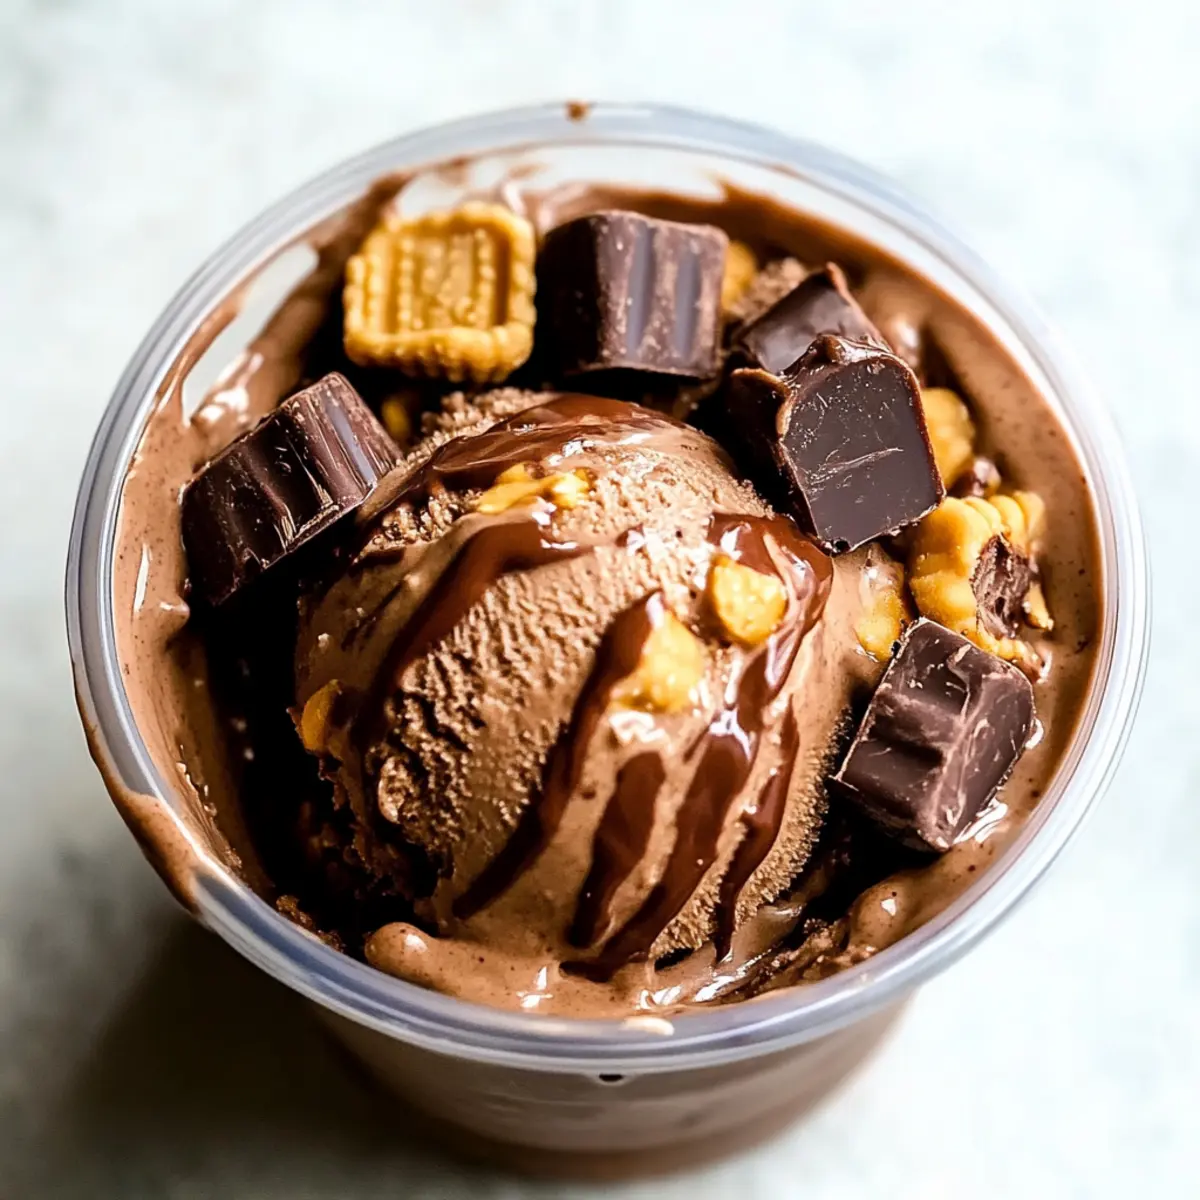
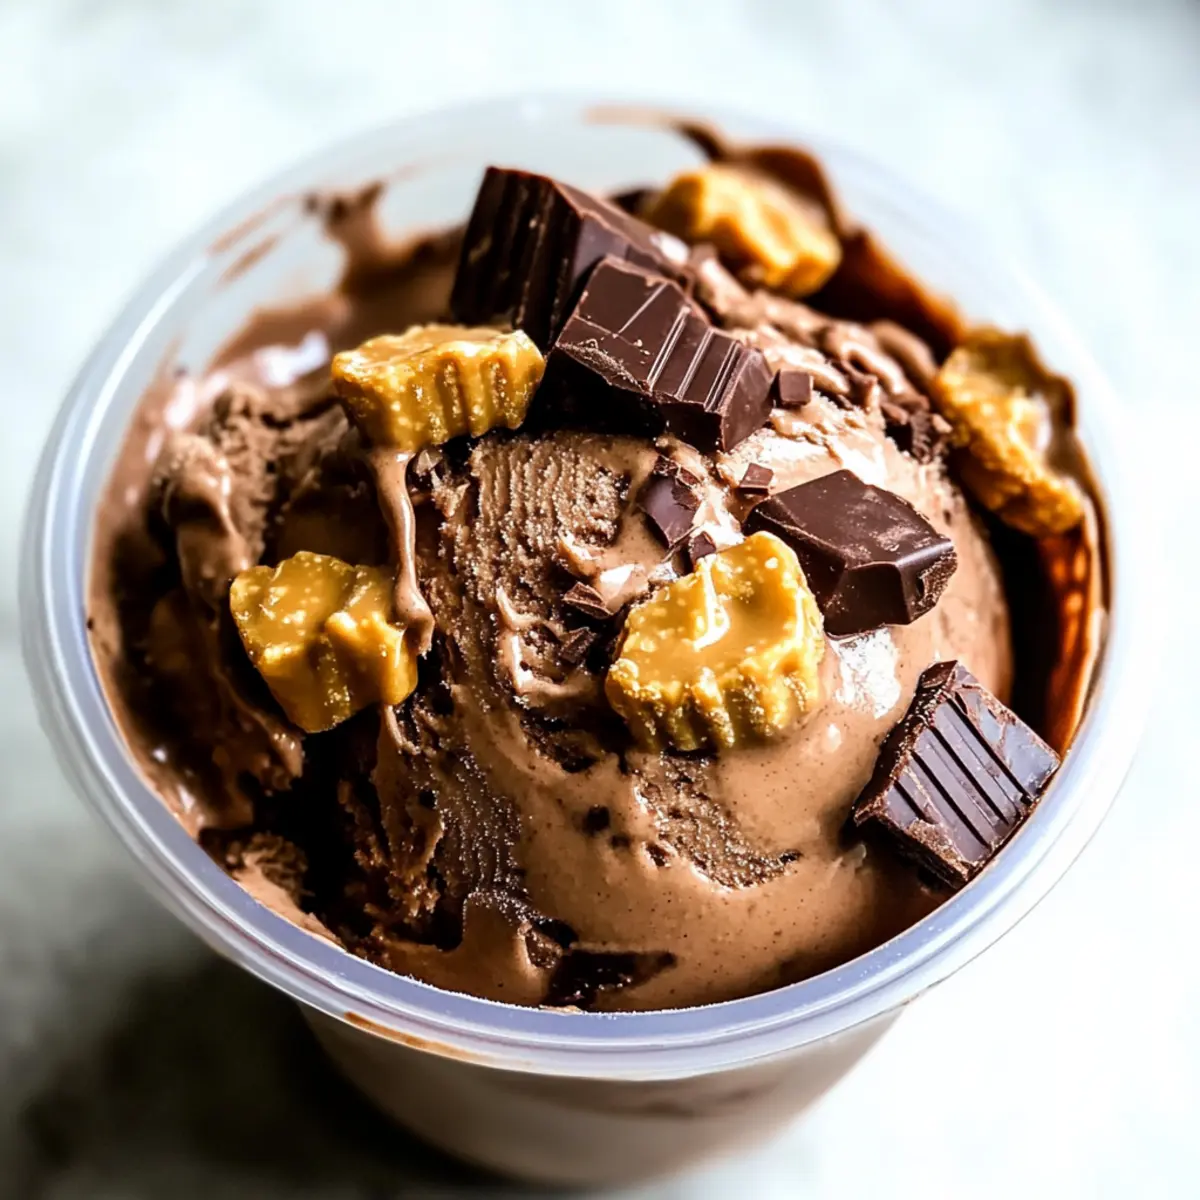
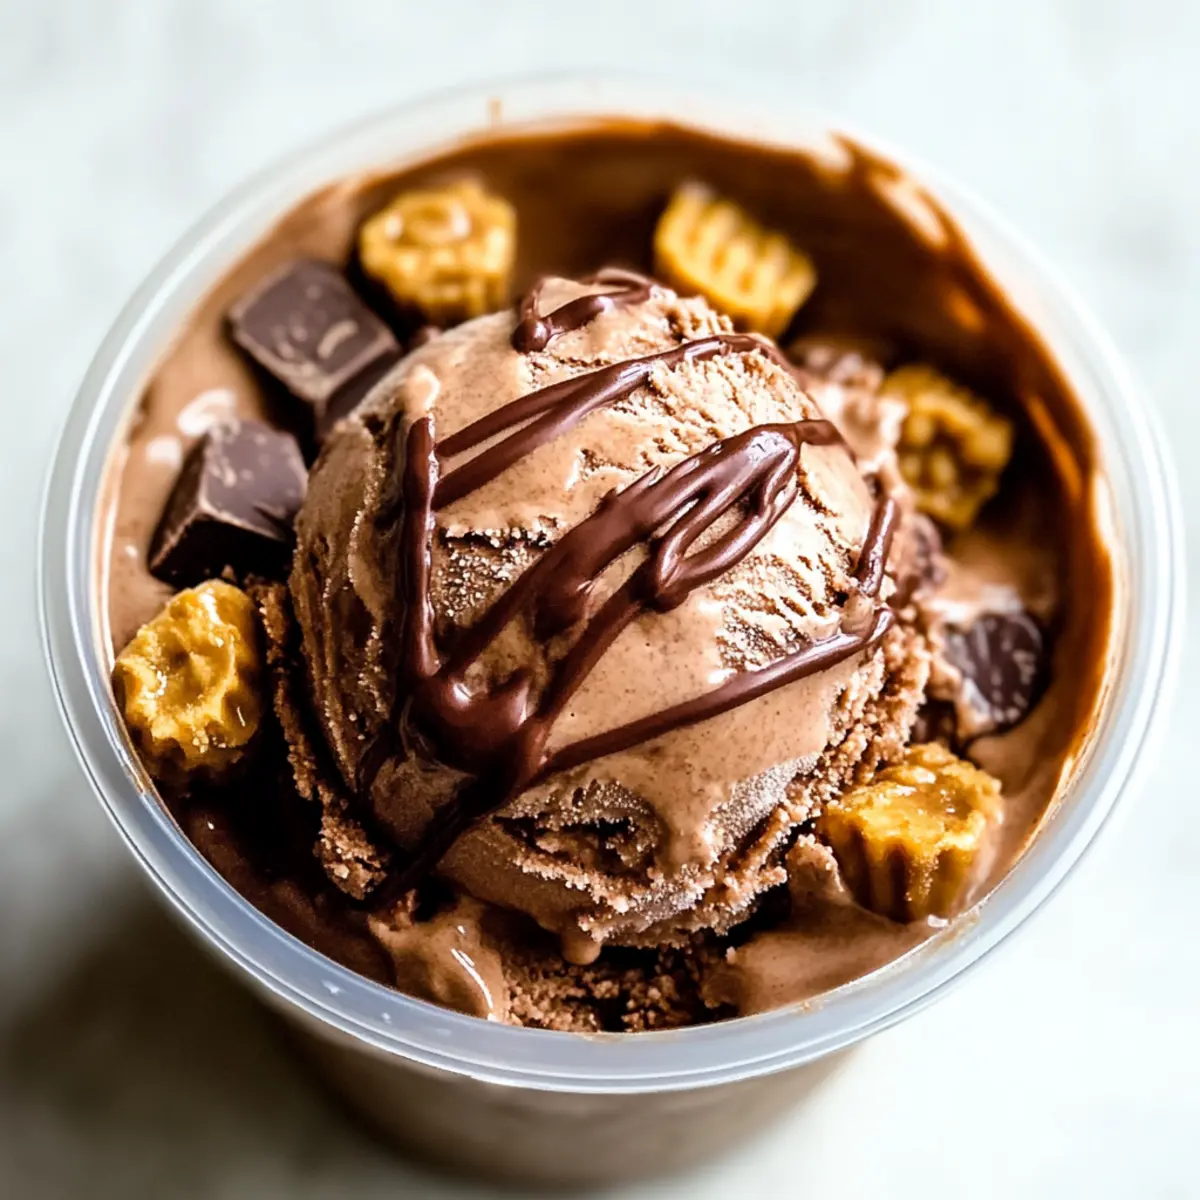
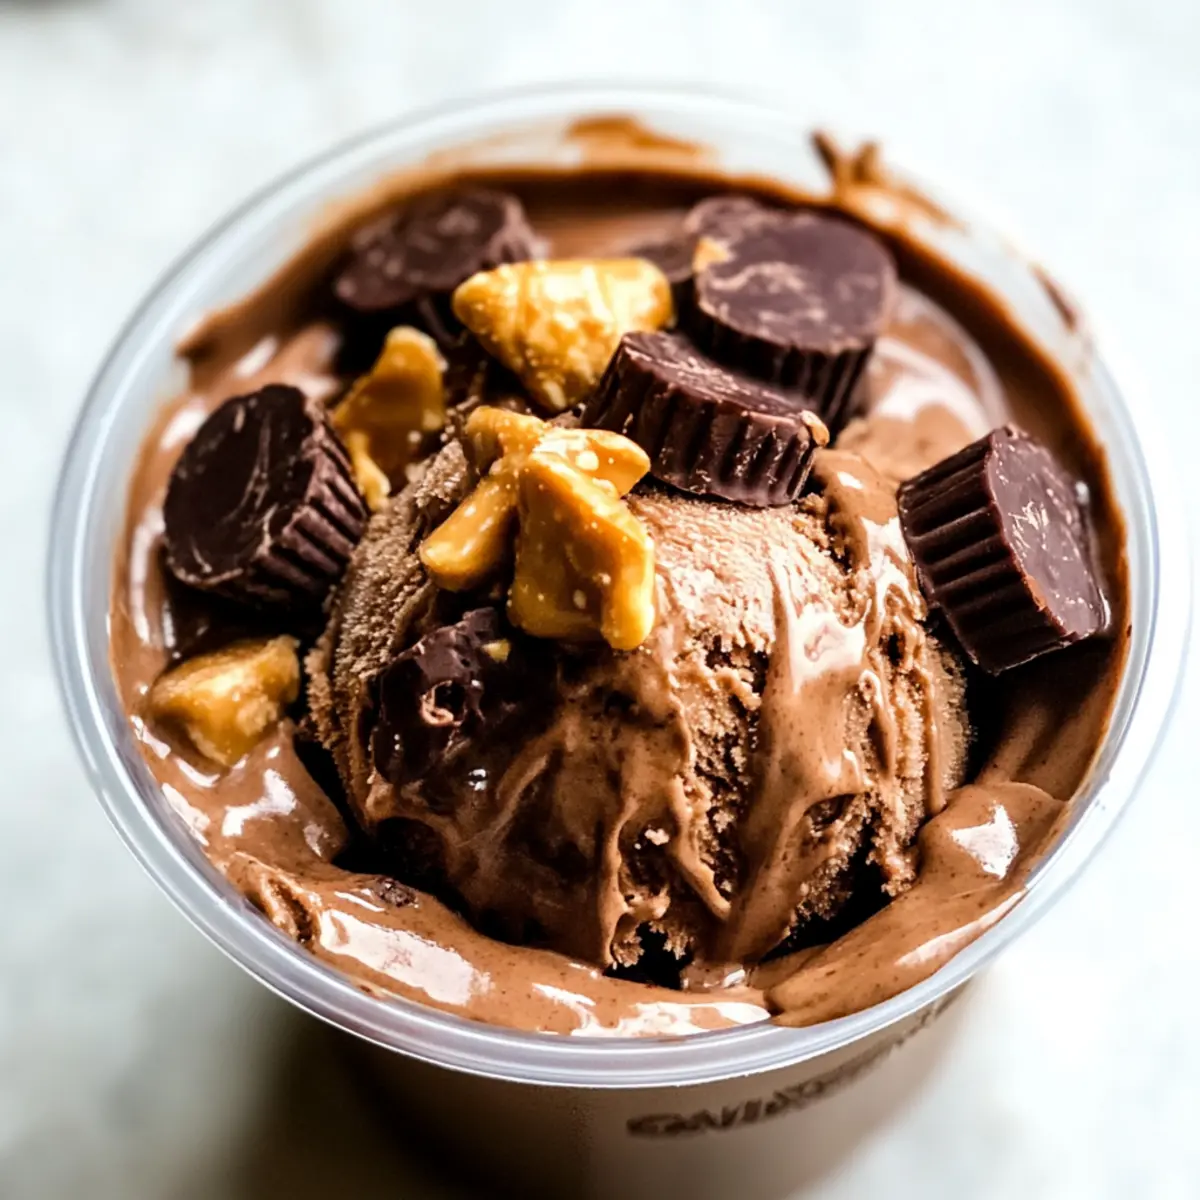
You know those hot summer days when the thought of turning on the oven feels like a mini crisis? That’s when my trusty Ninja Creami comes to the rescue, and today, I’m thrilled to share my favorite go-to: Chocolate Peanut Butter Protein Ice Cream. This delightful treat is more than just a satisfying dessert; it’s a nutrition-packed indulgence that boasts an impressive 37 grams of protein per pint! Whipping up this creamy concoction is a breeze, making it the perfect solution for anyone tired of fast food or seeking a healthier sweet option. Plus, with its rich chocolate and peanut butter flavor combination, it’s a crowd-pleaser that will leave your taste buds dancing. Ready to learn how to create this homemade ice cream sensation? Let’s dive into the deliciousness!
Why is this ice cream irresistible?
Decadent Flavor: The rich blend of chocolate and peanut butter creates a harmony that’s hard to resist, satisfying every sweet tooth craving.
High-Protein Boost: Packed with 37 grams of protein per pint, it’s a guilt-free way to enjoy dessert without sacrificing nutrition.
Quick and Easy: Using the Ninja Creami, you can whip this up in no time, making it perfect for busy days or spontaneous cravings.
Versatile Treat: Customize it with mix-ins like cookie bits or try different flavors of protein powder to keep it exciting!
Perfect for Everyone: Whether you’re a fitness enthusiast or just someone looking to indulge, this ice cream is sure to impress. If you love desserts, don’t forget to check out my other favorites like the Peanut Butter Chicken for more deliciousness!
Chocolate Peanut Butter Protein Ice Cream Ingredients
Transform your dessert experience with this delightful recipe!
For the Base
- Fairlife chocolate milk – A creamy foundation that brings a rich chocolate flavor; regular chocolate milk can be used if preferred.
- Unsweetened almond milk – Lightens the mixture for a dairy-free option; unsweetened coconut milk adds a unique twist.
- Chocolate protein powder – Boosts protein content while intensifying chocolate flavor; feel free to substitute with your favorite protein powder.
- PBfit powder – Adds peanut butter essence with lower fat; regular peanut butter introduces more richness but increases the fat content.
For the Texture
- Sugar-free chocolate jello pudding mix – Ensures a silky smooth creaminess; other sugar-free pudding mixes can serve as alternatives if they match the flavor profile.
- Salt – Enriches sweetness and enhances overall flavor; consider using sea salt for an even deeper taste.
For the Fun Factor
- Mini peanut butter cups – Incorporate for delightful bursts of texture and flavor; omit for a lighter, lower-calorie option.
Now you’re all set to whip up this Chocolate Peanut Butter Protein Ice Cream that not only satisfies sweet cravings but also aligns with your healthy lifestyle!
Step‑by‑Step Instructions for Chocolate Peanut Butter Protein Ice Cream
Step 1: Mix the Ingredients
In a Ninja Creami pint container, pour in the Fairlife chocolate milk, unsweetened almond milk, chocolate protein powder, PBfit powder, sugar-free chocolate jello pudding mix, and a pinch of salt. Using a hand-held frother or whisk, mix thoroughly until the ingredients are well blended and smooth, with no lumps visible. This base will create the delicious Chocolate Peanut Butter Protein Ice Cream you crave.
Step 2: Freeze the Mixture
Once your mixture is well combined, seal the Ninja Creami pint container and place it in the freezer. Allow it to freeze for a full 24 hours until solid. It’s essential to freeze it long enough to achieve that creamy texture when processed; the mixture should be hard enough to form a solid block, ensuring perfect ice cream consistency.
Step 3: Prepare for Processing
After 24 hours, take the frozen pint container out of the freezer. To make it easier to remove the ice cream, run the outside of the container under hot water for about 60 seconds. This will help loosen the mixture from the sides and make it ready for the next step. You’ll know it’s ready when the container feels warmer to the touch and the ice cream begins to soften slightly.
Step 4: Spin the Ice Cream
Carefully place the frozen pint into the Ninja Creami, ensuring it’s properly aligned. Select the Lite Ice Cream function and press the start button. Allow the machine to process the mixture until it transforms into a smooth and creamy consistency. Keep an eye on the texture; it should resemble soft-serve ice cream after spinning this delicious Chocolate Peanut Butter Protein Ice Cream.
Step 5: Check Texture and Adjust
If the ice cream texture appears powdery or crumbly after the first spin, don’t worry! Simply add a splash of extra almond milk into the container and re-spin using the Lite Ice Cream function. This should help achieve that velvety smooth finish you’re aiming for, making it even more delectable and creamy.
Step 6: Add Mini Peanut Butter Cups
To enhance the flavor and texture of your Chocolate Peanut Butter Protein Ice Cream, create a small hole in the center of the ice cream. Gently drop in the mini peanut butter cups, allowing them to nestle into the mixture. Then, use the re-mix function to blend the cups into the ice cream. This step adds delightful surprises in every scoop!
Step 7: Serve and Enjoy
Once mixed, it’s time to dive into your homemade Chocolate Peanut Butter Protein Ice Cream! You can serve it in bowls or cones for a refreshing treat. For an extra touch, consider drizzling some melted peanut butter over the top. Savor every creamy bite, knowing you’ve crafted a delicious, high-protein dessert right in your own kitchen!
How to Store and Freeze Chocolate Peanut Butter Protein Ice Cream
Fridge: Store any leftover ice cream in the fridge for up to 3 days; however, for optimal texture, freezing is best.
Freezer: Keep the Chocolate Peanut Butter Protein Ice Cream in an airtight container in the freezer for up to one week. This helps maintain its creamy consistency.
Reheating: When ready to serve, let it sit at room temperature for about 5 minutes to soften slightly before scooping for a smoother texture.
Avoid Ice Crystals: Cover the ice cream surface with plastic wrap before sealing the container to prevent ice crystals from forming and ensure every scoop remains delightful!
Make Ahead Options
These Chocolate Peanut Butter Protein Ice Cream treats are fantastic for meal prep! You can prepare the base mixture up to 24 hours in advance by blending all the ingredients and freezing them in the Ninja Creami pint container. This allows you to save valuable time on busy weeknights. For best results, ensure the mixture is well blended to avoid any ice crystals forming during freezing. When you’re ready to enjoy your ice cream, simply run the bucket under hot water for 60 seconds, spin in the Ninja Creami, and add mini peanut butter cups for a delightful surprise. You’ll have a creamy, protein-packed dessert that tastes just as delicious as if it were freshly made!
Chocolate Peanut Butter Protein Ice Cream Variations
Feel free to personalize this delightful recipe to suit your taste buds and dietary needs!
- Dairy-Free: Use coconut milk instead of Fairlife chocolate milk for a creamy, dairy-free treat.
- Almond Butter Twist: Swap PBfit powder with almond butter powder for a nutty variation that’s equally delicious.
- Vanilla Protein: Experiment with vanilla protein powder for a different flavor profile that still packs a protein punch.
- Crushed Cookies: Add crushed chocolate cookies to the mix for a delightful texture and extra chocolaty goodness.
- Sugar-Free Alternative: Substitute the sugar-free chocolate jello pudding with any sugar-free pudding flavor to suit your cravings.
- Spicy Kick: Add a pinch of cayenne pepper to the mixture for a surprising heat that complements the sweetness.
- Nutty Mix-In: Throw in chopped walnuts or pecans for added crunch and healthy fats.
- Low-Cal Option: Omit mini peanut butter cups for a lighter version without sacrificing flavor, making it a guilt-free treat!
Dive into these variations, and if you’re looking for something else delightful, check out my Strawberry Shortcake Ice Cream for a refreshing complement to your ice cream adventures!
Expert Tips for Chocolate Peanut Butter Protein Ice Cream
• Smooth Mixing:
Use a hand-held frother to thoroughly mix the ingredients, ensuring a creamy base without any lumps for the perfect Chocolate Peanut Butter Protein Ice Cream.
• Freezing Time:
Make sure to freeze the mixture for a full 24 hours to achieve solid consistency. Rushing this step can lead to a powdery texture.
• Spin Technique:
Prioritize a level pint in the Ninja Creami to avoid damaging the blades. A proper setup helps in achieving a flawlessly creamy result.
• Adjusting Texture:
If the ice cream seems too crumbly after spinning, add a splash of almond milk and re-spin. This little tweak results in a delightfully creamy finish.
• Storing Leftovers:
Store in an airtight container in the freezer. Allow the ice cream to soften slightly at room temperature for about 5 minutes before serving.
What to Serve with Chocolate Peanut Butter Protein Ice Cream
Craving the perfect accompaniments to enhance your ice cream experience? Let’s create a delightful spread to complement your frozen treat!
-
Creamy Banana Slices: The sweetness of ripe bananas adds a fresh, fruity contrast, enhancing the overall flavor profile without overpowering it.
-
Chocolate Syrup Drizzle: A luscious drizzle of chocolate syrup not only doubles down on the chocolate decadence but adds an elegant touch to the presentation.
With these simple additions, your Chocolate Peanut Butter Protein Ice Cream will transform from an already delightful dessert into a full indulgent experience that everyone can enjoy.
-
Crunchy Granola: A sprinkle of your favorite granola brings a delightful crunch, adding a healthy twist while elevating the texture with every spoonful.
-
Coconut Whipped Cream: Light and fluffy coconut whipped cream will provide a creamy touch, balancing the rich flavors of the ice cream beautifully.
-
Fresh Berries: Strawberries or raspberries add a burst of tartness that complements the sweetness, creating an enticing contrast in every bite.
-
Healthy Peanut Butter Dip: Serve a small bowl of creamy peanut butter on the side for those who want to dip, adding extra richness and a fun element to the dessert.
Elevate your ice cream time and discover the endless possibilities that enhance this delicious dessert!
Chocolate Peanut Butter Protein Ice Cream Recipe FAQs
What type of chocolate milk should I use for the best flavor?
Absolutely! Fairlife chocolate milk provides a rich and creamy base, but you can use any regular chocolate milk if that’s what you have on hand. Just keep in mind that this might slightly alter the protein content and creaminess.
How long can I store leftover Chocolate Peanut Butter Protein Ice Cream?
For best consistency, store your ice cream in an airtight container in the freezer for up to one week. Allow it to soften for about 5 minutes at room temperature before serving to make scooping easier and to enjoy its creamy texture.
Can I freeze Chocolate Peanut Butter Protein Ice Cream for longer than a week?
While it’s best consumed within a week, you can technically freeze it for up to 3 months. However, to maintain the best texture, I recommend consuming it sooner rather than later. Always check for ice crystals when you pull it out of the freezer!
What can I do if the ice cream comes out powdery after spinning?
Very! If the texture appears crumbly, don’t worry! Just add a splash of almond milk and re-spin it using the Lite Ice Cream function. This should help achieve that velvety smooth finish you desire. Make sure to keep an eye on the texture as it processes!
Is this recipe suitable for people with nut allergies?
Certainly! While this recipe contains peanut butter powder, you can substitute it with sunflower seed butter powder or leave it out entirely for a nut-free version. Just ensure to check all labels if allergies are a concern, especially with the protein powder and additional ingredients.
Can I use a different type of protein powder?
Yes, definitely! You can substitute chocolate protein powder with vanilla or any other flavor you prefer. Just remember that altering the flavor can change the overall taste of the Chocolate Peanut Butter Protein Ice Cream, so choose something you’ll enjoy!
Creamy Chocolate Peanut Butter Protein Ice Cream Delight
Ingredients
Equipment
Method
- In a Ninja Creami pint container, pour in the Fairlife chocolate milk, unsweetened almond milk, chocolate protein powder, PBfit powder, sugar-free chocolate jello pudding mix, and a pinch of salt. Mix thoroughly until smooth.
- Seal the container and freeze for a full 24 hours until solid.
- Run the outside of the container under hot water for about 60 seconds before removing the ice cream.
- Place the frozen pint into the Ninja Creami, select the Lite Ice Cream function, and press start. Process until smooth and creamy.
- If the texture is powdery or crumbly, add a splash of almond milk and re-spin.
- Create a small hole in the center, drop in mini peanut butter cups, and use the re-mix function.
- Serve in bowls or cones and enjoy your ice cream!
Leave a Reply