
Introduction to Crispy Chicken Katsu Bowls
There’s something magical about a warm bowl of Crispy Chicken Katsu Bowls that brings back memories of family dinners and cozy nights in. This dish is not just a meal; it’s a comforting hug on a plate. Perfect for those busy weeknights or when you want to impress your loved ones without spending hours in the kitchen, these bowls are a delightful blend of crispy chicken, fluffy rice, and fresh veggies. With just a few simple ingredients, you can whip up a satisfying dinner that everyone will love. Let’s dive into this easy recipe that’s sure to become a favorite!
Why You’ll Love This Crispy Chicken Katsu Bowls
Crispy Chicken Katsu Bowls are a game-changer for any home cook. They come together in just 35 minutes, making them perfect for busy weeknights. The satisfying crunch of the chicken paired with the tender rice and fresh veggies creates a flavor explosion that’s hard to resist. Plus, this dish is versatile—customize it with your favorite toppings to keep things exciting. Trust me, once you try it, you’ll be hooked!
Ingredients for Crispy Chicken Katsu Bowls
Gathering the right ingredients is the first step to creating your Crispy Chicken Katsu Bowls. Here’s what you’ll need:
- Boneless, skinless chicken breasts: The star of the show! Tender and juicy, they fry up beautifully.
- All-purpose flour: This helps create a base layer for the breading, ensuring that the panko sticks well.
- Large eggs: Beaten eggs act as the glue, binding the breadcrumbs to the chicken.
- Panko breadcrumbs: These Japanese-style breadcrumbs give the chicken its signature crunch. They’re lighter and crispier than regular breadcrumbs.
- Salt and pepper: Essential for seasoning, enhancing the chicken’s natural flavors.
- Vegetable oil: Used for frying, it helps achieve that golden-brown perfection.
- Cooked white rice: The perfect bed for your chicken and veggies, providing a comforting base.
- Shredded cabbage: Adds a fresh crunch and a pop of color to your bowl.
- Sliced green onions: These bring a mild onion flavor and a nice garnish.
- Tonkatsu sauce: A sweet and tangy sauce that ties all the flavors together beautifully.
- Sesame seeds: Optional, but they add a lovely nutty flavor and a touch of elegance.
For those looking to mix things up, consider adding toppings like sliced avocado or pickled ginger. You can find all the exact measurements for these ingredients at the bottom of the article, ready for printing!
How to Make Crispy Chicken Katsu Bowls
Now that you have your ingredients ready, let’s get cooking! Follow these simple steps to create your Crispy Chicken Katsu Bowls. Each step is designed to make the process easy and enjoyable, so let’s dive in!
Prepare the Chicken
Start by prepping the chicken. Place the boneless, skinless chicken breasts between two sheets of plastic wrap. Grab a meat mallet or rolling pin and pound them to an even thickness of about 1/2 inch. This ensures they cook evenly. Season both sides with salt and pepper to enhance the flavor.
Set Up the Breading Station
Next, it’s time to set up your breading station. You’ll need three shallow dishes. In the first dish, add all-purpose flour. In the second, beat the large eggs until they’re well mixed. Finally, pour the panko breadcrumbs into the third dish. This setup makes the breading process smooth and efficient.
Bread the Chicken
Now, let’s bread the chicken! Take each chicken breast and dredge it in the flour, shaking off any excess. Then, dip it into the beaten eggs, ensuring it’s fully coated. Finally, press the chicken into the panko breadcrumbs, making sure to cover it completely. This step is crucial for that crispy texture we all love!
Fry the Chicken
Heat about 1/4 inch of vegetable oil in a large skillet over medium-high heat. Once the oil is hot, carefully add the breaded chicken breasts. Fry them for about 4-5 minutes on each side, or until they turn golden brown and are cooked through. Use a meat thermometer if you have one; the internal temperature should reach 165°F. Once done, remove the chicken and let it drain on paper towels to absorb any excess oil.
Assemble the Bowls
While the chicken is frying, it’s time to assemble your bowls. Divide the cooked white rice among four bowls. Top each bowl with a generous amount of shredded cabbage and sliced green onions. This adds freshness and crunch to your dish.
Serve and Enjoy
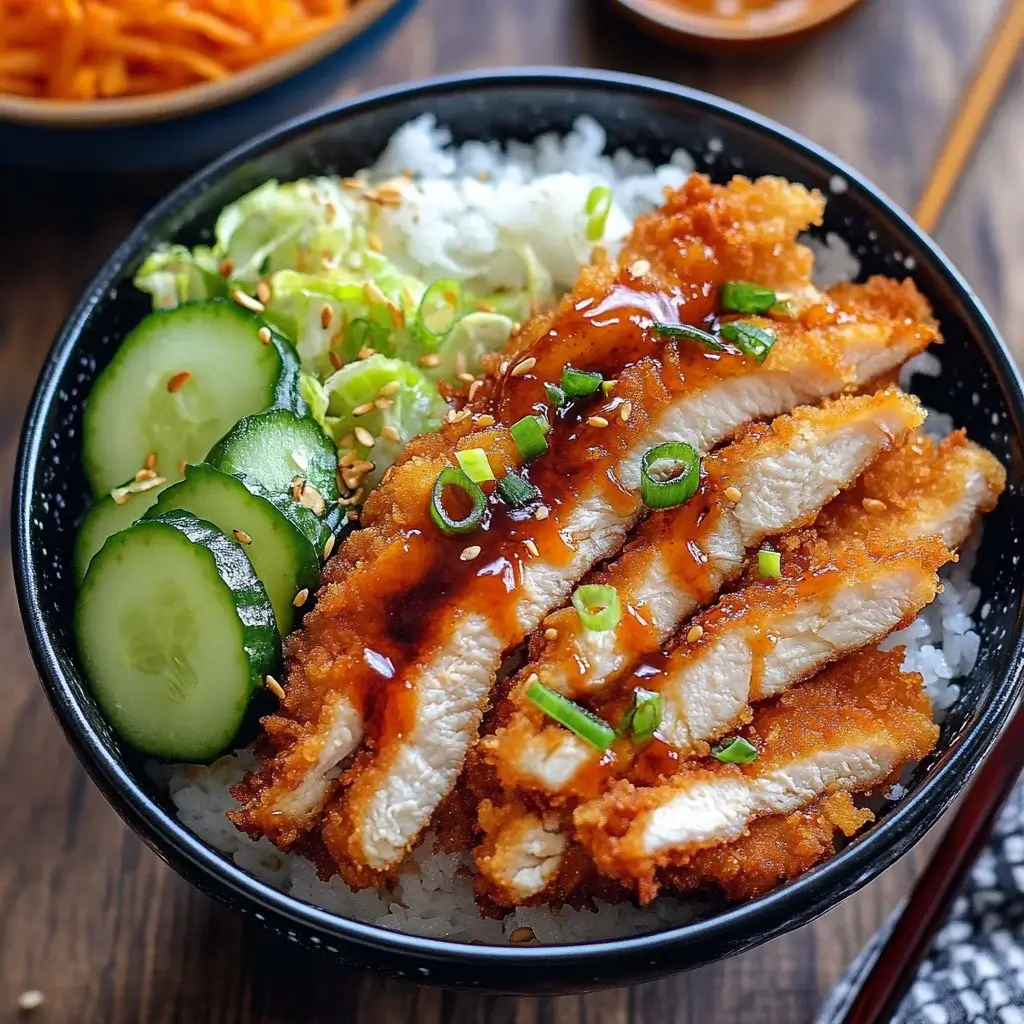
Slice the fried chicken into strips and place them on top of the rice and veggies. Drizzle with tonkatsu sauce for that sweet and tangy kick. If you’re feeling fancy, sprinkle some sesame seeds on top for an extra touch. Serve immediately and enjoy your delicious Crispy Chicken Katsu Bowls!
Tips for Success
- Make sure your oil is hot enough before frying; this ensures a crispy coating.
- Don’t overcrowd the skillet; fry in batches if necessary for even cooking.
- Let the chicken rest on paper towels to remove excess oil for a lighter dish.
- Experiment with different toppings like avocado or pickled ginger for added flavor.
- For a healthier option, consider baking the chicken instead of frying.
Equipment Needed
- Large skillet: A non-stick skillet works well, but cast iron is great for even heat.
- Meat mallet or rolling pin: Any heavy object can work to pound the chicken.
- Three shallow dishes: Use pie plates or any flat bowls for breading.
- Paper towels: Essential for draining excess oil after frying.
Variations of Crispy Chicken Katsu Bowls
- Spicy Katsu: Add a kick by mixing sriracha or chili paste into the tonkatsu sauce for a spicy twist.
- Vegetarian Option: Substitute chicken with eggplant or tofu, breading and frying them the same way for a delicious meat-free meal.
- Whole Grain Rice: Swap white rice for brown rice or quinoa for a healthier, fiber-rich base.
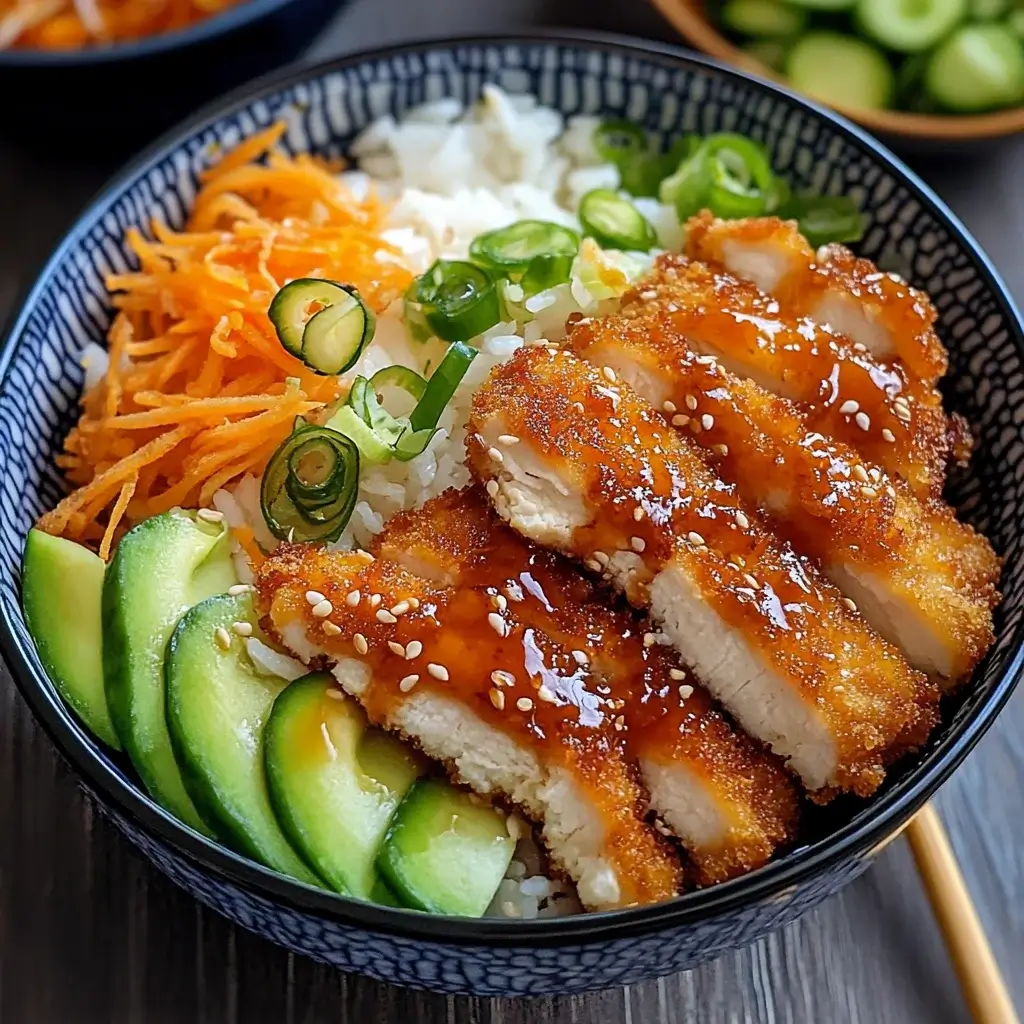
- Asian Slaw: Instead of plain cabbage, use a mix of shredded carrots, red cabbage, and cilantro for a vibrant slaw.
- Herbed Chicken: Add fresh herbs like basil or cilantro to the breading for an aromatic flavor boost.
Serving Suggestions for Crispy Chicken Katsu Bowls
- Pair with a light miso soup for a comforting meal.
- Serve alongside pickled vegetables for a tangy contrast.
- Enjoy with a refreshing iced green tea to balance the flavors.
- Garnish with extra green onions and sesame seeds for a beautiful presentation.
FAQs about Crispy Chicken Katsu Bowls
Can I make Crispy Chicken Katsu Bowls ahead of time?
Absolutely! You can prepare the chicken and rice in advance. Just store them separately in the fridge. When you’re ready to eat, reheat the chicken in the oven for that crispy texture and assemble your bowls.
What can I substitute for tonkatsu sauce?
If you don’t have tonkatsu sauce, a mix of ketchup and Worcestershire sauce can work in a pinch. It won’t be the same, but it’ll still add a nice flavor to your bowls.
Is this recipe gluten-free?
Yes, as long as you use gluten-free panko breadcrumbs and ensure your soy sauce is gluten-free, these Crispy Chicken Katsu Bowls can be enjoyed by those with gluten sensitivities.
Can I bake the chicken instead of frying it?
Definitely! For a healthier option, bake the breaded chicken at 400°F for 20-25 minutes, flipping halfway through. This will give you a deliciously crispy result without the extra oil.
What sides pair well with Crispy Chicken Katsu Bowls?
Light miso soup, pickled vegetables, or a simple cucumber salad make excellent sides. They complement the flavors of the katsu while keeping the meal balanced and refreshing.
Final Thoughts
Creating Crispy Chicken Katsu Bowls is more than just cooking; it’s about bringing joy to your table. The satisfying crunch of the chicken, the warmth of the rice, and the freshness of the veggies come together to create a meal that feels special, even on a busy night. This dish invites you to experiment with flavors and toppings, making it a canvas for your culinary creativity. Whether you’re sharing it with family or enjoying a quiet dinner alone, these bowls are sure to bring a smile to your face. Dive in and savor every bite!
Crispy Chicken Katsu Bowls: Discover This Easy Recipe!
Ingredients
Method
- Begin by preparing the chicken. Place the chicken breasts between two sheets of plastic wrap and pound them to an even thickness, about 1/2 inch thick. Season both sides with salt and pepper.
- Set up a breading station: Place the flour in one shallow dish, beat the eggs in a second dish, and put the panko breadcrumbs in a third dish.
- Dredge each chicken breast in flour, shaking off the excess. Dip it into the beaten eggs, then coat it thoroughly with panko breadcrumbs, pressing gently to adhere.
- In a large skillet, heat about 1/4 inch of vegetable oil over medium-high heat. Once hot, carefully add the breaded chicken breasts. Fry for about 4-5 minutes on each side, or until golden brown and cooked through. Remove from the skillet and drain on paper towels.
- While the chicken is frying, prepare the bowls. Divide the cooked rice among four bowls. Top each bowl with shredded cabbage and sliced green onions.
- Slice the fried chicken into strips and place on top of the rice and vegetables. Drizzle with tonkatsu sauce and sprinkle with sesame seeds if desired.
- Serve immediately and enjoy your crispy chicken katsu bowls!
Nutrition
Notes
- For a healthier option, you can bake the breaded chicken at 400°F for 20-25 minutes, flipping halfway through, until golden and cooked through.
- Customize your bowls by adding other toppings such as sliced avocado, pickled ginger, or a soft-boiled egg for extra flavor and texture.
Leave a Reply