
As I was rummaging through my pantry, I stumbled upon a box of Fruity Pebbles and felt an irresistible wave of nostalgia wash over me. This vibrant Fruity Pebbles Sushi: The Fun and Easy Dessert You’ll Love not only brings a touch of whimsy to dessert time, but it also transforms ordinary ingredients into a delightful treat perfect for both kids and grown-ups. What I absolutely adore about this recipe is its effortless preparation, making it a last-minute solution for parties or cozy family nights. Plus, it’s a customizable, gluten-free delight that can be filled with the fruits you love or even a sprinkle of your favorite candy. Curious how this colorful sushi can become a staple in your dessert rotation? Let’s dive in!
Why Is Fruity Pebbles Sushi a Must-Try?
Endless Customization: With the ability to swap out fruits and cereals, you can create variations that suit every palate, making it perfect for family gatherings or playdates.
Quick and Easy: The simple preparation process means you’ll be whipping this up in no time, surprising friends and family with your culinary creativity.
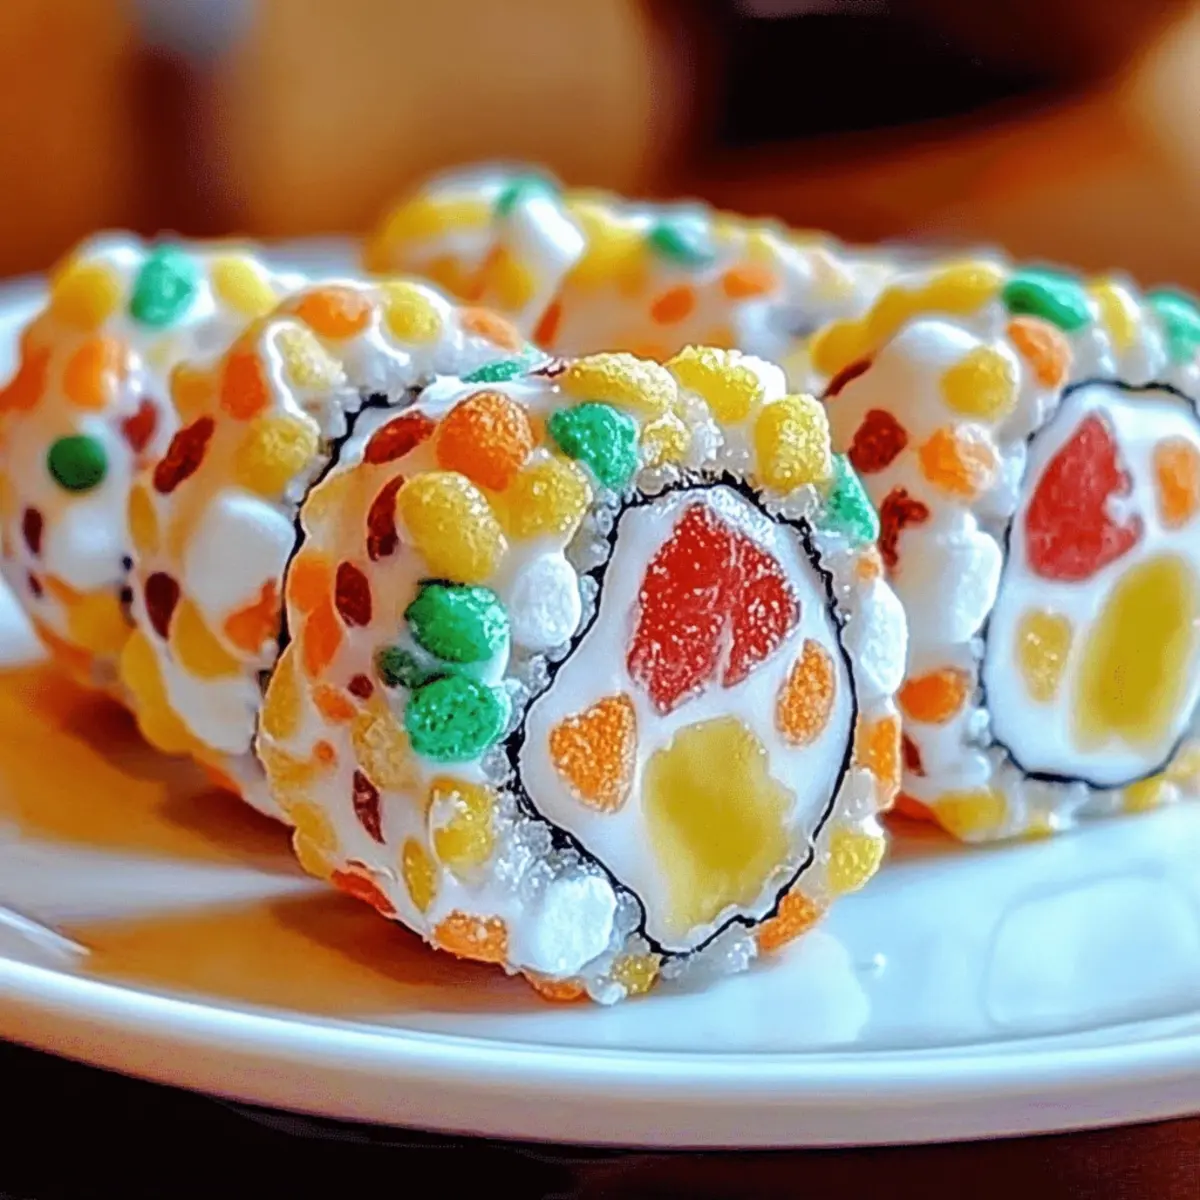
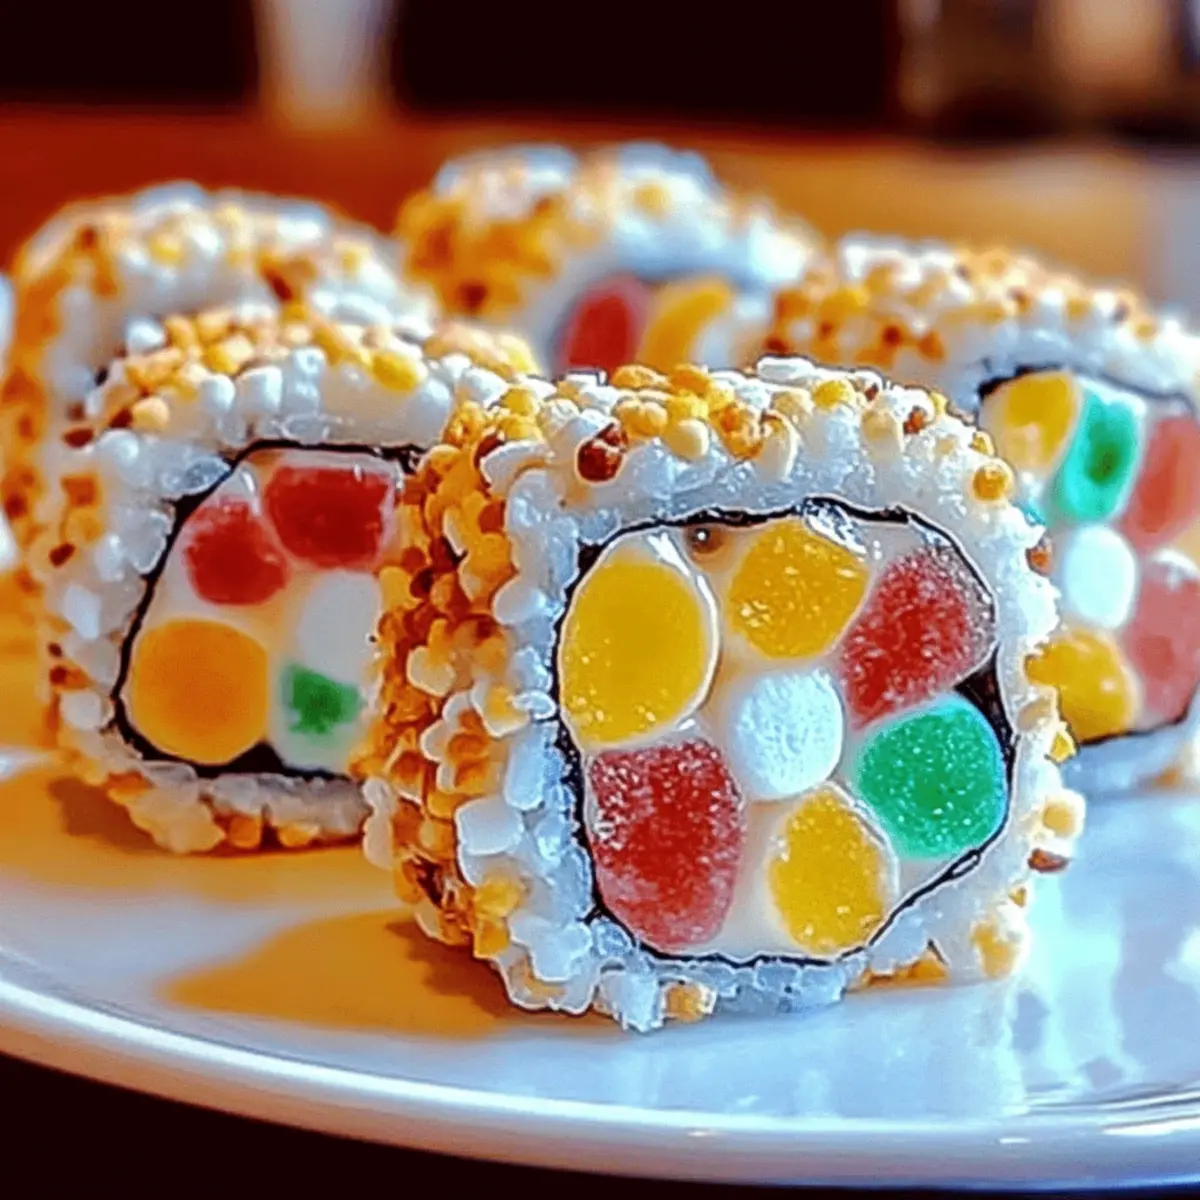
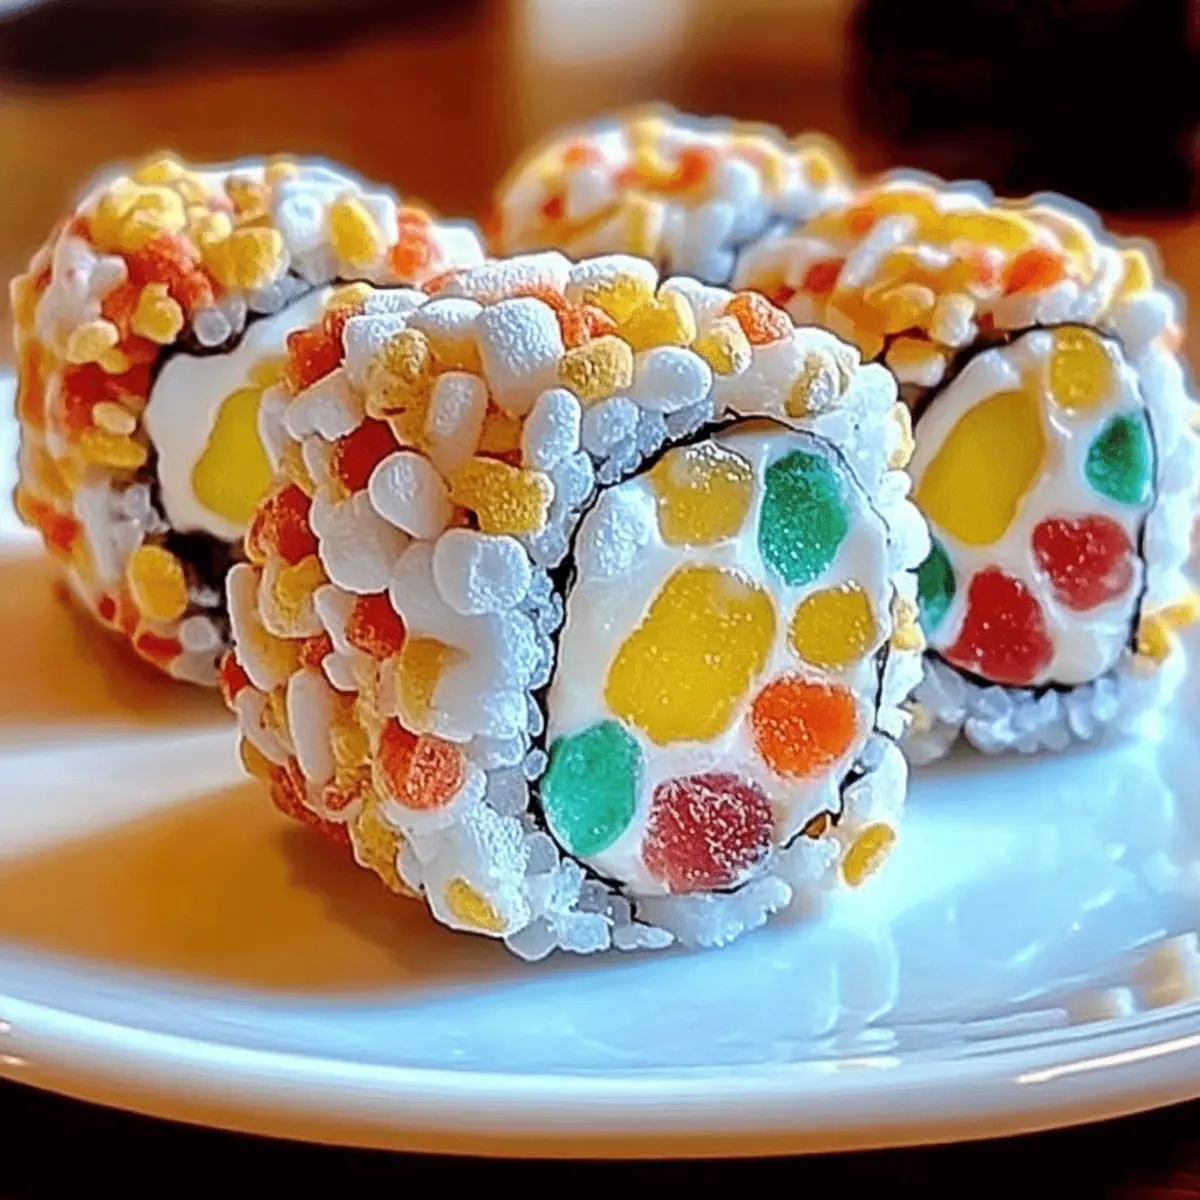
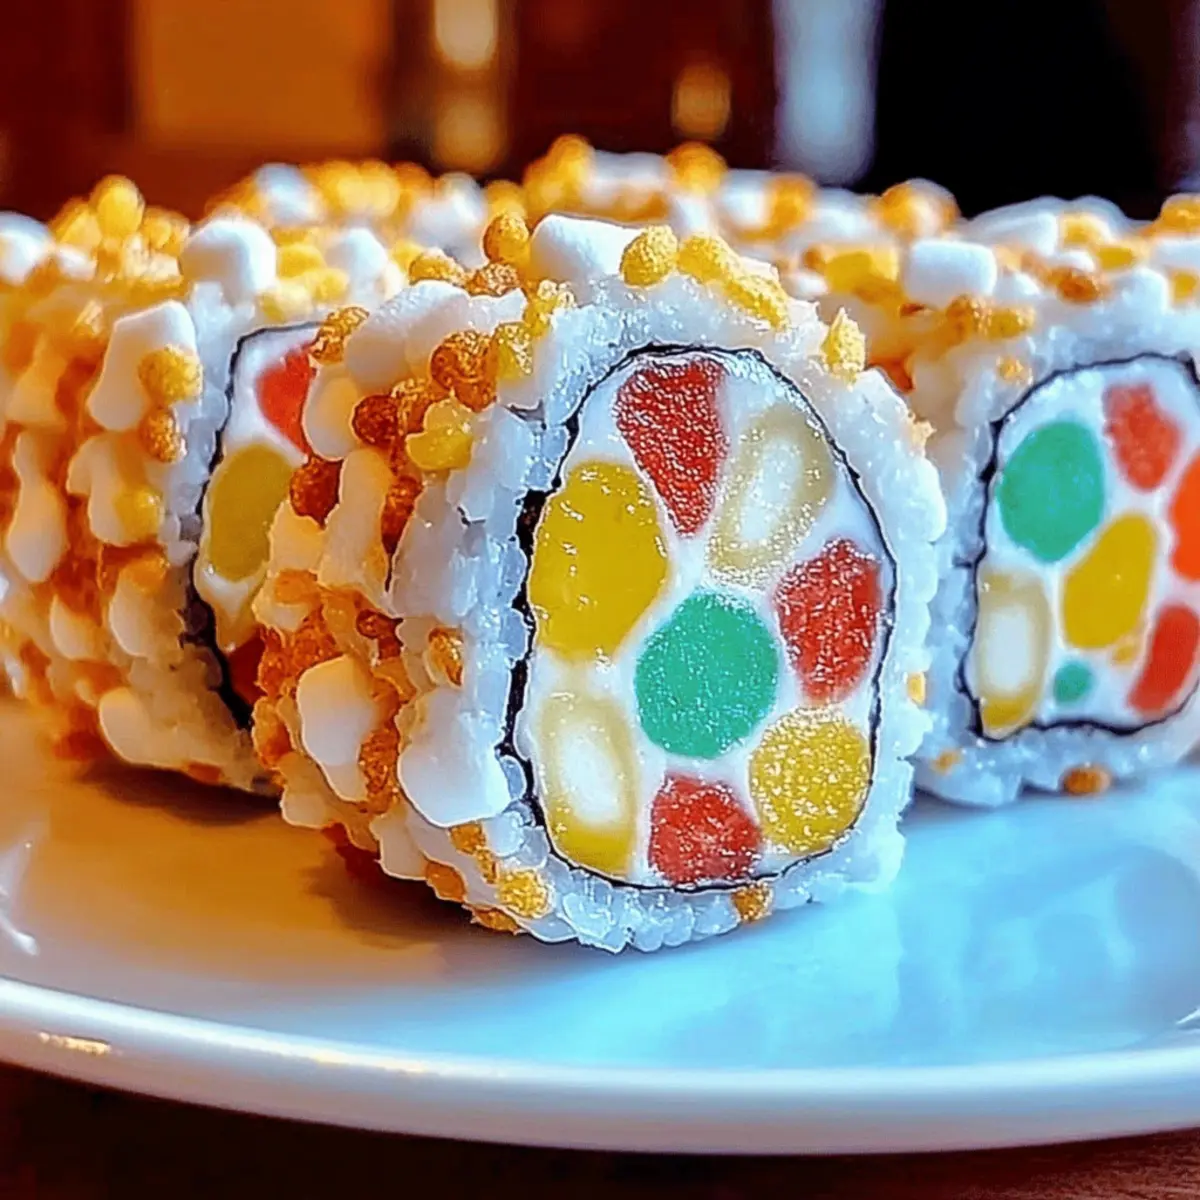
Colorful Presentation: Each roll is a feast for the eyes, drawing everyone in with its vibrant colors, making it an instant hit at any occasion.
Guilt-Free Indulgence: At just 200 calories per piece, it’s a treat you won’t feel guilty about, allowing you to enjoy dessert without stretching your waistband.
Childhood Nostalgia: This delightful dessert evokes wonderful memories of childhood and brings a touch of whimsy to your table, ensuring smiles all around!
Why not try this whimsical treat alongside other fun desserts like Fruity Pebbles Cheesecake or Fruit Pizzas Dessert to keep the nostalgia flowing?
Fruity Pebbles Sushi Ingredients
For the Sushi Mixture
• Fruity Pebbles Cereal – This colorful cereal serves as the crunchy base and can be substituted with other vibrant cereals like Trix for a fun twist.
• Mini Marshmallows – These sweet little gems act as the glue, making the mixture deliciously sticky; ensure they’re gluten-free for dietary needs.
• Unsalted Butter – Essential for melting the marshmallows and creating a creamy texture; for a dairy-free alternative, swap it with coconut oil.
For the Wrap
• Fruit Roll-Ups – These fruity sheets are used to wrap your sushi; feel free to use alternative fruit leathers based on your favorite flavors.
For the Filling
• Bananas – Serving as the main filling, these sweet fruits add natural sweetness and texture; strawberries or gummy candies make tasty substitutes for variety.
For the Drizzle
• Chocolate Syrup – This optional drizzle adds a chocolatey flair to your dessert, elevating the flavor of your Fruity Pebbles Sushi wonderfully.
Step‑by‑Step Instructions for Fruity Pebbles Sushi: The Fun and Easy Dessert You’ll Love
Step 1: Melt the Butter
In a medium saucepan, melt 3 tablespoons of unsalted butter over medium heat, stirring frequently until completely melted. This should take about 2-3 minutes. Be careful not to let it brown; you want a smooth, creamy base for your Fruity Pebbles Sushi.
Step 2: Melt the Marshmallows
Once the butter is melted, add 4 cups of mini marshmallows to the pan. Stir continuously for about 3-4 minutes until the marshmallows are fully melted and the mixture is smooth and glossy. Remove the saucepan from heat as soon as the marshmallows are melted to prevent burning.
Step 3: Combine with Cereal
Quickly add 6 cups of Fruity Pebbles cereal into the melted marshmallow mixture, using a spatula to fold the cereal gently until everything is evenly coated. This process should take about 1-2 minutes. The mixture will become sticky, so be sure to work swiftly!
Step 4: Prepare the Surface
On a clean, flat surface, lay out a large piece of parchment paper. Transfer the cereal mixture onto the parchment and press it down with your hands or a spatula, shaping it into a rectangle about ½ inch thick. Allow it to cool for 5-10 minutes until it’s just firm enough to handle without sticking.
Step 5: Create the Wrap
Unwrap and lay your fruit roll-ups flat on the counter, ensuring you have as many as needed for the number of sushi rolls you’re making. For best results, use one roll-up per sushi, keeping them vibrant and colorful for your Fruity Pebbles Sushi.
Step 6: Assemble the Sushi Rolls
Place a banana at one edge of the cooled cereal rectangle and carefully roll the mixture around it tightly, just like a sushi roll. Make sure to tuck in the ends as you roll to secure the filling. Continue this process for any remaining mixtures, ensuring each roll is snug and well-formed.
Step 7: Slice the Rolls
With a sharp knife, slice each sushi roll into 1-inch pieces. Aim for clean cuts to present the colorful layers of your Fruity Pebbles Sushi beautifully. Lay the slices on a serving platter, showcasing the fun and vibrant colors.
Step 8: Drizzle and Serve
If desired, drizzle chocolate syrup over the top of the sliced Fruity Pebbles Sushi for an added touch of sweetness. This optional step enhances the visual appeal and flavor. Serve your fun and easy dessert to eager friends and family—watch smiles appear as they dig into this nostalgic treat!
Make Ahead Options
These Fruity Pebbles Sushi are perfect for busy home cooks wanting to streamline dessert prep! You can prepare the cereal mixture up to 24 hours in advance and store it in an airtight container at room temperature to maintain that delightful crunch. For best results, roll the sushi with bananas just before serving, as this keeps the fruit fresh and prevents browning. Alternatively, you can assemble the entire sushi rolls and refrigerate them for up to 3 days; just ensure they are wrapped tightly to avoid drying out. Finally, drizzle with chocolate syrup just before presenting these whimsical treats to your family and friends, for a dessert that retains its magic and flavor!
How to Store and Freeze Fruity Pebbles Sushi
Room Temperature: Keep the finished Fruity Pebbles Sushi in an airtight container at room temperature for up to 2 days for optimal freshness and crunch.
Fridge: Store in the refrigerator for up to 5 days; however, note that the texture may become slightly chewy. Use a sealed container to maintain moisture levels.
Freezer: For longer storage, wrap individual sushi rolls tightly in plastic wrap and place them in a freezer-safe bag. They can be frozen for up to 2 months.
Reheating: When ready to enjoy, let the sushi thaw in the fridge overnight. Avoid microwaving as it may affect the texture of the Fruity Pebbles Sushi.
Expert Tips for Fruity Pebbles Sushi
Sticky Solution: If your marshmallow mixture becomes too sticky, dampening your hands lightly with water or using cooking spray can help mold it easier.
Substitution Success: Don’t hesitate to experiment! Substitute bananas with strawberries or even gummy candies to keep the fruity flavors fresh and exciting.
Wrap Wisely: Ensure your fruit roll-ups are at room temperature; this will make them easier to work with when wrapping your sushi rolls.
Slicing Technique: Use a sharp, wet knife to slice your sushi rolls neatly. This will help maintain the vibrant colors and prevent the rolls from squishing.
Storage Tips: If you’re making these in advance, keep the finished Fruity Pebbles Sushi covered in an airtight container. You can store them at room temperature for 2 days, but enjoy them fresh for the best texture!
Presentation Perfection: For an extra festive touch, sprinkle colorful nonpareils or edible glitter on top before serving to wow your guests!
What to Serve with Fruity Pebbles Sushi
This colorful dessert brings a touch of whimsy and sweetness, perfect for creating a delightful meal or snack spread.
- Ice Cream Sundae: Top vanilla or chocolate ice cream with colorful sprinkles and chocolate syrup for a creamy way to complement the crunchiness of the sushi.
- Fruit Salad: A refreshing medley of seasonal fruits like strawberries and kiwi adds a light, juicy contrast to the sweet and chewy sushi. It’s a vibrant touch to any dessert table.
- Chocolate Dipped Strawberries: The rich, luscious chocolate pairs beautifully with the fruity flavors in the sushi, creating a decadent bite that’s sure to please.
- Milkshakes: A classic chocolate or strawberry milkshake will evoke a nostalgic feel and serve as a delicious dip alongside your whimsical rolls.
- Sliced Almonds: The nutty flavor and crunchy texture of sliced almonds provide a lovely contrast, adding a slight crunch that balances out the sweetness of the Fruity Pebbles.
- Sparkling Juice: Serve a fruity sparkling juice alongside for an effervescent drink that enhances the dessert experience and keeps the celebration alive.
- Gummy Candies: Place a bowl of gummy candies next to the sushi, inviting guests of all ages to customize their dessert experience with a touch of chewy fun.
- Chocolate Fondue: A warm pot of chocolate fondue creates an interactive dessert experience, perfect for dipping both the sushi and fruit—making it a sweet adventure.
- Mini Cupcakes: Adorn a platter with mini cupcakes topped with frosting and sprinkles to inspire joy and creativity, providing an extra pop of color alongside the sushi rolls.
Fruity Pebbles Sushi: Customize Your Fun
Feel free to dive into your creative side and make this recipe your own with these delightful twists!
- Dairy-Free: Swap unsalted butter with coconut oil for a creamy, dairy-free option that maintains the delicious consistency.
- Alternative Fruits: Instead of bananas, try using strawberries, kiwi, or even gummy candies for a playful, fruity variety.
- Different Cereals: Substitute Fruity Pebbles with other colorful cereals like Trix or Rainbow Cheerios to introduce exciting flavors and textures.
- Add Some Crunch: Toss in a handful of finely chopped nuts, like almonds or walnuts, for added crunch and nutrition.
- Heat It Up: For a spicy twist, sprinkle some cinnamon or a dash of chili powder to elevate the flavor profile, creating a surprising zing!
- Festive Sprinkles: Top with colorful sprinkles or edible glitter to make your sushi visually captivating, perfect for parties or celebrations.
- Chocolate Lovers: Enhance your drizzle with a mix of white and dark chocolate syrup for a decadent treat the whole family will adore.
For a delightful pairing, try serving your sushi alongside other fun desserts like Buffalo Chicken Salad or Pumpkin Swirl Dessert, creating a spread that everyone will remember!
Fruity Pebbles Sushi Recipe FAQs
How do I choose the right Fruity Pebbles cereal?
When selecting Fruity Pebbles cereal, look for boxes that are vibrant in color and free from any broken pieces. Freshness is key to achieving that delightful crunch. You can also substitute it with other colorful cereals like Trix or Rainbow Cheerios to switch up the flavor and texture.
How should I store leftover Fruity Pebbles Sushi?
To keep your Fruity Pebbles Sushi fresh, store it in an airtight container at room temperature for up to 2 days. If you prefer refrigeration, it can last up to 5 days, but be aware that the texture may become slightly chewy. Airtight containers help maintain the ideal moisture levels, ensuring you enjoy this fun dessert for as long as possible!
Can I freeze Fruity Pebbles Sushi?
Absolutely! To freeze Fruity Pebbles Sushi, wrap each roll tightly in plastic wrap to prevent freezer burn, then place them in a freezer-safe bag. These delightful treats can be frozen for up to 2 months. When you’re ready to enjoy, simply allow the rolls to thaw in the fridge overnight. Avoid microwaving, as this can lead to a less than desirable texture.
What’s the best way to troubleshoot sticky or messy marshmallow mixture?
If your marshmallow mixture gets too sticky while you’re combining it with the cereal, don’t worry! There are a couple of easy fixes: lightly dampen your hands with water or use a bit of cooking spray, which will make handling the mixture much simpler and less messy. If it’s still problematic, consider letting it cool a bit longer before handling.
Are there any dietary considerations to keep in mind for the ingredients?
Yes, definitely! Ensure that any mini marshmallows you use are labeled gluten-free if you’re catering to dietary restrictions. For those dealing with dairy allergies, you can interchange unsalted butter with coconut oil, which makes a great dairy-free alternative. Always double-check the labels of fruit roll-ups and any additional ingredients for hidden allergens, especially if serving to kids or guests with allergies.
Can I customize the fillings for my Fruity Pebbles Sushi?
Very much! You have a world of options when it comes to fillings. While bananas are a classic choice, feel free to get creative—consider strawberries, kiwi, or even gummy candies for a sweet twist. The more the merrier! This flexibility allows everyone to personalize their sushi, enhancing the fun and creativity of this delightful dessert.
Fruity Pebbles Sushi Recipe FAQs
Fruity Pebbles Sushi: A Fun Dessert You'll Love
Ingredients
Equipment
Method
- Melt the butter in a medium saucepan over medium heat, stirring frequently until completely melted, about 2-3 minutes.
- Add mini marshmallows to the melted butter and stir continuously for about 3-4 minutes until fully melted and smooth.
- Quickly add Fruity Pebbles cereal into the melted marshmallow mixture, folding gently until coated.
- Transfer the mixture onto a large piece of parchment paper and press it into a rectangle about ½ inch thick. Cool for 5-10 minutes.
- Lay out fruit roll-ups flat and ensure you have enough for your sushi rolls.
- Place a banana at one edge of the cooled cereal rectangle and roll tightly to form a sushi roll.
- Slice each sushi roll into 1-inch pieces and place them on a serving platter.
- Drizzle chocolate syrup on top, if desired, and serve.
Leave a Reply