
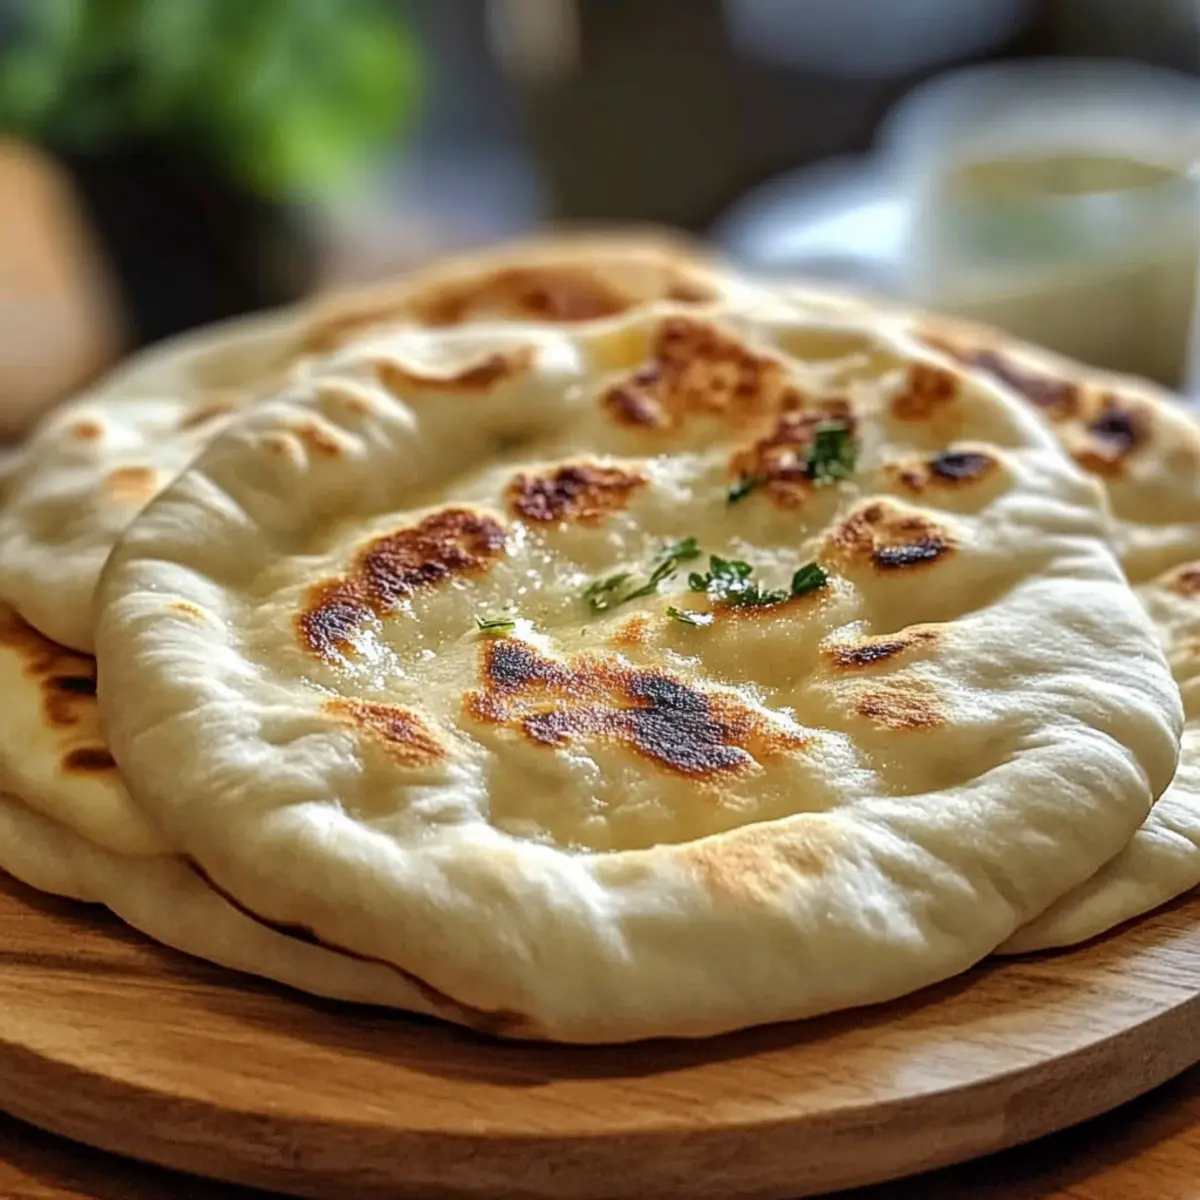
As I watched the dough come together, a comforting warmth filled my kitchen, promising that soon I would be savoring my very own Homemade Pita Bread. What I love most about this recipe is how effortlessly it transforms a simple ingredient list into a fluffy, chewy delight perfect for any Mediterranean feast. In just a short time, you’ll master the art of crafting these soft pockets, making them an ideal companion for hummus, falafel, or even grilled veggies. Plus, the joy of homemade bread is not just about taste; it’s about bringing loved ones together at the table, reveling in the aroma of fresh-baked goodness. Ready to elevate your meals with this easy homemade pita bread recipe? Let’s get rolling!
Why is homemade pita bread so special?
Simplicity, this quick recipe requires few ingredients and minimal effort—perfect for busy home cooks. Flavorful, each bite delivers a soft, chewy texture that elevates any meal. Versatile, these pitas can be used for dips, wraps, or served alongside grilled meats. Crowd-Pleasing, everyone loves freshly made pita! Plus, if you’re craving more Mediterranean goodness, try serving them with Garlic Shrimp Spinach or enjoy them with a side of Savory Ham Cheese. This homemade pita bread will surely be a hit at your next gathering!
Homemade Pita Bread Ingredients
• Get ready to create a masterpiece!
For the Dough
- Warm Water – Activates the yeast for the perfect rise; ensure it’s comfortably warm, not hot.
- Sugar – Feeds the yeast, helping it to ferment and providing a touch of sweetness.
- Yeast – The crucial leavening agent that makes your pita bread puff beautifully.
- All-Purpose Flour – Gives structure; swap in whole wheat for a heartier bite.
- Salt – Enhances the flavors throughout the dough, ensuring every bite is savory.
- Olive Oil – Adds moisture and richness, contributing to the delightful chewiness.
Enjoy the process of making your homemade pita bread recipe, and savor the delicious results!
Step‑by‑Step Instructions for Homemade Pita Bread Recipe
Step 1: Activate Yeast
In a small bowl, combine 1 cup of warm water (110°F), 1 tablespoon of sugar, and 2 teaspoons of yeast. Stir gently and let this mixture sit for about 5–10 minutes until it becomes foamy, indicating that the yeast is alive and ready to work its magic. This step is essential for achieving perfectly puffy homemade pita bread.
Step 2: Mix Dough
In a large mixing bowl, whisk together 3 cups of all-purpose flour and 1 teaspoon of salt. Create a well in the center, then pour in the activated yeast mixture and 2 tablespoons of olive oil. Stir with a wooden spoon until a rough dough forms, then transition to using your hands to incorporate any dry flour left in the bowl, preparing for kneading.
Step 3: Knead
Transfer the dough onto a well-floured surface and knead it for approximately 8–10 minutes. You’ll know it’s ready when the dough feels smooth and elastic. If you prefer a stand mixer, knead on medium speed for about 5–6 minutes. This process helps develop the gluten for that perfect chewy texture that makes homemade pita bread so delightful.
Step 4: First Rise
Place the kneaded dough in a greased bowl, covering it with a clean kitchen towel or plastic wrap. Allow it to rise in a warm spot for 1 to 1.5 hours until it has doubled in size. This step is crucial for the dough to develop air pockets, which will help your pita bread puff beautifully while cooking.
Step 5: Portion and Rest
Once the dough has risen, punch it down gently to release the air, then divide it into 8 equal pieces. Shape each piece into a ball, then cover them with the kitchen towel again for about 10 minutes. This resting period relaxes the gluten, making it easier to roll out the pitas.
Step 6: Shape Pitas
On a floured surface, take each dough ball and roll it out into a 6-inch circle. Keep the rolled-out pitas covered to prevent them from drying out. This step is key to ensuring you achieve the desired thickness for your homemade pita bread to puff up nicely during cooking.
Step 7: Cook
Heat a skillet or griddle over medium-high heat. Once hot, place one pita at a time in the skillet and cook for 1–2 minutes until bubbles form on the surface. Flip it over and cook for another 1–2 minutes, pressing down gently with a spatula if necessary. You want the pita to have golden spots, indicating that it’s cooked through and puffed up.
Step 8: Wrap
As each pita is cooked, transfer it to a clean towel and wrap it to keep warm and soft. This last step ensures your homemade pita bread stays fluffy, ready to be filled with your favorite ingredients or enjoyed with dips. Keep repeating this process until all pitas are cooked and wrapped, ready for your next Mediterranean feast!
What to Serve with Homemade Pita Bread
Imagine gathering around the table, sharing warm, fluffy pita bread while savoring delightful flavors that transport you to a Mediterranean paradise.
- Creamy Hummus: This classic dip is a perfect match for pita bread. Its smooth texture and rich flavor beautifully contrast with the bread’s chewiness.
- Spicy Falafel: Crispy on the outside and soft inside, falafel brings a burst of flavor that transforms your pita into a satisfying meal. Pair them for a delightful vegetarian dish.
- Grilled Vegetables: Seasoned and charred veggies add a smoky sweetness that complements the bread’s mild flavor, making each bite a taste of summer.
- Tzatziki Sauce: Cool and refreshing, tzatziki offers a wonderful balance to the warm, pillowy pita. Scoop it up for a burst of flavor in every mouthful.
- Stuffed Pita Sandwiches: Fill your pitas with grilled chicken, fresh greens, and your favorite toppings to create delicious sandwiches perfect for lunch or dinner.
- Mediterranean Salad: Crisp lettuce, ripe tomatoes, and tangy feta make for a vibrant salad that pairs beautifully with the soft texture of homemade pita bread.
- Olive Tapenade: This savory spread of olives and herbs provides a delightful umami kick that elevates classic pita bread, making it a gourmet experience.
- Mint Lemonade: A refreshing drink that cuts through rich flavors, mint lemonade brings a bright zing alongside your warm pita, balancing the meal beautifully.
- Baklava: For dessert, this sweet, nutty pastry contrasts the soft pita bread, ending your Mediterranean feast on a delightful note.
- Red Wine: A glass of light red wine will enhance the flavors of your meal and make every bite of pita bread even more enjoyable.
Make Ahead Options
These Homemade Pita Bread are perfect for busy weeknights and meal prep enthusiasts! You can prepare the dough up to 24 hours in advance. Just follow the mixing and kneading steps, then place the dough in a greased bowl, cover it tightly, and refrigerate. When you’re ready to make your pita, only a quick warm-up (allow the dough to sit at room temperature for about 30 minutes) and shaping is needed before cooking. Additionally, the cooked pitas can be stored in an airtight container for up to 3 days at room temperature, or frozen for up to 3 months—all while remaining just as delicious! Reheat them in a skillet for that fresh, soft texture just before serving.
Expert Tips for Homemade Pita Bread
-
Check Yeast Activity: Always confirm that your yeast is alive before proceeding. Look for bubbles—if you don’t see any, start over with fresh yeast.
-
Proper Heat: Cook pitas on medium-high heat to encourage puffing—too low, and they won’t rise properly, leading to dense bread.
-
Dough Covering: Keep your dough covered with a towel during resting and shaping to prevent it from drying out.
-
Precision in Rolling: Roll your pitas to an even thickness, about 1/4 inch; uneven thickness can cause some to undercook or burn.
-
Serve Warm: For the best flavor and texture, serve your homemade pita bread warm—heat them just before serving to enhance their softness.
-
Store Wisely: If you have leftovers, place them in an airtight container or wrap them tightly to keep them fresh. Reheat gently to maintain the texture.
Storage Tips for Homemade Pita Bread
-
Room Temperature: Store your pita bread in an airtight container for up to 2 days to maintain freshness; avoid leaving it out uncovered, as it may dry out quickly.
-
Fridge: For longer storage, you can keep it in the fridge, but it may dry out; wrap each pita in plastic wrap, which can last for up to a week.
-
Freezer: Freeze homemade pita bread by placing it in zip-top bags; it stays fresh for up to 3 months. For best results, place parchment paper between each pita to prevent sticking.
-
Reheating: When ready to enjoy, reheat in a toaster or skillet for the best flavor and texture, bringing back that warm, soft experience you love in your homemade pita bread.
Homemade Pita Bread Recipe Variations
Feel free to get creative with this recipe, adjusting flavors and ingredients to suit your palate!
-
Whole Wheat: Substitute all-purpose flour with whole wheat flour for a nuttier, heartier flavor; your pitas will have added nutritional benefits.
-
Herbed Pitas: Add dried herbs like oregano or thyme directly to the dough while mixing; this infusion will create fragrant pockets that complement Mediterranean dishes beautifully.
-
Spiced Delight: Incorporate ground spices such as cumin or coriander into the dough for a warm, aromatic twist that pairs perfectly with savory fillings.
-
Stuffed Pitas: Before cooking, place a spoonful of cheese, olives, or roasted vegetables between two rolled-out pitas; you’ll get a delightful surprise with every bite!
-
Dough Enrichment: Replace olive oil with melted butter for an indulgent flavor that adds a rich, buttery note to each soft pita bread.
-
Gluten-Free Option: Use a blend of gluten-free all-purpose flour to create a gluten-free version; just be sure to check for xanthan gum in your mix for proper texture!
-
Extra Yeast Activation: For thicker, softer pockets, let the dough rise a bit longer; increase the first rise time by an additional 15 minutes to develop the gluten further.
-
Traditional Tandoor Style: If you have access to a tandoor, adapting this recipe to cook the pitas in that high heat brings out an incredible flavor and texture.
Explore these variations to make your homemade pita bread experience even more enjoyable. And if you’re looking for complementary dishes, consider serving them with fresh hummus or a savory dish like Beef Mein Stir or even a delicious side of Soft Chewy Cookies for dessert. Happy baking!
Homemade Pita Bread Recipe FAQs
How do I know if my yeast is active?
To ensure your yeast is alive and ready to work, combine it with warm water (about 110°F) and sugar in a small bowl. Let it sit for 5–10 minutes; if it’s frothy and bubbly, your yeast is good to go! If there’s no activity, unfortunately, you’ll need to start over with fresh yeast.
What’s the best way to store pita bread?
Store your pita bread in an airtight container at room temperature for up to 2 days. If you need to keep them longer, wrap each pita tightly and place them in a zip-top bag in the freezer, where they can last for up to 3 months. Remember to remove as much air as possible to prevent freezer burn!
Can I freeze homemade pita bread?
Absolutely! To freeze, first ensure your pitas are completely cooled. Stack them with parchment paper in between each to prevent sticking, then place them in a zip-top freezer bag. When you’re ready to enjoy, simply reheat in a toaster or skillet until warmed through.
Why is my pita bread not puffing up during cooking?
If your pita isn’t puffing, it might be due to insufficient heat. Make sure your skillet is properly heated to medium-high before cooking. Also, roll your pitas to even thickness; uneven areas may not puff up correctly. Lastly, check your yeast to ensure it was fresh and active!
Can I make this pita recipe gluten-free?
Yes! You can substitute all-purpose flour with a gluten-free flour blend that is designed for bread-making. However, the texture may vary, and you might want to add a binding agent like xanthan gum to achieve that perfect soft texture.
Are there any dietary considerations for pets or allergies?
While homemade pita bread is generally safe for human consumption, it’s best to avoid giving it to pets, especially dogs, due to the yeast and salt content. Additionally, always check for any specific allergies. This recipe contains wheat and can be modified for gluten sensitivity with appropriate substitutions!
Soft and Chewy Homemade Pita Bread Recipe You’ll Love
Ingredients
Equipment
Method
- In a small bowl, combine warm water, sugar, and yeast. Let sit for about 5–10 minutes until foamy.
- In a large bowl, whisk together flour and salt. Create a well, then pour in the yeast mixture and olive oil. Stir until a rough dough forms.
- Knead dough on a floured surface for 8–10 minutes or use a stand mixer for 5–6 minutes until smooth and elastic.
- Place kneaded dough in a greased bowl, cover, and let rise for 1 to 1.5 hours until doubled in size.
- Once risen, punch down the dough, divide into 8 pieces, and shape each into a ball. Cover and let rest for 10 minutes.
- On a floured surface, roll each ball into a 6-inch circle, keeping the rolled-out pitas covered.
- Heat a skillet over medium-high heat. Cook each pita for 1–2 minutes on each side until puffy and golden.
- Transfer cooked pitas to a towel and wrap to keep warm and soft. Repeat until all pitas are cooked.
Leave a Reply