
As I stood in my kitchen, the sweet aroma of ripe strawberries filled the air, instantly transporting me to sun-drenched summer mornings. There’s something incredibly satisfying about making your own Easy Homemade Strawberry Preserves. Not only is this recipe quick and simple, but it also makes breakfast feel like a special occasion any day of the week. With a perfect balance of sweetness and a hint of tang from fresh lemon juice, these preserves are a delightful way to elevate toast, pancakes, or even a yogurt bowl. And if you’re feeling adventurous, you can easily swap strawberries for blackberries or raspberries to create your own signature blend. Curious how simple ingredients can turn into a jar full of joy? Let’s dive into the process together!
Why Make Homemade Strawberry Preserves?
Homemade strawberry preserves unlock a world of flavor, transforming fresh fruit into a delectable treat. Quick & Easy to make, this recipe comes together in under an hour, making it perfect for a last-minute breakfast boost. Customizable to your liking, you can easily swap strawberries for blackberries or raspberries for a twist on the classic. Perfectly Balanced with just the right amount of sweetness and tang, your taste buds will thank you. Whether enjoyed on warm toast or swirled into yogurt, these preserves elevate any meal. Explore more delicious ideas like Strawberry Shortcake Ice for your next sweet treat!
Homemade Strawberry Preserves Ingredients
For the Preserves
• Fresh Strawberries – The essence of this recipe, providing sweetness and vibrant flavor; you can substitute with blackberry or raspberry for a delightful twist.
• Sugar – Adds sweetness and preserves the mixture; feel free to adjust the amount based on the berries’ natural sweetness.
• Lemon Juice – Enhances flavor with acidity and aids preservation; fresh lemon juice offers the best taste and effect.
Optional Add-ins
• Vanilla Extract – A touch of vanilla can add depth to the flavor profile of your preserves.
• Cinnamon – A sprinkle of ground cinnamon introduces warmth and spice if you’re looking for something a little different.
Dive into the magic of Homemade Strawberry Preserves and savor the taste of summer!
Step‑by‑Step Instructions for Easy Homemade Strawberry Preserves
Step 1: Prepare the Strawberries
Begin by washing 2 cups of fresh strawberries under cold water. Remove the green tops and hulls, then chop the berries into small pieces, about a quarter-inch in size. This process should take around 10 minutes. The vibrant red color of the strawberries will be your sign that you’re on the right track for making homemade strawberry preserves.
Step 2: Combine Ingredients
In a large, heavy-bottomed pot, mix together your prepared strawberries, 1 cup of sugar, and 2 tablespoons of fresh lemon juice. Stir the mixture gently to ensure the sugar begins to dissolve, which should take about 5 minutes. The sweet aroma that fills your kitchen will give you the assurance that this is going to be delicious homemade strawberry preserves.
Step 3: Cook the Mixture
Turn the heat to medium and bring the strawberry mixture to a gentle boil while stirring frequently. This step usually takes 5-7 minutes. Watch closely as the sugar dissolves completely and the mixture starts to bubble vigorously. You’ll notice the strawberries softening and releasing their juices, creating a gorgeous, colorful blend perfect for your preserves.
Step 4: Simmer
Once boiling, reduce the heat to low and let the mixture simmer, stirring occasionally, for about 20-30 minutes. As it cooks, you’ll see the bubbling become more pronounced, and the mixture will thicken up. Keep an eye on it—the vibrant red color should deepen, signaling that your homemade strawberry preserves are close to being ready.
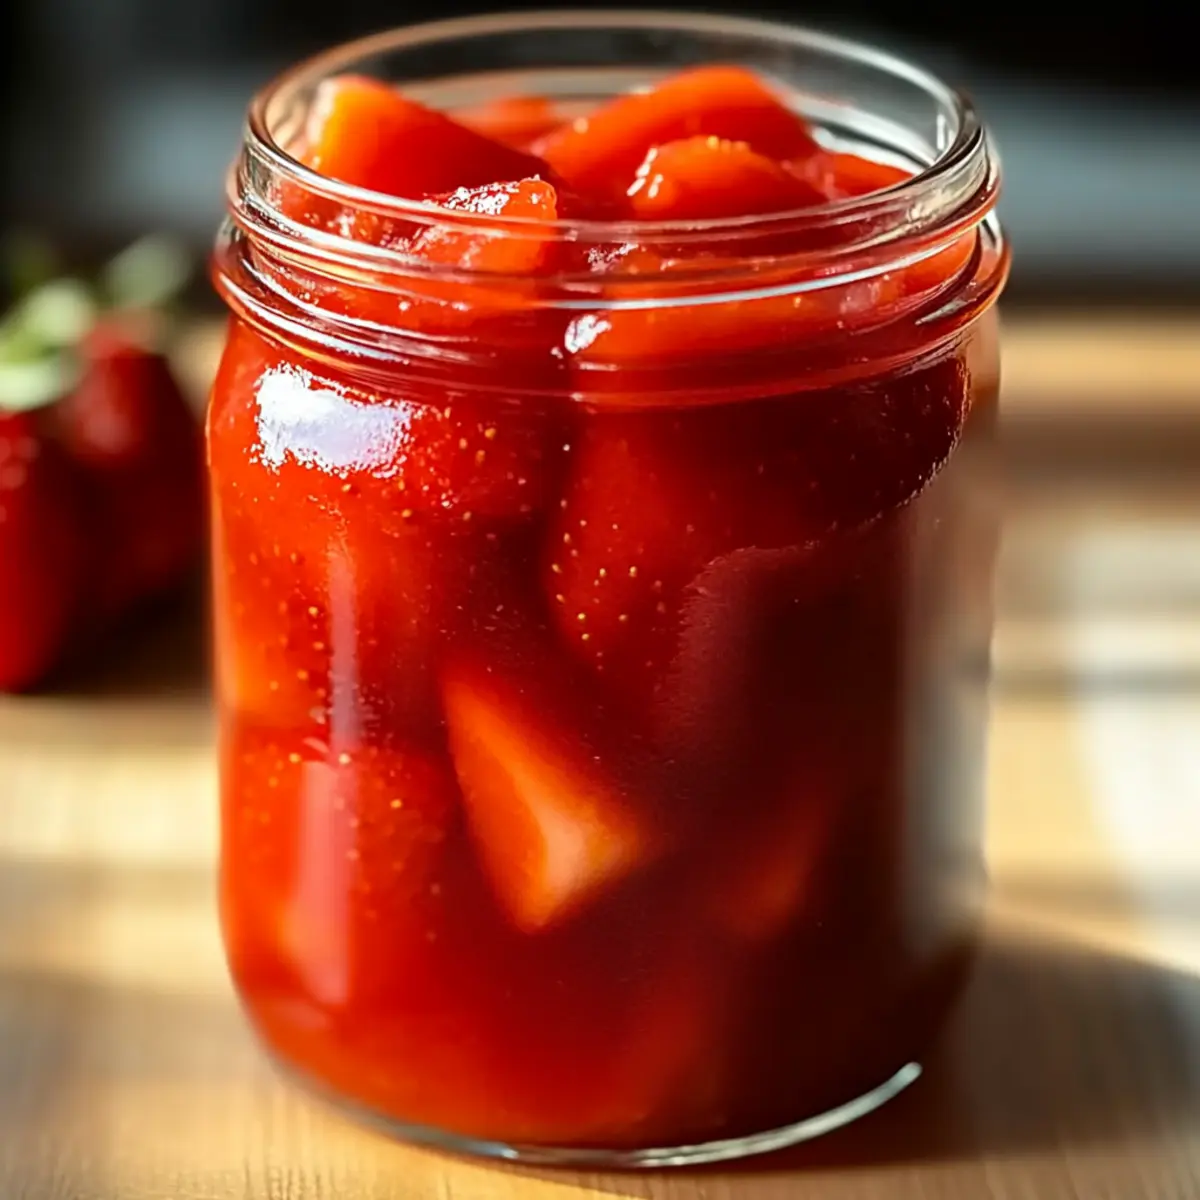
Step 5: Check Consistency
To test if your preserves are the right thickness, dip a spoon into the mixture and run your finger along the back. If it holds a clear line and feels syrupy and thick, it’s done; if it’s still runny, let it simmer for a few more minutes. This important step will ensure your homemade strawberry preserves have the perfect spreadable consistency.
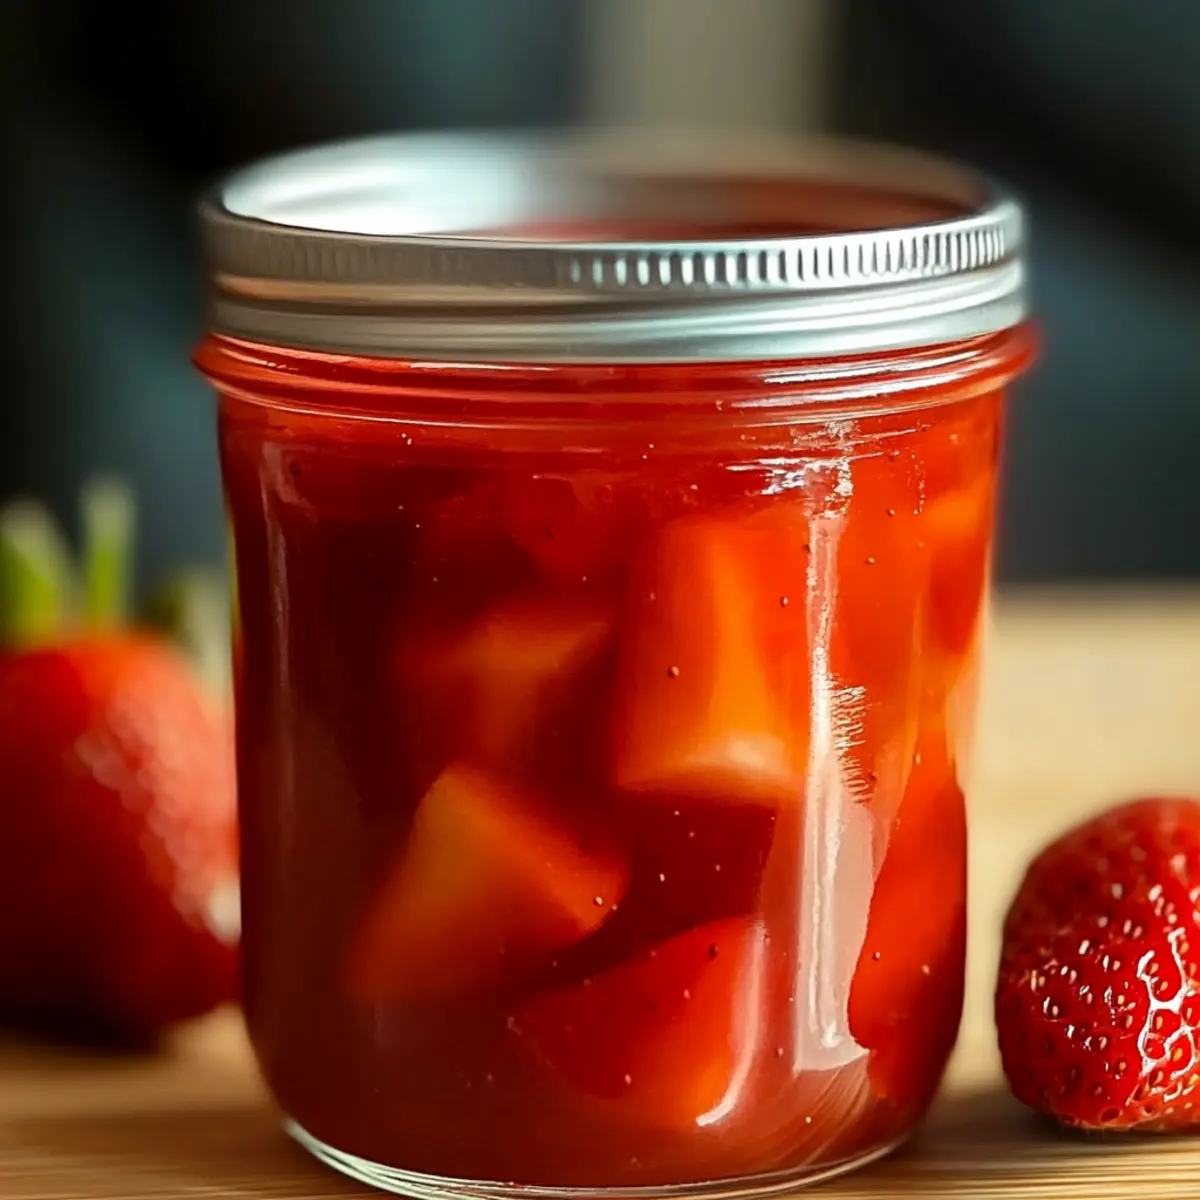
Step 6: Jar It
Once thickened, carefully pour the hot preserves into sterilized jars, leaving about a quarter-inch of space at the top. Seal immediately with clean, tight-fitting lids. As the mixture cools, it will create a vacuum seal. This step not only preserves the flavor of your strawberry preserves but keeps them safe for storage.
Step 7: Let It Cool
Allow the jars of your homemade strawberry preserves to cool at room temperature for about 1-2 hours. You should hear a satisfying “pop” from the lids as they vacuum seal. Once cooled, store the jars in a cool, dark place. They’ll keep for up to a year, allowing you to enjoy this sweet taste of summer whenever you wish!
How to Store and Freeze Homemade Strawberry Preserves
Fridge: Store your opened jars of homemade strawberry preserves in the refrigerator for up to 2 weeks to maintain freshness and flavor.
Freezer: For longer storage, freeze the preserves in airtight containers for up to 6 months. Be sure to leave some space for expansion.
Room Temperature: Unopened jars can be kept in a cool, dark place for up to 1 year. Make sure they are sealed tightly for optimal preservation.
Reheating: If you prefer a warm topping, gently heat the preserves in a saucepan over low heat, stirring until warm and spreadable.
Make Ahead Options
These Easy Homemade Strawberry Preserves are perfect for busy home cooks looking to save time during the week! You can prepare the mixture (excluding the sugar) up to 24 hours in advance by washing, hulling, and chopping your strawberries, then refrigerating them in an airtight container. On the day you plan to make the preserves, simply combine the prepped strawberries with the sugar and lemon juice and follow the cooking instructions. To maintain the quality, be sure to store any leftover preserves in sterilized jars; they will keep well for up to 1 year in a cool, dark place. This make-ahead approach allows you to enjoy the delightful flavor of homemade strawberry preserves without the last-minute rush!
Expert Tips for Homemade Strawberry Preserves
- Consistency Check: Always test the thickness before jarred. If it doesn’t coat the back of a spoon, simmer a bit longer for perfect homemade strawberry preserves.
- Sterilization Matters: Ensure jars are properly sterilized to avoid spoilage. Boil them in water for 10 minutes before use for safe storage.
- Sweetness Adjustments: If strawberries are particularly sweet, adjust sugar accordingly. This will prevent overly saccharine preserves.
- Flavor Boost: Consider adding a teaspoon of vanilla extract or a pinch of cinnamon for unique flavor twists.
- Cooling Time: Let the preserves cool fully at room temperature to create a proper seal and enhance flavor.
Homemade Strawberry Preserves Variations
Feel free to explore endless possibilities with these delightful twists on your homemade strawberry preserves!
- Berry Swap: Replace strawberries with blackberries or raspberries for unique flavor profiles. Each berry brings its own sweetness and tartness, creating a special spin on your preserves.
- Spiced Up: Add a pinch of cinnamon or nutmeg for a warm, comforting flavor. The spices meld beautifully with the sweetness of the fruit, making every bite feel like a cozy hug.
- Smooth Texture: Blend the mixture for a smoother consistency. If you enjoy your preserves less chunky, just pulse it in a blender before storing.
- Honey Sweetened: Swap sugar for honey to create a healthier preserve option. The floral notes of honey add complexity, making this a lovely alternative.
- Citrus Blast: Experiment with adding orange or lime juice alongside lemon for a zesty kick. This brightens the flavor and adds a refreshing twist to classic strawberry preserves.
- Fruity Fusion: Mix in diced peaches or apricots to create a fruit medley. This combination not only expands the flavor but also adds a variety of textures to enjoy.
- Kick of Heat: Incorporate a dash of cayenne pepper for those who enjoy a little spice in their sweet treats. This unexpected heat pairs surprisingly well with the sweetness of strawberries.
- Preserve Inspiration: Don’t stop with berries! Check out my recipes for Strawberry Shortcake Ice or Strawberry Shortcake Protein to spark more creativity in the kitchen.
Your homemade strawberry preserves can be as unique as your taste buds allow—let the creativity flow!
What to Serve with Easy Homemade Strawberry Preserves
Enjoy your homemade creation with delightful options that turn every meal into a special occasion.
- Buttered Toast: A classic pairing that lets the sweetness of the preserves shine, making breakfast memorable with every bite.
- Pancakes: Drizzle warm strawberry preserves over fluffy pancakes for a fruity twist and an irresistible flavor boost.
- Greek Yogurt: Swirl into creamy yogurt for a refreshing snack, adding texture and a taste of summer in every spoonful.
- Scones: Enjoy alongside freshly baked scones for a traditional afternoon tea experience that brings warmth to your kitchen.
- Cheesecake: Transform slices of cheesecake into something extraordinary with a generous scoop of the vibrant preserves on top.
- Ice Cream: Use as a luscious topping for vanilla ice cream, where the sweet and tangy preserves enhance the cold, creamy treat beautifully.
- Charcuterie Board: For a delightful contrast, add your strawberry preserves to a charcuterie board for an unexpected sweet touch against savory meats and cheeses.
- Bruschetta: Spread on toasted baguette slices topped with cream cheese or mascarpone for a delightful appetizer bursting with flavor.
- Sparkling Water: Serve with a tall glass of sparkling water for a refreshing drink that complements the sweetness of your preserves.

Easy Homemade Strawberry Preserves Recipe FAQs
How do I select the best strawberries for this recipe?
Absolutely! Choose ripe strawberries that are bright red, fragrant, and slightly soft to the touch. Avoid berries with dark spots all over or those that look too mushy. Fresh, plump strawberries ensure the best flavor for your homemade strawberry preserves.
What is the best way to store homemade strawberry preserves?
Once opened, keep your homemade strawberry preserves in the refrigerator for up to 2 weeks. Be sure to seal the jar tightly after each use. If you have unopened jars, you can store them in a cool, dark place for up to a year.
Can I freeze homemade strawberry preserves?
Yes, you can! To freeze your homemade strawberry preserves, pour them into airtight containers, leaving about an inch of space at the top for expansion. They can be stored in the freezer for up to 6 months. When you’re ready to use them, simply thaw in the fridge overnight and enjoy the taste of summer!
What should I do if my preserves are too runny?
Oh no! If your preserves turn out runny, don’t worry. Simply return them to the pot and simmer on low heat, stirring frequently. This process will help evaporate excess moisture. Check the consistency every few minutes by running a spoon through the mixture; once it thickens and coats the spoon, you’re good to jar it!
Are homemade strawberry preserves safe for pets?
Generally, it’s best to keep homemade strawberry preserves away from pets. While strawberries are safe for dogs in moderation, the added sugar and lemon juice aren’t ideal. Always consult your vet if you’re considering sharing a bit with your furry friends.
Can I adjust the sugar level in the recipe?
Very much! If your strawberries are particularly sweet, feel free to reduce the sugar to suit your taste. It’s all about balance! Just remember, sugar plays a significant role in preservation, so if you cut back significantly, you may need to consume the preserves sooner rather than later.

Homemade Strawberry Preserves That Are Fresh and Simple
Ingredients
Equipment
Method
- Wash 2 cups of fresh strawberries under cold water, remove green tops and hulls, then chop into small pieces.
- In a large pot, mix together strawberries, 1 cup sugar, and 2 tablespoons lemon juice; stir gently for 5 minutes.
- Turn heat to medium and bring to a gentle boil, stirring frequently for 5-7 minutes.
- Reduce heat to low and let simmer for 20-30 minutes, stirring occasionally.
- Check consistency by running a finger along the back of a spoon; it should hold a clear line and feel syrupy.
- Pour hot preserves into sterilized jars, leaving 1/4 inch space at top, and seal immediately.
- Allow jars to cool at room temperature for 1-2 hours; ensure a vacuum seal is created.
Leave a Reply