
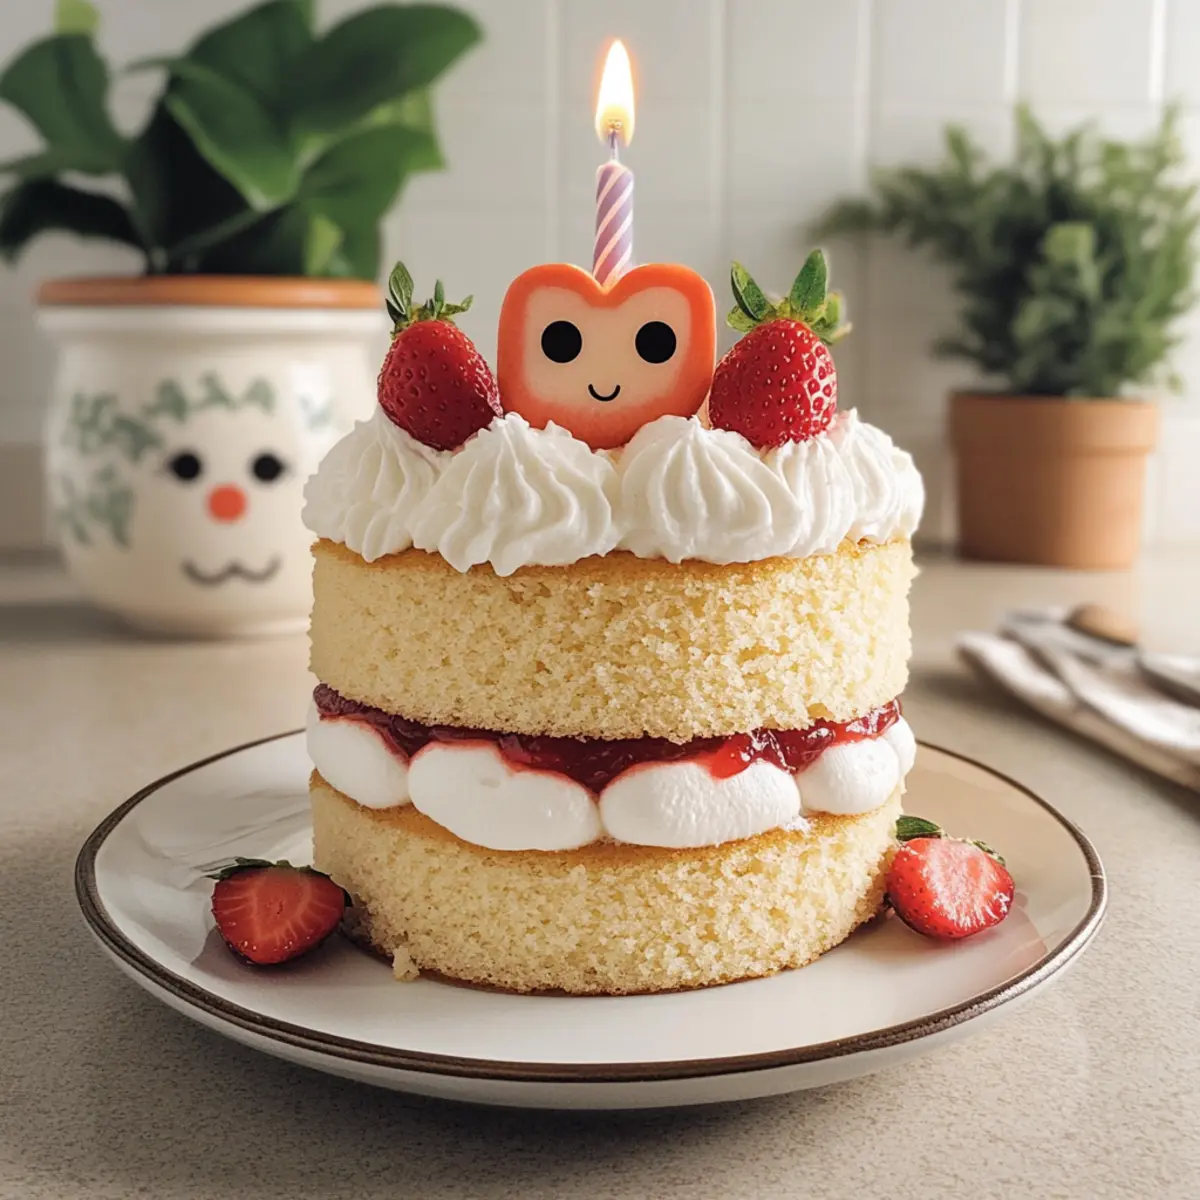
As the candles flicker on a beautifully crafted cake, the joyful chaos of a birthday party fills the air around me. This Jellycat Birthday Cake, with its charming design inspired by the beloved plush toy, is not just a dessert; it’s a delightful centerpiece that brings smiles to both kids and adults alike. With layers of moist vanilla cake, silky strawberry jam, and fluffy whipped cream, this cake is easy to whip up and promises to be a showstopper at your next celebration. Not only will you impress your guests, but this nostalgic twist on a classic dessert also offers a comforting familiarity that makes every bite feel like a warm hug. Are you ready to create a cake that will make memories? Let’s get baking!
Why is this Jellycat Birthday Cake special?
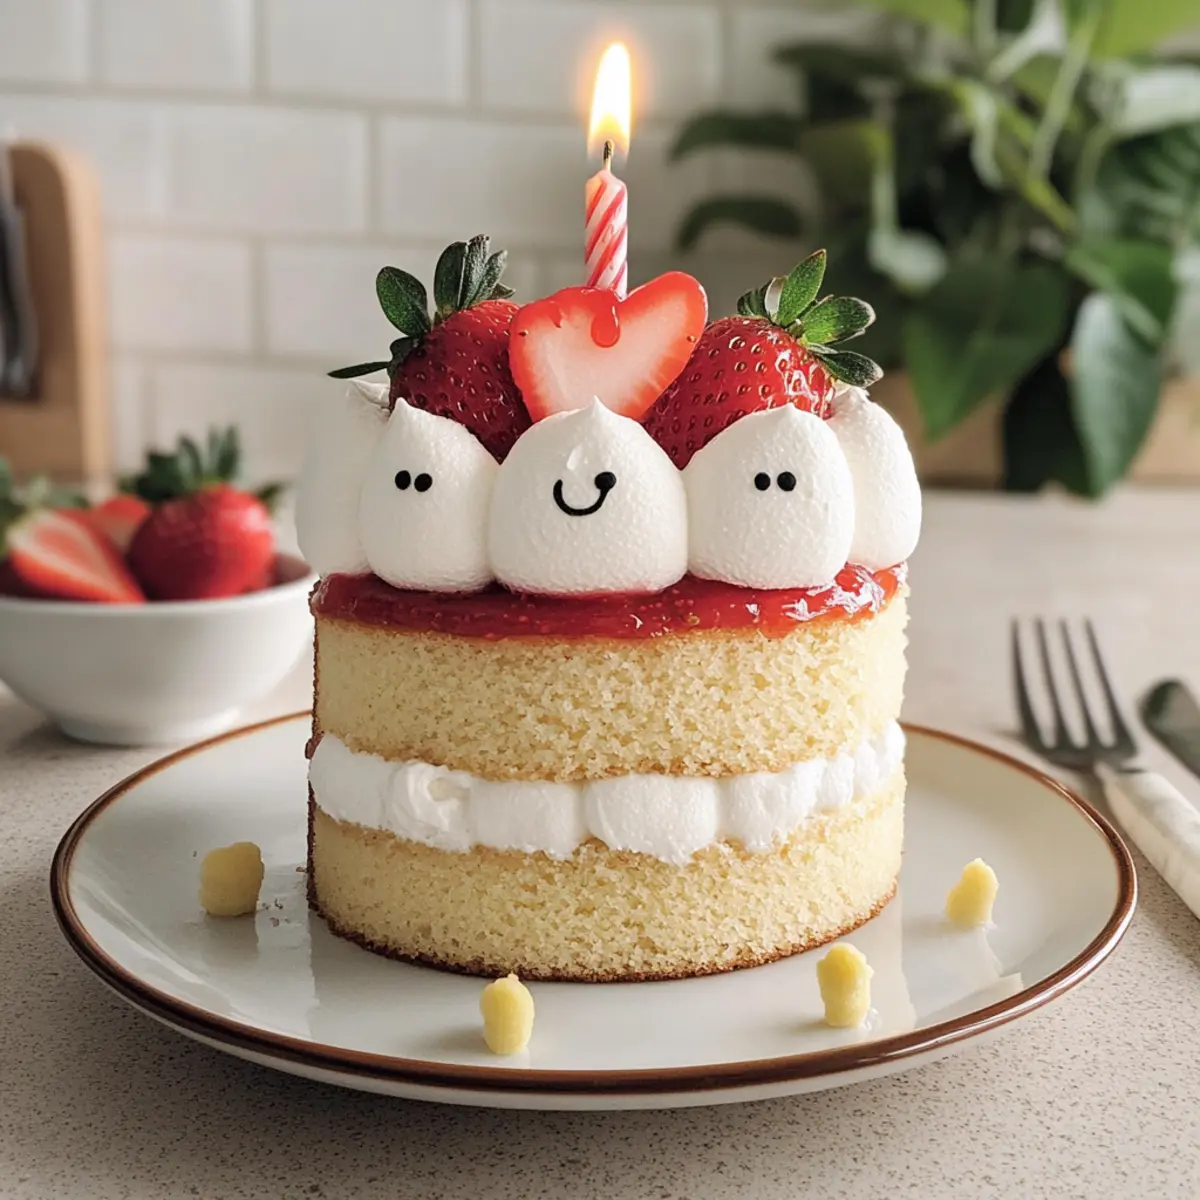
Whimsical Design: The playful Jellycat inspiration makes this cake a delightful centerpiece that captures attention and hearts alike.
Easy to Make: With simple ingredients and straightforward steps, even beginner bakers can create this stunning dessert effortlessly.
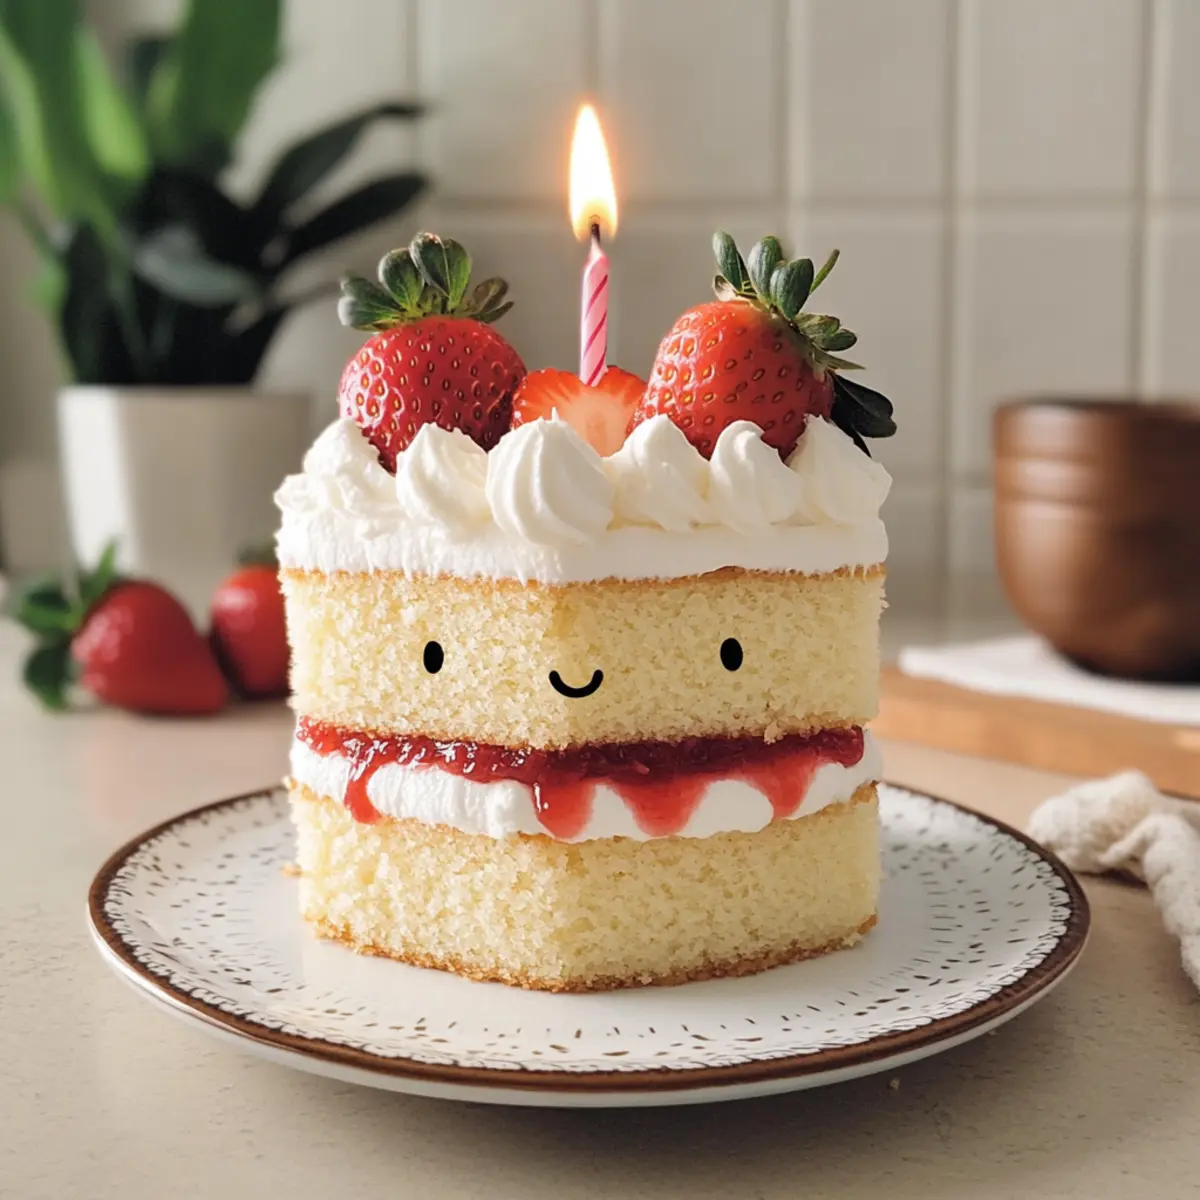
Nostalgic Flavor: The classic combination of vanilla and strawberry evokes warm memories, making it a beloved choice for all ages.
Customization Options: Feel free to switch up the fillings or decorations—whether it’s raspberry jam or a fun fondant finish, the possibilities are endless!
Perfect for Any Celebration: Whether it’s for a child’s birthday or a whimsical gathering, this cake truly stands out at any event.
Check out the Strawberry Shortcake Ice for another delightful treat that perfectly accompanies this amazing cake!
Jellycat Birthday Cake Ingredients
For the Cake
- All-purpose flour – Provides structure and stability to the cake. Can substitute with cake flour for a lighter texture.
- Baking powder – Acts as a leavening agent to help the cake rise. Ensure it’s fresh for best results.
- Salt – Enhances flavor and balances the sweetness. Use sea salt for a subtle difference.
- Large eggs – Adds moisture and richness, helping to bind ingredients. Room temperature eggs mix better.
- Granulated sugar – Sweetens the cake and contributes to moisture. Can use coconut sugar for a less refined option.
- Unsalted butter – Provides flavor and moistness. Substitute with oil for a dairy-free version.
- Milk – Adds moisture; can be dairy or non-dairy. Almond milk or oat milk are good alternatives.
- Oil – Enhances moisture and extends freshness. Vegetable or canola oil works well.
- Vanilla extract – Adds depth of flavor. Use real vanilla extract for the best taste.
For the Frosting
- Whipping cream – Used for frosting; light and fluffy texture. Substitutable with coconut cream for a non-dairy option.
- Powdered sugar – Sweetens and stabilizes the whipped cream. Adjust sweetness according to taste.
- Cocoa powder – Tints chocolate whipped cream for decoration. Optional if a lighter color is preferred.
For the Filling and Decoration
- Strawberry jam – Provides a fruity filling. Use homemade jam for enhanced flavor.
- Fresh strawberries – Decorates the cake. Choose ripe, fresh strawberries for the best presentation.
- Birthday candle – Adds whimsy. Select a colorful design to match the theme.
- Dark chocolate – Used to create facial features. Chocolate chips can substitute in a pinch.
This Jellycat Birthday Cake is a cheerful creation that combines delightful flavors with an adorable design, perfect for any birthday bash!
Step‑by‑Step Instructions for Jellycat Birthday Cake
Step 1: Preheat and Prepare Pans
Preheat your oven to 350°F (175°C) to ensure even baking. While the oven heats, line two 6-inch round cake pans with parchment paper, making sure to grease the sides. This will help your Jellycat Birthday Cake come out easily after baking. Set the prepared pans aside as you move on to mixing your ingredients.
Step 2: Combine Dry Ingredients
In a small bowl, sift together 2 cups of all-purpose flour, 2 teaspoons of baking powder, and ½ teaspoon of salt. Mixing these dry ingredients separately will ensure that the leavening agent is evenly distributed, resulting in a light and airy texture in your Jellycat Birthday Cake. Set this bowl aside while you prepare your wet ingredients.
Step 3: Heat Wet Ingredients
In a saucepan over low heat or a microwave, melt ½ cup of unsalted butter with 1 cup of milk, ⅓ cup of vegetable oil, and 2 teaspoons of vanilla extract. Stir gently and avoid boiling; the mixture should just be hot and blended. This warmth is critical for properly incorporating the ingredients in the next steps, making your cake deliciously moist.
Step 4: Whisk Eggs and Sugar
In a large mixing bowl, beat together 4 large eggs and 1 cup of granulated sugar on medium speed for about 6 minutes. You want a pale, fluffy mixture that has roughly tripled in volume. This step is vital as it will give your Jellycat Birthday Cake its structure and lift, creating a delightful fluffiness in the final result.
Step 5: Combine Mixtures
Gradually add the dry flour mixture to the whipped egg mixture, gently mixing until just combined. Next, slowly pour in the hot milk mixture while stirring gently until the batter is smooth and homogeneous. Avoid over-mixing, as this can lead to a denser cake. You want a batter that is thick yet pourable for your Jellycat Birthday Cake.
Step 6: Bake the Cake
Divide the batter evenly between the two prepared pans, smoothing the tops with a spatula. Place them in the preheated oven and bake for 35 to 40 minutes. Check for doneness by inserting a toothpick in the center; it should come out clean or with a few moist crumbs. Once baked, the cakes will have a golden color and spring back when lightly touched.
Step 7: Cool the Cakes
Remove the cake pans from the oven and allow them to cool for about 15 minutes in the pans. After that, carefully transfer the cakes to wire racks to cool completely. This step is key to ensuring your Jellycat Birthday Cake layers aren’t soggy and are ready for frosting once they are cool.
Step 8: Whip the Cream
In a medium bowl, beat 2 cups of heavy whipping cream with ¼ cup of powdered sugar and 1 teaspoon of vanilla extract until soft peaks form. Continue beating until you reach stiff peaks, ensuring that the cream is light and fluffy but not grainy. This whipped cream will act as both the frosting and filling for your Jellycat Birthday Cake.
Step 9: Prepare Chocolate Cream
Take a portion of the whipped cream, about 1 cup, and mix it with 2 tablespoons of cocoa powder. This chocolate mixture will make the decorative elements of your cake. Place it into a piping bag for easy handling, allowing for creative decorations on your Jellycat Birthday Cake.
Step 10: Assemble the Cake
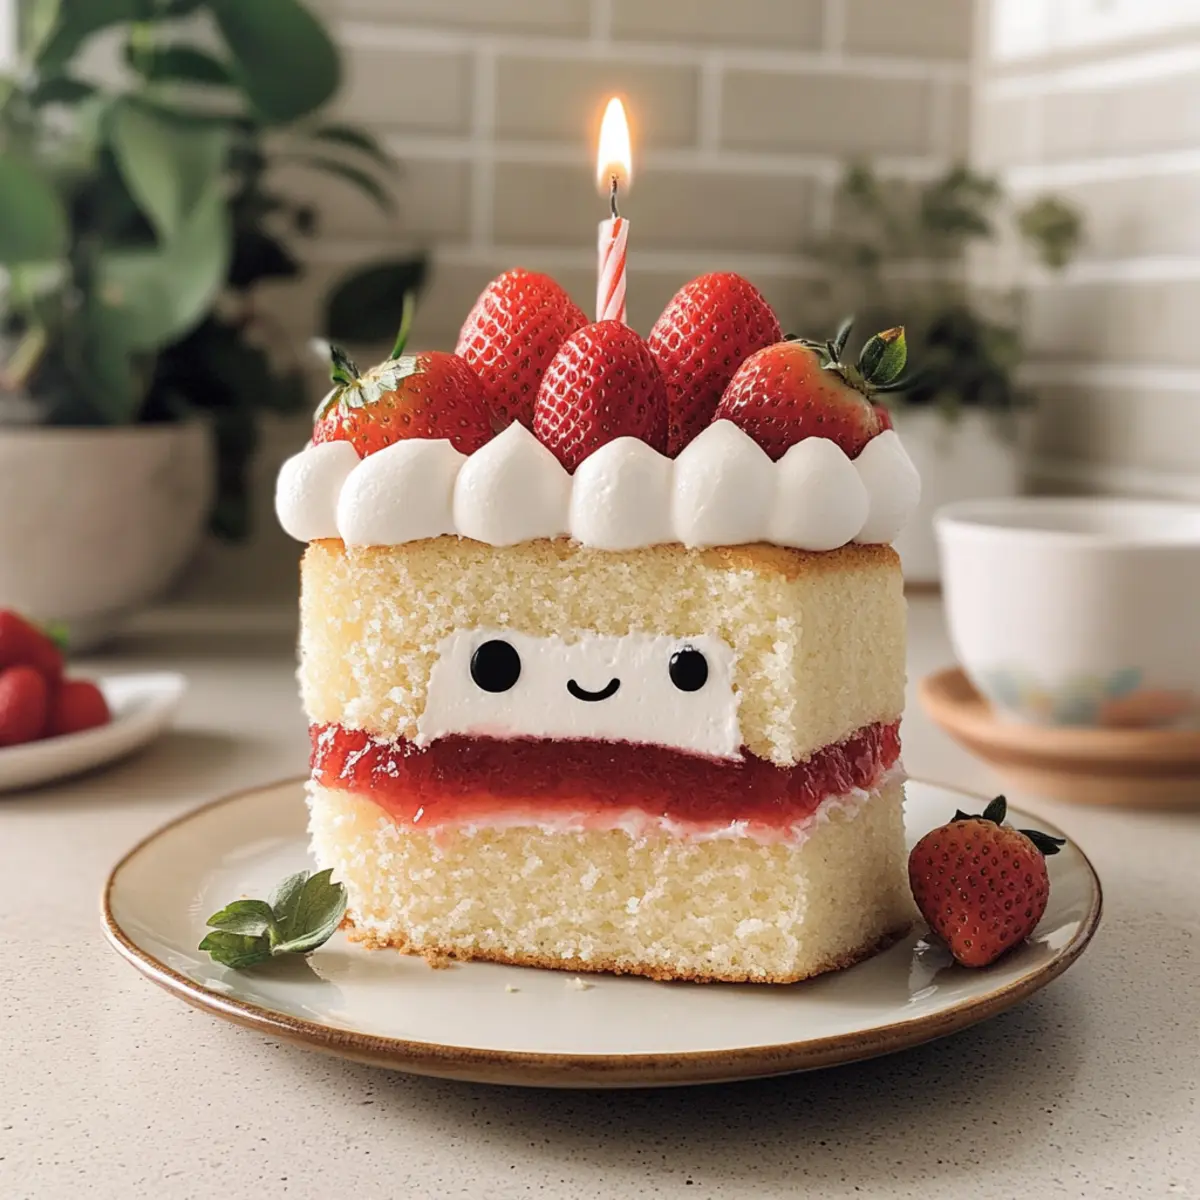
Start with one layer of the cake on a serving plate. Pipe a layer of whipped cream on top, then spread a layer of strawberry jam evenly over the cream. Place the second cake layer on top, pressing down gently. Frost the top and sides of the cake with more whipped cream, creating an enticing look for your Jellycat Birthday Cake.
Step 11: Pipe Decorations
Using the chocolate whipped cream in your piping bag, create facial features and legs on the cake, mimicking the beloved Jellycat plushie design. This whimsical touch will not only add character but will also enchant your guests. Don’t forget to finish by decorating the top with halved fresh strawberries, lending a delightful appearance to your birthday creation.
Make Ahead Options
These Jellycat Birthday Cakes are perfect for busy home cooks looking to save time! You can prepare the cake layers up to 24 hours in advance; simply bake, cool, and wrap them tightly in plastic wrap to keep them fresh. The whipped cream frosting can also be made up to 3 days ahead; just store it in an airtight container in the refrigerator. When you’re ready to assemble, layer the whipped cream with strawberry jam between the cooled cake layers, frost the outside, and decorate as desired. This way, you’ll have a delightful and whimsical cake ready to impress with minimal effort on the day of your celebration!
Expert Tips for Jellycat Birthday Cake
-
Hot Milk Mixture: Ensure the milk mixture is hot when added to the batter; it will help the cake rise beautifully and maintain a moist texture.
-
Cream Consistency: Whip the cream carefully to avoid graininess. Stop beating once you reach stiff peaks for the perfect fluffy topping on your Jellycat Birthday Cake.
-
Offset Spatula Use: Use an offset spatula to layer your cream and jam smoothly. This ensures an even distribution and an elegant finish for your cake.
-
Testing Doneness: Baking times may vary—rely on a toothpick test. If it comes out clean, your Jellycat Birthday Cake is ready to be cooled!
-
Chill the Pans: For an easier cake release, chill your pans before pouring in the batter. This little trick can make a world of difference when it’s time to detach the cake from its mold!
How to Store and Freeze Jellycat Birthday Cake
Airtight Container: Keep your Jellycat Birthday Cake in an airtight container in the refrigerator for up to 3 days to maintain its freshness and flavor.
Freezing: If you want to enjoy the cake later, wrap each layer tightly in plastic wrap and store it in the freezer for up to 1 month. Thaw it in the fridge overnight before serving.
Reheating: If you prefer a warm slice, microwave individual pieces for about 10-15 seconds until just warm. Avoid overheating, as it may alter the cake’s texture.
Frosting Integrity: If you’ve already frosted your cake, try to cover it well to keep the whipped cream topping intact while it’s stored.
Variations & Substitutions for Jellycat Birthday Cake
Feel free to take your creativity to the next level and personalize your delightful Jellycat Birthday Cake with these fun variations!
-
Larger Cake: Consider making an 8” cake by doubling the recipe. This larger version is perfect for bigger celebrations, ensuring there’s enough for everyone to enjoy!
-
Different Jam: Berry Twist: Swap the strawberry jam with raspberry or blueberry for a unique fruity flavor. Each berry brings its own sweetness and tartness, creating a delightful surprise in every bite.
-
Frosting Swap: Fondant Finish: Use fondant instead of whipped cream for a smoother and more polished look. It may take a little more time, but the results are stunning and provide a fun creative outlet!
-
Alternative Flour: Gluten-Free: Substitute all-purpose flour with a gluten-free blend for a cake that everyone can indulge in. Just ensure your baking powder is also gluten-free!
-
Dairy-Free Option: Non-Dairy Products: Use coconut milk instead of regular milk and coconut cream for the frosting to cater to any dietary restrictions without compromising flavor.
-
Flavor Boost: Citrus Zing: Add a teaspoon of lemon or orange zest to the batter to brighten up flavors and give your cake a refreshing twist that complements the strawberry nicely.
-
Chocolate Lovers: Choco-Layered: Fold in chocolate chips into the batter for the ultimate rich experience. This adds decadent pockets of chocolate that pair deliciously with the strawberry filling.
-
Spicy Kick: Add a Dash: Incorporate a pinch of cinnamon or nutmeg into the dry ingredients for a warm, spicy note. This subtle surprise can elevate the cake’s flavor profile intriguingly!
By using these variations, you can truly tailor your Jellycat Birthday Cake to fit the preferences of your guests. And while you’re at it, don’t forget to explore other delightful recipes like the Coconut Cloud Cake or the Blueberry Cream Cake for more inspiration!
What to Serve with Jellycat Birthday Cake
Elevate your birthday celebration with delightful accompaniments that enhance the whimsical charm of this sweet treat.
-
Fresh Fruit Salad: A vibrant mix of seasonal fruits provides a refreshing contrast that balances the sweetness of the cake.
-
Vanilla Ice Cream: A classic pairing, the creamy texture of vanilla ice cream adds a luscious finish to every slice of cake.
-
Sparkling Lemonade: Bright and bubbly, this drink adds a zesty twist to the party atmosphere, perfectly complementing the cake’s fruity flavors.
-
Chocolate-Covered Strawberries: A playful addition, these treats echo the cake’s decorations while providing a delicious bite of indulgence.
-
Chocolate Milkshake: Rich and creamy, this shake lets the nostalgic flavors shine brighter, making for a delightful treat for kids and adults alike.
-
Whipped Cream Topping: Serve extra whipped cream on the side, inviting guests to enhance their cake slice with an indulgent dollop.
-
Blueberry Compote: A sweet-tart compote adds depth and complexity, transforming a simple cake slice into a gourmet experience.
-
Sweet Biscotti: Enjoy these crunchy, lightly sweetened cookies with a cup of coffee or tea for a cozy after-dinner treat alongside your cake.
Jellycat Birthday Cake Recipe FAQs
How do I choose ripe strawberries for the Jellycat Birthday Cake?
Absolutely! Look for strawberries that are vibrant red without any dark spots or blemishes. They should be firm and fragrant, indicating ripeness. I often prefer buying them directly from local markets for the freshest flavor.
How should I store my Jellycat Birthday Cake?
To keep your cake fresh, store it in an airtight container in the refrigerator for up to 3 days. Make sure to seal it well to prevent the whipped cream from losing its fluffiness.
Can I freeze the Jellycat Birthday Cake?
Yes! To freeze, wrap each cake layer tightly in plastic wrap, then in aluminum foil, and store them in the freezer for up to 1 month. To enjoy later, simply thaw them in the fridge overnight before serving. It’s a great way to enjoy cake without all the last-minute baking!
What if my whipped cream is grainy while making the frosting?
Very good question! If the whipped cream becomes grainy, it’s usually a sign of over-beating. Stop as soon as you reach soft to firm peaks. For a smoother texture, start over with fresh cream and beat it gently until you get that perfect fluffy consistency.
Can I substitute any ingredients in the Jellycat Birthday Cake?
Absolutely! You can use gluten-free flour for a gluten-free version of the cake. Additionally, for dairy-free options, substitutes like coconut cream for the whipped cream and almond milk instead of regular milk work beautifully!
Is this cake safe for pets?
Keep in mind that cakes containing chocolate, like the dark chocolate used for decorations, can be harmful to pets. If you’re planning to share the cake with your furry friends, it’s best to be careful and keep it out of their reach.
Delightful Jellycat Birthday Cake with Strawberry Surprise
Ingredients
Equipment
Method
- Preheat your oven to 350°F (175°C) and line two 6-inch round cake pans with parchment paper.
- Sift together the flour, baking powder, and salt in a bowl.
- Melt the butter, milk, oil, and vanilla together until hot.
- Beat the eggs and sugar until pale and fluffy.
- Gradually mix the dry ingredients into the egg mixture, then add the wet ingredients.
- Divide the batter between the prepared pans and bake for 35-40 minutes.
- Let the cakes cool in the pans for 15 minutes before transferring to wire racks.
- Whip the cream with powdered sugar and vanilla until stiff peaks form.
- Mix part of the whipped cream with cocoa powder for decoration.
- Layer one cake with cream and jam, then top with the second layer.
- Decorate the cake with chocolate cream and fresh strawberries.
Leave a Reply