
Introduction to Mini Fruit Pizzas
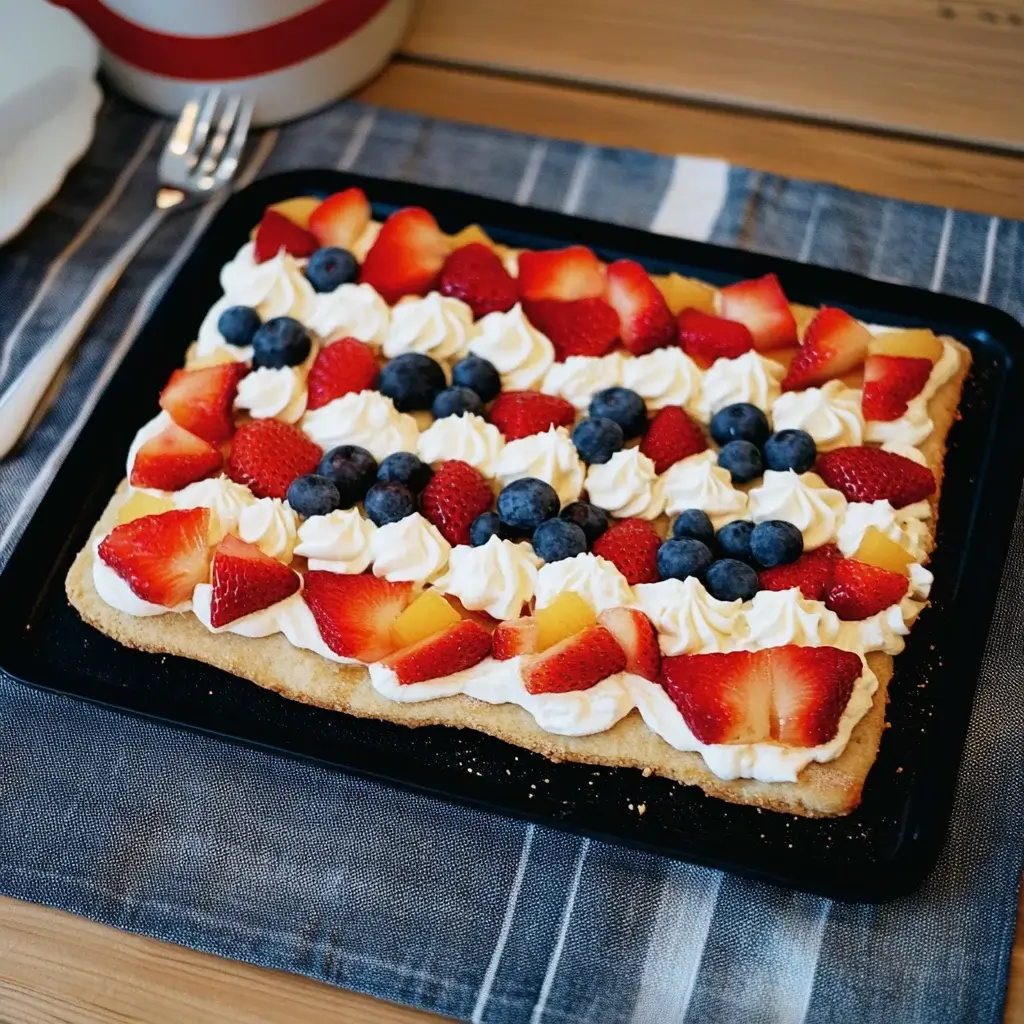
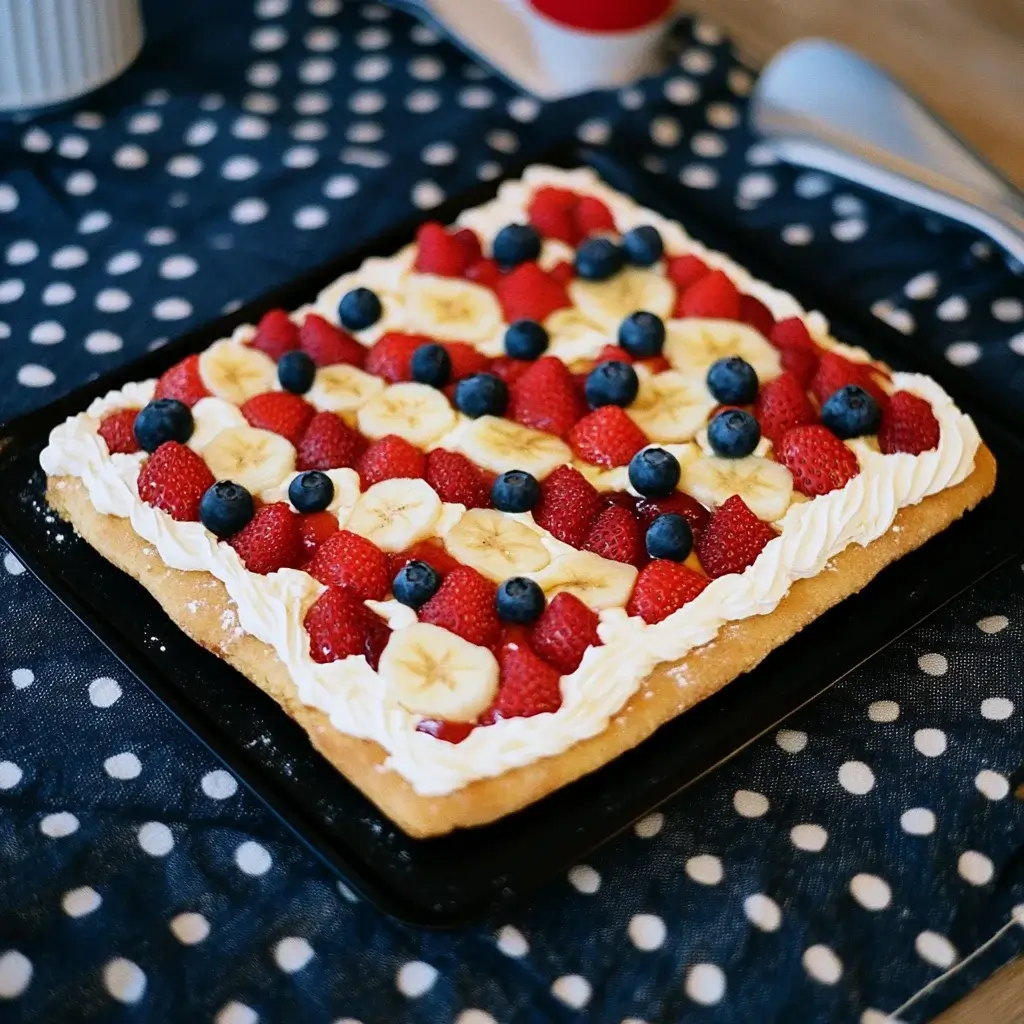
A soft sugar cookie base, a creamy whipped topping, and colorful slices of fresh fruit—these Mini Fruit Pizzas are every bit as fun to eat as they are to make. Perfect for parties, brunches, or a summer afternoon treat, they’re endlessly customizable and crowd-pleasing. Use strawberries, kiwi, blueberries, or whatever’s in season for a vibrant, juicy finish.
Why You’ll Love This Recipe:
-
Individual portions = fun and mess-free.
-
Gorgeous presentation with minimal effort.
-
Kids love decorating their own!
-
Balanced sweetness from fruit and creamy topping.
-
No fancy equipment needed—just bake, frost, and top.
Ingredients for Mini Fruit Pizzas
Let’s talk ingredients—the foundation of any recipe worth repeating.
- All-purpose flour: The foundation of your cookie base, providing structure and a soft texture.
- Granulated sugar: Sweetens the dough, giving it that irresistible flavor.
- Unsalted butter: Adds richness and moisture; make sure it’s softened for easy mixing.
- Large egg: Acts as a binder, helping to hold everything together.
- Vanilla extract: A splash of this adds warmth and depth to the flavor.
- Baking powder: This leavening agent helps the cookies rise, creating a light texture.
- Salt: Just a pinch enhances the sweetness and balances the flavors.
- Cream cheese: The star of the topping, providing a creamy, tangy layer that pairs perfectly with fruits.
- Powdered sugar: Sweetens the cream cheese topping, making it smooth and luscious.
- Assorted fresh fruits: Choose your favorites like strawberries, blueberries, or kiwi for vibrant color and flavor.
- Lemon juice: A drizzle brightens the fruit and prevents browning, keeping everything looking fresh.
For those looking to mix things up, consider using flavored yogurt instead of cream cheese for a lighter topping. You can also customize your fruit toppings based on what’s in season or what you love most. The exact quantities for each ingredient are available at the bottom of the article for easy printing!
How to Make Mini Fruit Pizzas
Creating Mini Fruit Pizzas is a fun and straightforward process. Follow these simple steps, and you’ll have a delightful dessert ready in no time!
Step 1: Preheat the Oven
Start by preheating your oven to 350°F. This step is crucial because it ensures that your cookies bake evenly. A properly preheated oven helps the dough rise and develop that perfect golden color. Trust me, you don’t want to skip this part!
Step 2: Prepare the Dough
In a mixing bowl, combine your dry ingredients: flour, granulated sugar, baking powder, and salt. In another bowl, cream together the softened butter, egg, and vanilla extract until smooth. The mixture should be light and fluffy. Gradually add the dry ingredients to the wet mixture, stirring until just combined. You want a soft dough that holds together but isn’t too sticky.
Step 3: Shape the Cookies
Now it’s time to shape your cookies! Scoop tablespoon-sized portions of the dough onto a parchment-lined baking sheet, leaving about 2 inches between each scoop. This spacing allows them to spread without merging into one giant cookie. Gently flatten each scoop with your fingers to create a nice, even base for your Mini Fruit Pizzas.
Step 4: Bake the Cookies
Pop the baking sheet into your preheated oven and bake for 10-12 minutes. Keep an eye on them! You’ll know they’re done when the edges are lightly golden. If you want to be sure, gently press the center; it should spring back. Once baked, remove them from the oven and let them cool completely on a wire rack.
Step 5: Make the Cream Cheese Topping
While your cookies cool, it’s time to whip up the cream cheese topping. In a separate bowl, mix the softened cream cheese, powdered sugar, and vanilla extract until smooth and creamy. You want a luscious consistency that spreads easily. If it’s too thick, a splash of milk can help achieve that perfect texture.
Step 6: Assemble the Mini Fruit Pizzas
Once your cookie bases are cool, it’s assembly time! Spread a generous layer of the cream cheese mixture on each cookie. Then, arrange your assorted fresh fruits on top. Get creative! Layering the fruits attractively not only looks great but also adds a burst of flavor. Finally, drizzle a little lemon juice over the fruits to enhance their flavor and keep them looking fresh.
Tips for Success
- Make sure your butter is softened for easy mixing; it should be creamy, not melted.
- Use a cookie scoop for uniform sizes, ensuring even baking.
- Let the cookies cool completely before adding the cream cheese topping to prevent melting.
- Experiment with different fruits based on what’s in season for the best flavor.
- For a fun twist, try adding a sprinkle of cinnamon to the cookie dough!
Equipment Needed
- Mixing bowls: Use any size you have; just ensure they’re large enough for mixing.
- Measuring cups and spoons: Essential for accuracy; a kitchen scale can work too.
- Baking sheet: A standard one will do; line it with parchment paper for easy cleanup.
- Wire rack: Great for cooling cookies; a plate can work in a pinch.
Variations
- Yogurt Topping: Swap the cream cheese for flavored yogurt, like vanilla or strawberry, for a lighter option.
- Gluten-Free: Use a gluten-free flour blend to make the cookie base suitable for gluten-sensitive friends.
- Vegan: Replace the egg with a flax egg and use vegan cream cheese for a plant-based version.
- Chocolate Drizzle: Add a drizzle of melted chocolate over the fruits for an indulgent twist.
- Nutty Crunch: Sprinkle chopped nuts, like almonds or walnuts, on top for added texture and flavor.
Serving Suggestions
- Pair Mini Fruit Pizzas with a scoop of vanilla ice cream for a delightful contrast.
- Serve alongside a refreshing fruit salad to enhance the fruity theme.
- For drinks, consider iced tea or lemonade to complement the sweetness.
- Present on a colorful platter for a vibrant display at gatherings.
FAQs about Mini Fruit Pizzas
Got questions about Mini Fruit Pizzas? You’re not alone! Here are some common queries that might pop up as you embark on this delicious journey.
Can I make Mini Fruit Pizzas ahead of time?
Absolutely! You can prepare the cookie bases a day in advance. Just store them in an airtight container. Assemble the Mini Fruit Pizzas with the cream cheese topping and fruits right before serving to keep everything fresh.
What fruits work best for Mini Fruit Pizzas?
The beauty of Mini Fruit Pizzas is their versatility! You can use strawberries, blueberries, kiwi, or even peaches. Choose seasonal fruits for the best flavor and color. Get creative with your combinations!
Can I use a different topping instead of cream cheese?
Definitely! If you’re looking for a lighter option, flavored yogurt works wonderfully. You can also try whipped cream or a dairy-free alternative for a twist on the classic topping.
How do I store leftover Mini Fruit Pizzas?
Store any leftovers in the refrigerator for up to two hours. After that, the fruits may start to lose their freshness. If you have leftover cookie bases, keep them separate from the toppings to maintain their texture.
Are Mini Fruit Pizzas suitable for kids?
Yes! Mini Fruit Pizzas are a hit with kids. They can even help with the assembly, making it a fun family activity. Plus, it’s a great way to sneak in some fruit while satisfying their sweet tooth!
Final Thoughts
Making Mini Fruit Pizzas is more than just whipping up a dessert; it’s about creating joyful moments. The vibrant colors of fresh fruits, the creamy topping, and the soft cookie base come together to form a delightful treat that brings smiles all around. Whether it’s a family gathering, a casual get-together, or just a sweet indulgence for yourself, these mini pizzas are sure to impress. Plus, the ease of preparation means you can focus on what really matters—enjoying the deliciousness and sharing it with those you love. Dive into this fun culinary adventure and savor every bite!
Mini Fruit Pizzas: Delightful, Easy Dessert to Try!
Ingredients
Method
- Preheat the oven to 350°F.
- In a mixing bowl, combine flour, granulated sugar, baking powder, and salt.
- In another bowl, cream together the softened butter, egg, and vanilla extract until smooth.
- Gradually add the dry ingredients to the wet mixture, mixing until just combined.
- Scoop tablespoon-sized portions of the dough onto a parchment-lined baking sheet, spacing them about 2 inches apart.
- Flatten each scoop slightly with your fingers.
- Bake for 10-12 minutes or until the edges are lightly golden.
- Remove from the oven and let cool completely.
- In a separate bowl, mix the softened cream cheese, powdered sugar, and vanilla extract until smooth and creamy.
- Once the cookie bases are cool, spread a layer of the cream cheese mixture on each cookie.
- Arrange the assorted fresh fruits on top of the cream cheese layer.
- Drizzle with lemon juice to enhance flavor and prevent browning.
- Serve immediately or refrigerate for up to 2 hours before serving.
Nutrition
Notes
- For a fun twist, try using different flavored yogurt instead of cream cheese for a lighter topping.
- Customize the fruit toppings based on seasonal availability or personal preference, such as using peaches or raspberries.
Leave a Reply