
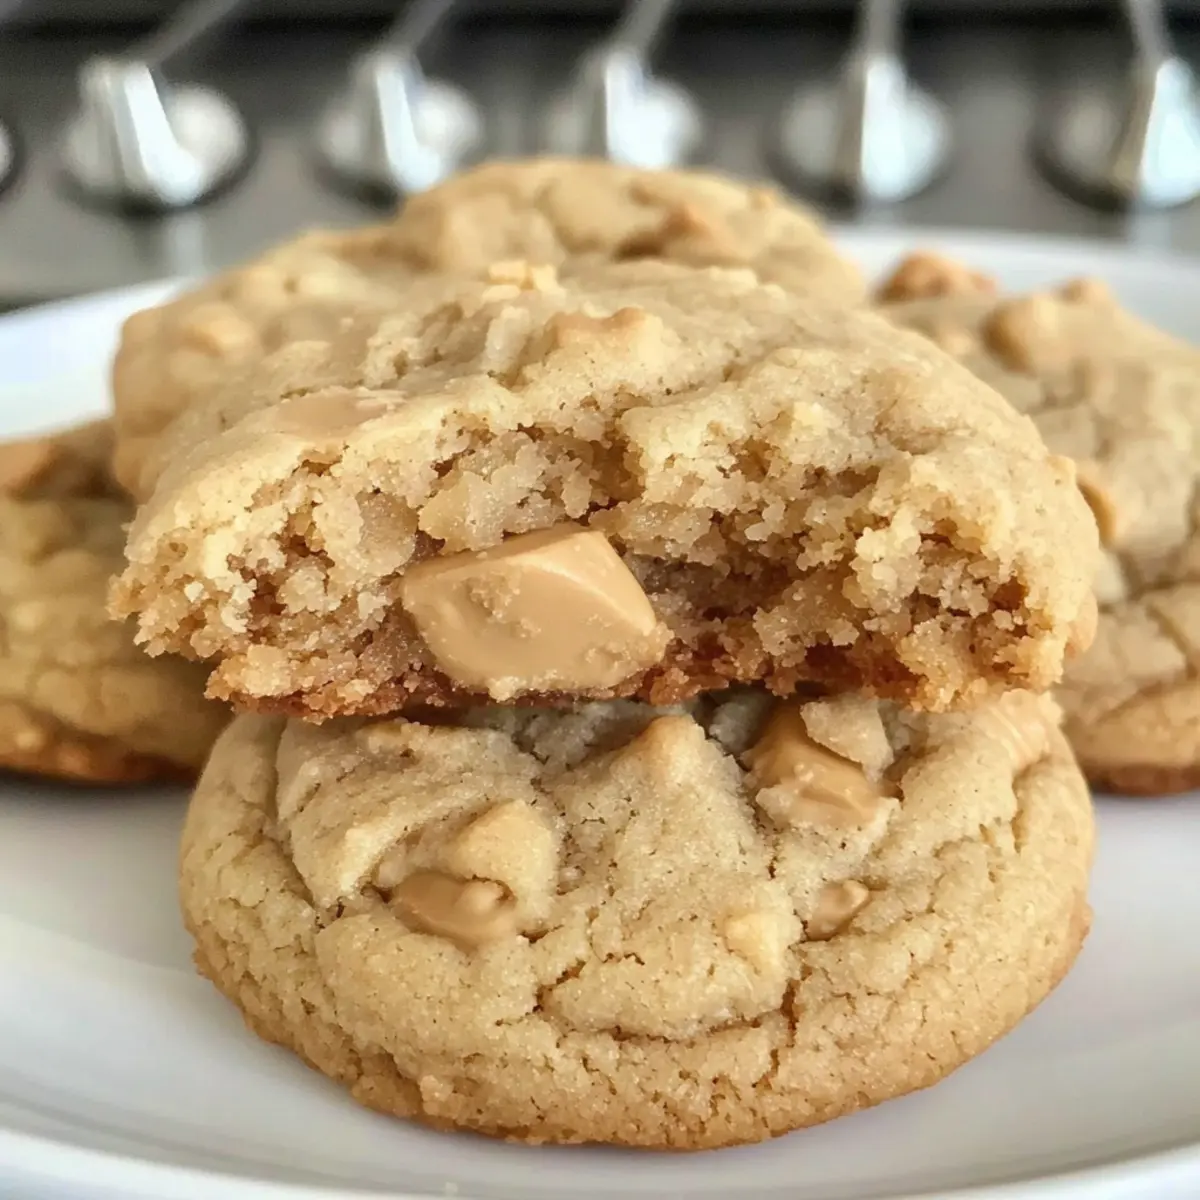
The sweet scent of baking cookies wafts through my kitchen, pulling me away from my daily hustle. It’s funny how a simple moment like this can transport you back to childhood, isn’t it? I’m about to share a recipe that blends nostalgia and indulgence: Peanut Butter Butterfinger Cookies. These soft and chewy delights are not only a quick treat, taking just about 19 minutes from start to finish, but they also deliver a delightful crunch with chunks of Butterfinger. Whether you’re looking to impress at a gathering or just need a cozy snack to enjoy at home, these cookies provide the perfect solution. Who can resist that creamy peanut butter paired with the crunch of candy? Ready to bring some sweetness to your day? Let’s get started!
Why Are These Cookies a Must-Try?
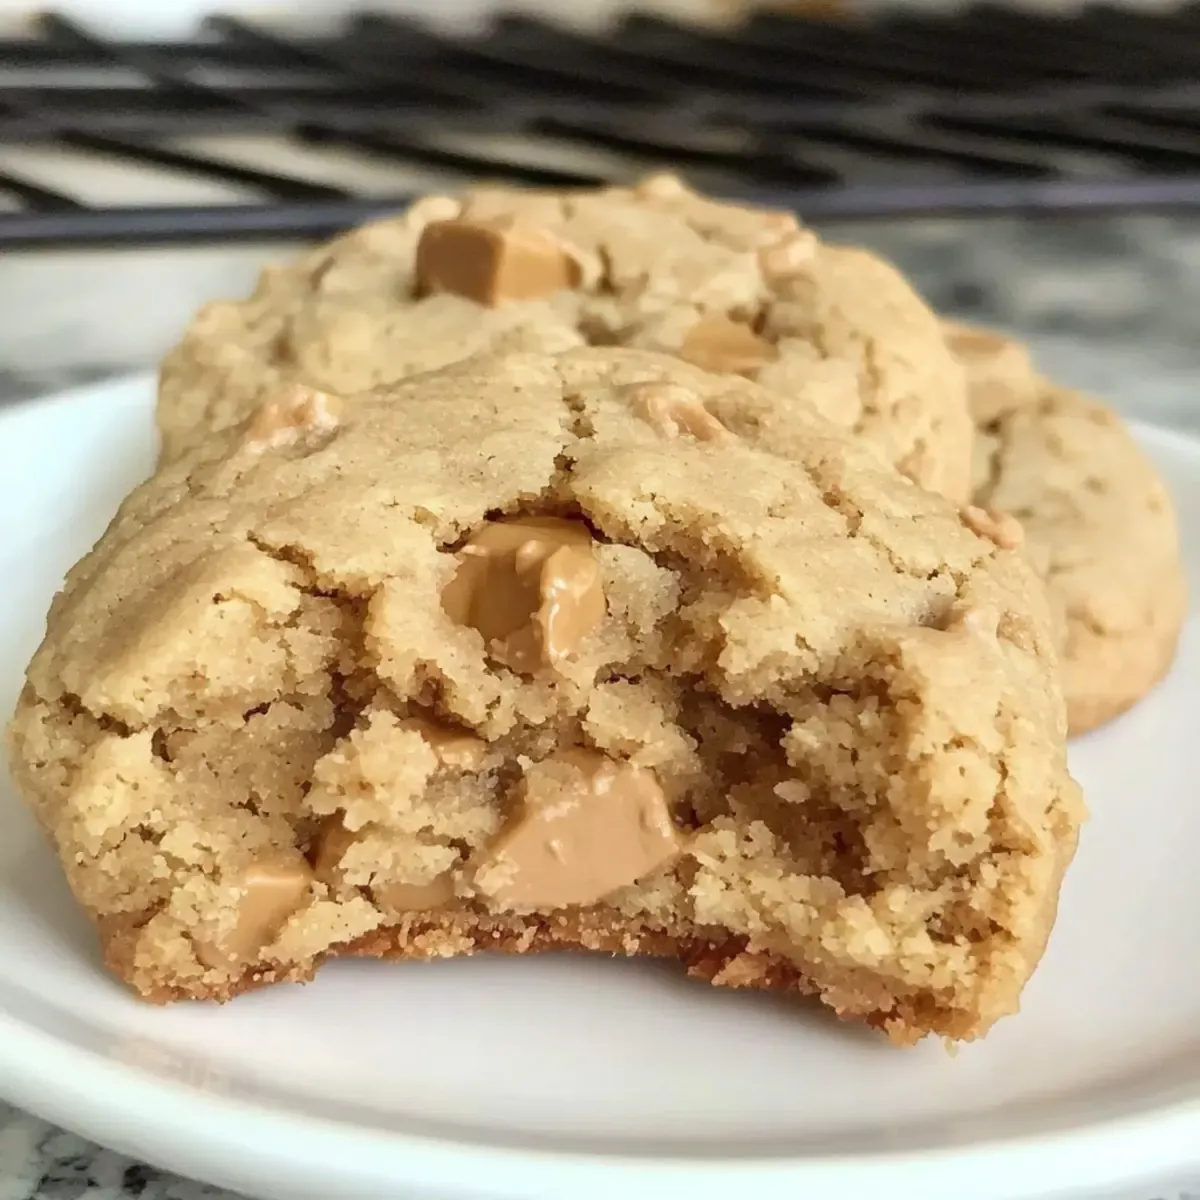
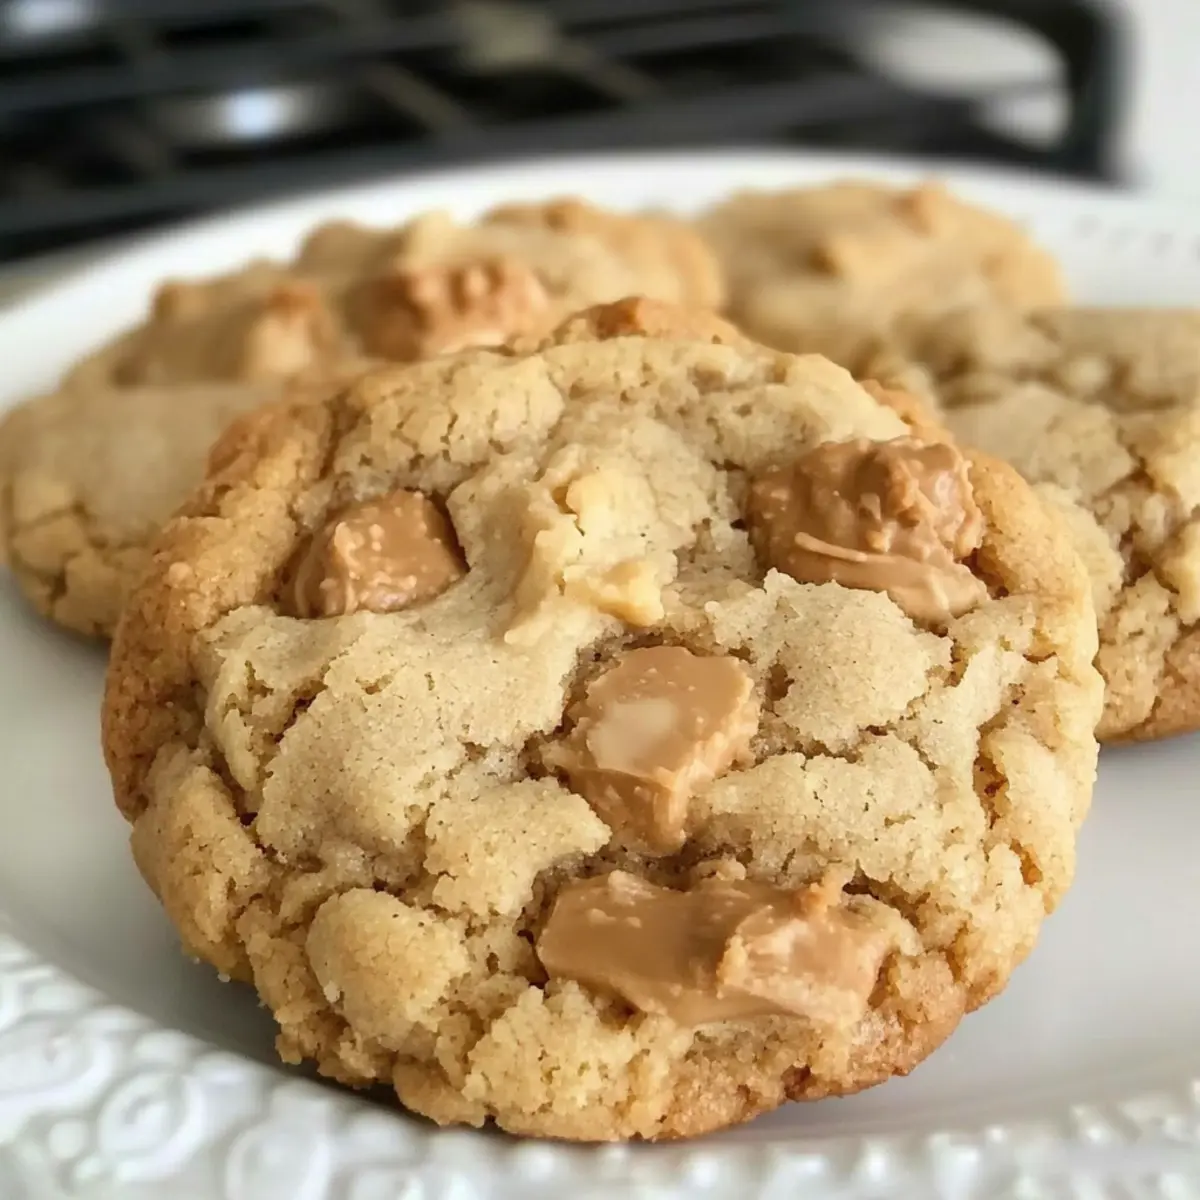
Indulgent Flavor: Each bite is filled with rich peanut butter and the sweet crunch of Butterfinger candy.
Quick Preparation: Ready in just 19 minutes, these cookies are perfect for when you’re short on time but still crave something sweet.
Nostalgic Touch: They evoke childhood memories of candy bars, making any moment feel special.
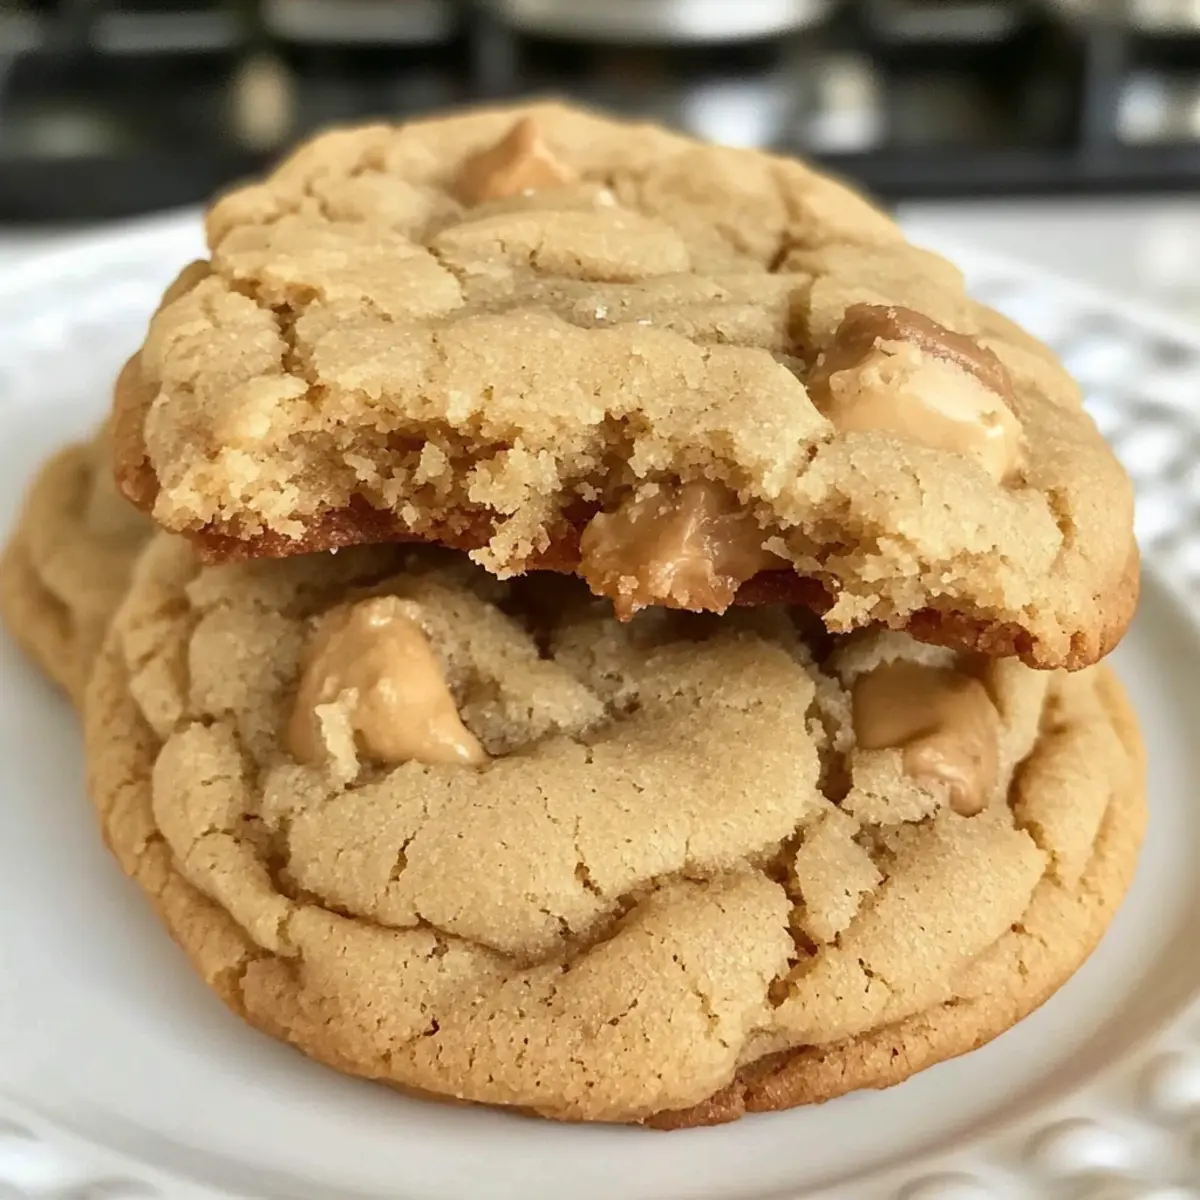
Soft and Chewy Texture: The combination of creamy peanut butter and candy chunks creates a delightful chewiness, offering a satisfying snack.
Perfect for Sharing: Impress your friends and family with these delicious cookies at gatherings, or enjoy them as a comforting treat at home. Don’t forget to check out my Garlic Butter Steak or Brownie Mix Cookies for more delightful dessert inspirations!
Peanut Butter Butterfinger Cookies Ingredients
For the Cookie Dough
• Butter – 1 cup (2 sticks) softened; use salted butter for enhanced flavor.
• Granulated Sugar – 1 cup; vital for achieving the perfect cookie texture.
• Light Brown Sugar – 1 cup; adds moisture and a lovely caramel taste.
• Creamy Peanut Butter – 1½ cups; the star ingredient for deep peanut flavor; stick to classic brands for best results.
• Eggs – 2 large; binds all ingredients and ensures moisture in each bite.
• Vanilla Extract – 1 teaspoon; amplifies the rich flavors in the cookies.
• All-Purpose Flour – 3 cups; provides structure, so measure accurately by spooning and leveling.
• Baking Soda – 1 teaspoon; helps the cookies rise and achieve a chewy texture.
• Peanut Butter Chips – 1 cup; doubles down on that luscious peanut butter flavor for indulgence.
• Chopped Butterfinger Candy Bars – 1 cup (about 3 candy bars); adds the must-have crunch and sweetness.
Optional Topping
• Extra Butterfinger Chunks – Press on top before baking for a beautiful presentation and added flavor boost.
These Peanut Butter Butterfinger Cookies combine rich, indulgent flavors with just the right crunch, making them a delightful treat everyone will love!
Step‑by‑Step Instructions for Peanut Butter Butterfinger Cookies
Step 1: Preheat and Prepare
Begin by preheating your oven to 350°F (175°C). While the oven heats up, line your baking sheets with parchment paper or lightly grease them with cooking spray. This step ensures that your Peanut Butter Butterfinger Cookies don’t stick during baking, allowing for easy removal later on.
Step 2: Cream the Sugars and Butter
In a large mixing bowl, combine the softened butter, granulated sugar, and light brown sugar. Use an electric mixer to blend these ingredients on medium speed until they are light, fluffy, and well combined, which should take about 2-3 minutes. The creamy mixture will be pale and airy, setting a perfect base for the cookies.
Step 3: Add Peanut Butter and Wet Ingredients
Next, incorporate the creamy peanut butter into the sugar mixture. Mix until everything is evenly blended, followed by adding the two large eggs and one teaspoon of vanilla extract. Continue to mix until the batter is smooth and all ingredients are fully combined, creating a rich peanut butter flavor.
Step 4: Combine Dry Ingredients
In a separate bowl, whisk together the all-purpose flour and baking soda. Gradually add this dry mixture to your wet ingredients, mixing at a low speed. Be careful not to overmix; stop when the flour is almost fully incorporated. This will help ensure your Peanut Butter Butterfinger Cookies are soft and chewy.
Step 5: Fold in Chocolate Chips and Butterfingers
Now it’s time to stir in the peanut butter chips and chopped Butterfinger candy bars. Using a rubber spatula, gently fold these ingredients into the dough until just combined. This will give your cookies that delightful crunch and flavor that everyone will love, so be careful to avoid overworking the dough.
Step 6: Shape the Cookie Dough
Using a spoon or cookie scoop, portion the dough into 1-2 tablespoon-sized balls. Place the dough balls on your prepared baking sheets, spacing them about 2 inches apart. You should fit approximately 12 cookies per sheet, allowing enough room for them to spread as they bake.
Step 7: Bake the Cookies
Bake your Peanut Butter Butterfinger Cookies in the preheated oven for 9-11 minutes. The cookies should look puffy and be lightly golden around the edges while still soft in the center. Keep a close eye on them, as overbaking can lead to dry cookies, and you want them to retain that chewy texture.
Step 8: Cool and Enjoy
Once baked, remove the sheets from the oven and let the cookies cool for about 5 minutes on the sheets. This resting time allows them to firm up slightly. Then, with a spatula, transfer the cookies to a wire rack to cool completely. Optional: press additional Butterfinger chunks on top of the warm cookies for a beautiful presentation.
Make Ahead Options
These Peanut Butter Butterfinger Cookies are perfect for meal prep, allowing you to enjoy homemade goodness with minimal effort on busy days. You can prepare the cookie dough up to 24 hours in advance; just cover it tightly and refrigerate to maintain freshness. For an even more convenient option, roll the dough into balls and freeze them for up to 3 months—whenever you’re ready for freshly baked cookies, bake them straight from the freezer, adding an extra minute or two to the baking time. To ensure quality, avoid over-mixing once you add the chocolate chips and Butterfinger chunks. When you’re ready to enjoy, simply bake and let the aroma fill your kitchen!
Expert Tips for Peanut Butter Butterfinger Cookies
- Dough Consistency: Ensure the dough is thick to prevent flat cookies; avoid overmixing once you add chips and Butterfinger chunks.
- Baking Time: Keep a close eye on the oven; don’t exceed 9-11 minutes as cookies continue baking on the sheet and can dry out.
- Extra Crunch: Press additional Butterfinger chunks on top right after removing the cookies from the oven to enhance flavor and presentation.
- Sugar Substitutions: If you’re out of light brown sugar, dark brown sugar works well and adds a richer taste to your Peanut Butter Butterfinger Cookies.
- Room Temperature Butter: Using softened butter is essential; it helps create that light, fluffy texture when creaming with sugars, leading to soft cookies.
What to Serve with Peanut Butter Butterfinger Cookies
A delightful cookie deserves a complete meal to accompany its sweet, nutty flavors.
- Cold Glass of Milk: The classic pairing that enhances the cookies’ rich flavors while balancing their sweetness.
- Vanilla Ice Cream: A scoop of creamy vanilla ice cream adds a delightful contrast to the chewy texture of the cookies.
- Fresh Fruit Salad: A refreshing mix of seasonal fruits cuts through the sweetness, providing a light and healthy counterbalance.
- Chocolate Dipping Sauce: For those looking to indulge, a warm chocolate dipping sauce elevates the treat to a new level of decadence.
- Caramel Drizzle: A sprinkle of warm caramel sauce on top offers a sweet touch that beautifully complements peanut butter’s richness.
- Coffee or Espresso: The warmth of coffee enhances the cookies’ flavors and provides a cozy finishing touch, perfect for an afternoon snack.
- Peanut Butter Milkshake: Blend up a creamy peanut butter milkshake for a dreamy beverage that matches the cookie’s flavor profile.
- Chocolate Chip Muffins: A sweet baked treat on the side harmonizes well with the cookies, creating a dessert platter that’s simply irresistible.
- Chalkboard Pizza: For an unexpected yet fun pairing, try serving with savory pizzas topped with sweet toppings to balance out the cookie’s richness.
- Homemade Brownies: Combine cookie and brownie textures by serving them together; this duo is sure to please any sweet tooth!
Peanut Butter Butterfinger Cookies: Endless Possibilities
Feel free to get creative and make this recipe your own with these delightful variations!
-
Chocolate-Drizzled: Drizzle melted chocolate over cooled cookies for an elegant touch. This adds a rich layer of flavor that pairs wonderfully with the peanut butter.
-
Oatmeal Boost: Stir in 1 cup of rolled oats for a heartier texture. Oats give the cookies a chewy bite that complements the sweetness of Butterfinger.
-
Nutty Twist: Consider adding chopped nuts, such as pecans or walnuts, for extra crunch and flavor depth. The combination of nutty tones enhances the overall indulgence of the cookies.
-
Sea Salt Sprinkle: A light sprinkle of flaky sea salt on top before baking creates an irresistible sweet-salty flavor contrast. This enhances every bite, elevating the cookie experience.
-
Peanut Butter Swirl: For a richer peanut flavor, add a swirl of extra peanut butter on top of each dough ball before baking. It creates a delicious, visually appealing finish.
-
Pumpkin Spice: Mix in 2 teaspoons of pumpkin pie spice to the dough for a seasonal twist. The warm spices create a delightful taste sensation reminiscent of autumn.
-
No-Bake Version: If you’re short on time, consider creating no-bake Peanut Butter Butterfinger treats by mixing the ingredients and pressing them into a pan, chilling until set. It’s a quick and sweet fix!
Don’t forget to pair these treats with a glass of milk or perhaps even indulge in a scoop of ice cream. For more sweet inspiration, check out my Peanut Butter Chicken or Grilled Cowboy Butter for deliciously different recipes!
How to Store and Freeze Peanut Butter Butterfinger Cookies
Room Temperature: Store cookies in an airtight container at room temperature for up to 1 week, keeping them soft and chewy.
Fridge: If you prefer, you can refrigerate the cookies for up to 2 weeks; just be sure to separate layers with parchment paper to avoid sticking.
Freezer: For long-term storage, freeze the cookies for up to 3 months. Place them in a freezer-safe bag, separating layers with parchment paper.
Reheating: To enjoy warm cookies, microwave for 10-15 seconds after thawing, bringing back that comforting soft chew of Peanut Butter Butterfinger Cookies.
Peanut Butter Butterfinger Cookies Recipe FAQs
What type of peanut butter should I use?
For the best flavor and texture, I recommend using creamy peanut butter from classic brands like Jif or Skippy. Avoid natural peanut butter, as it tends to be drier and may result in less soft cookies.
How should I store my Peanut Butter Butterfinger Cookies?
Store your cookies in an airtight container at room temperature for up to 1 week to keep them soft and chewy. If you have leftovers, you can refrigerate them for up to 2 weeks, just make sure to separate layers with parchment paper to prevent sticking.
Can I freeze these cookies for later?
Absolutely! To freeze Peanut Butter Butterfinger Cookies, place them in a single layer on a baking sheet to freeze individually for about 1 hour. Then transfer them to a freezer-safe bag, separating layers with parchment paper. They can be frozen for up to 3 months. When you’re ready to enjoy them, thaw in the fridge and microwave for a few seconds for that fresh-out-of-the-oven taste.
What if my cookies turn out too flat?
If your cookies flatten out during baking, it might be due to overmixing the dough or not using enough flour. Make sure to spoon and level the flour accurately, and avoid stirring too hard once you add in the chips and Butterfinger chunks. If they’re too flat, you can try chilling the dough for about 30 minutes before baking.
Are these cookies suitable for people with peanut allergies?
Unfortunately, these Peanut Butter Butterfinger Cookies are not suitable for those with peanut allergies due to the inclusion of peanut butter and peanut butter chips. If you’re looking for alternatives, you might consider using sunbutter or almond butter for a nut-free approach, but this would significantly change the flavors of the cookies.
How long do baked cookies stay fresh?
Baked Peanut Butter Butterfinger Cookies will stay fresh at room temperature for about 1 week. For optimal freshness, store them in an airtight container to ensure that they retain their delightful chewiness and flavor.
Peanut Butter Butterfinger Cookies: Chewy Bliss Awaits
Ingredients
Equipment
Method
- Preheat the oven to 350°F (175°C) and prepare baking sheets with parchment paper.
- In a large mixing bowl, combine softened butter, granulated sugar, and light brown sugar. Mix until fluffy.
- Incorporate creamy peanut butter, then add eggs and vanilla extract. Mix until smooth.
- Whisk together flour and baking soda in a separate bowl, then gradually add to wet ingredients.
- Fold in peanut butter chips and chopped Butterfinger candy bars until just combined.
- Portion dough into 1-2 tablespoon-sized balls and place on prepared baking sheets, spaced 2 inches apart.
- Bake for 9-11 minutes until lightly golden and soft in the center. Keep an eye on them to avoid overbaking.
- Cool on sheets for 5 minutes, then transfer to a wire rack. Optionally, press Butterfinger chunks on top.
Leave a Reply