
Introduction to Polyjuice Potion Swirl Cheesecake
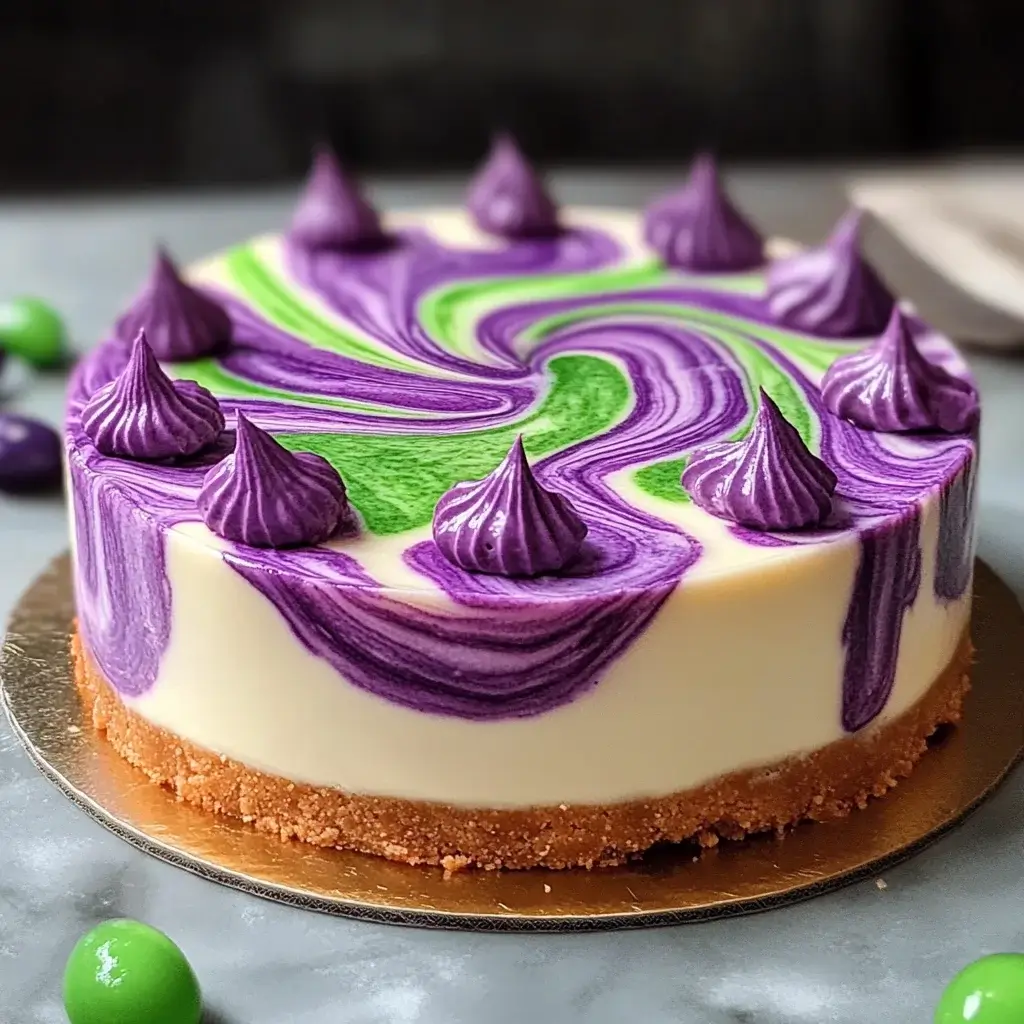
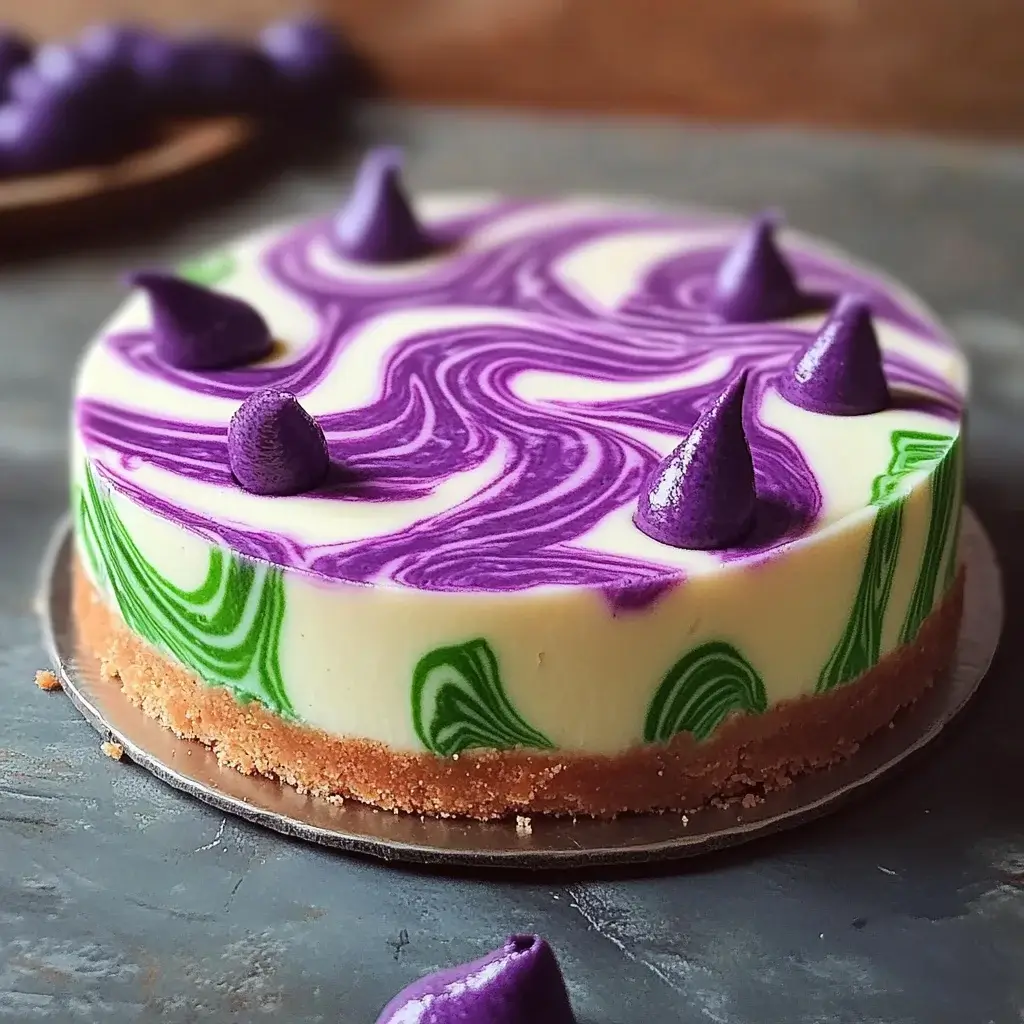
There’s something enchanting about desserts that spark a little magic in our lives. The Polyjuice Potion Swirl Cheesecake is just that—a delightful treat that combines vibrant colors and rich flavors, perfect for impressing friends or family. Whether you’re hosting a gathering or simply craving something sweet, this cheesecake is a quick solution that doesn’t skimp on wow factor. With its creamy texture and playful swirls, it’s bound to become a favorite. Let’s dive into this magical recipe that will have everyone asking for seconds!
Why You’ll Love This Polyjuice Potion Swirl Cheesecake
This Polyjuice Potion Swirl Cheesecake is not just a feast for the eyes; it’s a breeze to make! With simple ingredients and straightforward steps, you’ll whip it up in no time. The combination of creamy cheesecake and a playful swirl of colors makes it a showstopper at any gathering. Plus, the rich flavors will have your taste buds dancing. It’s the perfect dessert to impress without the stress!
Ingredients for Polyjuice Potion Swirl Cheesecake
Gathering the right ingredients is the first step to creating your magical masterpiece. Here’s what you’ll need for the Polyjuice Potion Swirl Cheesecake:
- Graham cracker crumbs: These form the base of your cheesecake, providing a crunchy texture that contrasts beautifully with the creamy filling.
- Unsalted butter: Melted butter binds the crumbs together, ensuring a rich and flavorful crust.
- Cream cheese: The star of the show! Softened cream cheese gives the cheesecake its creamy, luscious texture.
- Granulated sugar: Sweetens the cheesecake, balancing the tanginess of the cream cheese.
- Vanilla extract: A splash of vanilla adds depth and warmth to the flavor profile.
- Eggs: These help set the cheesecake, giving it structure while keeping it soft and creamy.
- Sour cream: Adds a delightful tang and creaminess, enhancing the overall flavor.
- Heavy cream: This ingredient contributes to the cheesecake’s rich texture, making each bite indulgent.
- Green food coloring: Essential for that magical swirl! You can use a mix of colors for a fun effect.
- Chocolate syrup: This adds a delicious chocolatey swirl, creating a beautiful contrast with the green.
For those looking to experiment, consider adding cocoa powder to the plain batter for a chocolate version. You can find all the exact measurements at the bottom of the article, ready for printing!
How to Make Polyjuice Potion Swirl Cheesecake
Step 1: Preheat and Prepare
Start by preheating your oven to 325°F (160°C). While it warms up, grab your 9-inch springform pan and grease it well. This step is crucial to ensure your cheesecake releases easily after baking. A little butter or cooking spray will do the trick!
Step 2: Make the Crust
In a mixing bowl, combine your graham cracker crumbs with the melted butter. Stir until the crumbs are fully coated. Then, press this mixture firmly into the bottom of your prepared springform pan. This crust will provide a delicious crunch that complements the creamy filling.
Step 3: Prepare the Cheesecake Batter
In a large bowl, beat the softened cream cheese and granulated sugar together until smooth and creamy. This is where the magic begins! Next, add the eggs one at a time, mixing well after each addition. Stir in the sour cream and heavy cream until everything is fully combined. The batter should be rich and velvety.
Step 4: Create the Swirl
Now, divide your cheesecake batter into two bowls. In one bowl, add the green food coloring and mix until you achieve your desired shade. Then, alternate pouring spoonfuls of the green and plain batter into the center of the crust. Use a knife or skewer to gently swirl the two colors together, creating a beautiful marbled effect.
Step 5: Bake the Cheesecake
Place your cheesecake in the preheated oven and bake for 50-60 minutes. You want the edges to be set while the center remains slightly jiggly. Once done, turn off the oven and leave the cheesecake inside for an additional hour. This helps it cool gradually, preventing cracks.
Step 6: Chill and Serve
After the hour is up, remove the cheesecake from the oven and let it cool to room temperature. Once cooled, refrigerate it for at least 4 hours, or overnight if you can wait! This chilling time allows the flavors to meld beautifully, making each slice even more delightful.
Tips for Success
- Make sure your cream cheese is at room temperature for a smooth batter.
- Don’t skip the chilling time; it’s essential for the perfect texture.
- Use a water bath while baking to prevent cracks in your cheesecake.
- For a cleaner slice, use a hot knife to cut through the cheesecake.
- Feel free to get creative with colors for a unique swirl effect!
Equipment Needed
- 9-inch springform pan: Essential for easy removal. A regular cake pan works too, but it may be trickier to serve.
- Mixing bowls: Use a large bowl for the batter and a smaller one for the crust. Any size will do!
- Electric mixer: A hand mixer or stand mixer makes beating the cream cheese a breeze.
- Spatula: Perfect for scraping down the sides of the bowl and folding in ingredients.
- Knife or skewer: Handy for swirling the batter and cutting the cheesecake.
Variations
- Chocolate Swirl: Add ½ cup of cocoa powder to the plain batter for a rich chocolate flavor that pairs beautifully with the green.
- Fruit-Infused: Incorporate pureed fruits like strawberries or raspberries into the batter for a fruity twist. Just swirl them in before baking!
- Gluten-Free Option: Substitute graham cracker crumbs with gluten-free cookies or almond flour for a gluten-free crust.
- Vegan Version: Use vegan cream cheese, coconut cream, and flax eggs to create a plant-based cheesecake that everyone can enjoy.
- Nutty Crunch: Add crushed nuts like pecans or walnuts to the crust for an extra layer of flavor and texture.
Serving Suggestions
- Pair your cheesecake with a dollop of whipped cream for added creaminess.
- Serve alongside fresh berries for a burst of color and flavor.
- Drizzle extra chocolate syrup on top for a decadent touch.
- Complement with a cup of coffee or a glass of dessert wine.
- Garnish with mint leaves for a refreshing finish.
FAQs about Polyjuice Potion Swirl Cheesecake
Can I make this cheesecake ahead of time?
Absolutely! The Polyjuice Potion Swirl Cheesecake is perfect for making ahead. Just prepare it a day in advance and let it chill overnight. This allows the flavors to develop beautifully.
What can I use instead of cream cheese?
If you’re looking for alternatives, try using mascarpone cheese or a vegan cream cheese for a dairy-free option. Both will give you a creamy texture, though the flavor may vary slightly.
How do I store leftovers?
Store any leftover cheesecake in an airtight container in the refrigerator. It should stay fresh for about 3-4 days, but I doubt it will last that long!
Can I freeze the cheesecake?
Yes, you can freeze the Polyjuice Potion Swirl Cheesecake! Wrap it tightly in plastic wrap and then in aluminum foil. It can be frozen for up to 2 months. Just thaw it in the fridge before serving.
What’s the best way to cut the cheesecake?
For clean slices, use a hot knife! Dip your knife in hot water, wipe it dry, and then cut through the cheesecake. This technique helps prevent the creamy filling from sticking to the knife.
Final Thoughts
Creating the Polyjuice Potion Swirl Cheesecake is more than just baking; it’s an experience filled with joy and creativity. Each swirl of color tells a story, inviting you to share it with friends and family. The rich flavors and creamy texture make every bite a delightful adventure. Whether it’s a special occasion or a simple weeknight treat, this cheesecake brings a touch of magic to your table. So, roll up your sleeves, embrace the fun, and let this enchanting dessert become a cherished part of your culinary repertoire. Trust me, it’s a recipe you’ll want to revisit time and again!
Polyjuice Potion Swirl Cheesecake: A Magical Recipe!
Ingredients
Method
- Preheat the oven to 325°F (160°C). Grease a 9-inch springform pan.
- In a mixing bowl, combine graham cracker crumbs and melted butter. Press the mixture firmly into the bottom of the prepared springform pan to form the crust.
- In a large bowl, beat the cream cheese and granulated sugar together until smooth and creamy. Add the vanilla extract and mix well.
- Add the eggs one at a time, mixing well after each addition. Then, stir in the sour cream and heavy cream until fully combined.
- Divide the cheesecake batter into two bowls. In one bowl, add the green food coloring and mix until you reach your desired color. Leave the other bowl plain.
- Pour alternating spoonfuls of the green and plain batter into the center of the crust, creating a swirl effect. Use a knife or skewer to gently swirl the two colors together for a marbled look.
- Drizzle the chocolate syrup on top and use a knife to swirl it into the cheesecake.
- Bake in the preheated oven for 50-60 minutes, or until the edges are set but the center is still slightly jiggly. Turn off the oven and leave the cheesecake inside for an additional hour.
- Remove from the oven and let it cool to room temperature. Refrigerate for at least 4 hours, or overnight, before serving.
Nutrition
Notes
- For a chocolate version, add ½ cup of cocoa powder to the plain batter.
- Top with whipped cream and chocolate shavings for an extra special presentation.
Leave a Reply