
Introduction to Red Velvet Brownies
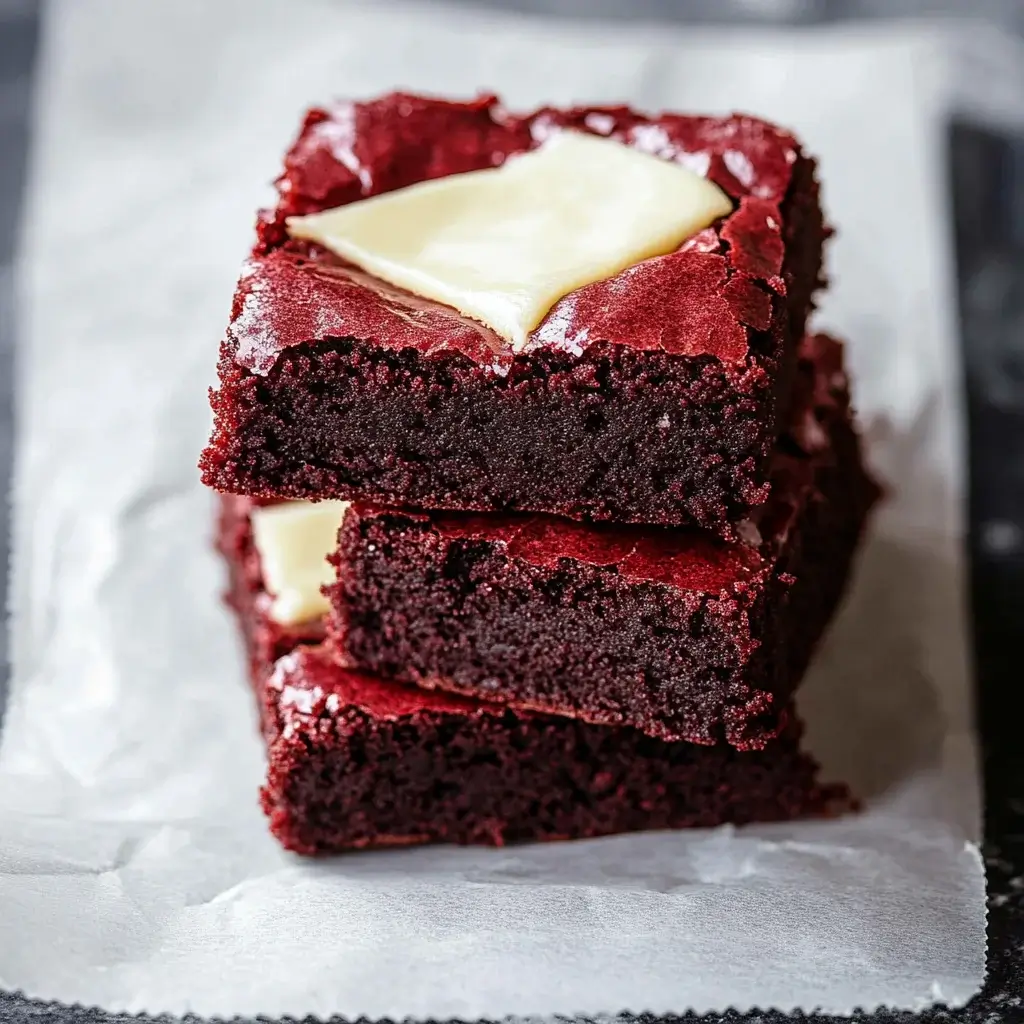
Red Velvet Brownies combine the rich decadence of chocolate with the subtle tang of classic red velvet cake—all in one fudgy, chewy square. These brownies are bold in color, deep in flavor, and finished with a swirl of cream cheese frosting or a dusting of powdered sugar for that signature red velvet touch. Whether you’re baking for Valentine’s Day, a birthday, or just because, these bars are bound to steal the show.
Why You’ll Love This Recipe:
-
Fudgy and moist with just the right chew.
-
A twist on a classic dessert with familiar flavors.
-
Beautiful presentation with minimal effort.
-
Pairs well with coffee, milk, or ice cream.
-
Great for gifting, parties, or late-night cravings.
Ingredients for Red Velvet Brownies
Flavor-packed, pantry-friendly, and ready to work—this is your list.
- Unsalted butter: This adds richness and moisture to the brownies. Melt it for a smooth batter.
- Granulated sugar: Sweetens the brownies and helps achieve that perfect chewy texture.
- Brown sugar: Adds depth and a hint of caramel flavor, making the brownies even more delicious.
- Eggs: They bind everything together and contribute to the fudgy consistency.
- Vanilla extract: A must-have for enhancing the overall flavor profile.
- Red food coloring: This is what gives the brownies their signature vibrant hue. Don’t skimp on it!
- All-purpose flour: The backbone of the recipe, providing structure to the brownies.
- Baking powder: Helps the brownies rise slightly, giving them a light texture.
- Salt: Just a pinch enhances the sweetness and balances the flavors.
- White chocolate chips: These add a creamy sweetness that pairs beautifully with the red velvet flavor.
For the cream cheese frosting:
- Cream cheese: The star of the frosting, providing that tangy flavor we all love.
- Unsalted butter: Softened to create a smooth and creamy frosting.
- Powdered sugar: Sweetens the frosting and gives it that perfect spreadable consistency.
- Vanilla extract: Just like in the brownies, it adds a lovely aroma and flavor.
Feel free to get creative! You can mix in chopped nuts or crushed cookies for added texture. If you prefer a richer flavor, swap the white chocolate chips for dark chocolate ones. For a lighter frosting, whipped cream can be a delightful alternative. Exact measurements for these ingredients can be found at the bottom of the article, ready for printing!
How to Make Red Velvet Brownies
Creating these Red Velvet Brownies is a straightforward process that will have your kitchen smelling heavenly. Follow these simple steps, and you’ll be on your way to brownie bliss!
Step 1: Preheat and Prepare
Start by preheating your oven to 350°F (175°C). This ensures your brownies bake evenly. While the oven warms up, grease a 9×13-inch baking pan or line it with parchment paper. This will make it easier to remove the brownies later.
Step 2: Mix the Wet Ingredients
In a large mixing bowl, combine the melted butter, granulated sugar, and brown sugar. Mix until everything is well blended. Then, add the eggs one at a time, stirring well after each addition. This helps create that fudgy texture we all love. Next, stir in the vanilla extract and red food coloring until fully incorporated. The vibrant color will make your brownies pop!
Step 3: Combine Dry Ingredients
In another bowl, whisk together the all-purpose flour, baking powder, and salt. This step is crucial for ensuring your brownies rise perfectly. Gradually add the dry mixture to the wet ingredients, mixing until just combined. Be careful not to overmix; we want those brownies to stay soft and chewy!
Step 4: Fold in White Chocolate Chips
Now comes the fun part! Gently fold in the white chocolate chips. They’ll melt slightly during baking, adding a creamy sweetness that complements the rich red velvet flavor. This is where you can also mix in any optional ingredients, like nuts or crushed cookies, if you desire.
Step 5: Bake the Brownies
Pour the brownie batter into your prepared baking pan, spreading it evenly. Bake for 25-30 minutes, or until a toothpick inserted into the center comes out with a few moist crumbs. Keep an eye on them; you don’t want to overbake!
Step 6: Cool and Frost
Once baked, allow the brownies to cool in the pan for about 10 minutes. Then, transfer them to a wire rack to cool completely. While they cool, prepare the cream cheese frosting. Once the brownies are cool, spread the frosting evenly over the top. Cut into squares, and you’re ready to serve!
Tips for Success
- Use room temperature ingredients for better mixing and texture.
- Don’t overmix the batter; it can lead to dense brownies.
- Check for doneness a few minutes early to avoid overbaking.
- Let the brownies cool completely before frosting for a cleaner cut.
- Store leftovers in an airtight container to keep them fresh.
Equipment Needed
- Mixing bowls: A large bowl for wet ingredients and a medium bowl for dry ingredients. Any size will do!
- Whisk: Perfect for mixing dry ingredients. A fork can work in a pinch.
- Spatula: Great for folding in chocolate chips and spreading frosting.
- Baking pan: A 9×13-inch pan is ideal, but any similar size will work.
- Wire rack: For cooling the brownies. A plate can substitute if needed.
Variations of Red Velvet Brownies
- Nutty Delight: Add chopped walnuts or pecans for a crunchy texture that contrasts beautifully with the soft brownies.
- Dark Chocolate Twist: Swap white chocolate chips for dark chocolate chips to deepen the flavor and add a touch of richness.
- Gluten-Free Option: Use a gluten-free all-purpose flour blend to make these brownies suitable for those with gluten sensitivities.
- Vegan Version: Replace eggs with flaxseed meal mixed with water and use a plant-based butter alternative for a vegan-friendly treat.
- Minty Fresh: Add a few drops of peppermint extract to the batter for a refreshing minty flavor that pairs well with the chocolate.
- Cheesecake Swirl: Create a cheesecake layer by mixing cream cheese with sugar and vanilla, then swirl it into the brownie batter before baking.
Serving Suggestions for Red Velvet Brownies
- Pair with Vanilla Ice Cream: A scoop of creamy vanilla ice cream complements the rich brownies perfectly.
- Serve with Fresh Berries: Add a side of strawberries or raspberries for a refreshing contrast.
- Presentation: Dust with powdered sugar for an elegant touch before serving.
- Drinks: Enjoy with a glass of cold milk or a rich cup of coffee.
FAQs about Red Velvet Brownies
As I’ve baked these Red Velvet Brownies countless times, I’ve gathered a few common questions that pop up. Let’s dive into them!
Can I make these brownies ahead of time?
Absolutely! You can bake the brownies a day in advance. Just store them in an airtight container at room temperature. Frost them right before serving for the best flavor and texture.
What can I use instead of red food coloring?
If you prefer a natural alternative, beet juice can be a great substitute. It gives a lovely color and adds a hint of earthiness to the brownies.
How do I know when the brownies are done baking?
Check for doneness by inserting a toothpick into the center. If it comes out with a few moist crumbs, they’re perfect! Overbaking can lead to dry brownies, so keep an eye on them.
Can I freeze Red Velvet Brownies?
Yes! These brownies freeze well. Just wrap them tightly in plastic wrap and place them in a freezer-safe container. They can last up to three months. Thaw them in the fridge before serving.
What’s the best way to store leftover brownies?
Store any leftovers in an airtight container at room temperature for up to five days. If you want to keep them fresh longer, refrigerate them, but let them come to room temperature before enjoying!
Final Thoughts
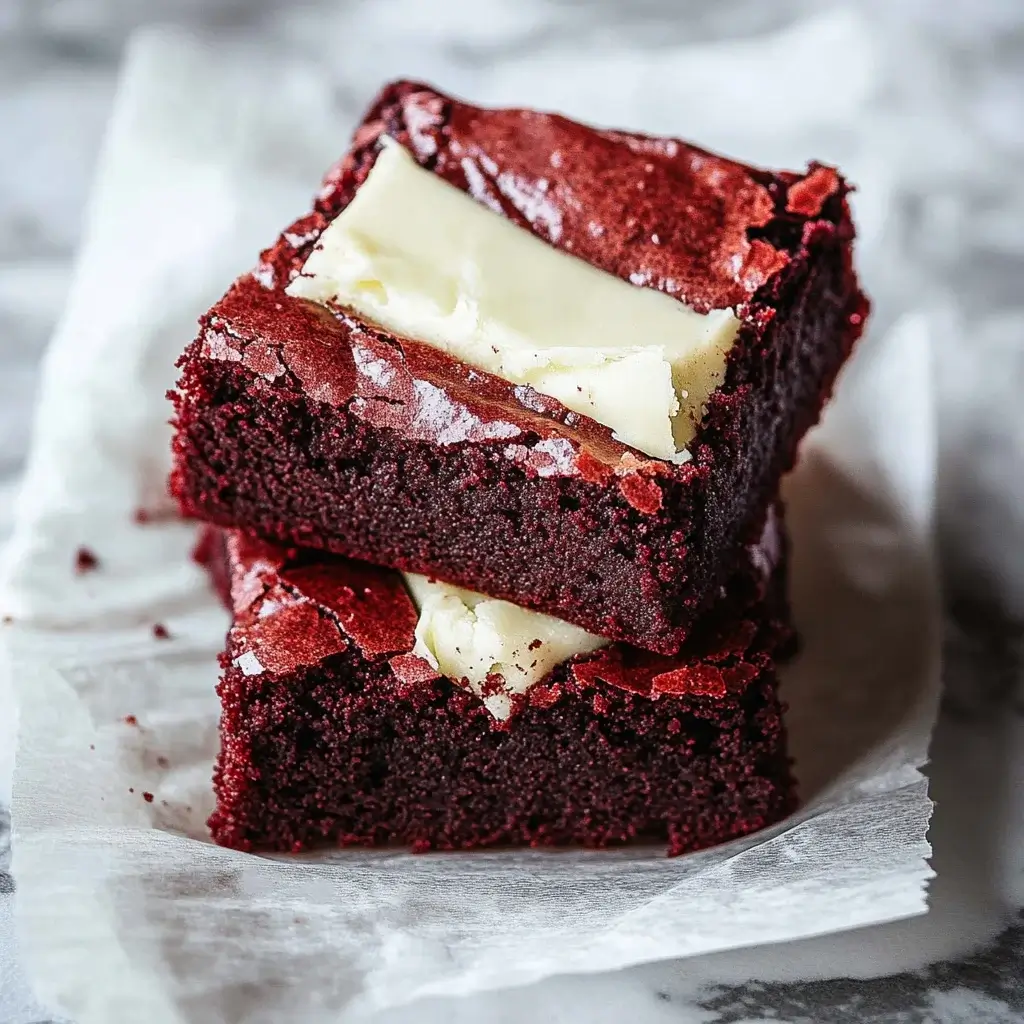
There’s a certain joy that comes from baking Red Velvet Brownies. The vibrant color and creamy frosting create a feast for the eyes, while the rich flavors dance on your palate. Each bite is a reminder of sweet moments shared with family and friends. Whether you’re celebrating a special occasion or simply treating yourself, these brownies are sure to bring smiles all around. I love how they can turn an ordinary day into something extraordinary. So, roll up your sleeves, gather your ingredients, and let the magic of baking fill your kitchen with warmth and happiness!
Red Velvet Brownies: Indulge in This Delicious Recipe!
Ingredients
Method
- Preheat your oven to 350°F (175°C). Grease a 9x13-inch baking pan or line it with parchment paper.
- In a large mixing bowl, combine the melted butter, granulated sugar, and brown sugar. Mix until well combined.
- Add the eggs one at a time, mixing well after each addition. Stir in the vanilla extract and red food coloring until fully incorporated.
- In another bowl, whisk together the flour, baking powder, and salt. Gradually add the dry ingredients to the wet ingredients, mixing until just combined.
- Fold in the white chocolate chips.
- Pour the brownie batter into the prepared baking pan and spread it evenly.
- Bake for 25-30 minutes, or until a toothpick inserted into the center comes out with a few moist crumbs.
- Allow the brownies to cool in the pan for about 10 minutes before transferring them to a wire rack to cool completely.
- While the brownies are cooling, prepare the cream cheese frosting by beating the softened cream cheese and butter together until smooth and creamy.
- Gradually add the powdered sugar and vanilla extract, mixing until well combined.
- Once the brownies are completely cool, spread the cream cheese frosting evenly over the top.
- Cut into squares and serve.
Nutrition
Notes
- For added texture, consider mixing in chopped nuts or crushed cookies into the brownie batter.
- You can substitute the white chocolate chips with dark chocolate chips for a richer flavor.
- If you prefer a lighter frosting, try using whipped cream instead of cream cheese.
Leave a Reply