
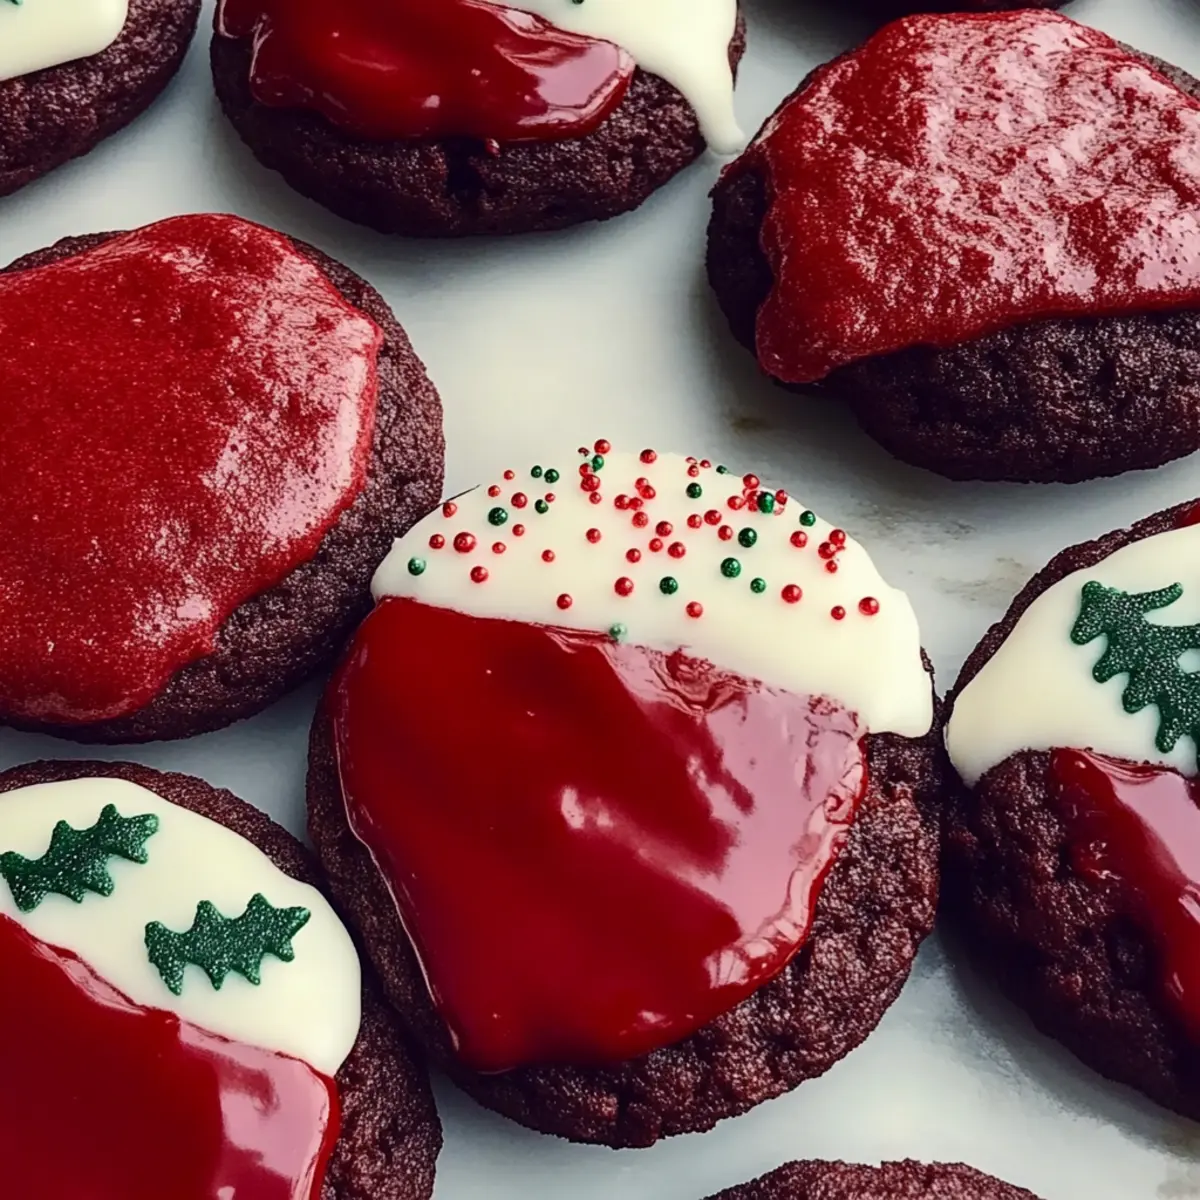
As the aroma of freshly baked cookies wafts through the air, it’s hard not to smile at the transformation unfolding in my kitchen. Today, I’m excited to share my favorite recipe for Red Velvet Pan-Banging Cookies, a whimsical spin on the classic holiday treat. With their stunning ruffled edges and soft, chewy centers, these cookies bring warmth and festivity to any gathering. Not only are they a feast for the eyes, but they also offer a delightful flavor infused with rich cocoa and a creamy icing that’s hard to resist—the ultimate comfort food! Whether you’re a seasoned baker or just looking for a fun culinary adventure, these cookies are quick to whip up and perfect for make-ahead holiday parties. Want to surprise your friends with a unique spin on a holiday favorite? Keep scrolling to discover how to bring these beautiful red velvet gems to life!
Why Are These Cookies So Special?
Irresistible Flavor: These Red Velvet Pan-Banging Cookies combine the rich taste of cocoa with a creamy icing that will leave you craving more.
Quick Preparation: With straightforward steps, you can have delicious cookies ready in no time—ideal for those bustling holiday schedules.
Versatile Options: Mix things up by swapping in gluten-free flour or coconut oil for a dairy-free treat, so everyone can enjoy!
Make-Ahead Friendly: Prepare these cookies in advance and store them for a ready-to-enjoy indulgence at your festive gatherings.
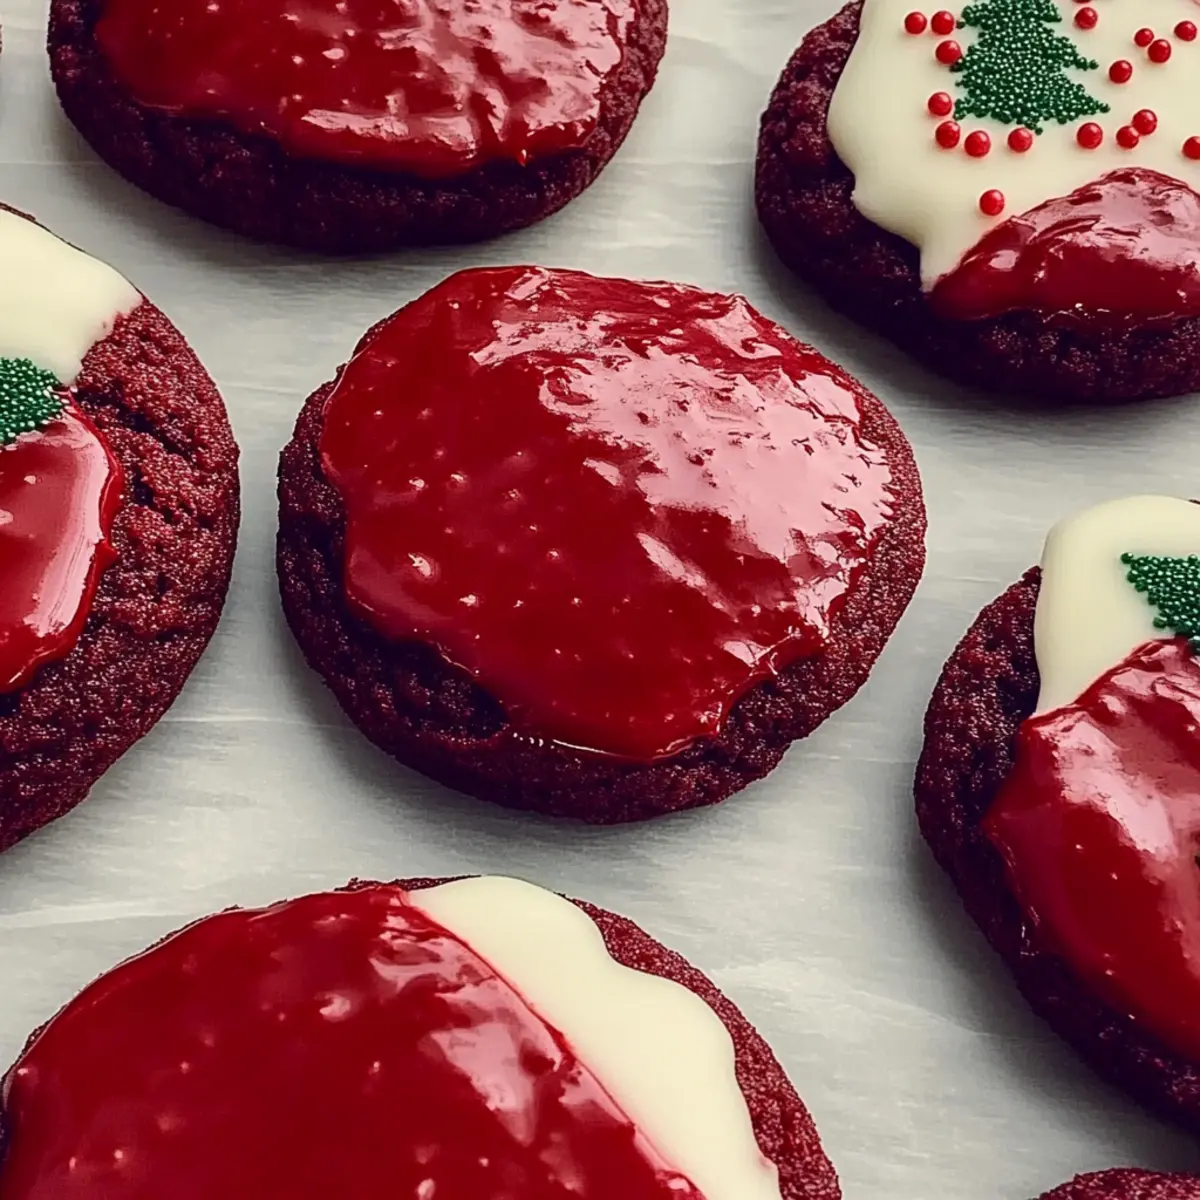
Visual Appeal: The vibrant red color and ruffled edges make them a showstopper on any dessert table, like the delightful Zebra Cookies or a twist on Boston Cream Pie Cookies that your guests will remember.
Nostalgic Comfort: Reminiscent of childhood delights, these cookies offer a cozy embrace during holiday celebrations—bringing warmth to every bite!
Red Velvet Pan-Banging Cookies Ingredients
For the Cookie Dough
- All-Purpose Flour – Provides structure; swap in gluten-free flour for a delicious gluten-free option.
- Baking Soda – Acts as a leavening agent to help cookies rise.
- Fine Salt – Enhances flavors; kosher salt can also be used.
- Cream of Tartar – Improves texture; can be omitted if necessary.
- Unsalted Butter – Adds richness; ensure it’s at room temperature for best mixing.
- Granulated Sugar – Sweetens the dough and contributes to cookie spread.
- Large Egg – Binds the ingredients and adds moisture.
- Dutch-Process Cocoa Powder – Delivers a deeper chocolate flavor; essential for the red velvet experience.
- Red Food Coloring – Enhances the vibrant red hue; gel-based is preferred for brightness.
- Pure Vanilla Extract – Adds a rich depth of flavor.
For the Cream Cheese Icing
- Cream Cheese – Required for that luscious icing; soften for easy blending.
- Confectioners’ Sugar – Sweetens and thickens the icing; adjust for your preferred consistency.
For Decoration
- Holly Sprinkles – Optional but adds festive flair and a pop of color.
Dive into the world of baking with these Red Velvet Pan-Banging Cookies that can elevate any festive gathering!
Step‑by‑Step Instructions for Red Velvet Pan-Banging Cookies
Step 1: Preheat and Prepare
Start by preheating your oven to 350°F (180°C). While it warms up, line three baking sheets with parchment paper, ensuring they are evenly covered to prevent sticking. This step sets the stage for perfect baking and easy cleanup, allowing you to focus on the delicious Red Velvet Pan-Banging Cookies ahead.
Step 2: Whisk Dry Ingredients
In a large mixing bowl, whisk together the all-purpose flour, baking soda, fine salt, and cream of tartar until well combined. This mixture combines the dry elements that will give your cookies structure. The visual cue to look for is a uniform consistency, indicating that every component has been evenly distributed.
Step 3: Mix Wet Ingredients
In a separate bowl, cream the unsalted butter until it’s light and fluffy, which should take about two minutes. Gradually add in the granulated sugar and continue beating until the mixture becomes airy. Next, mix in the large egg, Dutch-process cocoa powder, red food coloring, and vanilla extract, ensuring everything is well blended, creating a rich and vibrant dough.
Step 4: Combine Mixtures
Slowly add the dry ingredients to the wet mixture, gently mixing with a spatula or wooden spoon until just combined. Be careful not to overmix; you want to maintain a slightly thick dough for those perfect Red Velvet Pan-Banging Cookies. Once the flour is barely visible, you’re ready for the next delightful step!
Step 5: Form Cookies
Using a cookie scoop or your hands, portion out 3-ounce balls of dough and place them spaced apart on the prepared baking sheets. You should aim for about 6 cookies per sheet to give them room to spread. The cookies will look generous and rounded, so be sure they are evenly sized for uniform baking.
Step 6: Bake & Bang
Slide the baking sheets into the oven and bake for 13-16 minutes. Every few minutes, gently bang the pan against the oven rack to help create those iconic ruffled edges. Watch for the edges to appear set while the centers remain soft; this ensures the traditional chewy texture of your Red Velvet Pan-Banging Cookies.
Step 7: Cool Cookies
Once baked, carefully transfer the cookies to a wire rack to cool for about 10 minutes. This allows them to firm up while still maintaining a soft center. Enjoy the irresistible aroma filling your home as your Red Velvet Pan-Banging Cookies continue to cool down to the perfect serving temperature.
Step 8: Prepare Icing
While the cookies cool, melt the unsalted butter in a small saucepan over low heat. Whisk in the softened cream cheese until smooth, then add a splash of water, vanilla extract, and a pinch of salt. Gradually stir in the confectioners’ sugar until you reach your desired icing thickness, perfect for drizzling onto your cookies.
Step 9: Decorate
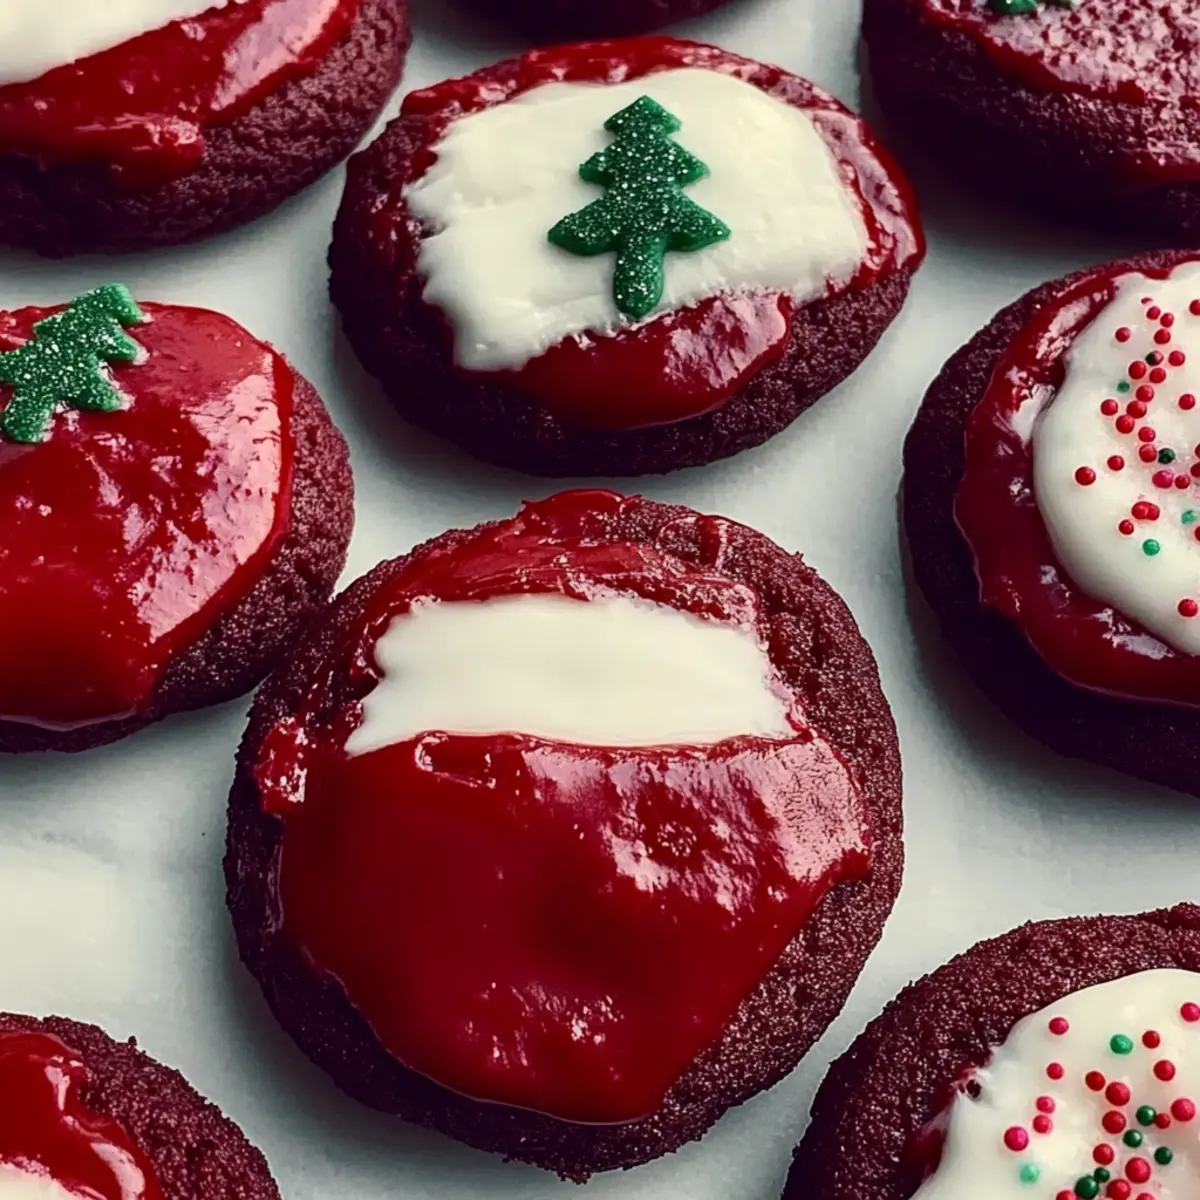
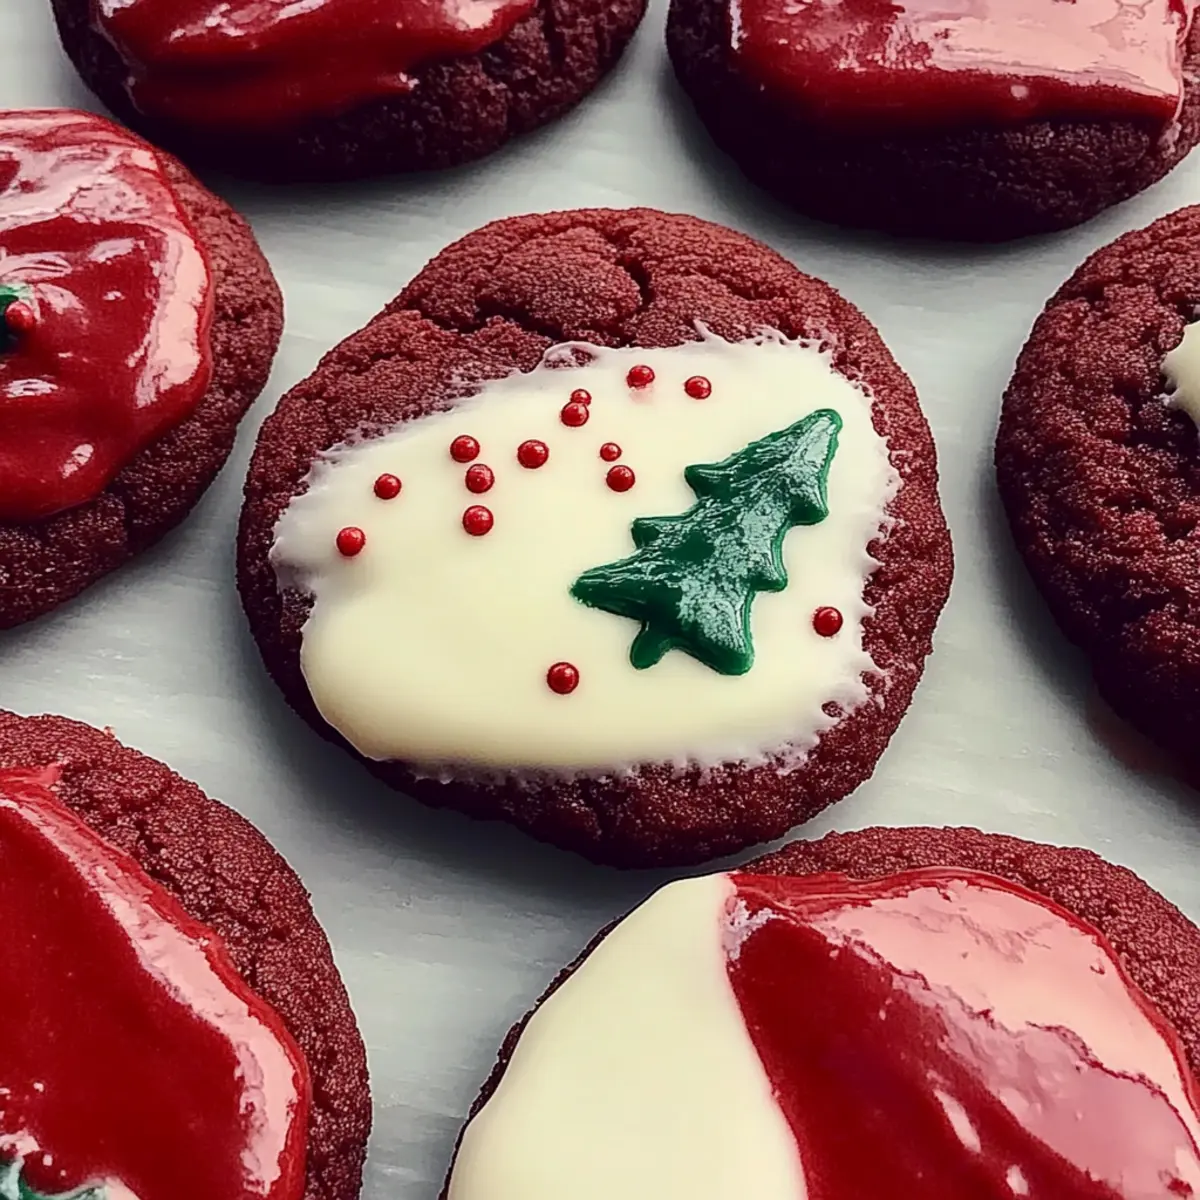
Once the cookies have cooled completely, dip half of each cookie into the luscious cream cheese icing. Let any excess drip off before placing them back on the wire rack. For a festive touch, sprinkle with holly sprinkles and allow the icing to set completely before serving your beautiful Red Velvet Pan-Banging Cookies to friends and family!
Red Velvet Pan-Banging Cookies Variations
Feel free to let your creativity shine and customize these cookies in delightful ways that suit your taste!
- Gluten-Free: Substitute all-purpose flour with gluten-free flour blend for a delicious, gluten-free version that everyone can enjoy.
- Dairy-Free: Replace unsalted butter with coconut oil to create a tasty cookie that’s dairy-free yet rich and satisfying.
- Nutty Addition: Fold in toasted pecans or walnuts for that perfect crunch and nutty flavor to complement the sweetness.
- Chocolate Lovers: Add semi-sweet chocolate chips to the dough for an extra burst of chocolatey goodness in every bite.
- Spicy Kick: Sprinkle in a pinch of cayenne or espresso powder for a surprising hint of heat and depth in flavor.
- Fruity Twist: Incorporate dried cranberries or cherries for a sweet-tart element that balances beautifully with the rich icing.
- Make-Ahead Magic: Bake and freeze the cookies ahead of time; simply thaw them before decorating for a stress-free holiday treat.
These variations are sure to keep your friends and family intrigued! You might even find a new favorite that competes with the deliciousness of my other favorites like Brownie Mix Cookies or those vibrant Marshmallow Swirl Cookies. Happy baking!
Make Ahead Options
These delightful Red Velvet Pan-Banging Cookies are perfect for meal prep, allowing you to save precious time on busy baking days! You can prepare the cookie dough up to 24 hours in advance; simply scoop the dough balls onto the baking sheets, cover tightly with plastic wrap, and refrigerate. If you prefer, the baked cookies can be stored in an airtight container for up to 5 days at room temperature or refrigerated for longer freshness. When ready to serve, just decorate with icing and sprinkles after allowing them to sit at room temperature for about 30 minutes. This way, you’ll enjoy the same irresistible flavor and texture, just as delicious as they are fresh out of the oven!
What to Serve with Red Velvet Pan-Banging Cookies
The delightful combination of flavors and textures in these cookies invites a variety of delicious accompaniments that can elevate your treat experience.
-
Cold Milk: The classic pairing! A cold glass of milk perfectly balances the sweetness of the cream cheese icing and complements the rich chocolate flavor.
-
Hot Cocoa: Warm, luscious hot cocoa makes for a cozy complement, enriching the chocolate notes while enhancing the festive spirit of holiday gatherings.
-
Creamy Vanilla Ice Cream: Serve these cookies alongside a scoop of creamy vanilla ice cream for a decadent dessert that combines crunch and creaminess in every bite.
-
Fresh Berries: Tart and juicy berries like raspberries or strawberries add a refreshing contrast to the rich cookies, maximizing their vibrant colors on the plate.
-
Nutty Walnut Brownies: Take it up a notch by serving with nutty brownies; the contrasting textures and flavors will make for an indulgent dessert spread.
-
Eggnog: For a festive touch, pair these cookies with a glass of rich, spiced eggnog that will add warmth to any holiday celebration.
-
Coffee: A robust cup of coffee beautifully enhances the sweetness of the cookies, making it ideal for afternoon gatherings or post-dinner treats.
-
Caramel Sauce: Drizzling some warm caramel sauce over the cookies takes them to new heights, offering an additional layer of flavor that’s irresistibly delicious.
-
Gingerbread Cookies: For those holiday gatherings, combine with traditional gingerbread cookies to create a cheerful dessert platter with diverse flavors.
-
Coconut Macaroons: Their chewy texture and sweet coconut flavor can balance the rich taste of the Pan-Banging Cookies, making for a delightful treat experience.
How to Store and Freeze Red Velvet Pan-Banging Cookies
Room Temperature: Store your cookies in an airtight container at room temperature for up to 5 days to maintain their delightful texture and flavor.
Refrigeration: If you’re using cream cheese icing, keep the cookies in the fridge to ensure freshness, where they can last for about a week without losing quality.
Freezer: For long-term storage, layer the cookies in a freezer-safe container, separating layers with parchment paper. They can be frozen for up to 3 months; thaw at room temperature when ready to serve.
Reheating: For a warm treat, reheat cookies in the microwave for about 10 seconds or in a preheated oven at 350°F for 5-7 minutes, restoring that cozy, fresh-baked taste!
Expert Tips for Irresistible Cookies
Room Temperature Butter: Ensure your unsalted butter is at room temperature for a light and fluffy mix, essential for perfect Red Velvet Pan-Banging Cookies.
Keep an Eye on Baking: Avoid overbaking; cookies should appear soft in the center for that chewy texture everyone loves.
Gentle Pan Banging: When banging the pan, do it gently—this helps maintain the cookie structure while creating those iconic ruffled edges.
Thick Icing: For a thicker cream cheese icing, incrementally add more confectioners’ sugar until you achieve your desired consistency.
Cooling Time: Allow cookies to cool completely before decorating; this prevents the icing from melting and maintains that beautiful presentation.
Red Velvet Pan-Banging Cookies Recipe FAQs
What type of flour should I use for gluten-free Red Velvet Pan-Banging Cookies?
Absolutely! For a gluten-free version of these delicious cookies, substitute the all-purpose flour with a high-quality gluten-free flour blend. Brands that use a rice flour base combined with xanthan gum work wonderfully. Just make sure to follow the package instructions for best results in texture and flavor.
How should I store the Red Velvet Pan-Banging Cookies?
You can store these delightful cookies in an airtight container at room temperature for up to 5 days. To maintain their soft and chewy texture, it’s important to keep them sealed. If you’ve used cream cheese icing, I recommend refrigerating them, where they’ll be fresh for about a week.
Can I freeze Red Velvet Pan-Banging Cookies?
Yes! To freeze, layer your cookies in a freezer-safe container, separating each layer with parchment paper to prevent sticking. They can last for up to 3 months in the freezer. When you’re ready to enjoy them, simply thaw them at room temperature for about an hour, and they’ll be perfect!
What if my cookies spread too much?
If you notice your cookies spreading excessively, it might be due to your butter being too warm or your dough being overmixed. I suggest making sure your butter is softened, not melted, and that you only mix until just combined. If needed, refrigerate the dough for about 30 minutes before baking to help them hold their shape.
Are there any allergy considerations I should be aware of?
Certainly! These Red Velvet Pan-Banging Cookies contain common allergens such as gluten (from the flour), dairy (from the butter and cream cheese), and eggs. If you have guests with allergies, consider using gluten-free flour, non-dairy butter substitutes, and egg replacements like flaxseed meal or applesauce to accommodate everyone. Always check the labels on your ingredients to ensure they match your dietary needs!
How long do these cookies take to cool before decorating?
After baking, allow your cookies to cool on a wire rack for about 10 minutes. This cooling time is crucial for them to firm up while remaining soft in the center. If you try to decorate them too soon, the icing might melt off, so patience is key!
Irresistible Red Velvet Pan-Banging Cookies for Joyful Celebrations
Ingredients
Equipment
Method
- Preheat your oven to 350°F (180°C) and line baking sheets with parchment paper.
- Whisk together the all-purpose flour, baking soda, fine salt, and cream of tartar in a large bowl.
- Cream the unsalted butter until light and fluffy. Add granulated sugar, egg, cocoa, food coloring, and vanilla, mixing well.
- Add the dry ingredients to the wet mixture, mixing until just combined.
- Portion out 3-ounce balls of dough and place them on the prepared sheets, spaced apart.
- Bake for 13-16 minutes, banging the pan gently to create ruffled edges.
- Transfer cookies to a wire rack to cool for about 10 minutes.
- Prepare icing by melting butter and whisking together with cream cheese, adding sugar until thick.
- Dip cooled cookies in icing, allow excess to drip, and sprinkle with holly sprinkles.
Leave a Reply