
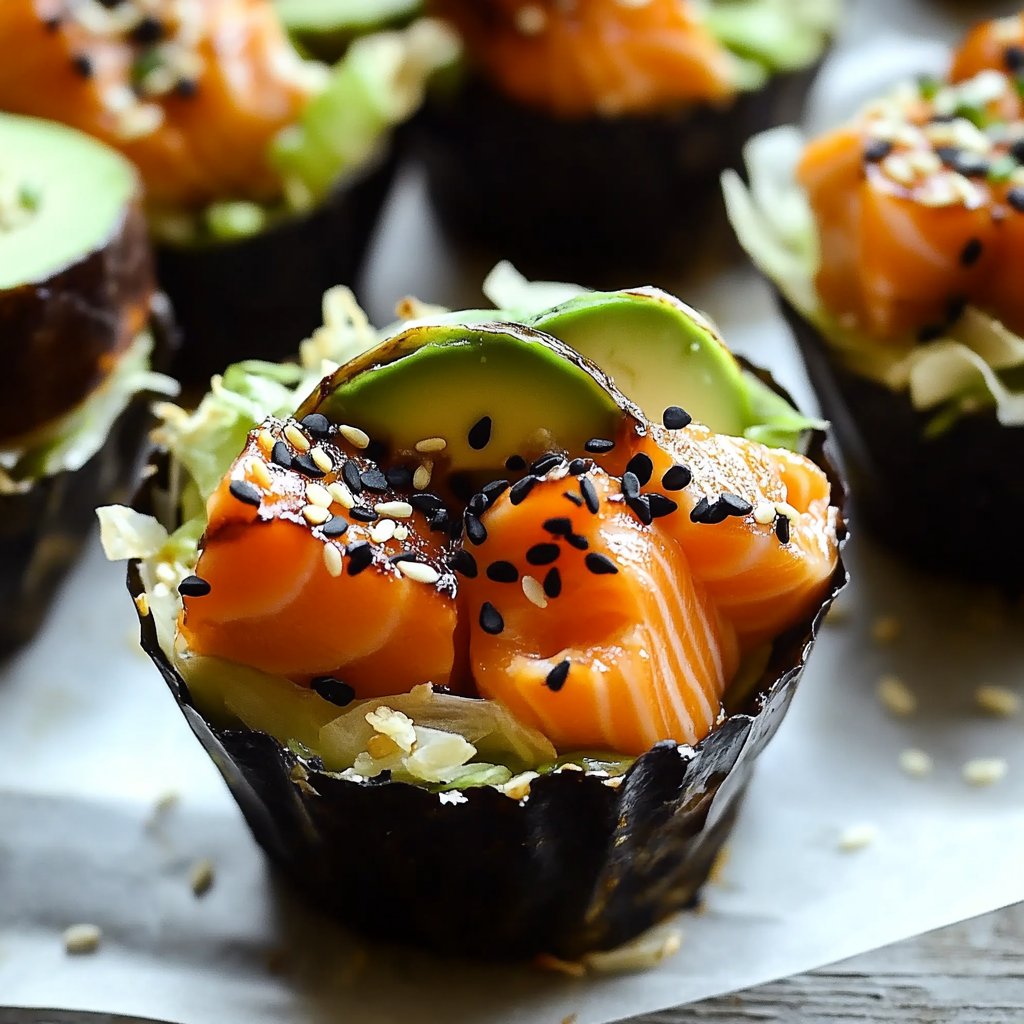
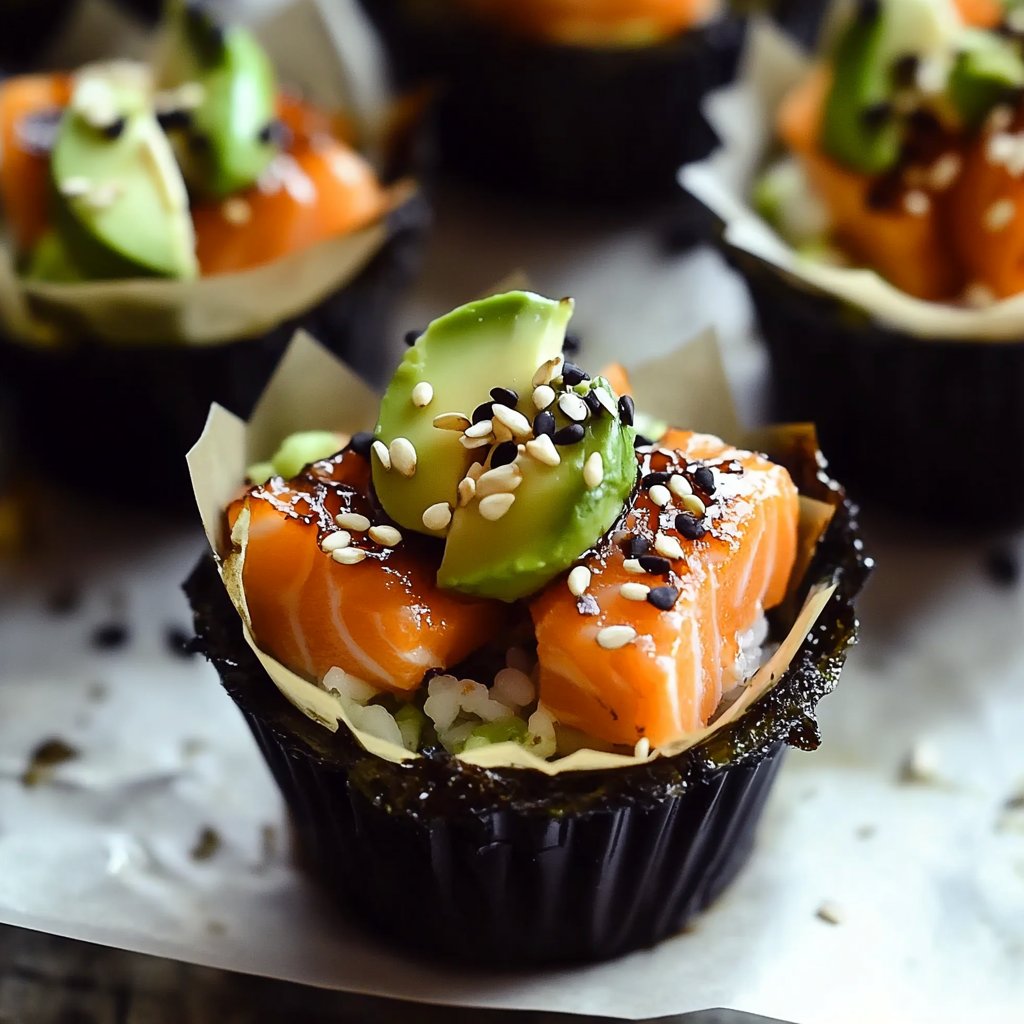
Introduction to Salmon Sushi Bake Cups
Cooking has always been a way for me to connect with family and friends. When I discovered Salmon Sushi Bake Cups, it felt like a culinary hug. These delightful little cups are not just a meal; they’re a quick solution for a busy day or a fun appetizer to impress your loved ones. With a perfect blend of flavors and textures, they bring the essence of sushi into a simple, baked form. Plus, they’re easy to whip up, making them ideal for any occasion. Let’s dive into this delicious recipe that’s sure to become a favorite!
Why You’ll Love This Salmon Sushi Bake Cups
These Salmon Sushi Bake Cups are a game-changer in the kitchen. They combine the rich, savory taste of salmon with the comforting texture of sushi rice, all baked to perfection. You’ll love how quickly they come together—perfect for those hectic weeknights or surprise guests. Plus, they’re customizable! Whether you’re a spice lover or prefer a milder flavor, you can adjust the ingredients to suit your taste. It’s a win-win!
Ingredients for Salmon Sushi Bake Cups
Gathering the right ingredients is the first step to creating these delightful Salmon Sushi Bake Cups. Here’s what you’ll need:
- Sushi rice: This short-grain rice is sticky and perfect for holding everything together.
- Water: Essential for cooking the rice to that perfect fluffy texture.
- Rice vinegar: Adds a tangy flavor that balances the richness of the salmon.
- Sugar: Just a touch to enhance the flavor of the rice.
- Salt: A pinch to season the rice and bring out all the flavors.
- Cooked salmon: Flaked salmon is the star of the show, bringing a savory depth to each bite.
- Mayonnaise: Creamy and rich, it binds the salmon and adds a luscious texture.
- Sriracha: For those who like a kick! Adjust the amount based on your spice preference.
- Avocado: Sliced for a creamy topping that complements the other flavors beautifully.
- Cucumber: Diced for a refreshing crunch that adds a nice contrast.
- Green onions: Chopped for a burst of freshness and color.
- Nori: Cut into small squares, these seaweed sheets add an authentic sushi touch.
- Soy sauce: A must-have for dipping, enhancing the umami flavor of the dish.
For those looking to mix things up, consider substituting the salmon with marinated tofu or sautéed vegetables for a vegetarian option. You can also sprinkle sesame seeds or drizzle teriyaki sauce on top for an extra flavor boost. Exact measurements for these ingredients can be found at the bottom of the article, ready for printing!
How to Make Salmon Sushi Bake Cups
Creating these Salmon Sushi Bake Cups is a straightforward process that anyone can master. Follow these simple steps, and you’ll have a delicious dish ready in no time!
Step 1: Preheat the Oven
Start by preheating your oven to 375°F (190°C). Preheating is crucial because it ensures even cooking. You want those cups to bake perfectly, so don’t skip this step!
Step 2: Prepare the Sushi Rice
Rinse 1 cup of sushi rice under cold water until the water runs clear. This removes excess starch and helps achieve that perfect sticky texture. Combine the rinsed rice with 1 ¼ cups of water in a medium saucepan. Bring it to a boil, then reduce the heat to low, cover, and let it simmer for 18-20 minutes. Once the rice is tender and the water is absorbed, remove it from heat. In a small bowl, mix 1 tablespoon of rice vinegar, 1 tablespoon of sugar, and ½ teaspoon of salt until dissolved. Gently fold this mixture into the warm rice and let it cool slightly.
Step 3: Mix the Salmon Filling
In a separate bowl, combine 8 ounces of flaked cooked salmon, ½ cup of mayonnaise, and 2 teaspoons of sriracha. Mix until everything is well combined. This creamy, spicy filling is what makes these cups so irresistible!
Step 4: Assemble the Cups
Lightly grease a muffin tin to prevent sticking. Press about 2 tablespoons of the seasoned sushi rice into the bottom of each muffin cup, forming a solid base. Then, spoon the salmon mixture evenly over the rice in each cup. Make sure to distribute it well for balanced flavor in every bite.
Step 5: Bake the Cups
Place the muffin tin in the preheated oven and bake for 15-20 minutes. Keep an eye on them! You’ll know they’re done when the tops are slightly golden and the aroma fills your kitchen. It’s hard to resist that delicious smell!
Step 6: Add Toppings
Once out of the oven, let the cups cool for a few minutes. Top each cup with slices of avocado, diced cucumber, and chopped green onions. These fresh toppings add a burst of color and flavor, making your Salmon Sushi Bake Cups even more delightful!
Tips for Success
- Rinse the sushi rice thoroughly to achieve that perfect sticky texture.
- Don’t skip the preheating step; it ensures even baking.
- Feel free to adjust the sriracha based on your spice tolerance.
- Let the cups cool slightly before adding toppings for better presentation.
- Experiment with different toppings like sesame seeds or teriyaki sauce for added flavor.
Equipment Needed
- Muffin tin: Essential for shaping the cups. A silicone muffin pan works great for easy removal.
- <strong For cooking the sushi rice. A rice cooker can also be used for convenience.
- Mixing bowls: To combine the salmon filling and rice. Any size will do!
- Measuring cups and spoons: For accurate ingredient measurements.
Variations
- Vegetarian Option: Swap the salmon for marinated tofu or a mix of sautéed vegetables like bell peppers and mushrooms for a delicious plant-based version.
- Spicy Twist: Add diced jalapeños or a sprinkle of chili flakes to the salmon mixture for an extra kick.
- Seafood Medley: Mix in other seafood like shrimp or crab with the salmon for a delightful seafood blend.
- Quinoa Base: For a gluten-free alternative, use quinoa instead of sushi rice for a nutty flavor and added protein.
- Herb Infusion: Incorporate fresh herbs like cilantro or basil into the salmon mixture for a fresh, aromatic touch.
Serving Suggestions
- Side Salad: Pair with a light cucumber and seaweed salad for a refreshing contrast.
- Drinks: Serve with chilled green tea or a crisp lager to complement the flavors.
- Presentation: Arrange the cups on a platter with nori squares and soy sauce for dipping.
FAQs about Salmon Sushi Bake Cups
Curious about these delightful Salmon Sushi Bake Cups? Here are some common questions I often hear, along with answers to help you on your culinary journey!
Can I use fresh salmon instead of cooked?
Absolutely! If you prefer fresh salmon, just make sure to cook it thoroughly before flaking it into the mixture. Baking the cups will ensure everything is heated through.
How can I make these cups gluten-free?
Great question! The recipe is already gluten-free as long as you use gluten-free soy sauce. Just double-check the labels on your ingredients to be safe.
Can I prepare the filling in advance?
Yes! You can mix the salmon filling ahead of time and store it in the fridge. Just assemble and bake the cups when you’re ready to serve.
What can I substitute for sushi rice?
If sushi rice isn’t available, you can use short-grain rice or even quinoa for a different texture. Just adjust the cooking time as needed.
How do I store leftovers?
Store any leftover Salmon Sushi Bake Cups in an airtight container in the fridge for up to 2 days. Reheat them in the oven for the best texture!
Final Thoughts
Creating Salmon Sushi Bake Cups is more than just cooking; it’s about bringing joy to your table. The delightful combination of flavors and textures makes each bite a little celebration. Whether you’re enjoying them on a busy weeknight or serving them at a gathering, these cups are sure to impress. They’re versatile, easy to make, and can be customized to suit any palate. I love how they spark conversations and create memories around the dinner table. So, roll up your sleeves and dive into this recipe—it’s a delicious adventure waiting to happen!
Salmon Sushi Bake Cups: Delightful and Easy Recipe!
Ingredients
Method
- Preheat your oven to 375°F (190°C).
- Rinse the sushi rice under cold water until the water runs clear. Combine the rice and water in a medium saucepan and bring to a boil. Once boiling, reduce the heat to low, cover, and simmer for 18-20 minutes, or until the rice is tender and the water is absorbed.
- In a small bowl, mix the rice vinegar, sugar, and salt until dissolved. Once the rice is cooked, remove it from heat and gently fold in the vinegar mixture. Allow the rice to cool slightly.
- In a separate bowl, combine the flaked salmon, mayonnaise, and sriracha. Mix until well combined.
- Lightly grease a muffin tin. Press about 2 tablespoons of sushi rice into the bottom of each muffin cup to form a base.
- Spoon the salmon mixture evenly over the rice in each cup.
- Bake in the preheated oven for 15-20 minutes, or until the tops are slightly golden.
- Remove from the oven and let cool for a few minutes. Top each cup with avocado slices, diced cucumber, and chopped green onions.
- Serve warm with nori squares and soy sauce on the side for dipping.
Nutrition
Notes
- For a vegetarian option, substitute the salmon with marinated tofu or a mix of sautéed vegetables.
- Add a sprinkle of sesame seeds or a drizzle of teriyaki sauce on top for extra flavor.
Leave a Reply