
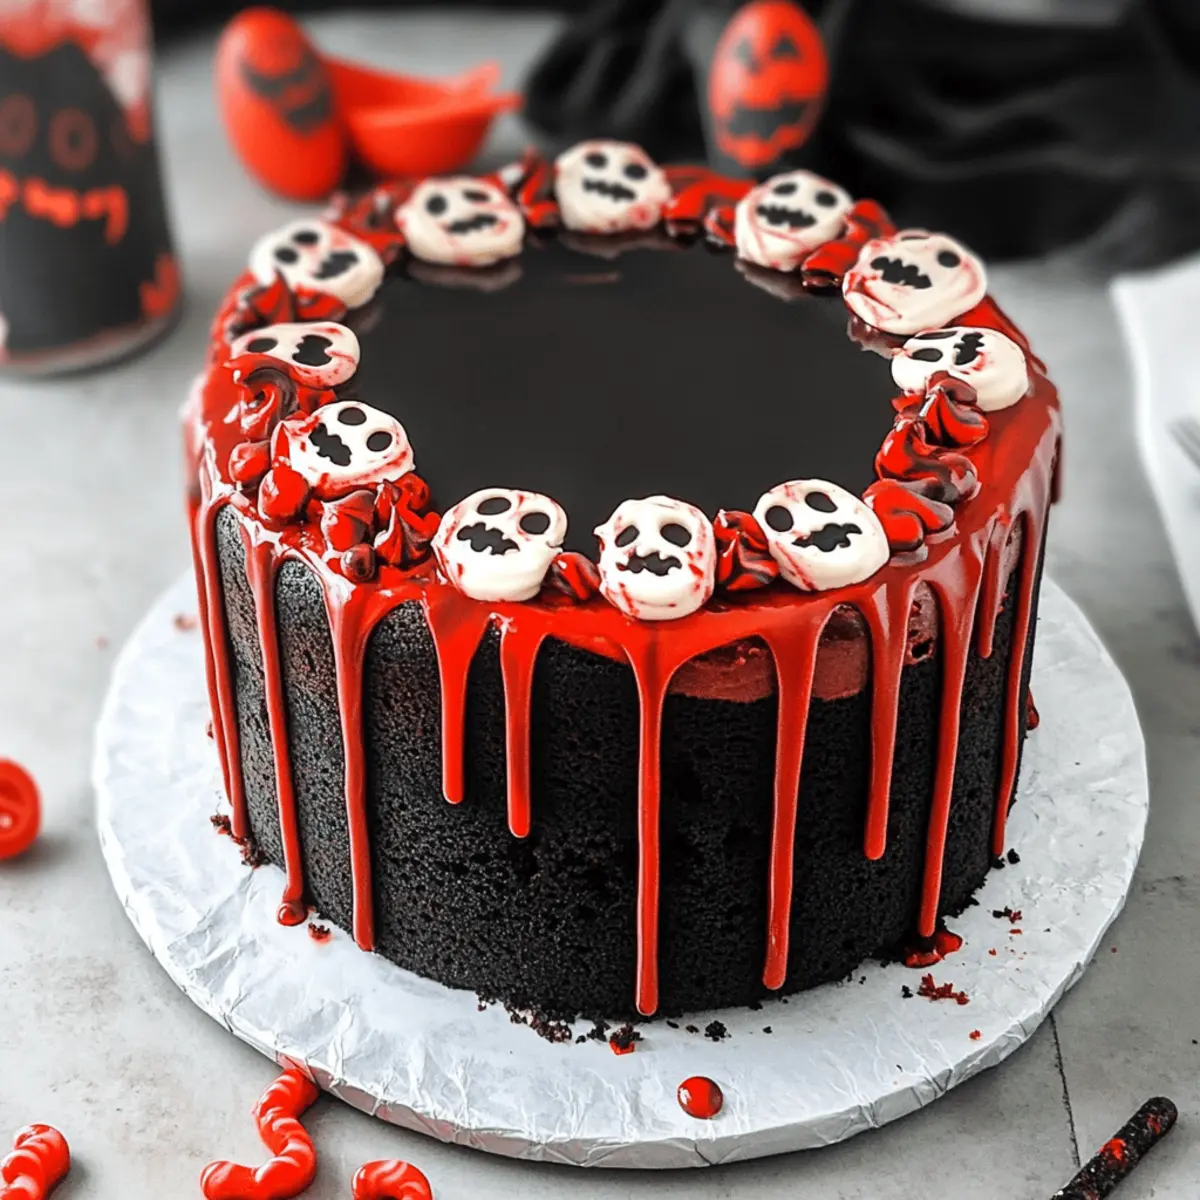
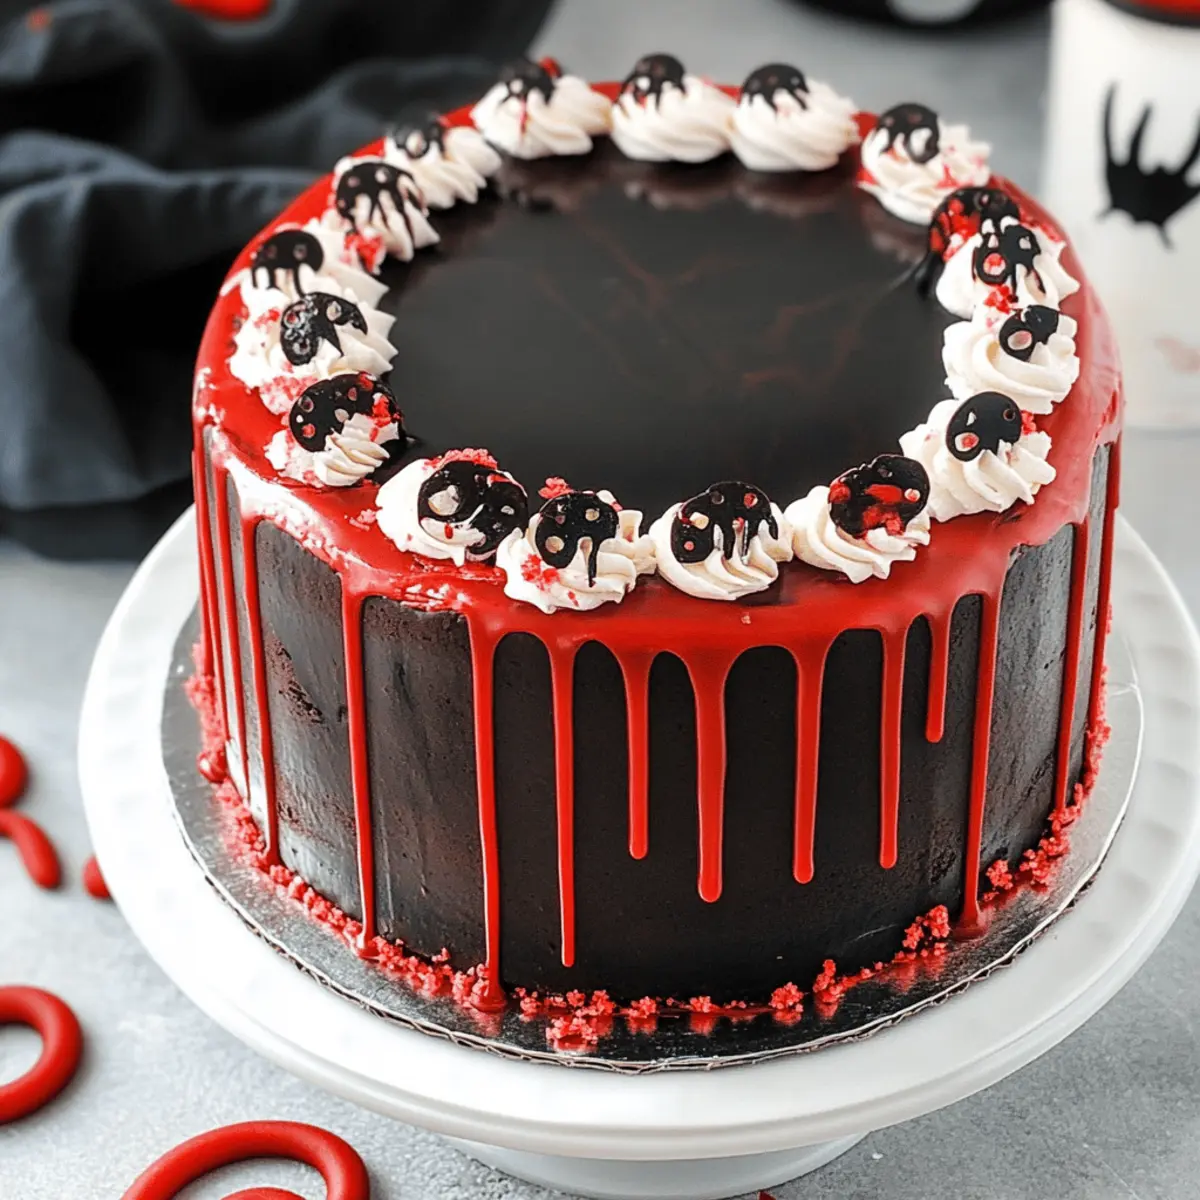
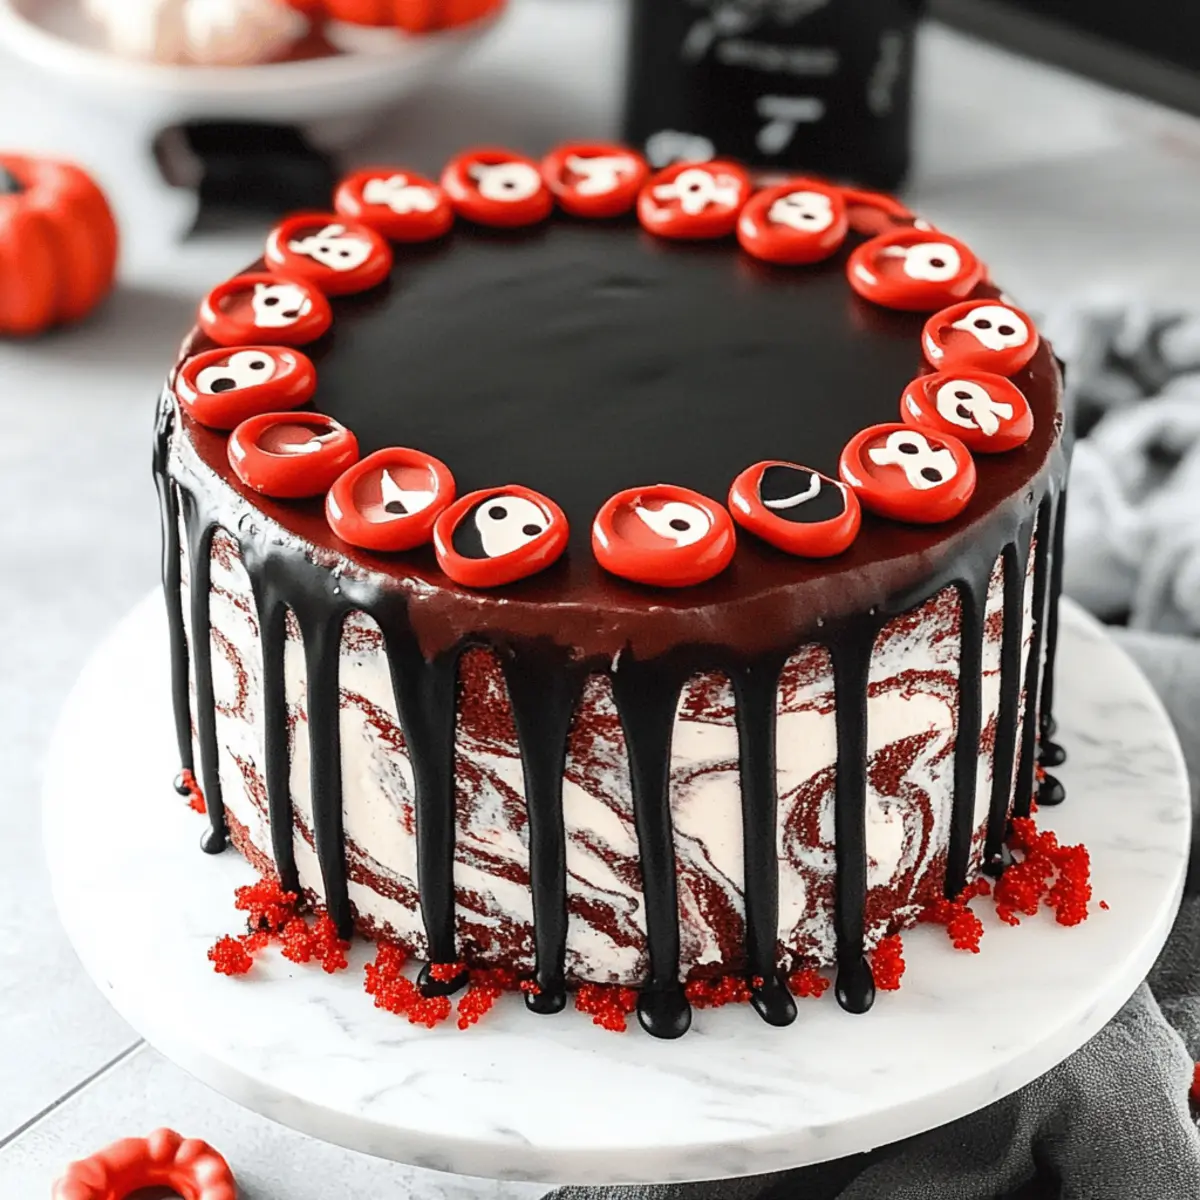
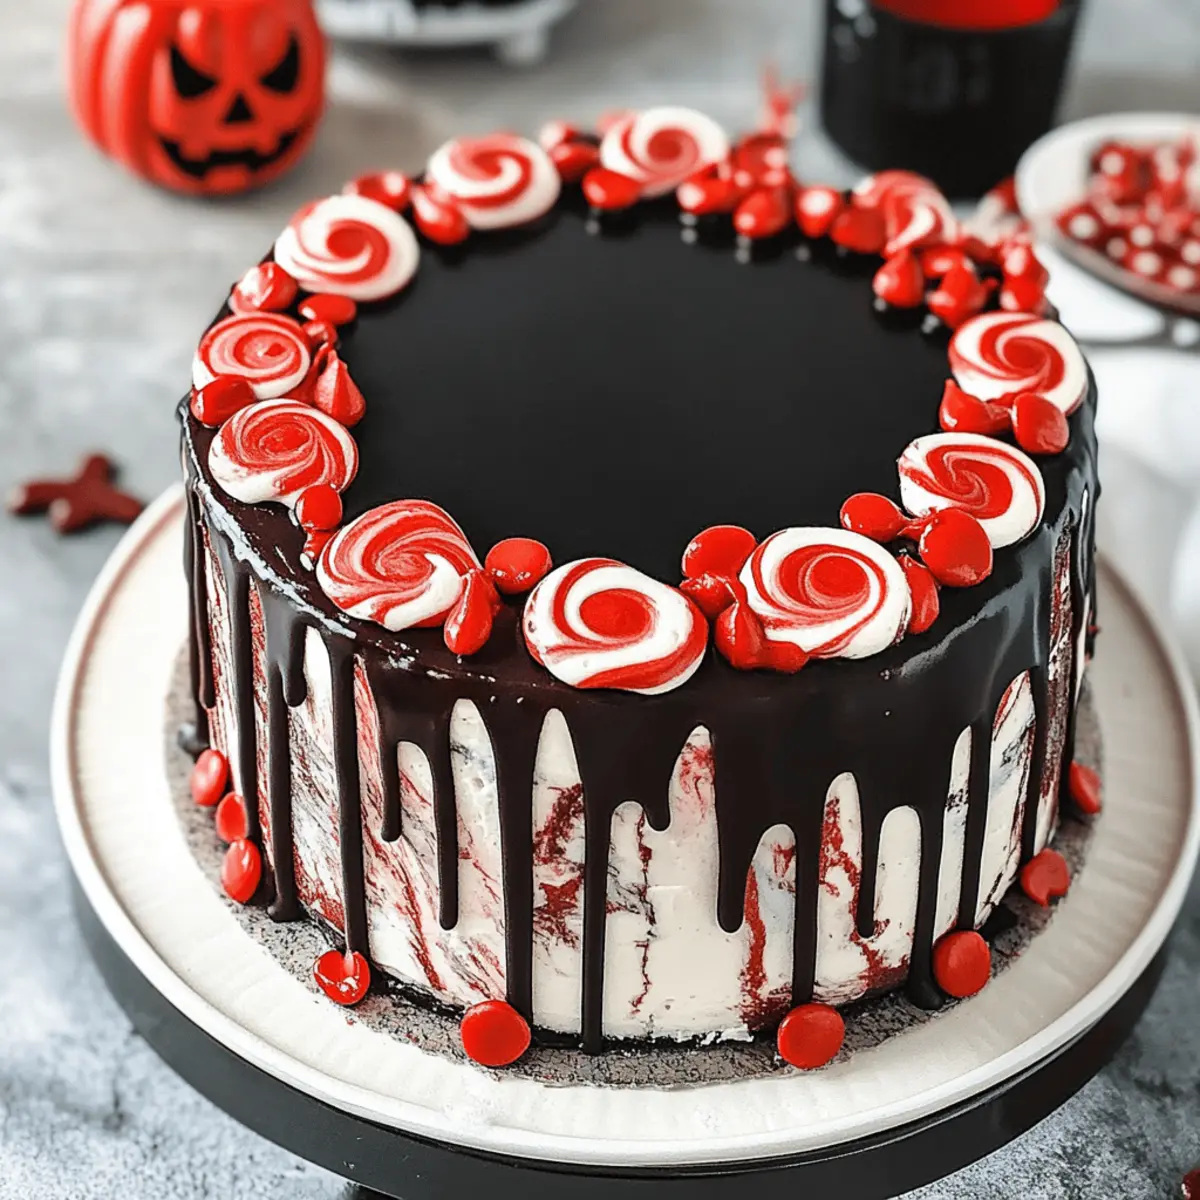
As Halloween approaches, I can’t help but reminisce about the eerie yet delicious treats that filled our childhood celebrations. This year, I’m excited to share my Spooky Halloween Marble Cake, a frightfully delightful dessert that combines the best of both worlds with vibrant red and black swirls. Not only does this cake serve as a stunning centerpiece for your gatherings, but its luscious vanilla and rich chocolate flavors are bound to enchant your taste buds, making it a real crowd-pleaser. Perfect for those looking to impress family and friends without spending hours in the kitchen, this bake is both fun and simple. Are you ready to make this spooky masterpiece that will have everyone raving about your Halloween festivities?
Why is This Cake Perfect for Halloween?
Visual Appeal: The Spooky Halloween Marble Cake boasts a stunning red and black swirl that perfectly embodies the spirit of the holiday—it’s a showstopper!
Easy to Make: No need for advanced baking skills. Just follow simple steps for a cake that looks like it came from a bakery!
Deliciously Rich: Enjoy the delightful combination of rich chocolate and sweet vanilla flavors that will keep everyone coming back for more.
Versatile Variations: Switch up the frosting and sprinkles or turn this cake into cupcakes for an extra festive flair! It pairs beautifully with a scoop of ice cream, just like my Coconut Cloud Cake.
Perfect for Celebrations: This cake is perfect for Halloween parties or gatherings where fun and flavor are essential. It’s guaranteed to impress your guests!
Spooky Halloween Marble Cake Ingredients
Get ready to create a festive masterpiece!
For the Batter
- All-Purpose Flour – Essential for structure; can be substituted with a gluten-free blend if needed.
- Cocoa Powder (Unsweetened) – Adds that rich chocolate flavor; ensure it’s unsweetened for the best results.
- Baking Powder – A leavening agent; you can use baking soda in its place if necessary.
- Salt – Enhances the sweetness; no direct substitution is required.
- Buttermilk (Powdered) – Adds moisture and tenderness; regular buttermilk works too, or use regular milk as a substitute.
- Unsalted Butter – Provides richness and moisture; feel free to use margarine or a non-dairy option.
- Granulated Sugar – Sweetens the cake perfectly; try brown sugar for a deeper flavor.
- Eggs – Essential for binding; consider flax eggs for a vegan version.
- Vanilla Extract – Enhances flavor; swap for almond extract for a slightly different twist.
- Bittersweet Chocolate (60% cocoa) – Imparts a rich chocolate taste and texture; 71% cocoa can give you a more intense flavor.
- Black Gel Icing Color – Provides the deep color needed for that spooky vibe; regular food coloring may be used but will require more quantity.
For the Frosting
- Black Buttercream – A creamy base for your cake; you can use a store-bought option or make it from scratch.
- Red Candy Melts – Perfect for creating that drippy “blood” effect; any melting chocolate can work here for a different theme.
- Spooky Sprinkles – Adds fun decoration; get creative with your choices for extra festive flair!
With these ingredients, you’ll craft a Spooky Halloween Marble Cake that’s sure to thrill your guests!
Step‑by‑Step Instructions for Spooky Halloween Marble Cake
Step 1: Preheat and Prepare
Begin by preheating your oven to 350°F (175°C). While it warms up, grab three 8-inch round cake pans and coat them with baking spray or line them with parchment paper for easy removal. This will ensure your Spooky Halloween Marble Cake comes out perfectly without sticking to the pans.
Step 2: Mix Dry Ingredients
In a large mixing bowl, sift together 2 cups of all-purpose flour, ¾ cup of unsweetened cocoa powder, 2 teaspoons of baking powder, and ½ teaspoon of salt. Sifting the dry ingredients helps eliminate clumps and aerates the mixture, which contributes to the light texture in your cake. Set this bowl aside as you prepare the wet ingredients next.
Step 3: Cream Butter and Sugar
In a separate mixing bowl, add 1 cup of unsalted butter and 1 ¾ cups of granulated sugar. Using an electric mixer, cream them together on medium speed until the mixture becomes light and fluffy, about 3-4 minutes. The butter and sugar should be well combined, creating a pale hue that signals it’s ready for the following ingredients.
Step 4: Add Eggs and Vanilla
Next, add 4 large eggs to the butter-sugar mixture, incorporating them one at a time. Beat until well blended after each addition. Once the eggs are fully mixed in, add 2 teaspoons of vanilla extract, stirring gently just until combined. The mixture should be smooth and creamy, forming the base of your Spooky Halloween Marble Cake.
Step 5: Alternate Adding Dry Ingredients and Buttermilk
Gradually mix in the dry ingredient blend with 1 cup of buttermilk, alternating between the two. Start with one-third of the dry ingredients followed by half of the buttermilk, mixing on low speed to keep it smooth. Repeat until all ingredients are combined, and the batter should be luscious and slightly thick, ready for coloring.
Step 6: Color the Batter
Divide the batter evenly into two bowls; in one bowl, add black gel icing color, and in the other, mix in red gel icing color. Stir gently until the colors are thoroughly incorporated. This step transforms your standard cake batter into vibrant shades perfect for your Spooky Halloween Marble Cake, capturing the essence of the season.
Step 7: Layer Batter
Using a large spoon, drop alternating spoonfuls of the red and black batter into the prepared pans. Aim for a random placement to enhance the marbling effect. Once the pans are filled, take a knife or skewer and gently swirl through the batters to create a beautiful marbled design without fully blending the colors.
Step 8: Bake
Place the pans in the preheated oven and bake for 20-25 minutes. Keep an eye on them; the cakes are done when a toothpick poked in the center comes out clean or with a few crumbs attached. This is crucial for achieving that moist and fluffy texture you want in your Spooky Halloween Marble Cake.
Step 9: Cool and Frost
Once baked, remove the cakes from the oven and let them cool in the pans for about 10 minutes. Then, transfer them to a wire rack to cool completely. While cooling, prepare your black buttercream frosting, ready to cover your cool cake layers. This step is vital for a smooth and deliciously spooky finish!
Step 10: Decorate
Frost the cooled layers with black buttercream using a spatula, stacking them carefully as you go. To create the eerie effect, melt red candy melts and carefully drizzle them over the top for a bloody look. Finish with spooky sprinkles to add a festive touch, bringing your glorious Spooky Halloween Marble Cake to life!
Make Ahead Options
These Spooky Halloween Marble Cakes are perfect for meal prep and can save you valuable time on party day! You can prepare the cake layers up to 3 days in advance by baking them and then storing them wrapped in plastic wrap, which helps maintain moisture. To keep the vibrant colors intact, refrigerate the layers in a sealed container. Frosting can also be made ahead of time and stored in the fridge for up to 5 days. When ready to serve, simply bring the frosting to room temperature before spreading it over the cooled layers, add the red drizzle and spooky sprinkles, and you’ll have a stunning cake ready to impress with minimal effort!
How to Store and Freeze Spooky Halloween Marble Cake
Room Temperature: Keep the cake in an airtight container at room temperature for up to 2 days to maintain its freshness and prevent drying out.
Fridge: Store the frosted cake in the refrigerator for up to a week. Make sure it’s covered with plastic wrap or in an airtight container to keep it moist.
Freezer: Freeze slices of the Spooky Halloween Marble Cake for up to 3 months. Wrap each slice tightly in plastic wrap, then place in a freezer bag to prevent freezer burn.
Reheating: When ready to enjoy, thaw slices in the refrigerator overnight, then bring them to room temperature before serving or reheat gently in the microwave for a few seconds.
Spooky Halloween Marble Cake Variations
Feel free to let your creativity shine with delightful twists and turns to this spooky masterpiece!
- Gluten-Free: Substitute all-purpose flour with a gluten-free blend for a cake everyone can enjoy.
- Dairy-Free: Use a non-dairy milk and dairy-free butter for a vegan-friendly option that doesn’t compromise flavor.
For an extra layer of fun, why not use coconut milk for a hint of tropical sweetness? The moisture will keep your cake deliciously fluffy.
- Different Colors: Switch up the gel colors to make vibrant purple and green swirls for a monster-themed cake.
- Fruity Flavors: Mix in pureed pumpkin or applesauce for a seasonal twist that adds flavor and moisture.
Imagine the surprise on your loved ones’ faces when they bite into a cake that tastes of fall spices—pure delight!
- Cupcake Style: Transform the batter into cupcakes by filling liners halfway and baking them for 15-18 minutes.
- Extra Layer: Consider adding Halloween-themed custard or mousse between cake layers for an indulgent treat.
You can even experiment with flavors by pairing this cake with a scoop of homemade Strawberry Shortcake Ice or serving it alongside a slice of Flourless Orange Cake for a deliciously festive dessert spread.
What to Serve with Spooky Halloween Marble Cake?
Indulging in a slice of this enchanting cake can lead to a delightful dining experience when paired with the right accompaniments.
-
Vanilla Ice Cream: The creamy sweetness of vanilla ice cream complements the rich flavors of chocolate and vanilla in the cake, creating a heavenly balance.
-
Spooky Punch: A fun, fruity punch enhances the festive spirit. Opt for seasonal fruits and a splash of fizz to create a refreshing drink.
-
Candy Corn Medley: Serve a colorful mix of candy corn and other Halloween treats for playful snacking. The sweetness will nicely counter the cake’s richness.
-
Hot Chocolate: A warm cup of hot chocolate adds coziness to this dessert setting. Consider adding marshmallows to enhance the festive feel.
-
Ghostly Whipped Cream: Light, fluffy whipped cream offers a delightful contrast to the dense cake, making each bite even more indulgent.
-
Chocolate-Covered Strawberries: These treats bring freshness and a bit of romance. Their sweet juiciness pairs beautifully with the cake’s flavors.
-
Coffee or Espresso: A rich cup of coffee or espresso can intensify the cake’s chocolate notes, making it a sophisticated pairing.
-
Pumpkin Spice Latte: Embrace the season with this iconic drink. The warm spices will complement the cake’s festive spirit, making each bite even more special.
-
Spooky Cookies: Let’s add some fun! Serve a platter of Halloween-themed cookies to enjoy a delightful array of flavors and textures.
-
Creepy Cupcakes: Continue the theme with matching cupcakes decorated in the same colors for a spectacular dessert spread that family and friends will love!
Expert Tips for Spooky Halloween Marble Cake
-
Sift Dry Ingredients: Sifting the flour and cocoa powder ensures a light, airy batter, crucial for the perfect texture in your Spooky Halloween Marble Cake.
-
Egg Temperature Matters: Use room temperature eggs for better incorporation and a fluffier cake. Cold eggs can lead to a denser batter.
-
Color Vibrancy: For the best red and black hues, opt for gel food coloring over liquid to achieve that striking visual without affecting the batter’s consistency.
-
Layering Batter: Drop alternating spoonfuls of colored batter randomly for a beautiful marbled effect. Avoid over-mixing when swirling to keep the colors distinct.
-
Monitor Baking Time: Always start checking your cakes a few minutes early. Overbaking can dry out the Spooky Halloween Marble Cake, so a toothpick test is key!
-
Cool Completely: Ensure the cake layers cool completely before frosting; warm cakes can melt the frosting, leading to a messy presentation.
Spooky Halloween Marble Cake Recipe FAQs
What type of flour should I use for the Spooky Halloween Marble Cake?
You can use all-purpose flour, which provides great structure for the cake. If you’re looking for a gluten-free option, a gluten-free flour blend works well as a substitute!
How should I store my Spooky Halloween Marble Cake?
To keep it fresh, store the cake in an airtight container at room temperature for up to 2 days. If you want to extend its life, you can refrigerate it for up to a week, ensuring it’s well covered to maintain moisture.
Can I freeze my Spooky Halloween Marble Cake?
Absolutely! You can freeze slices of the cake for up to 3 months. To do this, wrap each slice tightly in plastic wrap and then place it in a freezer bag to prevent freezer burn. When you’re ready to enjoy, simply thaw overnight in the refrigerator and bring it back to room temperature before serving.
What should I do if my cake domes or sinks in the middle while baking?
If your cake domes, you might be using too high a temperature or overmixing the batter. Ensure your oven is calibrated correctly, and avoid overmixing, especially after adding the flour. If it sinks, check that the baking powder is fresh and not expired, as this can affect leavening.
Can I use different flavors or colors in my Spooky Halloween Marble Cake?
Very! Feel free to experiment with fun flavors like orange or add more vibrant colors to match the Halloween theme. Swap out the red and black colors for other spooky shades, and consider adding flavored extracts for extra creativity!
Are there any dietary considerations for pets or allergies?
When baking for gatherings where pets may be present, avoid using ingredients like chocolate, which is toxic to dogs. For allergies, be mindful of common allergens in your ingredients, such as eggs, dairy, and gluten. Always provide label information if you’re serving guests with dietary restrictions.
Delightful Spooky Halloween Marble Cake for Festive Fun
Ingredients
Equipment
Method
- Preheat your oven to 350°F (175°C) and coat three 8-inch round cake pans with baking spray or parchment paper.
- In a large mixing bowl, sift together 2 cups of all-purpose flour, ¾ cup cocoa powder, 2 teaspoons of baking powder, and ½ teaspoon of salt.
- In a separate bowl, cream together 1 cup of unsalted butter and 1¾ cups of granulated sugar until light and fluffy.
- Add 4 large eggs one at a time, mixing well after each addition, then add 2 teaspoons of vanilla extract.
- Gradually blend in the dry ingredients with 1 cup of buttermilk, alternating between the two.
- Divide the batter into two bowls; add black gel icing color to one and red gel icing color to the other.
- Drop alternating spoonfuls of red and black batter into the prepared pans and swirl gently with a knife.
- Bake in the preheated oven for 20-25 minutes until a toothpick comes out clean or with a few crumbs.
- Let the cakes cool in the pans for 10 minutes before transferring to a wire rack to cool completely.
- Frost the cooled layers with black buttercream, drizzling melted red candy melts on top and adding spooky sprinkles.
Leave a Reply