
Introduction to Tie-Dyed Fudge
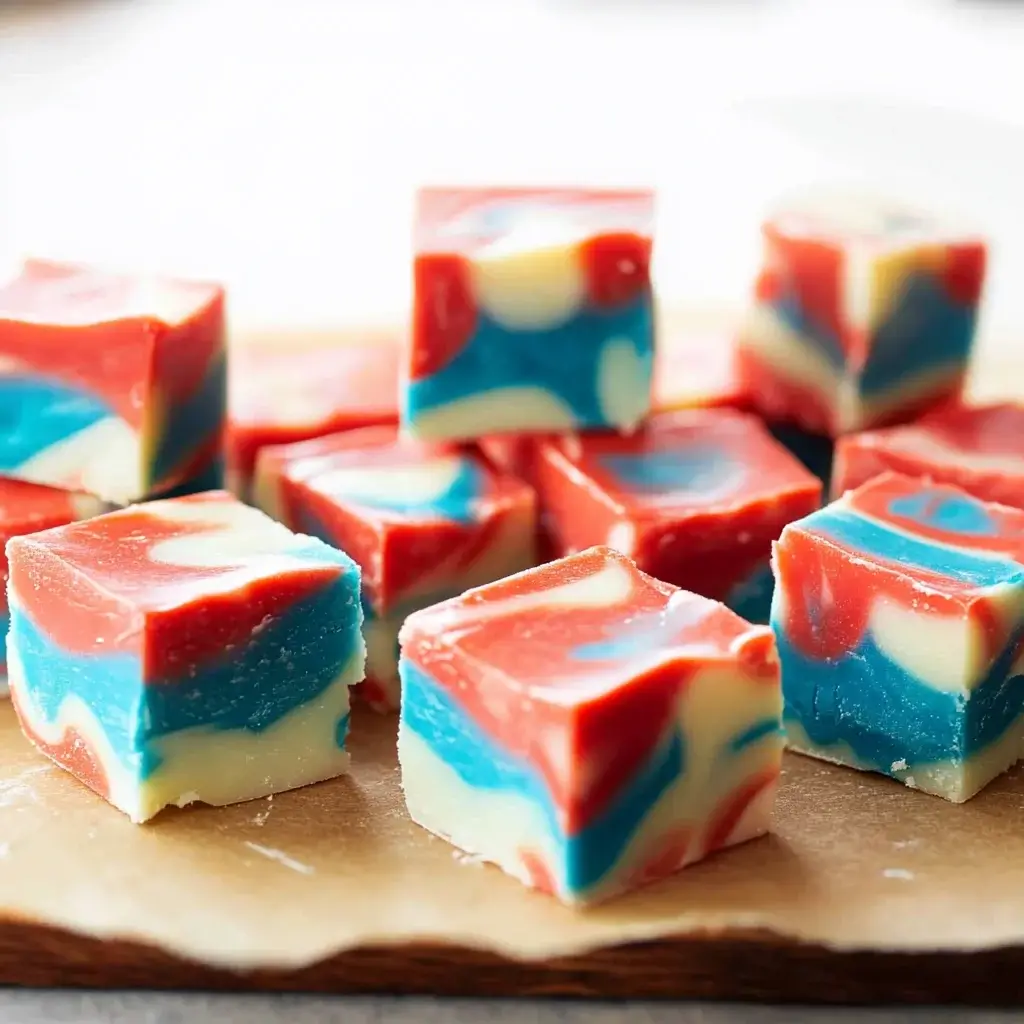
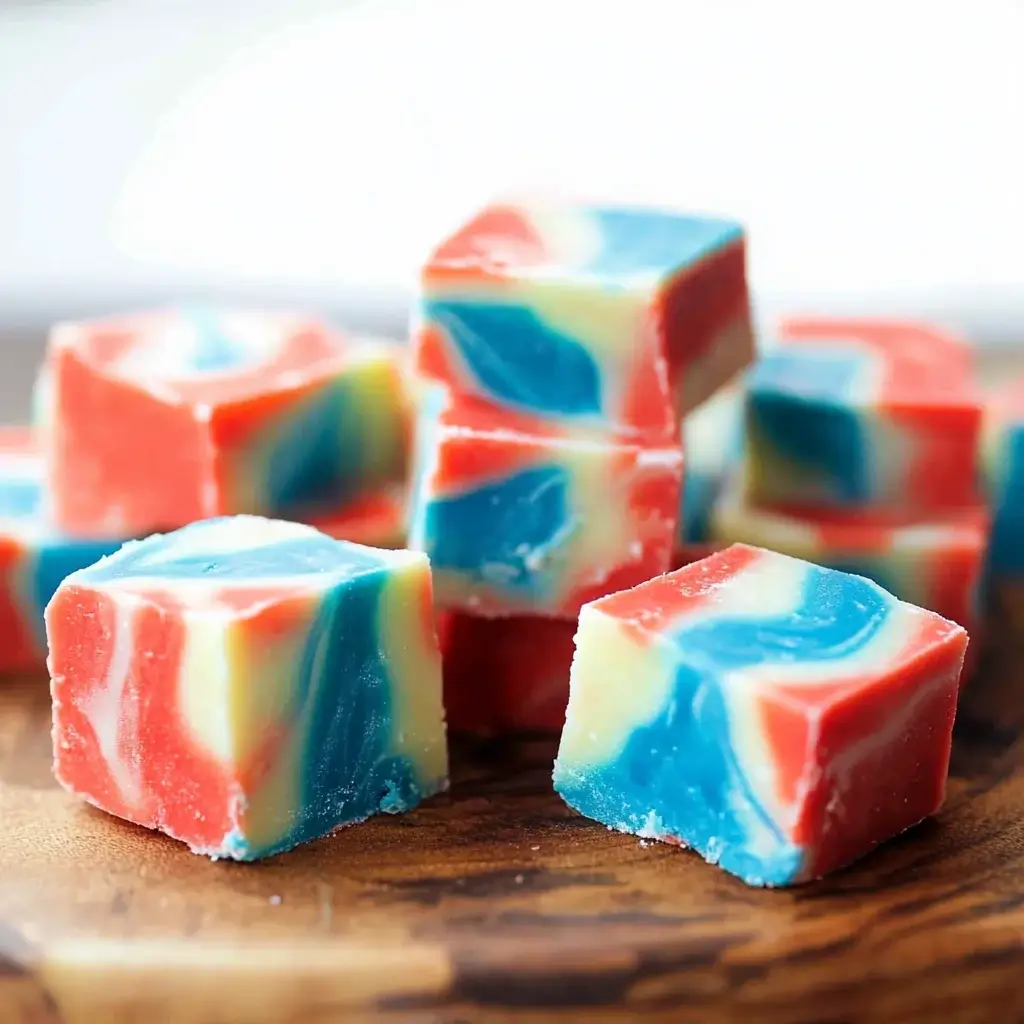
Swirls of pink, blue, yellow, and green dance through a smooth, creamy white chocolate base—Tie-Dyed Fudge is part dessert, part art project. It’s a cheerful, no-bake treat that’s fun to make with kids, perfect for parties, and guaranteed to bring a smile. Just a few drops of food coloring and a swirl of a toothpick create Instagram-worthy designs every time.
Why You’ll Love This Recipe:
-
No baking required—just melt, mix, and swirl.
-
Customizable colors for any holiday or event.
-
Sweet, creamy, and kid-approved.
-
Makes a perfect gift or party tray addition.
-
Fun and satisfying to make with family or friends.
Ingredients for Tie-Dyed Fudge
Creating Tie-Dyed Fudge is as simple as gathering a few key ingredients. Here’s what you’ll need to bring this colorful treat to life:
- White chocolate chips: The base of your fudge, providing a creamy sweetness that pairs perfectly with vibrant colors.
- Sweetened condensed milk: This rich ingredient adds moisture and a luscious texture, making your fudge melt-in-your-mouth delicious.
- Vanilla extract: A splash of this classic flavor enhances the overall taste, giving your fudge a warm, inviting aroma.
- Salt: Just a pinch balances the sweetness, elevating the flavors and making each bite irresistible.
- Food coloring (red, blue, and yellow): The stars of the show! These colors will transform your fudge into a vibrant masterpiece. Feel free to experiment with other colors for different occasions!
For those looking to tweak the recipe, consider adding a tablespoon of coconut oil to the melted fudge for an even creamier texture.
All ingredient measurements are available at the bottom of the article for easy printing. Happy cooking!
How to Make Tie-Dyed Fudge
Making Tie-Dyed Fudge is a delightful journey that’s as colorful as the final product.
Follow these simple steps, and you’ll have a batch of vibrant fudge ready to impress in no time!
Step 1: Prepare Your Baking Dish
Start by lining an 8×8-inch baking dish with parchment paper.
Leave some overhang on the sides; this will make it easier to lift the fudge out later.
A little prep goes a long way!
Step 2: Melt the Fudge Mixture
In a medium saucepan, combine the white chocolate chips and sweetened condensed milk over low heat.
Stir continuously until the mixture is melted and smooth.
This is where the magic begins!
Be patient; it’s worth it.
Step 3: Add Flavorings
Once melted, remove the saucepan from heat.
Stir in the vanilla extract and salt.
These ingredients enhance the flavor, making your fudge even more delicious.
Trust me, the aroma will have you drooling!
Step 4: Color the Fudge
Divide the melted fudge mixture evenly into three separate bowls.
Add a few drops of red food coloring to one bowl, blue to another, and yellow to the last.
Stir each bowl until the colors are vibrant and well combined.
This is where you can let your creativity shine!
Step 5: Create the Tie-Dye Effect
Now comes the fun part!
Drop spoonfuls of each colored fudge into the prepared baking dish, alternating colors as you go.
Use a toothpick or skewer to gently swirl the colors together.
Don’t overdo it; you want to maintain that beautiful tie-dye effect!
Step 6: Chill and Cut
Refrigerate the fudge for at least 2 hours or until it’s firm.
Once set, lift the fudge out of the dish using the parchment paper.
Cut it into squares, and voilà!
You’ve created a colorful treat that’s sure to impress.
Tips for Success
- Use high-quality white chocolate chips for the best flavor and texture.
- Don’t rush the melting process; low heat ensures a smooth mixture.
- Experiment with different food coloring combinations for unique designs.
- For a fun twist, add sprinkles or nuts before chilling.
- Store leftover fudge in an airtight container for up to a week.
Equipment Needed
- Medium saucepan: A non-stick option works best for easy melting.
- Spatula: Use a silicone spatula for smooth stirring and scraping.
- Baking dish: An 8×8-inch dish is ideal; a similar-sized pan can substitute.
- Parchment paper: Wax paper can be used in a pinch, but parchment is preferred.
- Toothpick or skewer: Any thin stick will do for swirling colors.
Variations
- Nutty Delight: Add chopped nuts like walnuts or pecans for a crunchy texture.
- Flavor Infusions: Experiment with different extracts, such as almond or mint, for a unique twist.
- Vegan Option: Substitute white chocolate chips with dairy-free chocolate chips and use coconut milk instead of sweetened condensed milk.
- Seasonal Colors: Use seasonal food coloring to match holidays—think green and red for Christmas or pastels for Easter!
- Fruit Swirls: Incorporate fruit purees like raspberry or mango for a fruity flavor and vibrant color.
Serving Suggestions
- Pair your Tie-Dyed Fudge with a scoop of vanilla ice cream for a delightful contrast.
- Serve alongside fresh fruit like strawberries or blueberries to balance the sweetness.
- For a festive touch, arrange the fudge on a colorful platter with sprinkles on top.
- Enjoy with a cup of coffee or hot chocolate for a cozy treat.
FAQs about Tie-Dyed Fudge
Can I use different types of chocolate for Tie-Dyed Fudge?
Absolutely! While white chocolate is traditional, you can experiment with milk or dark chocolate. Just keep in mind that the colors may not pop as much against darker chocolate.
How long does Tie-Dyed Fudge last?
When stored in an airtight container, your Tie-Dyed Fudge can last up to a week. If you want to keep it longer, consider freezing it for up to three months!
Can I make Tie-Dyed Fudge ahead of time?
Yes! This colorful fudge is perfect for making in advance. Just prepare it a day or two before your event, and it will be ready to impress your guests.
What can I do if my fudge is too soft?
If your fudge doesn’t set properly, try refrigerating it longer. If it’s still too soft, you can melt it down again and add a bit more chocolate or condensed milk to thicken it up.
Can I customize the colors for different occasions?
<pDefinitely! Tie-Dyed Fudge is all about creativity. Use colors that match holidays or themes, like red and green for Christmas or pastels for baby showers. The possibilities are endless!
Final Thoughts
Creating Tie-Dyed Fudge is more than just making a dessert; it’s about bringing a splash of color and joy into your kitchen.
Each vibrant square is a reminder that cooking can be fun and creative, even on the busiest days.
Whether you’re sharing it with friends or enjoying it solo, this colorful treat is bound to spark smiles and sweet memories.
So, roll up your sleeves, unleash your inner artist, and dive into this delightful fudge-making adventure.
Trust me, once you try it, you’ll find yourself making it again and again!
Tie-Dyed Fudge: Create Colorful Treats Easily Today!
Ingredients
Method
- Line an 8x8-inch baking dish with parchment paper, leaving some overhang for easy removal later.
- In a medium saucepan over low heat, combine the white chocolate chips and sweetened condensed milk. Stir continuously until melted and smooth.
- Remove the saucepan from heat and stir in the vanilla extract and salt.
- Divide the melted fudge mixture evenly into three separate bowls.
- Add a few drops of red food coloring to one bowl, blue to another, and yellow to the last. Stir each bowl until the colors are well combined.
- Drop spoonfuls of each colored fudge into the prepared baking dish, alternating colors as you go.
- Use a toothpick or skewer to swirl the colors together gently, creating a tie-dye effect.
- Refrigerate the fudge for at least 2 hours or until firm.
- Once set, lift the fudge out of the dish using the parchment paper and cut into squares.
Nutrition
Notes
- For a creamier texture, consider adding a tablespoon of coconut oil to the melted fudge mixture.
- You can also experiment with different food coloring combinations to create unique designs for different occasions.
Leave a Reply