
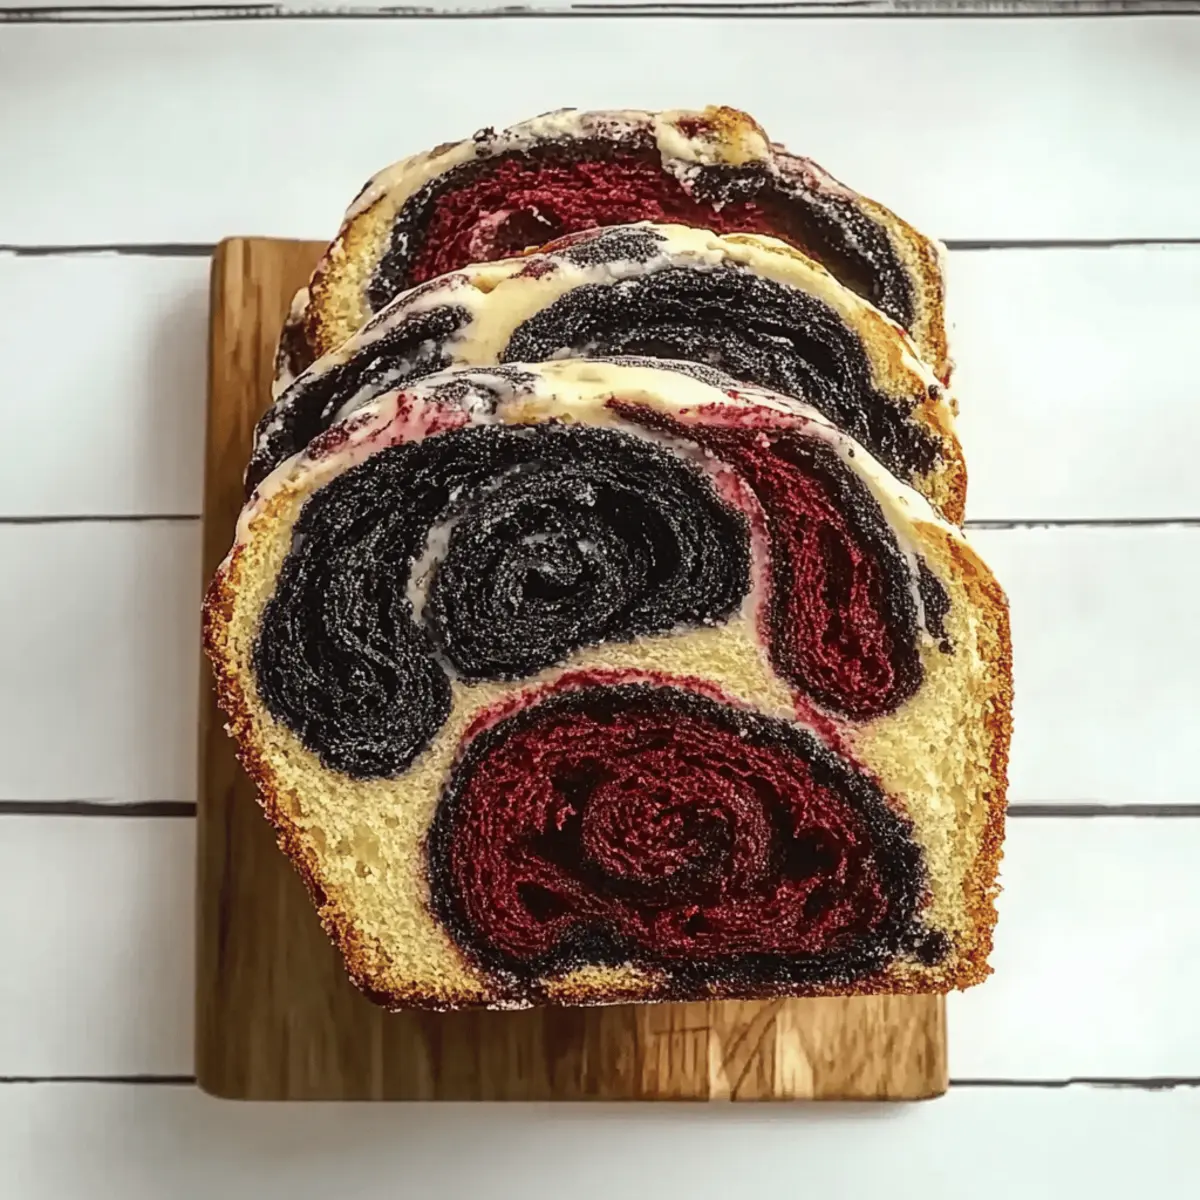
As I strolled through the vibrant decorations of my neighborhood’s Halloween festivities, I stumbled upon an enchanting idea—Vampire Bread. This delightfully spooky creation, with its striking red and black swirls, is not just a feast for the eyes; it also brings a dash of fun to any festive table. Perfect for cozy mornings or lively gatherings, my guilt-free Vampire Bread shines with its low-fat goodness and adaptable recipes for gluten-free and dairy-free diets. You can serve it warm, spread with butter or jam, or get creative with savory twists that surprise your guests. Curious about how to bring a little bit of magic into your kitchen this Halloween? Let’s dive into this delightful recipe together!

Why is Vampire Bread So Special?
Festively Fun: This Vampire Bread is the ultimate centerpiece for any Halloween gathering with its eye-catching colors and charming design that will have everyone oohing and aahing.
Dietary Friendly: Adaptable for various diets, its gluten-free and dairy-free options cater to everyone, ensuring no one misses out on this festive treat.
Quick and Easy: Made with simple ingredients that you likely already have at home, you can whip up this delightful bread without spending hours in the kitchen.
Irresistible Aroma: As it bakes, your home will fill with the warm, inviting smell of freshly baked bread, instantly creating a cozy atmosphere.
Perfect Pairing: Serve it alongside a bowl of warm pumpkin soup or a side of homemade jam for a lovely balance of flavors, just like with my Caramel Banana Bread!
Each bite of this sweet, fluffy bread will have you and your guests coming back for more.
Vampire Bread Ingredients
• Get ready to create your spooky masterpiece!
For the Dough
- All-purpose flour – This provides the bread’s structure; substitute with gluten-free flour for a gluten-free version.
- Yeast – The leavening agent for a light, airy texture; use active dry yeast or fresh yeast for best results.
- Sugar – Adds sweetness and enhances browning; feel free to reduce the amount for a less sweet loaf.
- Salt – Boosts flavor and strengthens the gluten structure; you can omit it for low-sodium diets.
- Water – Hydrates the dough; use warm water (around 110°F / 43°C) to activate the yeast effectively.
- Butter (or oil) – This brings richness and moisture; swap for plant-based butter to keep it dairy-free.
For the Color
- Food coloring (red and black) – Creates the festive swirl effect; consider using natural dyes for a healthier alternative.
Step‑by‑Step Instructions for Vampire Bread
Step 1: Prepare the Dough
In a large mixing bowl, combine the all-purpose flour, sugar, yeast, and salt to create the base for your delicious Vampire Bread. Gradually pour in warm water, about 110°F (43°C), and mix until a dough forms. Knead the dough for 8-10 minutes on a floured surface until it’s smooth and elastic, bringing together that enticing aroma of freshly baked bread.
Step 2: First Rise
Cover the bowl with a clean kitchen towel or plastic wrap, and place it in a warm area. Let the dough rise for 1-2 hours until it has doubled in size. You’ll know it’s ready when it feels light and puffy, giving you a hint of the soft texture and delightful taste that awaits in your Vampire Bread.
Step 3: Color the Dough
Once the dough has risen, gently punch it down to release the air. Divide the dough into two equal portions, then color one half with red food dye and the other with black. Knead each portion until the colors are well-distributed, creating the vibrant swirls that will make your Vampire Bread both spooky and fun.
Step 4: Shape the Loaf
On a lightly floured surface, roll out the red and black dough into equal rectangles. Layer the colored doughs on top of each other, and gently twist them together to form a loaf shape. This step is crucial for achieving those stunning swirls that define your imaginative Vampire Bread.
Step 5: Second Rise
Place the twisted loaf in a lightly greased loaf pan, then cover it once more with a towel. Allow it to rise again for about 30 minutes, or until it has puffed slightly. During this time, preheat your oven to 350°F (175°C) so that it’s hot and ready to bake your festive creation.
Step 6: Bake the Loaf
Carefully transfer the risen loaf to the preheated oven and bake for 30 minutes. The Vampire Bread is done when it turns golden brown and sounds hollow when tapped on the bottom. Enjoy the captivating aroma wafting through your kitchen as your bread bakes to perfection.
Step 7: Cool Down
Once baked, remove the loaf from the oven and allow it to cool in the pan for about 10 minutes. Then, carefully transfer the bread onto a wire rack to cool completely. This cooling process is essential to maintain the soft, fluffy texture of your delightful Vampire Bread before you slice into it.

How to Store and Freeze Vampire Bread
Room Temperature: Keep any leftover Vampire Bread in an airtight container at room temperature for up to 3 days to maintain its soft texture and delightful flavors.
Fridge: For enhanced freshness, store the bread in the refrigerator where it can stay good for up to a week, but be aware this may alter its texture slightly.
Freezer: Wrap tightly in plastic wrap or aluminum foil, then place in a freezer bag to freeze your Vampire Bread for up to 3 months. Thaw at room temperature when you’re ready to enjoy.
Reheating: To revive the bread, simply reheat in a preheated oven at 350°F (175°C) for about 10 minutes, achieving that warm, fresh-baked aroma again!
Make Ahead Options
These delightful Vampire Bread loaves are perfect for meal prep enthusiasts! You can prepare the dough up to 24 hours in advance, storing it in the refrigerator after the first rise (this enhances flavor). When ready to bake, remove the dough from the fridge and let it sit at room temperature for about 30 minutes before coloring and shaping the loaf. Additionally, you can also color the dough and shape it, allowing it to rise again. Cover and refrigerate for up to 3 days. Just when you plan to serve, simply bake as directed for a festive centerpiece that’s just as delicious as freshly made!
Variations & Substitutions for Vampire Bread
Feel free to unleash your creativity and customize this Vampire Bread to suit your tastes and dietary needs!
-
Gluten-Free: Substitute all-purpose flour with a gluten-free flour blend to enjoy this festive bread without the gluten.
-
Dairy-Free: Replace butter with a plant-based alternative, keeping the rich texture while making it suitable for dairy-free diets.
-
Less Sugar: Reduce the sugar quantity for a less sweet bread, or try a hint of stevia for gentle sweetness, allowing those fantastic flavors to shine.
-
Herb-Infused: Sprinkle dried herbs like rosemary or thyme into the dough for a unique savory twist that elevates your bread experience.
-
Natural Colors: Use beet juice or activated charcoal instead of food coloring for a healthy, natural way to achieve those vibrant swirls.
-
Flavor Twists: Add warm spices like cinnamon or nutmeg to the dough, creating a delightful aromatic experience that will captivate your senses as it bakes.
-
Savory Additions: Mix in chopped olives or sun-dried tomatoes to introduce unexpected bursts of flavor, perfect for serving alongside soups or spreads.
-
Pairing Suggestions: Serve your vibrant Vampire Bread with spiced hot apple cider or a delectable homemade jam for a perfect accompaniment—perhaps even a sweet drizzle of caramel from my Caramel Banana Bread to enhance the flavors!
Expert Tips for Vampire Bread
-
Fresh Yeast Check: Always ensure your yeast is fresh by dissolving it in warm water with a pinch of sugar; watch for bubbling in 5-10 minutes to confirm activity.
-
Knead Gently: Avoid over-kneading the dough as this can result in tougher bread; a smooth and elastic texture is ideal for your Vampire Bread.
-
Warm Rising Space: Find a cozy, warm spot for dough rising; a draft-free environment will help it rise beautifully and achieve that fluffy texture.
-
Color Carefully: When adding food coloring, start with a small amount and gradually mix until you achieve your desired shade; this prevents overly bright or strong colors.
-
Storing Leftovers: Keep any leftover Vampire Bread wrapped in an airtight container at room temperature for up to 3 days or refrigerate for longer freshness, so you can enjoy the festive flavors later!
What to Serve with Vampire Bread?
Delight your guests this Halloween by creating a memorable meal that pairs beautifully with the whimsical charm of this festive bread.
- Cinnamon Sugar Spread: Add a sprinkle of cinnamon sugar for a delightful sweetness that contrasts the bread’s flavor, making each bite irresistible.
- Creamy Cheese Spreads: Pair with a rich cream cheese or herbed cheese spread that complements the softness of the bread, enhancing its tempting texture.
- Pumpkin Soup: This classic fall favorite serves as a savory match, creating a warm and cozy meal ideal for chilly October evenings.
- Homemade Jams: Serve with fruity preserves or a tangy berry jam to create a delightful contrast against the mildly sweet Vampire Bread, perfect for breakfast!
- Spiced Hot Apple Cider: A steaming cup of spiced hot apple cider makes for a comforting beverage that beautifully echoes the flavors of autumn.
- Roasted Vegetables: A side of nicely roasted seasonal veggies can add a hearty component to your meal; their crispiness pairs wonderfully with the fluffy bread.
Elevate your festive gathering by incorporating these charming pairings, inviting each guest to savor the delightful experience together!

Vampire Bread Recipe FAQs
How do I choose the right yeast for Vampire Bread?
Absolutely! You can use either active dry yeast or fresh yeast for this recipe. Just make sure your yeast is fresh for better results. To check its activity, dissolve a little yeast in warm water with a pinch of sugar and wait for about 5-10 minutes. If it bubbles and froths, it’s good to go!
How should I store leftover Vampire Bread?
I recommend wrapping leftover Vampire Bread tightly in an airtight container at room temperature for up to 3 days. This keeps it soft and delicious. If you want to extend its freshness, pop it in the fridge for about a week, but note that refrigeration can change the texture slightly.
Can I freeze Vampire Bread, and how do I do it?
Yes, you can freeze Vampire Bread! Start by wrapping it tightly in plastic wrap or aluminum foil to prevent freezer burn. Then, place it in a freezer bag and store it for up to 3 months. When you’re ready to enjoy it, simply thaw at room temperature and reheat in a preheated oven at 350°F (175°C) for about 10 minutes to get that fresh-baked aroma back!
What if my dough doesn’t rise properly?
Very often, this happens due to inactive yeast. If your dough isn’t rising, check your yeast’s freshness again. If it’s good but the dough still won’t rise, look for a warm, draft-free spot for it to rest. Sometimes, placing it near a warm oven or in a slightly warmed area can help it rise beautifully.
Is Vampire Bread suitable for those with allergies?
Absolutely! Vampire Bread can easily accommodate various dietary needs. For a gluten-free version, simply use gluten-free flour, and for a dairy-free option, substitute butter with plant-based alternatives. Always double-check your ingredients and consider any allergies everyone might have before serving.
Deliciously Spooky Vampire Bread for Your Halloween Feast
Ingredients
Equipment
Method
- In a large mixing bowl, combine the all-purpose flour, sugar, yeast, and salt. Gradually pour in warm water and mix until a dough forms. Knead for 8-10 minutes until smooth and elastic.
- Cover the bowl with a towel and let it rise in a warm area for 1-2 hours until doubled in size.
- Punch down the dough and divide into two portions. Color one half red and the other black, kneading until colors are well-distributed.
- On a floured surface, roll out both portions into rectangles. Layer and twist them together to shape the loaf.
- Place in greased loaf pan, cover, and let rise for another 30 minutes. Preheat oven to 350°F (175°C).
- Bake for 30 minutes until golden brown and hollow when tapped.
- Cool in the pan for 10 minutes, then transfer to a wire rack to cool completely.
Leave a Reply