
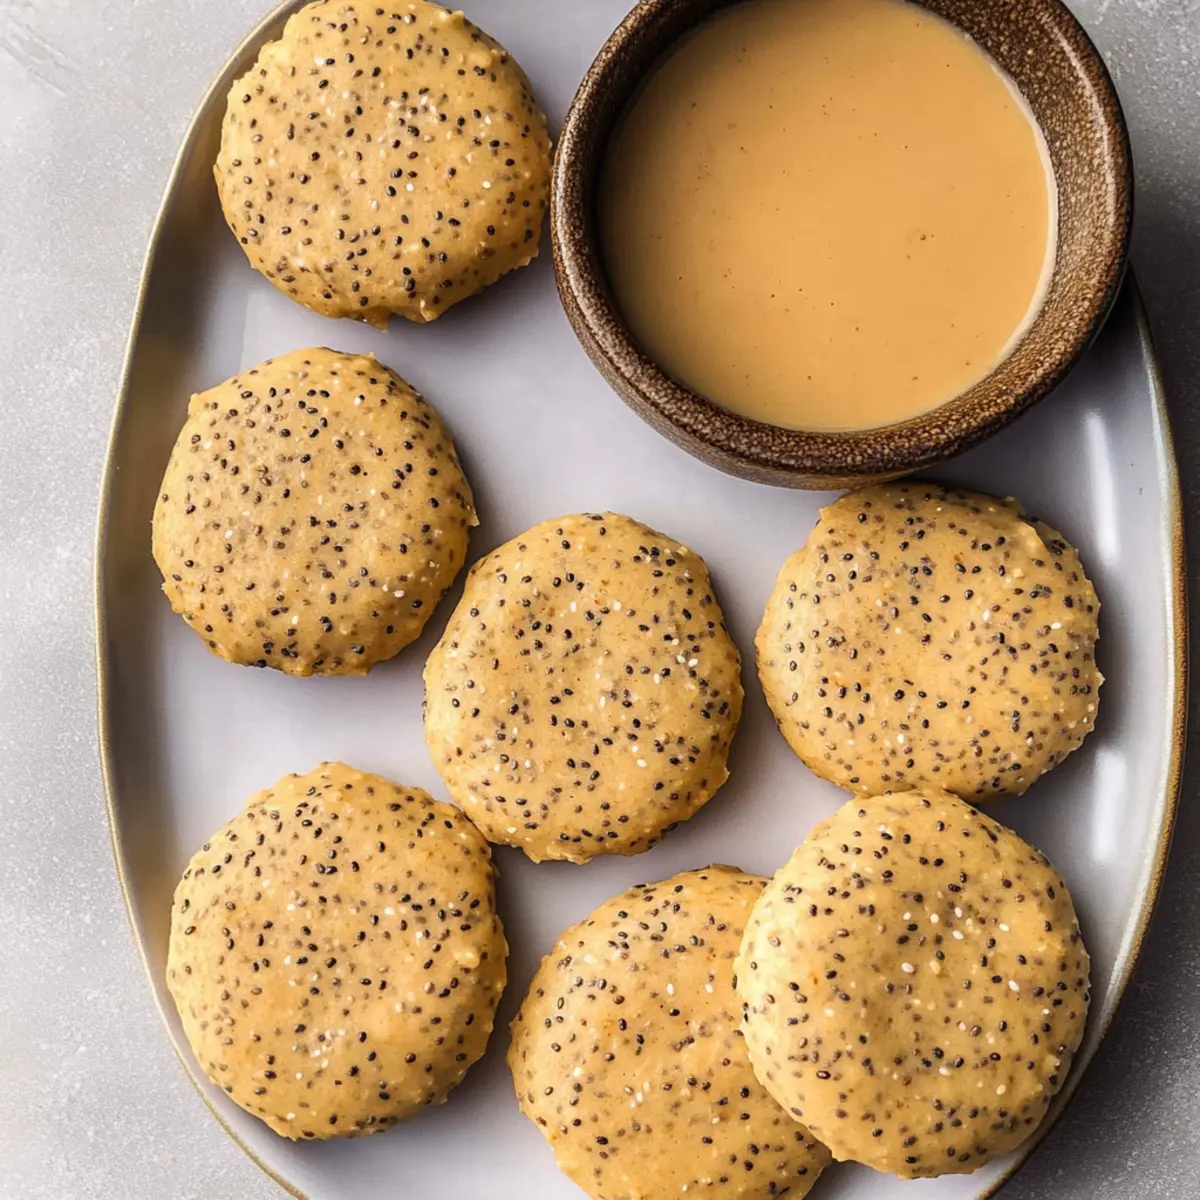
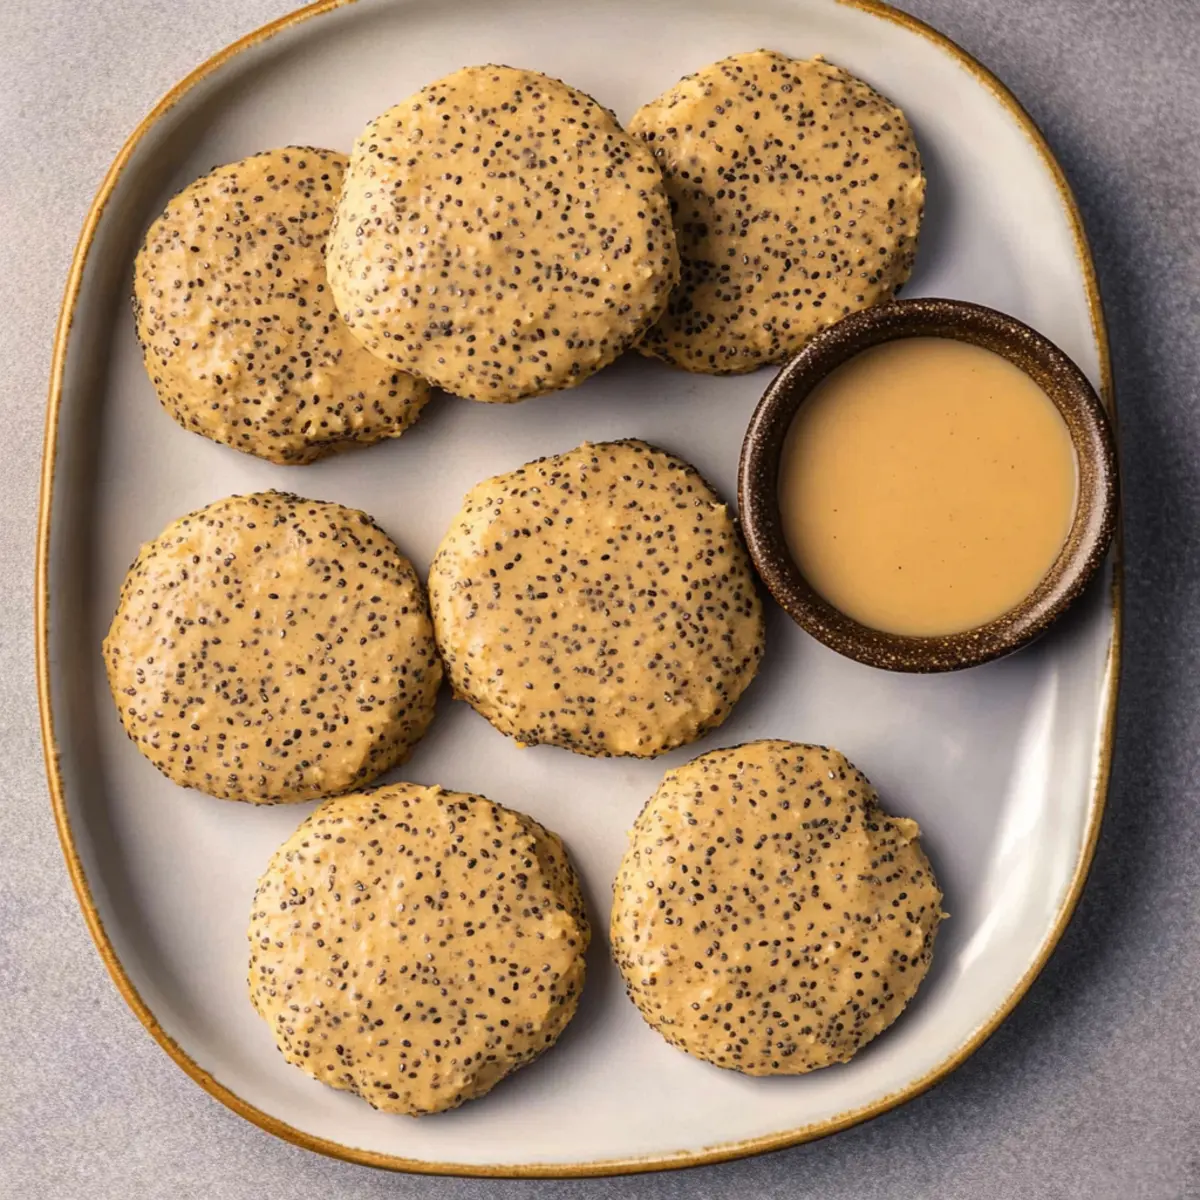
As I whisk together the creamy peanut butter and golden honey, a wave of nostalgia washes over me, reminding me of carefree afternoons spent baking with family. These Chewy Chia Seed Cookies are my go-to treat, providing a delightfully soft and wholesome bite that pleases everyone, from kids to adults. Naturally sweetened and devoid of refined sugars, they strike the perfect balance between indulgence and health. With just eight pantry-friendly ingredients, they’re not only easy to make but also a fantastic alternative to store-bought snacks. You can enjoy them in lunchboxes, at coffee breaks, or simply as a guilt-free treat anytime. Curious about how to whip up these delicious cookies that promise both texture and taste? Let’s dive in!
Why are Chia Seed Cookies a Must-Try?
Wholesome Ingredients: The combination of creamy peanut butter, honey, and chia seeds creates a cookie that’s not just delicious but also nutritious.
Naturally Sweetened: Say goodbye to refined sugars! These cookies get their sweetness from honey, making them a guilt-free indulgence.
Easy to Make: With only eight simple ingredients, they’re perfect for beginner bakers or anyone looking to whip up a quick treat.
Versatile Snack: Whether you’re packing them for lunch, enjoying them with coffee, or needing an evening snack, these cookies fit every occasion.
Crowd-Pleasing Delight: They’re loved by both kids and adults, making them a fantastic choice for family gatherings or sharing with friends. For more delicious ideas, check out my Brownie Mix Cookies for more guilt-free treats!
Chia Seed Cookies Ingredients
• Get ready to whip up something special!
For the Dough
- Smooth Peanut Butter – Provides creaminess and healthy fats; natural peanut butter ensures optimal dough consistency.
- Honey – Naturally sweetens the cookies while adding moisture; maple syrup makes a perfect substitute if desired.
- Whole Milk or Plant-Based Milk – Adds moisture to the dough; feel free to use any non-dairy milk for a healthier option.
- Extra Virgin Olive Oil – Keeps the cookies tender and adds healthy fat; can be replaced with melted coconut oil for a different flavor.
- Vanilla Extract – Enhances flavor; opt for pure vanilla extract for the best aroma.
- All-Purpose Flour – Acts as the main structure-bulking ingredient; gluten-free flour can substitute but may change texture.
- Baking Powder – Helps cookies rise for a lighter texture; always check for freshness.
- Chia Seeds – Provide crunch and are packed with fiber and omega-3s; consider flax seeds as an alternative if preferred.
Step‑by‑Step Instructions for Chewy Chia Seed Cookies
Step 1: Preheat Your Oven
Begin by preheating your oven to 320ºF (160ºC). While it’s warming up, prepare a baking tray by lining it with parchment paper. This will help prevent the cookies from sticking and ensure they bake evenly, resulting in perfectly chewy Chia Seed Cookies.
Step 2: Mix Wet Ingredients
In a large mixing bowl, combine 1 cup of smooth peanut butter, ½ cup of honey, ½ cup of whole milk, ¼ cup of extra virgin olive oil, and 1 teaspoon of vanilla extract. Whisk these ingredients together until the mixture is smooth and creamy. This step is key in achieving a rich flavor that beautifully binds the dry ingredients later.
Step 3: Combine Dry Ingredients
Next, sift in 1 cup of all-purpose flour, 1 teaspoon of baking powder, and ¼ cup of chia seeds into the wet mixture. Use a spatula to gently stir until a soft dough forms. The chia seeds will add delightful crunch to your Chia Seed Cookies, while the baking powder helps them rise and stay tender.
Step 4: Shape the Cookies
With the dough ready, use a tablespoon to scoop out portions and roll them into balls. Place these dough balls on the prepared baking tray, allowing a bit of space between each one. Lightly press down on each ball, shaping them into discs that will bake evenly.
Step 5: Bake the Cookies
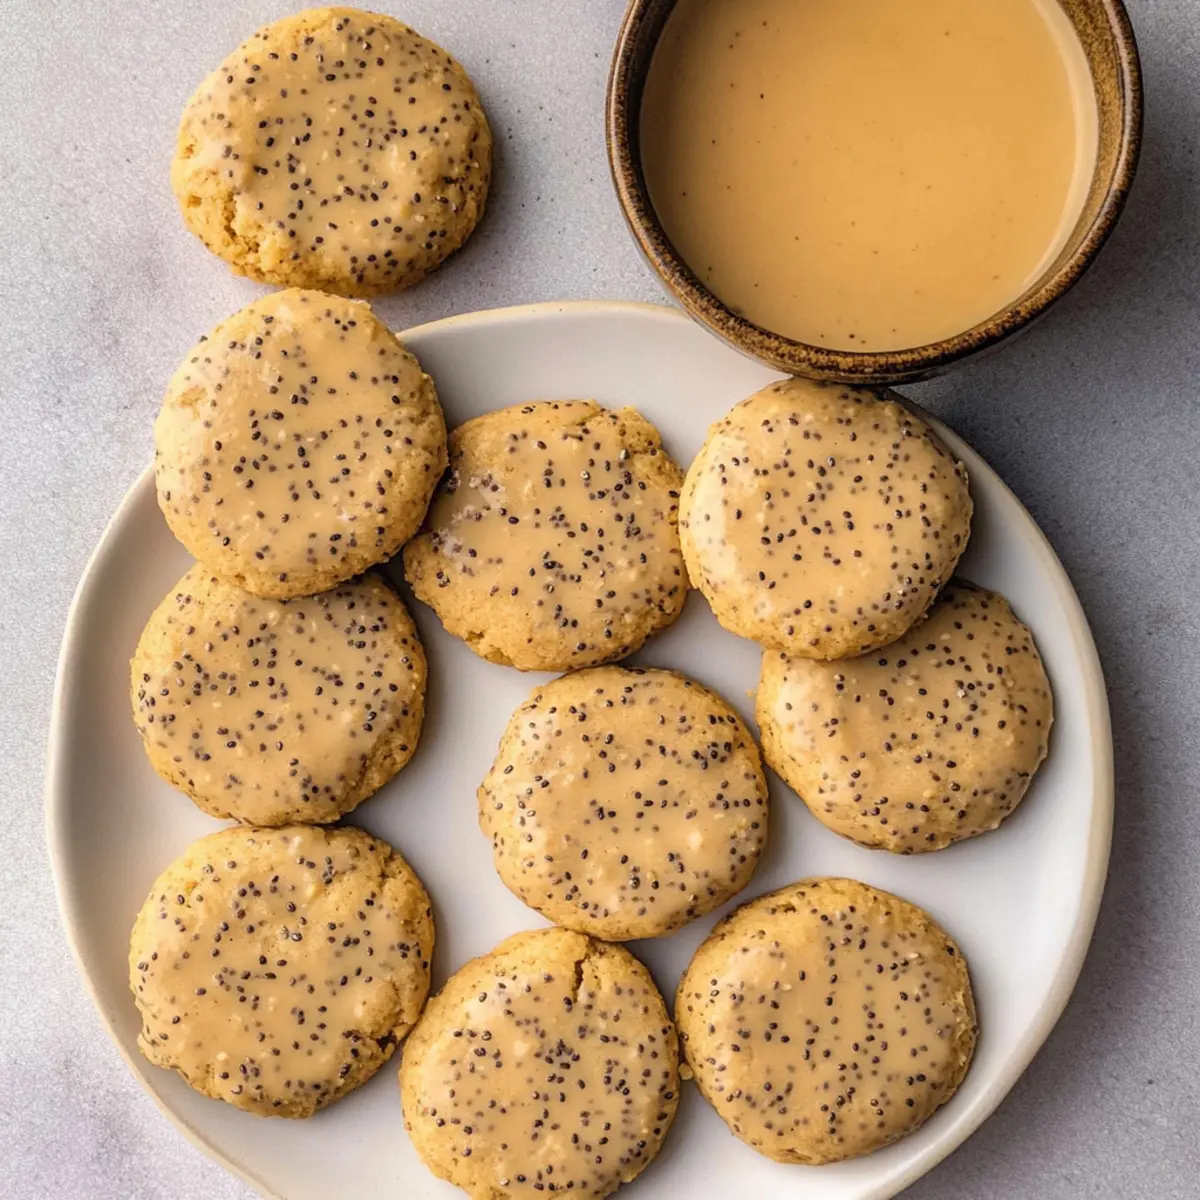
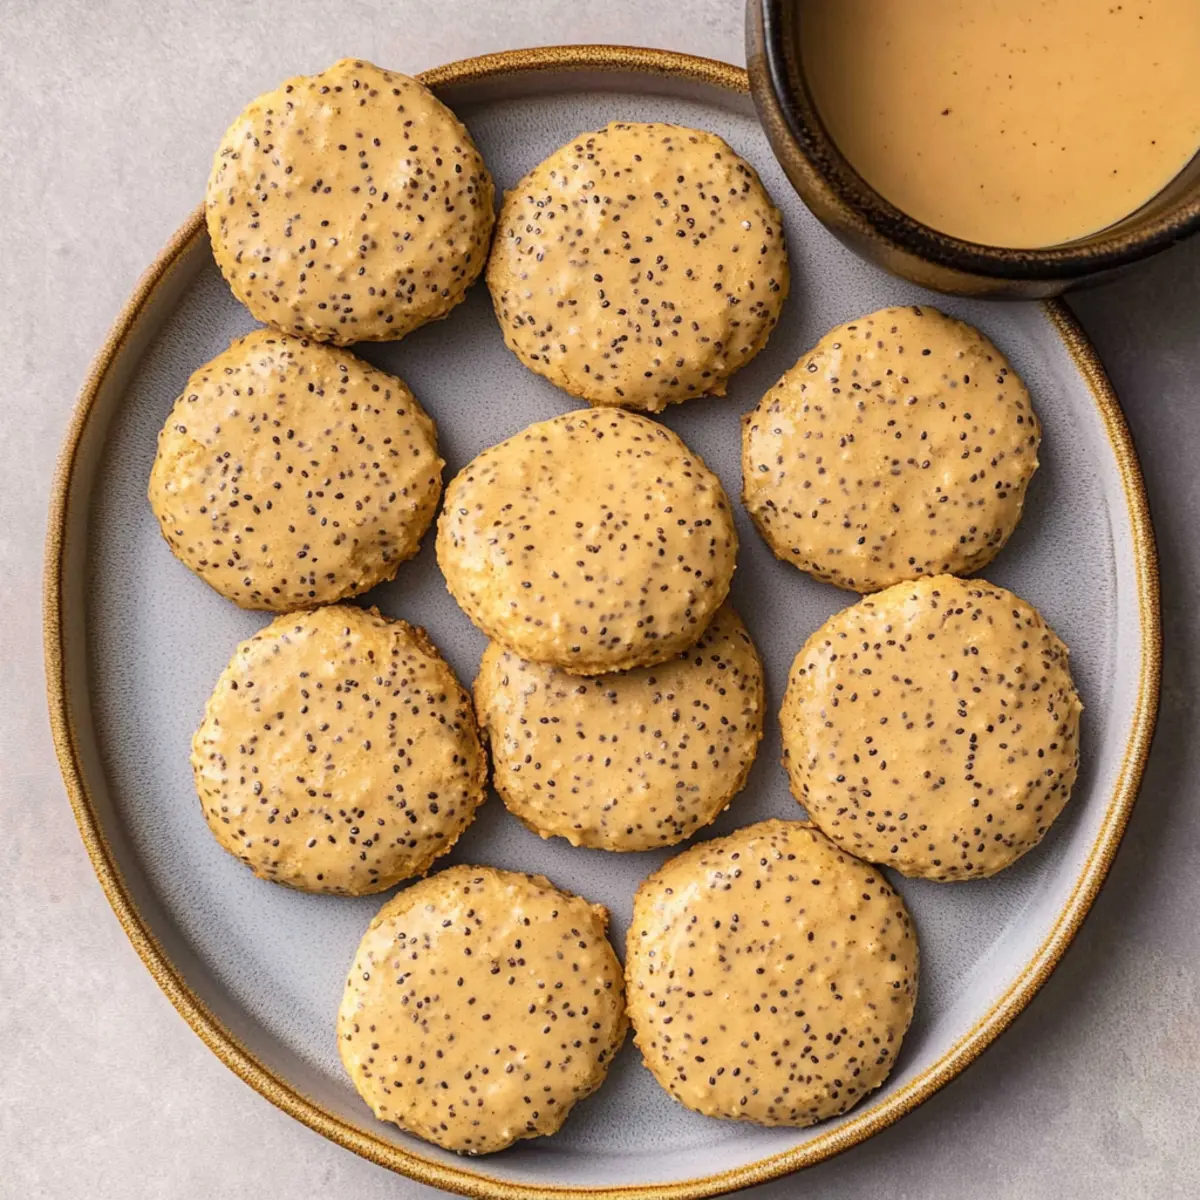
Place the baking tray in the preheated oven and bake for 12–15 minutes. Watch for them to turn lightly golden and develop slight cracks on the top. Once these visual cues appear, your Chia Seed Cookies will be close to perfection—fluffy on the inside and lightly crisp on the outside.
Step 6: Cool Down
After baking, remove the tray from the oven and let the cookies cool on the tray for about 3 minutes. This allows them to firm up a bit before transferring them to a wire rack. Cooling them properly ensures that the chewy texture is just right for these delightful Chia Seed Cookies.
Chia Seed Cookies Variations & Substitutions
Feel free to customize your Chewy Chia Seed Cookies according to your taste buds and dietary preferences!
-
Nut-Free: Replace peanut butter with sunbutter to create a deliciously nut-free option that still packs a flavorful punch.
-
Vegan Delight: Swap honey for agave syrup and use plant-based milk for a vegan-friendly treat everyone can enjoy. These small changes make a big difference!
-
Chocolatey Twist: Add 1/2 cup of chocolate chips or dark chocolate chunks to the dough for a delightful sweetness that pairs perfectly with the nuttiness of the peanut butter.
-
Extra Crunch: Toss in 1/4 cup of chopped nuts such as almonds or walnuts for extra texture and flavor. This adds a nice crunch that elevates your cookie experience.
-
Coconut Bliss: Mix in 1/4 cup of unsweetened shredded coconut to give your cookies an aromatic tropical flavor. It complements the peanut butter beautifully!
-
Spiced Up: Sprinkle in a dash of cinnamon or nutmeg for warm, cozy flavors that make your kitchen smell like a bakery. A little spice goes a long way!
-
Fruity Addition: Include 1/2 cup of dried fruit like cranberries or raisins to make your cookies chewier and add a sweet burst in every bite!
-
Gluten-Free Option: Substitute all-purpose flour with gluten-free flour blend, but add an extra tablespoon of milk to maintain moisture. It’s a great way to cater to different dietary needs!
For even more delightful cookie recipes, consider trying my Soft Chewy Cinnamon Roll Sugar Cookies or chocolatey Marshmallow Swirl Cookies!
Expert Tips for Chia Seed Cookies
-
Thorough Mixing: Ensure the peanut butter is well-mixed before adding it to the dough. This prevents excess oiliness, leading to a better texture in your Chia Seed Cookies.
-
Avoid Overcrowding: Bake your cookies in batches if necessary. Overcrowding the tray can result in uneven baking, risking crispy edges while leaving the centers doughy.
-
Fresh Ingredients: Always use fresh baking powder to ensure your Chia Seed Cookies rise well. Stale powder leads to flat cookies, so check the expiration date!
-
Right Cooling Time: Let the cookies cool completely on a wire rack. Cooling them fully allows the flavors to meld and improves the chewy texture, making each bite delightful.
-
Substitution Tips: If using gluten-free flour, consider adding an extra tablespoon of milk to maintain moisture in your cookies. Adjust accordingly for the perfect consistency!
-
Flavor Variations: Feeling adventurous? Try adding chocolate chips for extra sweetness or nuts for a crunchy twist. These variations can elevate your Chia Seed Cookies to new flavor heights.
Storage Tips for Chia Seed Cookies
Room Temperature: Store cookies in an airtight container at room temperature for up to one week. This keeps them chewy and fresh, ready for snacking whenever cravings strike.
Freezer: To preserve their deliciousness for longer, freeze the cookies in a single layer, then transfer them to an airtight bag. They can be kept in the freezer for up to 3 months without losing flavor or texture.
Reheating: For a warm treat, simply reheat the chilled Chia Seed Cookies in the microwave for about 10-15 seconds. This will restore their delightful softness and warmth, making them even more enjoyable.
Cooling Tips: Allow your cookies to cool completely on a wire rack before storing to achieve the perfect texture and prevent them from becoming soggy.
What to Serve with Chewy Chia Seed Cookies
Imagine the warmth of freshly baked cookies paired with delightful accompaniments that elevate your snacking experience.
-
Creamy Yogurt: A dollop of yogurt adds a cool and tangy contrast to the chewy cookies, making for a refreshing bite.
-
Nutty Granola: Sprinkle granola on top of broken cookie pieces for an added crunch and nutty flavor highlight that complements the chia seeds.
-
Fresh Fruit Salad: Bright, juicy fruits like berries and oranges provide a burst of freshness, perfectly balancing the richness of the chewy, nutty cookies.
-
Glass of Milk: The classic pairing of milk brings out the creamy peanut butter flavor in the cookies, making each bite exceptionally indulgent.
-
Herbal Tea: A soothing cup of chamomile or mint tea creates a relaxing atmosphere, enhancing the overall snacking experience with its calming aroma.
-
Chocolate Drizzle: A light drizzle of melted dark chocolate not only adds sweetness but enriches the chocolatey layers of flavor in the cookies.
-
Peanut Butter Dip: Pair your cookies with a peanut butter dip for an extra dose of nuttiness, making the experience utterly irresistible.
Make Ahead Options
These Chewy Chia Seed Cookies are perfect for busy cooks looking to save time! You can prepare the dough up to 24 hours in advance by mixing all the wet and dry ingredients together and storing it in an airtight container in the refrigerator. To maintain the cookies’ delightful texture, make sure to press down the dough balls onto the baking tray before refrigerating, preventing them from spreading too much. When you’re ready to bake, simply remove the dough from the fridge, let it sit for 10-15 minutes to soften slightly, and then follow the baking instructions as usual. This way, you’ll enjoy fresh, delicious cookies without the extra hassle!
Chia Seed Cookies Recipe FAQs
How do I pick the right chia seeds for my cookies?
Absolutely! Look for high-quality chia seeds that are whole, plump, and free from any dark spots or clumps. Organic chia seeds are often the best choice, ensuring you get a pure product without any additives.
What is the best way to store Chia Seed Cookies?
Store your cookies in an airtight container at room temperature for up to one week. Keeping them sealed will maintain their chewy texture and delightful flavor. If you want to keep them for longer, freezing is a great option!
Can I freeze Chia Seed Cookies? How?
Yes, you can! To freeze your Chia Seed Cookies, first allow them to cool completely. Then, arrange them in a single layer on a baking sheet and freeze for about 1-2 hours. Once frozen, transfer the cookies to an airtight freezer bag. They will stay tasty for up to 3 months. Just reheat them in the microwave for 10-15 seconds when you’re ready to enjoy!
What should I do if my cookies come out too dry?
If your cookies turn out too dry, it may be due to using too much flour or not enough wet ingredients. Always spoon the flour into your measuring cup and level it off to avoid excess flour. If you find yourself with dry cookies, try adding a splash of milk or a spoonful of peanut butter to the mixture on your next batch for a softer result.
Can I make these cookies gluten-free?
Very! You can easily substitute the all-purpose flour with a gluten-free blend. Just be aware that the texture might be slightly different, so I recommend adding an extra tablespoon of milk to maintain the ideal moisture level in the dough.
Are Chia Seed Cookies safe for my pet?
It’s best to avoid letting your pets have these cookies. While chia seeds themselves are safe for dogs in small amounts, the peanut butter and honey can be harmful in excess. Always consult your veterinarian before sharing human food with your furry friends.
Chewy Chia Seed Cookies You’ll Love for Guilt-Free Snacking
Ingredients
Equipment
Method
- Preheat your oven to 320ºF (160ºC) and prepare a baking tray lined with parchment paper.
- In a large mixing bowl, whisk together the peanut butter, honey, milk, olive oil, and vanilla extract until smooth.
- Sift in the flour, baking powder, and chia seeds into the wet mixture and stir until a soft dough forms.
- Scoop out portions of dough, roll into balls, and place on the baking tray, pressing each ball into a disc.
- Bake for 12–15 minutes until lightly golden and cracked on top.
- Remove from the oven and cool on the tray for about 3 minutes before transferring to a wire rack.
Leave a Reply