
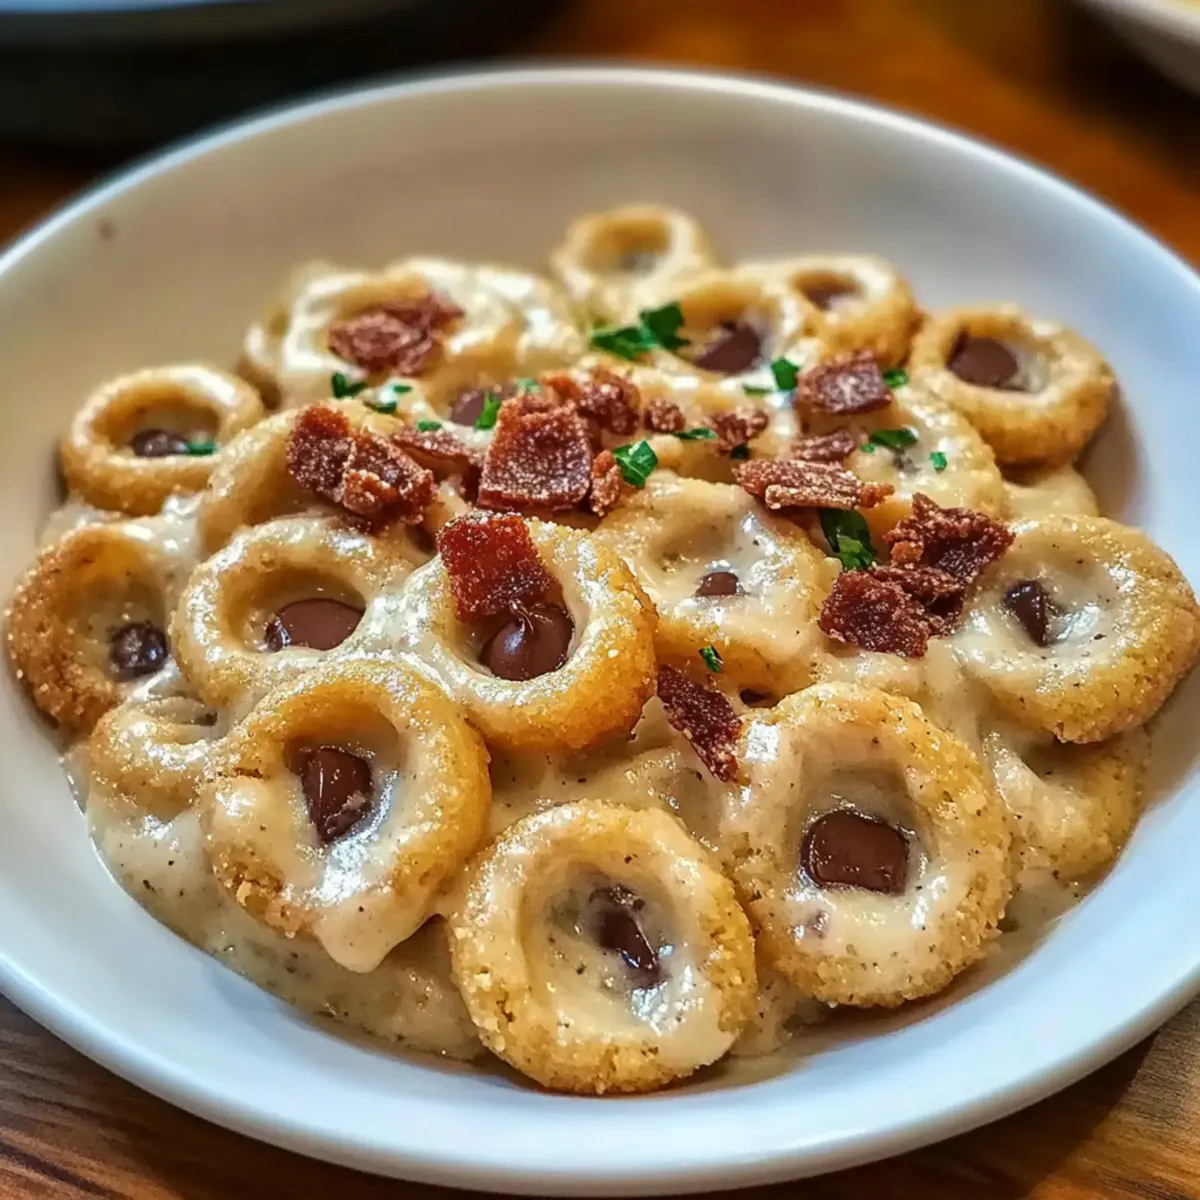
As I rummaged through my pantry one afternoon, a forgotten bag of oats caught my eye, sparking a lightbulb moment for a simple, yet utterly satisfying treat: 4-Ingredient Crispy Chocolate Oat Cookies. Combining chewy oats with rich chocolate, these cookies are not just a sweet indulgence—they’re quick to whip up and perfect for those of us embracing gluten-free diets. With just four wholesome ingredients, you’ll enjoy both the simplicity of preparation and the joy of satisfying your sweet tooth without the fuss of complex recipes. Curious how to turn pantry staples into a delightful cookie that’ll have everyone reaching for seconds? Let’s dive into this delicious and easy recipe together!
Why Are These Cookies a Must-Try?
Simplicity: With only four ingredients, this recipe is a breeze for anyone—from seasoned chefs to busy home cooks.
Quick Fix: You can have a batch of these cookies ready in just 20 minutes, making them an ideal snack for last-minute cravings or unexpected guests.
Delicious Flexibility: Feel free to experiment! Substitute peanut butter with almond butter or add your favorite nuts to create a unique flavor profile.
Texture Delight: Enjoy the perfect contrast of crispy edges and a chewy center that’s both satisfying and indulgent, reminiscent of a comforting granola treat.
Healthy Indulgence: Packed with fiber and healthy fats, these cookies offer a guilt-free way to satisfy your sweet tooth. Perfect alongside a glass of milk or crumbled over yogurt for breakfast! If you’re a fan of simple yet delicious recipes, check out my Garlic Butter Tortellini for another crowd-pleaser!
Chocolate Oat Cookie Ingredients
For the Cookies
- Oats – A hearty base that provides chewy texture; choose certified gluten-free oats for those with sensitivities.
- Peanut Butter – Creamy and full of healthy fats; swap it for almond or sunflower seed butter for a nut-free treat.
- Honey (or Maple Syrup) – Natural sweetness that elevates the flavor; agave syrup is an excellent vegan alternative.
- Chocolate Chips – Bring rich chocolate flavor into every bite; use dark or dairy-free chips based on your preferences.
Optional Add-Ins
- Chopped Nuts – For extra crunch and nutrition; almonds or walnuts add delightful texture.
- Dried Fruit – Incorporates sweetness and chewiness; consider raisins or cranberries for a fruity twist.
- Spices – A dash of cinnamon or vanilla can enhance the flavor profile for a cozy touch.
These Chocolate Oat Cookies are sure to become a family favorite with their simplicity and wholesome ingredients!
Step‑by‑Step Instructions for 4-Ingredient Crispy Chocolate Oat Cookies
Step 1: Preheat and Prepare
Begin by preheating your oven to 350°F (175°C). While the oven warms up, line a baking sheet with parchment paper. This will prevent your cookies from sticking and ensure an even bake. Set the prepared baking sheet aside as you prep the cookie dough.
Step 2: Mix Oats and Peanut Butter
In a large mixing bowl, combine the oats and peanut butter. Use a sturdy spoon or spatula to mix them together thoroughly until they form a cohesive mixture. This step is crucial for your 4-Ingredient Crispy Chocolate Oat Cookies to have a delightful chewy texture as the oats and peanut butter bond beautifully.
Step 3: Add Sweetness
Next, introduce the honey (or maple syrup) to your mixture, stirring well to combine. This should create a tacky dough that holds together without being overly sticky. Make sure all of the ingredients are integrated, as they work together to provide the sweet contrast in your cookies.
Step 4: Incorporate Chocolate Chips
Now it’s time to fold in the chocolate chips. Gently mix them into the cookie dough until they are evenly distributed, ensuring that each bite of your 4-Ingredient Crispy Chocolate Oat Cookies will have a burst of chocolate flavor. Avoid over-mixing to maintain the chewy texture.
Step 5: Shape the Cookies
Using a tablespoon or cookie scoop, drop rounded portions of the dough onto your prepared baking sheet. Flatten each ball slightly with the back of the scoop or your fingers. Leave space between each cookie for spreading during baking, making sure they are evenly spaced for uniform cooking.
Step 6: Bake to Perfection
Place the baking sheet in the preheated oven and bake for 10-12 minutes. Keep a close eye on the cookies in the last few minutes—you’re looking for golden-brown edges to indicate they’re done. The centers may look a bit soft, but they will firm up as they cool.
Step 7: Cool and Serve
Once baked, remove the cookies from the oven and let them cool on the pan for about 5 minutes. This brief cooling time allows them to set before transferring the cookies to a wire rack. Allow them to cool completely, and then they’re ready to enjoy!
How to Store and Freeze Chocolate Oat Cookies
Room Temperature: Store your chocolate oat cookies in an airtight container at room temperature for up to 5 days to maintain their freshness and texture.
Fridge: For longer shelf life, keep the cookies in the fridge for up to 1 week. Place them in an airtight container to prevent them from drying out.
Freezer: Freeze chocolate oat cookies in a single layer on a baking sheet until solid, then transfer to a freezer-safe bag. They can last up to 3 months.
Reheating: To enjoy them warm, simply microwave a cookie for about 10–15 seconds. This will bring back their delicious chewiness!
Expert Tips for Perfect Chocolate Oat Cookies
• Use Quality Ingredients: Opt for fresh ingredients, especially oats and chocolate chips, to enhance flavor and texture in your chocolate oat cookies.
• Proper Mixing: Mix by hand instead of a mixer; this prevents over-mixing which can lead to tough cookies. Aim for just combined—chunky is good!
• Watch the Bake Time: Keep a close eye on your cookies while baking. The perfect bake produces golden edges; they will continue cooking slightly once out of the oven.
• Cooling Process: Let cookies cool on the pan for a few minutes before transferring to a wire rack. This helps them set without falling apart!
• Experiment with Variations: Don’t hesitate to try substitutes or add-ins like chopped nuts or spices. These adjustments can elevate your chocolate oat cookies to a whole new level!
Make Ahead Options
These 4-Ingredient Crispy Chocolate Oat Cookies are perfect for meal prep, saving you valuable time during busy weeknights! You can prepare the cookie dough up to 24 hours in advance; simply mix the oats, peanut butter, honey, and chocolate chips, then store it in an airtight container in the refrigerator. This helps maintain freshness and flavor. When ready to bake, scoop the dough onto a baking sheet and bake as directed. Alternatively, you can shape the cookies and freeze them for up to 3 months—just place the shaped dough on a baking sheet to flash freeze before transferring them to a freezer bag. When you’re ready to enjoy, bake straight from the freezer, adding an extra minute or two to the baking time for deliciously fresh cookies whenever you need a quick treat!
What to Serve with 4-Ingredient Crispy Chocolate Oat Cookies
The delightful combination of chewy oats and rich chocolate opens the door to many delicious pairings that elevate your cookie experience.
-
Cold Glass of Milk: Classic and comforting, the creaminess of cold milk enhances the richness of the chocolate, creating a nostalgic treat.
-
Fresh Fruit Salad: Juicy berries or sliced bananas add a refreshing contrast to the sweetness, providing a balanced and vibrant accompaniment.
-
Yogurt Parfait: Layer crumbled cookies over creamy yogurt and fruit for a delicious breakfast or dessert that delights the senses with texture.
-
Nutty Granola: The crunchy goodness of granola with nuts complements the chewy texture of the cookies, creating a wholesome and satisfying snack.
-
Chocolate Drizzle: A drizzle of melted dark or white chocolate on top of the cookies can elevate them to a dessert-dining experience everyone will love.
-
Coffee or Espresso: A warm cup of coffee or espresso perfectly balances the sweetness, creating a cozy moment of indulgence.
-
Vanilla Ice Cream: Serve a cookie warm beside a scoop of vanilla ice cream for an irresistible dessert that’s equal parts crispy, chewy, and creamy.
When you enjoy these cookies, consider how these delightful pairings can transform a simple cookie into a magnificent spread!
Variations & Substitutions for Chocolate Oat Cookies
Feel free to get creative with these cookies; the possibilities are as delightful as they are endless!
-
Nut-Free: Replace peanut butter with sunflower seed butter for a delicious nut-free version that retains that creamy texture. Enjoy the same great taste without the allergens!
-
Vegan Swap: Use maple syrup in place of honey and opt for dairy-free chocolate chips. This easy twist makes the cookies suitable for vegan diets while keeping them deliciously sweet.
-
Spiced Up: Add a teaspoon of cinnamon or a splash of vanilla extract to the dough for a warm, comforting flavor that elevates your cookies to a whole new level of yum!
-
Fruit Forward: Mix in dried fruits such as cranberries or raisins for a natural sweetness and chewy texture. These little gems add a lovely burst of flavor in every bite!
-
Crispier Delight: For extra crunch, fold in chopped nuts like walnuts or almonds. This not only adds texture but also a delightful crunch that contrasts with the chewy oats.
-
Cocoa Twist: For a chocolate lover’s dream, incorporate cocoa powder into the dough. It enhances the rich chocolate flavor and gives your cookies an irresistible chocolaty twist.
-
Fiery Kick: Add a hint of cayenne pepper or chili powder for those who enjoy a spicy kick. The heat pairs surprisingly well with the sweetness, creating a unique taste experience.
-
Choco-Loaded: Double the amount of chocolate chips or replace them with a mix of dark and white chocolate chips for cookie perfection that’s bursting with chocolatey goodness!
For more delicious ideas, why not try serving these cookies alongside a bowl of Garlic Butter Tortellini for a delightful meal!

4-Ingredient Crispy Chocolate Oat Cookies Recipe FAQs
What type of oats should I use for these cookies?
Absolutely! For the best results, use certified gluten-free oats, especially if you’re making these cookies for someone with gluten sensitivities. Regular oats may contain gluten, so make sure to check the packaging to ensure they are safe for your needs.
How should I store leftover cookies?
For room temperature storage, keep your chocolate oat cookies in an airtight container for up to 5 days. If you want them to last longer, refrigerate them in an airtight container for up to 1 week. Just be sure to seal them tightly to keep them moist and tender!
Can I freeze the cookies?
Yes, you can freeze your chocolate oat cookies! Place them in a single layer on a baking sheet until they are solid, then transfer them to a freezer-safe zip-top bag or container. They will stay fresh for up to 3 months. When you’re ready to enjoy them, simply thaw at room temperature or microwave for about 10–15 seconds until warm and chewy.
What can I do if my cookie dough is too dry?
No problem at all! If your cookie dough feels crumbly or too dry, you can add a small amount of honey or maple syrup, about 1 teaspoon at a time, until it reaches a cohesive dough that holds together without falling apart. Mixing thoroughly should help ensure all ingredients are well combined.
Are these cookies suitable for people with nut allergies?
Definitely! You can easily make these cookies nut-free by substituting peanut butter with sunflower seed butter or tahini. Just check that all your ingredients are nut-free if allergies are a concern!
How can I enhance the flavor of the cookies?
Very! To elevate the taste, feel free to add a dash of cinnamon or a splash of vanilla extract to the dough. You can also mix in chopped nuts or dried fruits to introduce interesting textures and flavors into your cookies, making them even more enjoyable!
Irresistibly Creamy Tortellini Carbonara Recipe Made Easy
Ingredients
Equipment
Method
- Preheat your oven to 350°F (175°C) and line a baking sheet with parchment paper.
- In a mixing bowl, combine the oats and peanut butter, mixing until cohesive.
- Add honey (or maple syrup) and stir until a tacky dough forms.
- Fold in chocolate chips until evenly distributed.
- Drop rounded portions onto the prepared baking sheet, flattening each slightly.
- Bake for 10-12 minutes until edges are golden brown.
- Cool on the pan for 5 minutes before transferring to a wire rack to cool completely.
Leave a Reply