
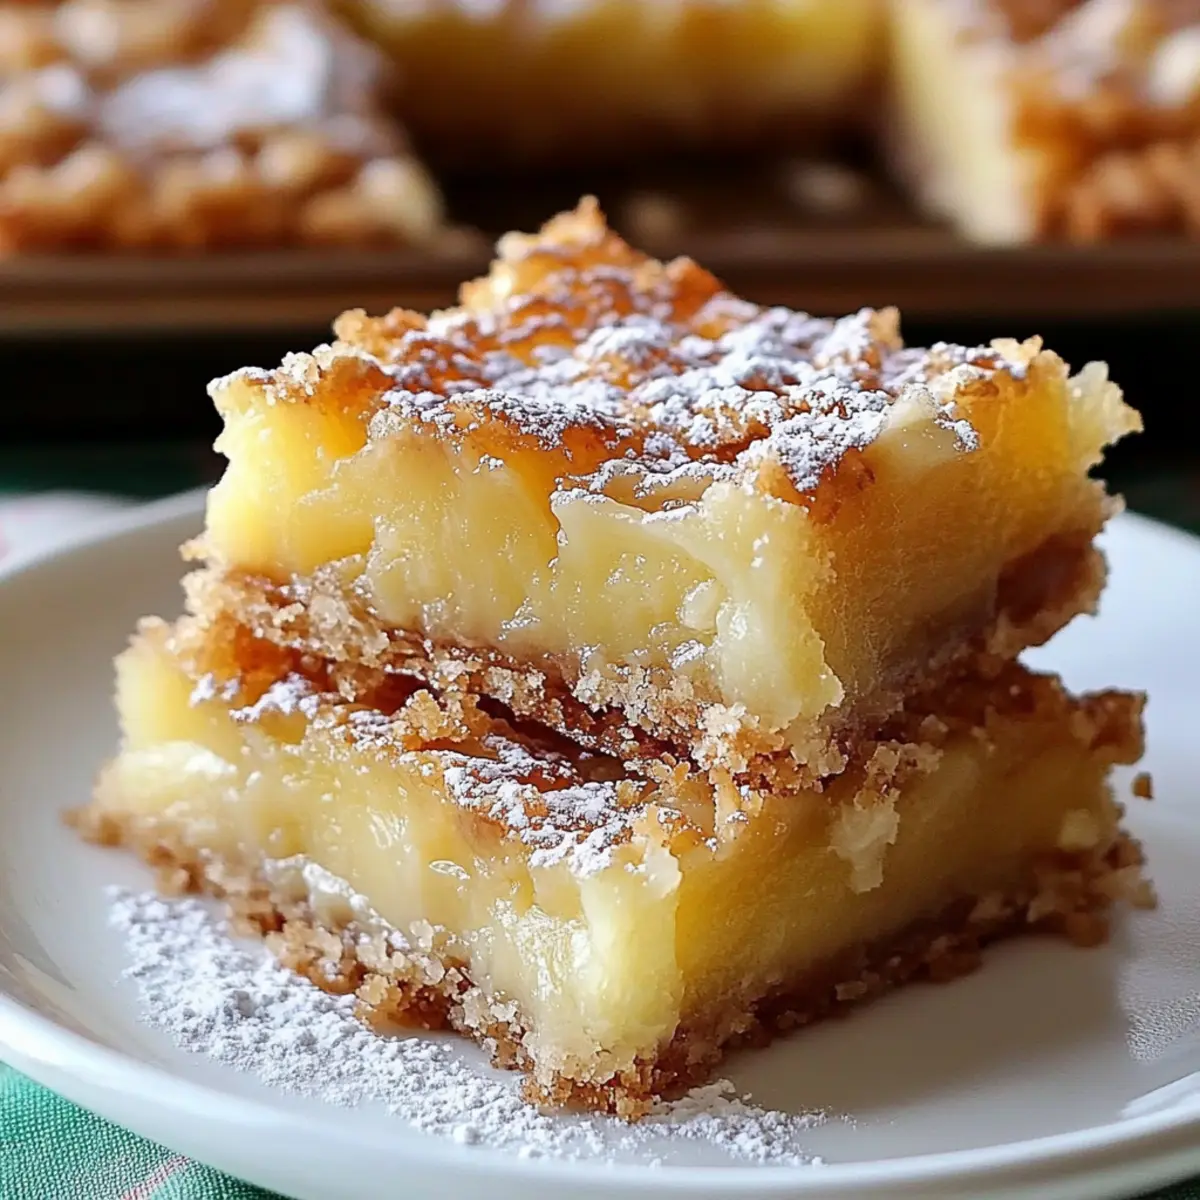
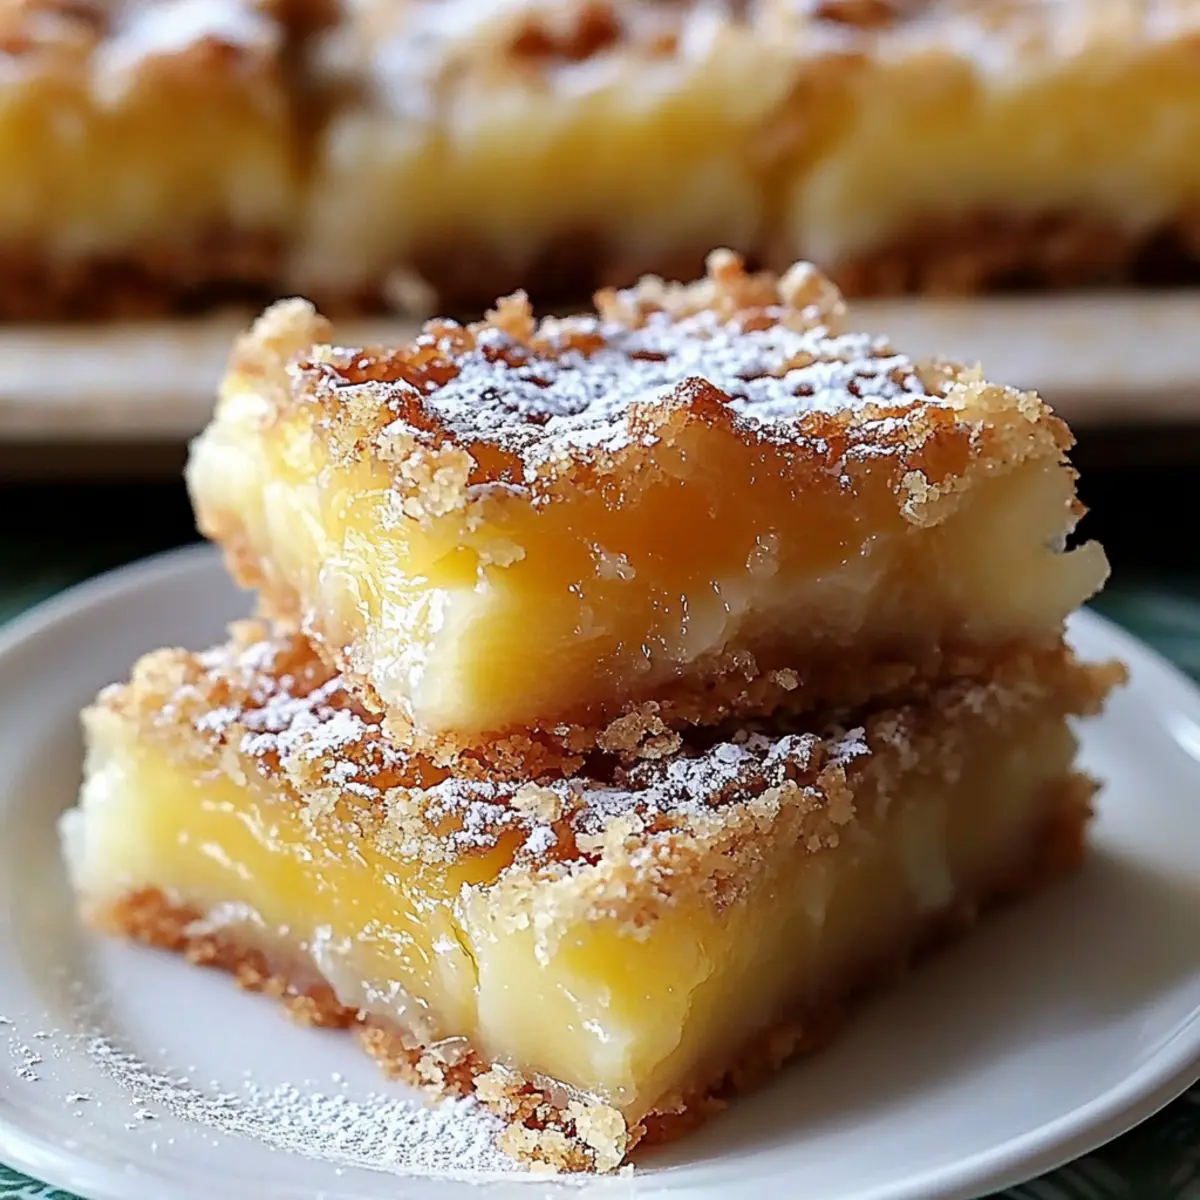
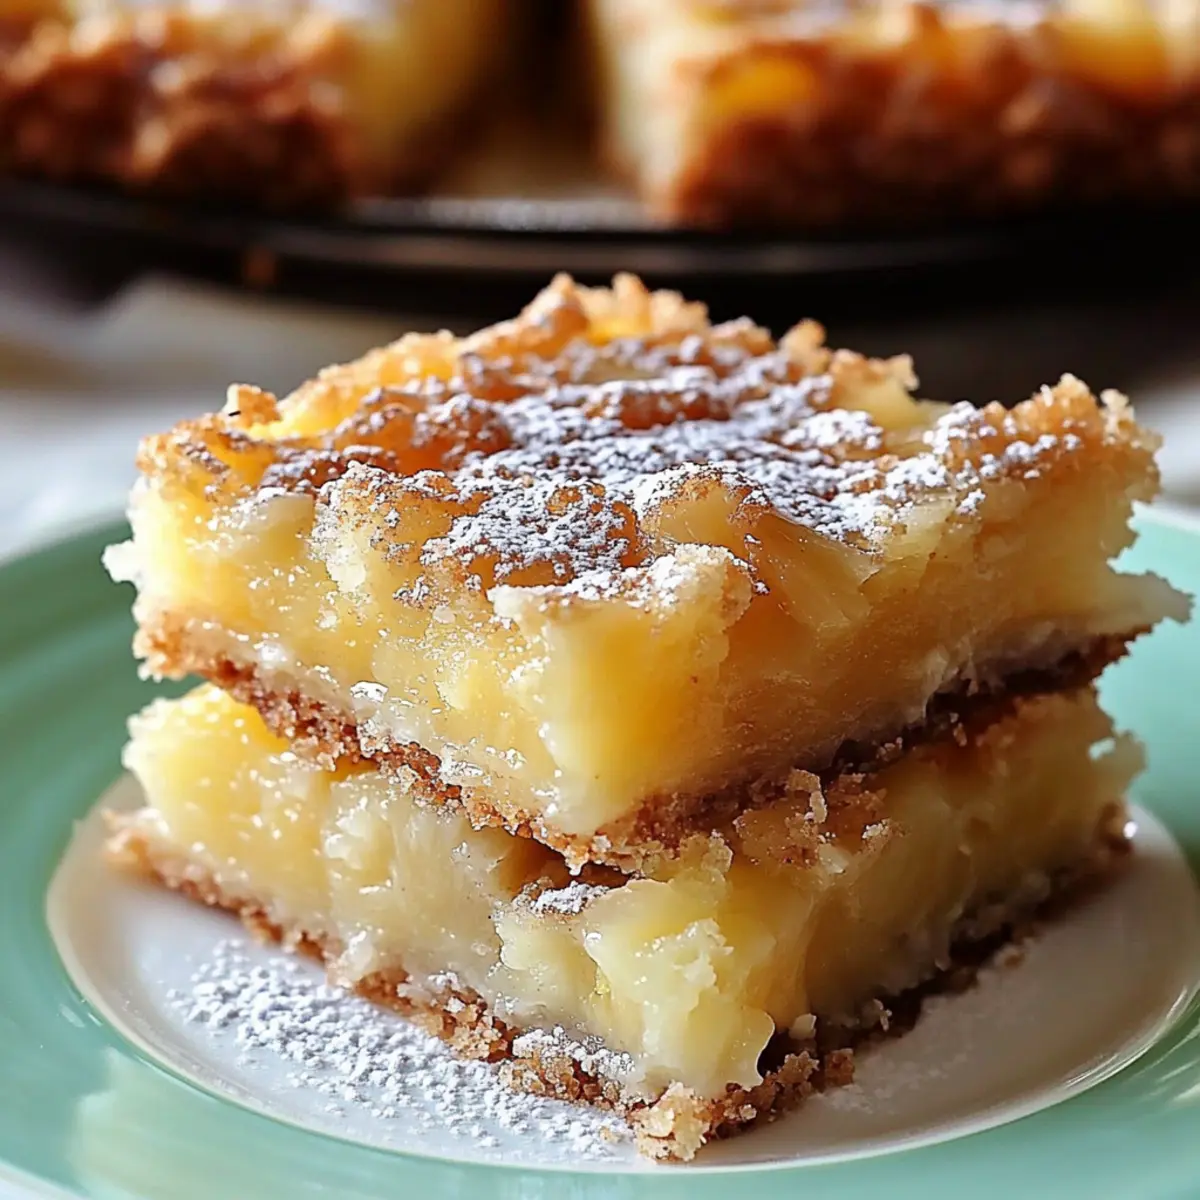
The warm scent of buttery crust baking in the oven brings back the essence of lazy summer afternoons spent on sun-kissed beaches. Today, I’m excited to share my recipe for Pineapple Bliss Bars, an easy-to-make tropical dessert that transports you straight to paradise with every bite. With their heavenly combination of a crumbly base and a gooey, sweet-tart pineapple filling, these bars are not just a treat for the taste buds but also a stunning addition to any gathering. They come together quickly and are sure to please both friends and family alike, making them the perfect antidote to fast food fatigue. Ready to take your taste buds on a delicious tropical journey? Let’s dive into this recipe that captures sunshine in every slice!
What Makes Pineapple Bliss Bars Irresistible?
Tropical Escape: With every bite, you’ll feel transported to a sun-drenched beach thanks to the vibrant pineapple filling.
Easy Baking: This simple recipe requires minimal effort, making it a delightful option for both novice and seasoned bakers.
Crowd-Pleasing Treat: Perfect for gatherings or special occasions, these bars are sure to be the star of your dessert table.
Customizable Flavor: Feel free to swap in brown sugar or add shredded coconut for a delightful twist that keeps things interesting.
Comforting Textures: The buttery shortbread crust balances perfectly with the gooey topping, creating a satisfying experience in every slice.
Pair these scrumptious bars with a chilled tropical fruit salad or even some Lemon Blueberry Cheesecakes for an unforgettable dessert spread!
Pineapple Bliss Bars Ingredients
For the Crust
- All-Purpose Flour – Provides structure for the crust; you can use a gluten-free flour blend for a gluten-free version.
- Granulated Sugar – Adds sweetness to the crust; consider brown sugar for a richer flavor.
- Salt – Enhances the overall flavor; crucial for balancing the sweetness.
- Unsalted Butter (cold, cubed) – Contributes to a flaky crust; swap with coconut oil for a dairy-free option.
For the Filling
- Crushed Pineapple (well-drained) – The star ingredient that gives Pineapple Bliss Bars their tropical flavor; fresh pineapple can be used if well-prepped.
- Large Eggs – Binds the filling together; flax eggs can be a vegan substitute.
- Baking Powder – Helps the filling rise for lightness.
- Vanilla Extract – Infuses a delightful flavor into the filling; almond extract can offer a unique touch.
For Dusting
- Powdered Sugar – A sweet finishing touch for presentation; optional to omit for a less sweet topping.
Step‑by‑Step Instructions for Pineapple Bliss Bars
Step 1: Preheat the Oven
Begin by preheating your oven to 350°F (175°C). While the oven warms up, line a 9×13-inch baking pan with parchment paper, allowing some overhang for easy removal later. This preparation is crucial for ensuring your Pineapple Bliss Bars bake uniformly and come out of the pan effortlessly.
Step 2: Prepare the Crust
In a large mixing bowl, combine all-purpose flour, granulated sugar, and salt. Cut in the cold, cubed unsalted butter using a pastry cutter or fork until the mixture resembles coarse crumbs. This step is key for that flaky, buttery crust. Transfer the mixture into the prepared baking pan, pressing it evenly into the bottom with your fingers to form a solid foundation for your bliss bars.
Step 3: Bake the Crust
Place the crust in the preheated oven and bake for about 15 minutes or until it turns lightly golden around the edges. The buttery aroma will fill your kitchen, signaling that it’s almost ready. Once baked, remove the pan from the oven and allow the crust to cool slightly while you prepare the filling.
Step 4: Prepare the Filling
In a clean bowl, whisk together the large eggs and granulated sugar until smooth and well combined. Gradually add in the baking powder, vanilla extract, and some flour, mixing thoroughly. The mixture should be creamy and slightly thickened, perfect for creating that gooey texture in your Pineapple Bliss Bars. Gently fold in the well-drained crushed pineapple, making sure it’s evenly distributed throughout.
Step 5: Bake the Bars
Pour the luscious pineapple filling over the slightly cooled crust, spreading it evenly with a spatula. Return the baking pan to the oven and bake for 25-30 minutes until the edges are set, and the center is just firm to the touch. Watch for a delightful golden hue on the top, indicating your bliss bars are nearing perfection!
Step 6: Cool and Dust
Once baked, remove your Pineapple Bliss Bars from the oven and allow them to cool completely in the pan. This cooling step is vital for ensuring they slice neatly. Once cooled, dust the top generously with powdered sugar to enhance their tropical appeal, adding a touch of sweetness that complements the pineapple beautifully before cutting into squares for serving.
Make Ahead Options
These Pineapple Bliss Bars are a fantastic option for meal prep enthusiasts! You can prepare the crust up to 24 hours in advance by mixing the ingredients and pressing them into the pan, then tightly cover and refrigerate. The filling can also be mixed ahead and stored in the fridge for up to 3 days, ensuring you get to enjoy a fresh pineapple flavor. When you’re ready to bake, simply pour the filling over the chilled crust and bake as directed. This approach not only saves you precious time on busy days but ensures that your bars remain just as delicious and gooey, making them a perfect treat for spontaneous gatherings!
Expert Tips for Pineapple Bliss Bars
-
Well-Drained Pineapple: Make sure your crushed pineapple is thoroughly drained to avoid an overly soggy filling that can spoil the texture of your Pineapple Bliss Bars.
-
Cool Before Slicing: Allow your bars to cool completely in the pan for cleaner slices. Slicing them too early may result in a messy presentation, hiding their beautiful layers.
-
Butter Temperature Matters: Use cold, cubed butter for the crust to achieve that luscious, flaky texture. Room temperature butter will yield a denser crust.
-
Experiment with Toppings: Want to elevate your Pineapple Bliss Bars? Consider garnishing them with toasted coconut or fresh pineapple slices for a stunning presentation and added flavor.
-
Storage Savvy: Store any leftovers in an airtight container at room temperature for up to five days. You can also freeze them for up to two months for future tropical indulgence!
Pineapple Bliss Bars Variations
Feel free to play with this recipe to create your own unique twist on these delightful pineapple bars.
- Brown Sugar: Swap half the granulated sugar for brown sugar for a deeper, caramel-like flavor.
- Fresh Pineapple: Use fresh pineapple chunks instead of crushed pineapple for a fruity texture that pops.
- Coconut Delight: Add ½ cup of shredded coconut into the filling for an extra tropical flair.
- Almond Extract: Substitute vanilla extract with almond extract to introduce a nutty aroma that beautifully complements the pineapple.
- Flax Eggs: For a vegan option, replace the large eggs with flax eggs to maintain the rich filling texture.
- Citrus Twist: Add the zest of one lime or lemon to the filling for a zesty brightness that elevates the flavor profile.
- Spicy Kick: Stir in a pinch of cayenne pepper to give your bars a surprising hint of heat that balances the sweetness impressively.
- Garnish Ideas: Top the bars with toasted coconut flakes or fresh pineapple slices for a stunning finish, perfect for impressing guests.
These variations offer a chance to customize your Pineapple Bliss Bars and create a dessert that truly reflects your tastes. Enjoy experimenting, and don’t forget to serve them alongside a tropical fruit salad or a scoop of creamy coconut custard!
How to Store and Freeze Pineapple Bliss Bars
Room Temperature: Store uneaten Pineapple Bliss Bars in an airtight container at room temperature for up to 5 days, keeping them fresh and tasty.
Fridge: For optimal freshness, especially in warm weather, refrigerate the bars in an airtight container for up to 7 days.
Freezer: Freeze Pineapple Bliss Bars by wrapping them tightly in plastic wrap and then placing them in an airtight container. They will stay delicious for up to 2 months.
Reheating: To enjoy frozen bars, thaw them overnight in the fridge, and for a warm treat, pop them in a preheated oven at 350°F (175°C) for about 10 minutes.
What to Serve with Pineapple Bliss Bars
A symphony of tropical flavors awaits when you pair these delightful bars with some sensational side dishes and drinks.
-
Tropical Fruit Salad: A medley of fresh fruits like mango, kiwi, and strawberries contrasts beautifully with the creamy pineapple filling, adding refreshing textures to your dessert spread.
-
Coconut Custard: This luscious custard brings creamy richness to the table, its subtle coconut flavor pairing harmoniously with the pineapple essence for a dreamy flavor fusion.
-
Pineapple Sorbet: Serve up a scoop of chilled pineapple sorbet beside your bliss bars for a refreshing, vibrant treat that will make your taste buds dance with joy.
-
Crisp Vanilla Ice Cream: A scoop of vanilla ice cream melting over warm bars creates a delightful contrast, balancing the sweet-tart pineapple flavor with creamy richness.
-
Lemonade Spritzers: Citrus-infused beverages like lemonade or lime spritzers complement the sweet notes in the bars, adding a zesty kick that enhances the overall tropical experience.
-
Toasted Coconut Topping: Elevate your bars with a sprinkle of toasted coconut for an added layer of crunch that ties in the tropical theme beautifully.
Treat your loved ones to a tropical feast—these pairings not only celebrate the Pineapple Bliss Bars but also elevate the whole dining experience, making every moment feel like a sunny getaway!

Pineapple Bliss Bars Recipe FAQs
What kind of pineapple should I use for the filling?
Absolutely! For the best results, use well-drained crushed pineapple to prevent a soggy filling. If you prefer, you can use fresh pineapple; just ensure it’s chopped finely and properly drained.
How should I store leftover Pineapple Bliss Bars?
Store any uneaten Pineapple Bliss Bars in an airtight container at room temperature for up to 5 days. For optimal freshness in warm weather, I recommend refrigerating them, where they can stay fresh for up to 7 days.
Can I freeze Pineapple Bliss Bars?
Yes! To freeze your Pineapple Bliss Bars, wrap them tightly in plastic wrap to prevent freezer burn, then placed them in an airtight container. They will remain delicious for up to 2 months. Simply thaw them overnight in the fridge when you’re ready to enjoy, or reheat briefly in a preheated oven at 350°F (175°C) for about 10 minutes.
What if my filling is too runny?
If your filling appears too runny, make sure that your crushed pineapple is well-drained and that you’ve followed the recipe measurements closely. To salvage your filling, you can add a tablespoon of cornstarch mixed with a bit of water to help thicken it before baking. This will give you that perfect gooey texture without being overly watery.
Are Pineapple Bliss Bars suitable for a vegan diet?
Absolutely! They can easily be made vegan by substituting large eggs with flax eggs (1 tablespoon ground flaxseed mixed with 2.5 tablespoons of water per egg) and replacing the unsalted butter with coconut oil. Just be sure to check your baking powder for any animal-derived additives. Enjoy those tropical flavors without any worries!
Can I add other ingredients to enhance the flavor?
Very! Feel free to experiment by adding ½ cup of shredded coconut or even some chopped nuts like macadamia for a delightful twist. Just remember to adjust the sugar if your additions have sweetness, and enjoy a new tropical creation!
Pineapple Bliss Bars That Will Brighten Your Day
Ingredients
Equipment
Method
- Preheat your oven to 350°F (175°C) and line a 9x13-inch baking pan with parchment paper.
- Combine all-purpose flour, granulated sugar, and salt in a bowl. Cut in the cold, cubed unsalted butter until resembling coarse crumbs.
- Press the mixture evenly into the prepared baking pan to form the crust.
- Bake the crust for about 15 minutes until lightly golden around the edges.
- In a separate bowl, whisk together eggs and granulated sugar until smooth. Gradually add baking powder, vanilla extract, and some flour, mixing thoroughly.
- Fold in the well-drained crushed pineapple and ensure it's evenly distributed.
- Pour the pineapple filling over the slightly cooled crust and spread evenly. Bake for 25-30 minutes until edges are set.
- Cool completely in the pan before dusting with powdered sugar and slicing into squares.
Leave a Reply