
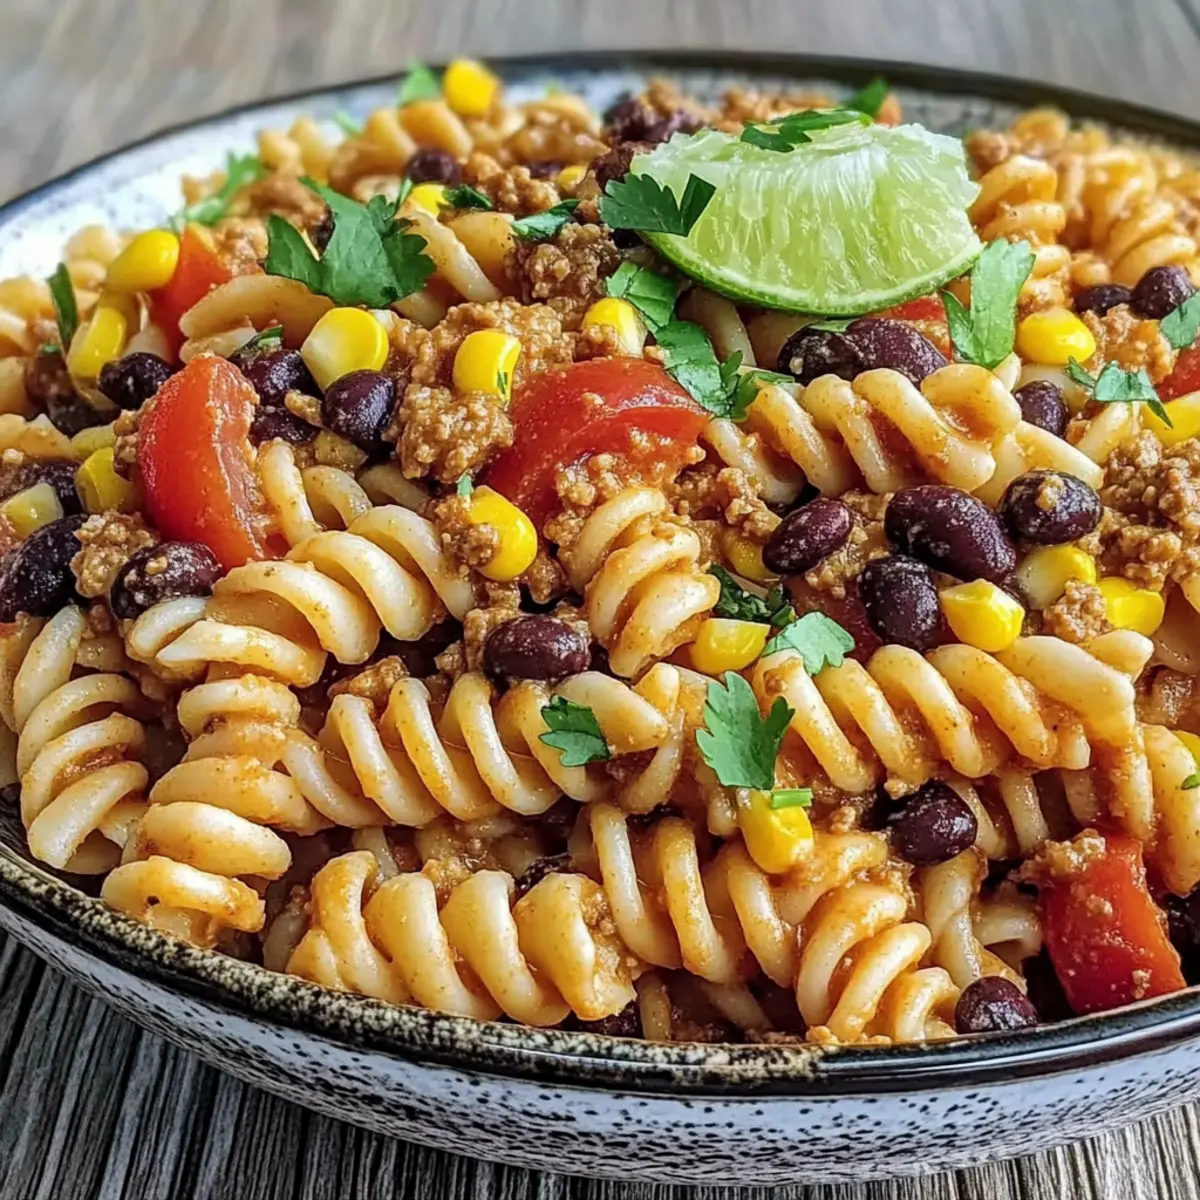
A mingling of tangy and creamy, this Easy Zesty Taco Pasta Salad with Creamy Salsa Ranch Dressing is your new go-to dish for casual gatherings or those bustling weeknights. Every bite presents a delightful rush of flavors, where zesty taco essence meets the comforting creaminess of ranch, making it not just quick to prepare but also a guaranteed crowd-pleaser. With versatile ingredient options, you can easily cater to dietary preferences—whether gluten-free or veggie-packed, your loved ones will be coming back for more. Plus, the vibrant colors of fresh tomatoes, sweet corn, and bright cilantro add a cheerful touch to any meal. Ready to bring some excitement to your dinner table? Let’s dive into this irresistible recipe!
Why is this pasta salad irresistible?
Flavor Explosion: Each bite of this Easy Zesty Taco Pasta Salad is a delightful fusion of flavors, where tangy salsa meets creamy ranch for a taste sensation that’s hard to resist.
Versatile Ingredients: This recipe allows for easy modifications—whether you choose gluten-free pasta or swap beans for ground meat, it adapts beautifully.
Quick to Prepare: With simple steps, you can whip up this salad in no time—perfect for those busy weeknights or last-minute potlucks.
Crowd-Pleasing: Its vibrant colors and fresh ingredients make it an alluring centerpiece at any gathering, ensuring your guests will be asking for seconds!
Make-Ahead Friendly: Prepare in advance for even better flavors as they meld together overnight; just remember to add your avocado before serving! For variations, try it alongside our Creamy Zucchini Lemon Pasta or as a serving option next to grilled meats.
Taco Pasta Salad Ingredients
For the Salad
• Pasta – Use any pasta type; for a gluten-free option, choose gluten-free pasta.
• Black Beans – Adds protein and texture; you can substitute with cooked ground beef or turkey if desired.
• Corn – Provides sweetness and crunch; fresh corn is ideal in summer, while frozen works perfectly year-round.
• Tomatoes – Brings freshness and moisture; for best flavor, opt for ripe tomatoes.
• Cilantro – Adds a zesty touch; if you’re not a fan, feel free to omit or substitute with parsley.
For the Dressing
• Creamy Salsa Ranch Dressing – A delicious combination of ranch and salsa; swap mayonnaise for Greek yogurt for a lighter alternative.
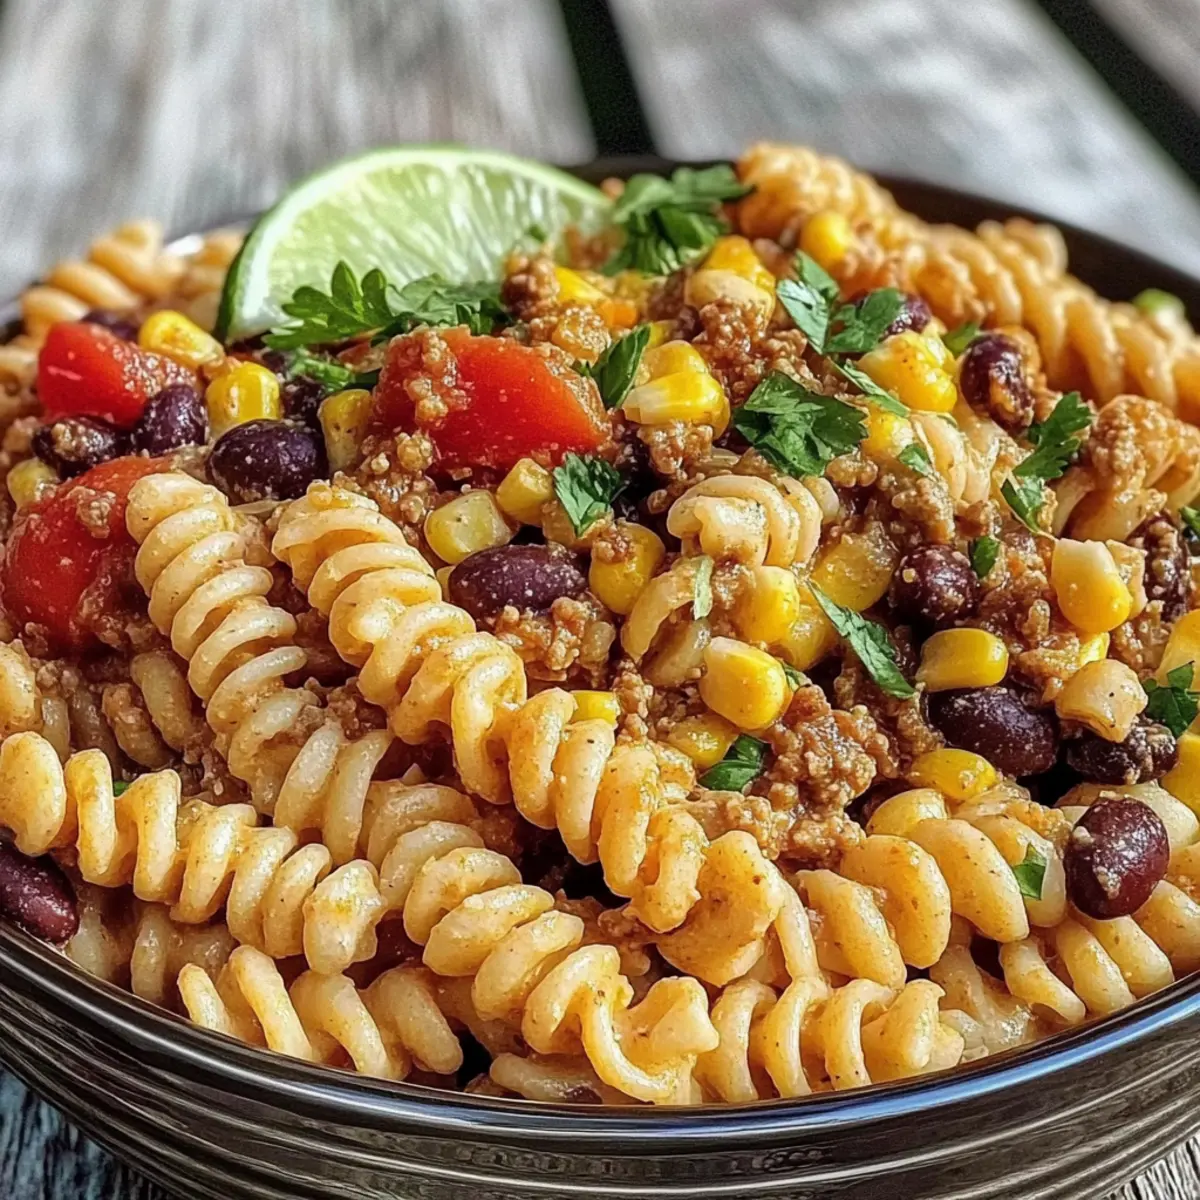
• Avocado – Adds creaminess; be sure to add it just before serving to prevent browning.
• Lime Juice – Enhances overall flavor; adjust to taste to find your perfect acidity.
This Taco Pasta Salad Recipe with Creamy Salsa is sure to be a hit at any gathering!
Step‑by‑Step Instructions for Taco Pasta Salad Recipe with Creamy Salsa
Step 1: Cook the Pasta
Begin by bringing a large pot of salted water to a rolling boil. Add your choice of pasta, cooking it until al dente, which should take about 8-10 minutes. Once cooked, drain the pasta in a colander and rinse it under cold water to halt the cooking process and cool it down for your Taco Pasta Salad.
Step 2: Prepare the Dressing
In a separate mixing bowl, whisk together the creamy salsa ranch dressing ingredients until smooth and well-combined. You want a velvety texture that will coat the pasta beautifully. This step can be done while the pasta cooks, ensuring that the flavors meld perfectly for your Taco Pasta Salad.
Step 3: Combine Main Ingredients
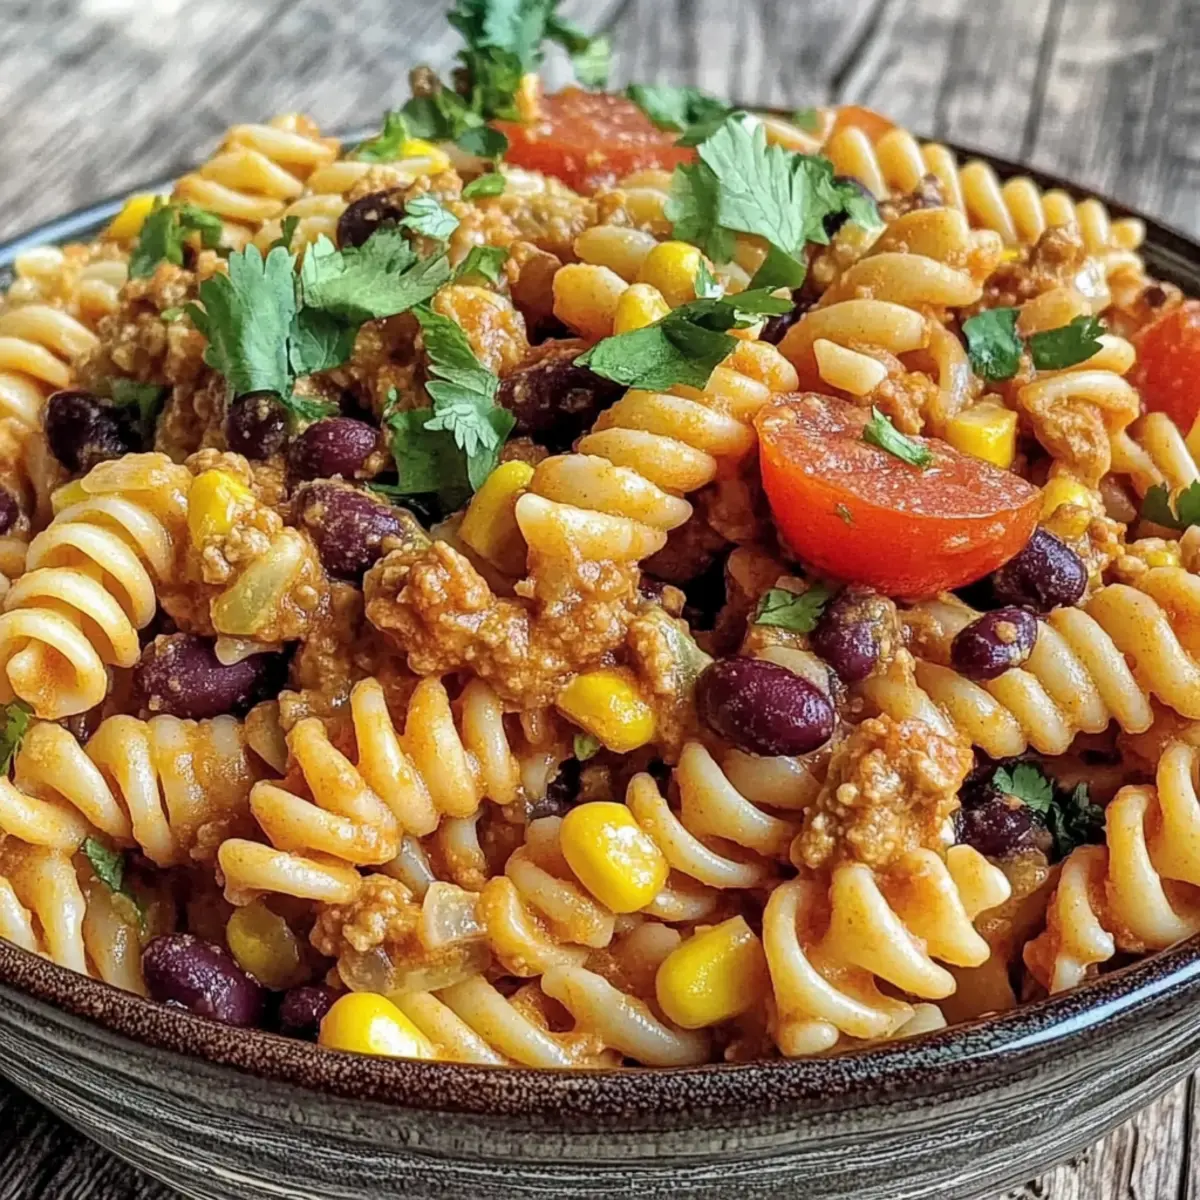
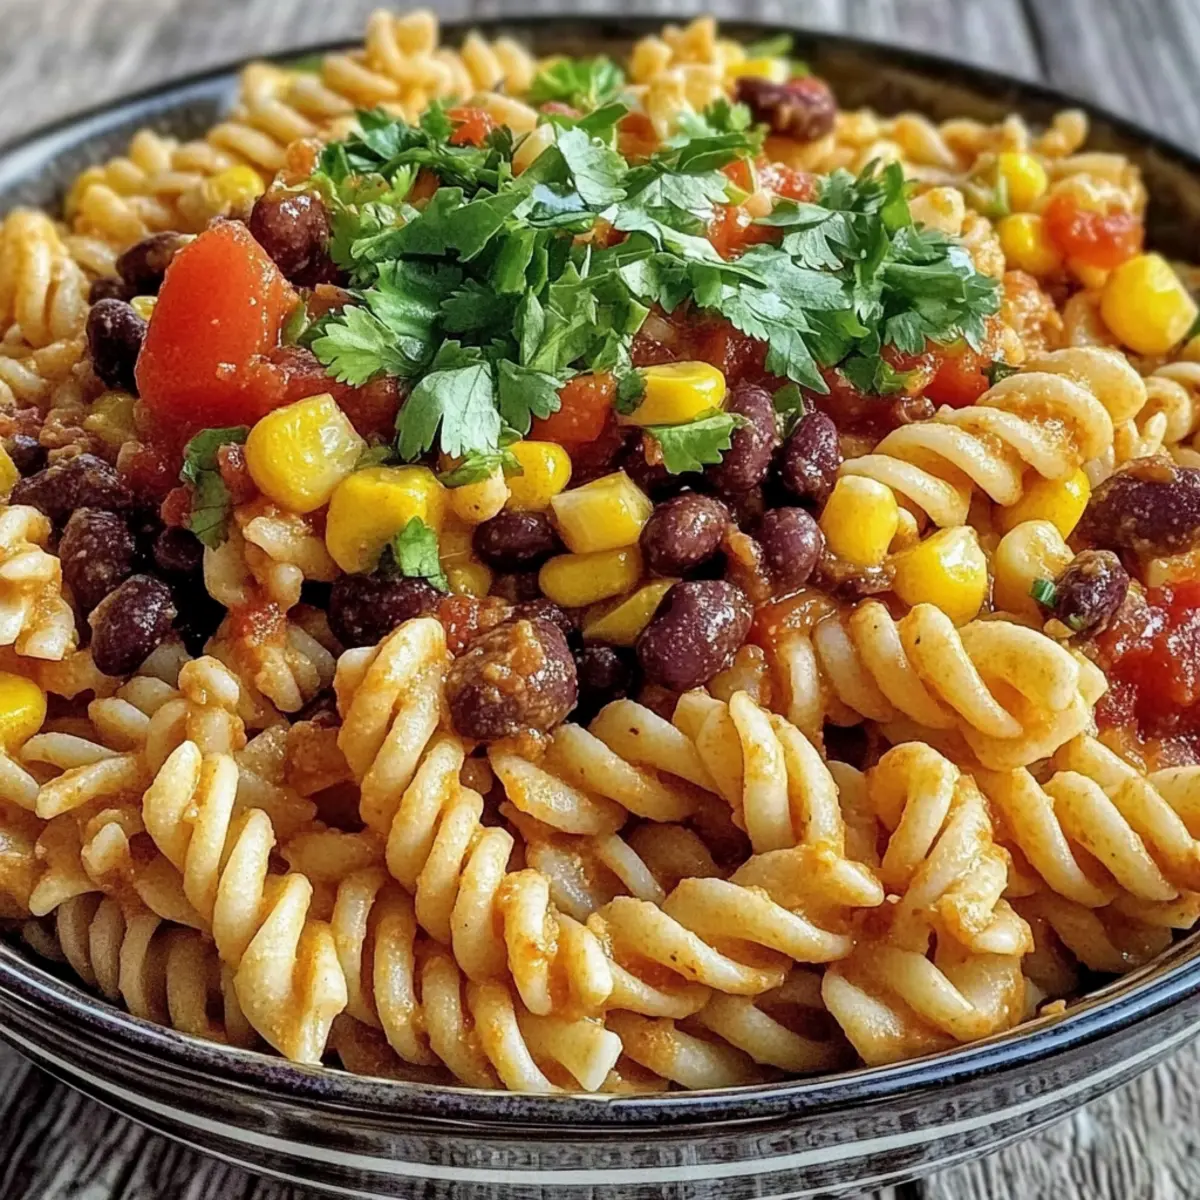
In a large mixing bowl, combine the cooled pasta, black beans, corn, and diced tomatoes. Gently fold in chopped cilantro for an added layer of flavor. Pour the creamy salsa ranch dressing over this mixture and carefully stir until everything is well coated and vibrant, allowing the essence of the Taco Pasta Salad to shine.
Step 4: Incorporate Avocado
Just before serving, add the diced avocado to the salad. This will provide a rich creamy texture that complements the zesty flavors. Be gentle in folding it into the salad to avoid mashing the avocado and to keep your Taco Pasta Salad looking fresh and appealing.
Step 5: Chill the Salad
Cover the bowl with plastic wrap or a lid and place it in the refrigerator. Allow the Taco Pasta Salad to chill for at least 30 minutes, which helps the flavors meld beautifully. This resting time makes all the difference in achieving a deliciously savory dish.
Step 6: Serve and Enjoy
Just before serving, take the salad out of the fridge and let it warm slightly at room temperature for about 10 minutes. This enhances the flavor and makes the creamy dressing even more enjoyable. Serve it as a delightful side or a main course, and watch it disappear!
How to Store and Freeze Taco Pasta Salad
-
Fridge: Store your Taco Pasta Salad in an airtight container for up to 3 days. The flavors develop over time, making it taste even better on the second day!
-
Freezer: Avoid freezing this salad due to the creamy dressing and fresh veggies. The texture may change upon thawing, affecting its delightful taste.
-
Reheating: If preparing ahead, remember to remove the diced avocado prior to chilling. Add it just before serving for optimal freshness and creaminess.
-
Make-Ahead Tip: It’s great to make this salad a day in advance. Letting it chill for a few hours or overnight helps the flavors meld perfectly!
Expert Tips for Taco Pasta Salad
-
Rinse Pasta: Always rinse the cooked pasta with cold water to prevent sticking, ensuring your Taco Pasta Salad has a nice texture.
-
Add Avocado Last: To keep the avocado fresh and vibrant, add it just before serving; this prevents unsightly browning.
-
Spice to Your Taste: Adjust the level of spiciness by modifying the salsa; taste as you go to create the perfect flavor balance for your salad.
-
Storage Know-How: Store your salad in an airtight container in the fridge for up to 3 days. It actually tastes even better as the flavors settle!
-
Flavor Enhancer: Don’t be shy with the lime juice; it brightens the dish and complements the creaminess of the dressing in your Taco Pasta Salad.
Taco Pasta Salad Recipe Variations
Feel free to personalize this dish to create your unique version—let your taste buds guide you!
- Gluten-Free: Swap regular pasta for gluten-free pasta to easily accommodate dietary needs.
- Protein-Packed: Add cooked chicken or turkey for a heartier salad that keeps everyone satisfied. Juicy and tender, the added protein transforms the salad into a filling meal!
- Veggie Boost: Toss in seasonal veggies like bell peppers or zucchini to add crunch and color. It’s a fun way to sneak in extra nutrients and experiment with different flavors!
- Salsa Level Up: Incorporate mango or pineapple salsa for a sweet twist that contrasts beautifully with the creaminess. Friends will love the tropical flavor surprise!
- Creamy Alternative: Substitute Greek yogurt for mayonnaise in the dressing for a tangy and lighter version. It will still be rich and delicious!
- Spicy Kick: Add diced jalapeños or a splash of hot sauce for those who like a fiery touch. Heat lovers will appreciate the extra zesty kick!
- Herb Swap: If cilantro isn’t your favorite, consider replacing it with fresh basil or parsley for an aromatic twist. Each herb brings a unique charm to this vibrant salad.
- Nutty Crunch: Sprinkle in toasted sunflower seeds or chopped nuts to your salad for a pleasant crunch that contrasts with the soft pasta and veggies. You may just find your new favorite texture!
This Easy Zesty Taco Pasta Salad is truly adaptable—consider serving it alongside our Creamy Garlic Shrimp with Spinach or adding it as a side to your favorite grilled dishes!
What to Serve with Easy Zesty Taco Pasta Salad with Creamy Salsa Ranch Dressing
Looking to create a full meal that elevates your taco pasta salad? Pair it with these delicious options for a vibrant dining experience.
-
Grilled Chicken Skewers: Juicy, smoky flavors complement the zesty salad beautifully, adding a lovely protein boost.
-
Corn on the Cob: This summer staple brings sweetness and a fun crunch, enhancing the fresh corn in your salad.
-
Mexican Street Corn Salad: Rich and creamy, this salad echoes the harmony of taco flavors, bringing an extra layer to your meal.
-
Avocado Toast: Top with lime and cilantro for a creamy, crispy delight that mirrors the salad’s zesty essence, creating a delightful duo.
-
Tortilla Chips with Salsa: The crunch of chips dipped in salsa provides a satisfying contrast, making it a fantastic side dish.
-
Fruit Salad: A refreshing mix of seasonal fruits offers a sweet counterbalance while cleansing the palate between bites.
-
Sparkling Lemonade: This fizzy drink pairs perfectly with the salad’s creamy dressing, creating a light, refreshing meal experience.
-
Chocolate Chip Cookies: For a sweet ending, these beloved treats provide a comforting finish that ties your meal together with joy.
Make Ahead Options
Preparing the Easy Zesty Taco Pasta Salad with Creamy Salsa ahead of time is a fantastic way to save precious moments during busy weekdays! You can cook the pasta and prepare the dressing up to 24 hours in advance, storing them separately in the refrigerator. The black beans, corn, and chopped tomatoes can also be combined ahead of time. When you’re ready to serve, simply mix everything together along with the diced avocado, which you should wait to add until just before serving to prevent browning. This salad keeps well in an airtight container for up to 3 days, so you can enjoy the delicious flavors developing even further while saving time on meal prep.
Taco Pasta Salad Recipe with Creamy Salsa Recipe FAQs
How do I select the right pasta for the Taco Pasta Salad?
Absolutely! For the best texture, choose a hearty pasta that can hold up to the other ingredients. Rotini or elbow macaroni works wonderfully! If you need a gluten-free option, look for gluten-free pasta at your local grocery store, which often has great alternatives like brown rice or quinoa pasta.
What is the best way to store leftover Taco Pasta Salad?
For maximum freshness, store your Taco Pasta Salad in an airtight container in the fridge. It’ll keep well for up to 3 days. The flavors continue to develop, which means it might even taste better on the second day! Remember to give it a gentle stir before serving to revitalize those flavors.
Can I freeze Taco Pasta Salad for later?
I wouldn’t recommend freezing this salad due to the creamy dressing and fresh vegetables. Freezing can lead to a mushy texture when thawed, particularly for the delicate avocado and tomatoes. Instead, enjoy it fresh or prepare it ahead of time and store it in the fridge for up to 3 days.
What if my pasta salad seems dry or not enough dressing?
Very! If you find that the salad seems a bit dry after chilling, you can easily remedy this. Just whisk together a little more of the creamy salsa ranch dressing and fold it in gently before serving. Alternatively, you could add a splash of lime juice or a drizzle of olive oil to boost moisture and flavor.
Can I make this recipe vegan or dairy-free?
Of course! To make your Taco Pasta Salad recipe dairy-free or vegan, simply swap the creamy ranch dressing for a plant-based alternative or use Greek yogurt if you’re looking for a lighter option. You could also skip the cheese entirely—your salad will still be bright and delicious!
What should I do if my tomatoes are not ripe enough?
If your tomatoes aren’t ripe, you can enhance their flavor by sprinkling a little salt and allowing them to sit for about 15 minutes before adding them to the salad. This will coax out their natural juices and sweetness, making them a better fit for your Taco Pasta Salad!
Taco Pasta Salad Recipe with Creamy Salsa You’ll Crave!
Ingredients
Equipment
Method
- Cook the Pasta: Bring a large pot of salted water to a boil. Add pasta and cook until al dente, about 8-10 minutes. Drain and rinse under cold water.
- Prepare the Dressing: In a mixing bowl, whisk together the creamy salsa ranch dressing ingredients until smooth.
- Combine Main Ingredients: In a large bowl, combine cooled pasta, black beans, corn, and diced tomatoes. Fold in chopped cilantro and pour dressing over it, stirring to coat.
- Incorporate Avocado: Add diced avocado just before serving, folding gently to avoid mashing.
- Chill the Salad: Cover and refrigerate for at least 30 minutes to meld flavors.
- Serve and Enjoy: Take the salad out of the fridge and let warm slightly at room temperature for 10 minutes before serving.
Leave a Reply