
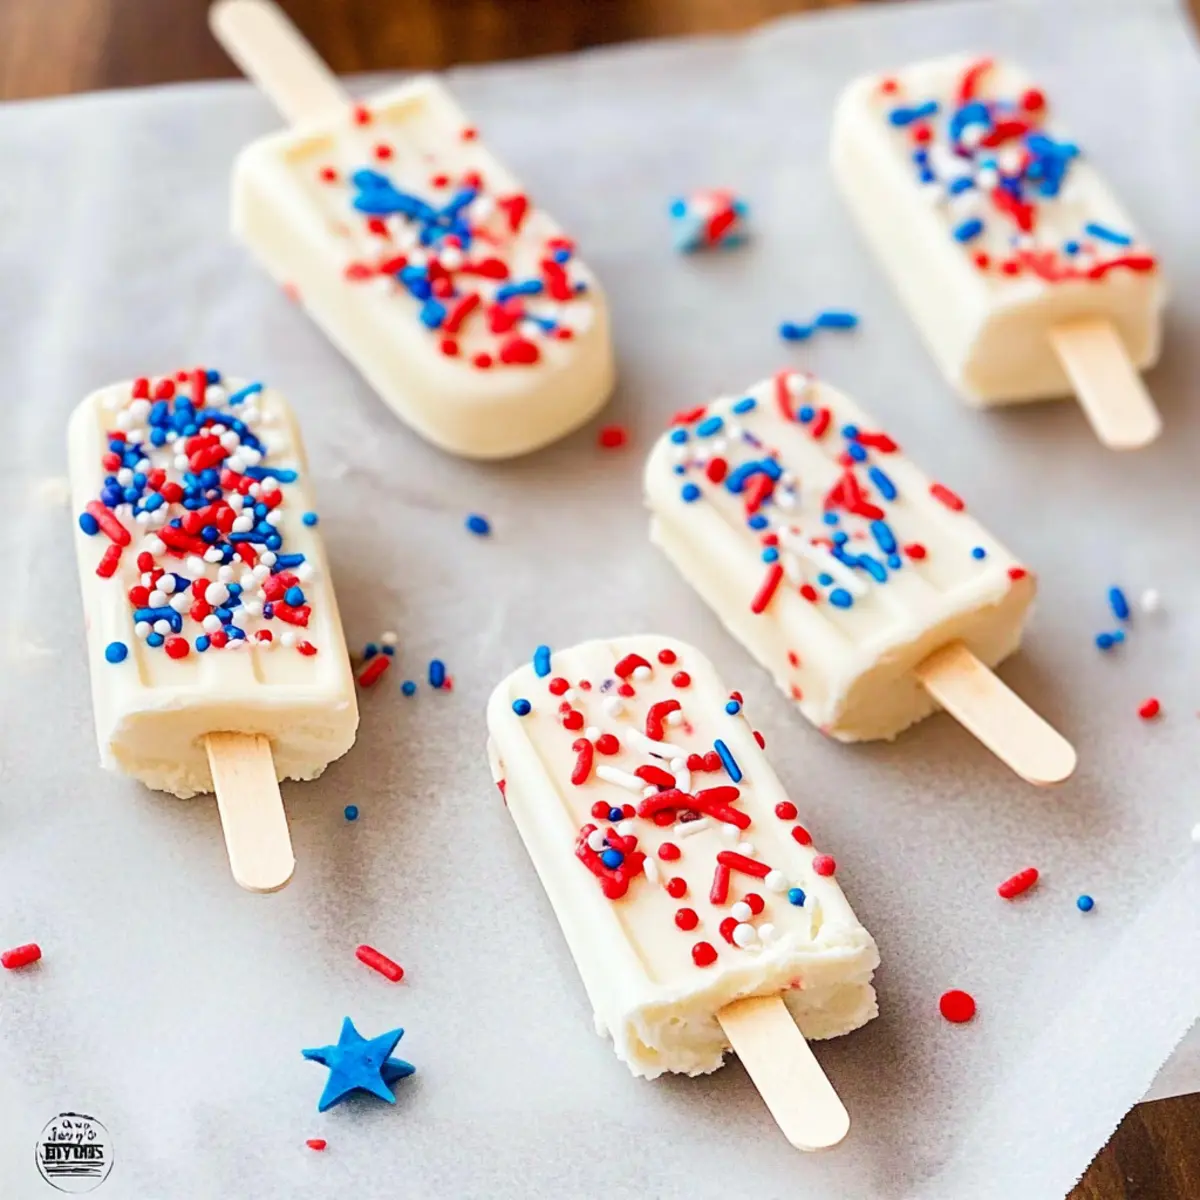
As I scrolled through my favorite recipe sites, I stumbled upon a colorful delight that perfectly embodies summer celebrations: Red, White, and Blue Cakesicles! These festive treats are not only the star of any 4th of July gathering, but they also offer endless customization possibilities. Whether you prefer classic vanilla Funfetti cake or wish to wow your guests with a chocolate twist, these cakesicles deliver joy in every bite. With a creamy frosting center surrounded by a crisp white chocolate coating, they’re a fun and playful way to satisfy your sweet tooth while keeping things light and refreshing—ideal for warm summer days. Plus, they’re an absolute hit with both kids and adults, making them the perfect crowd-pleaser. Curious about how to make these vibrant desserts? Let’s dive into the scrumptious world of cakesicles!
Why Make Red, White, and Blue Cakesicles?
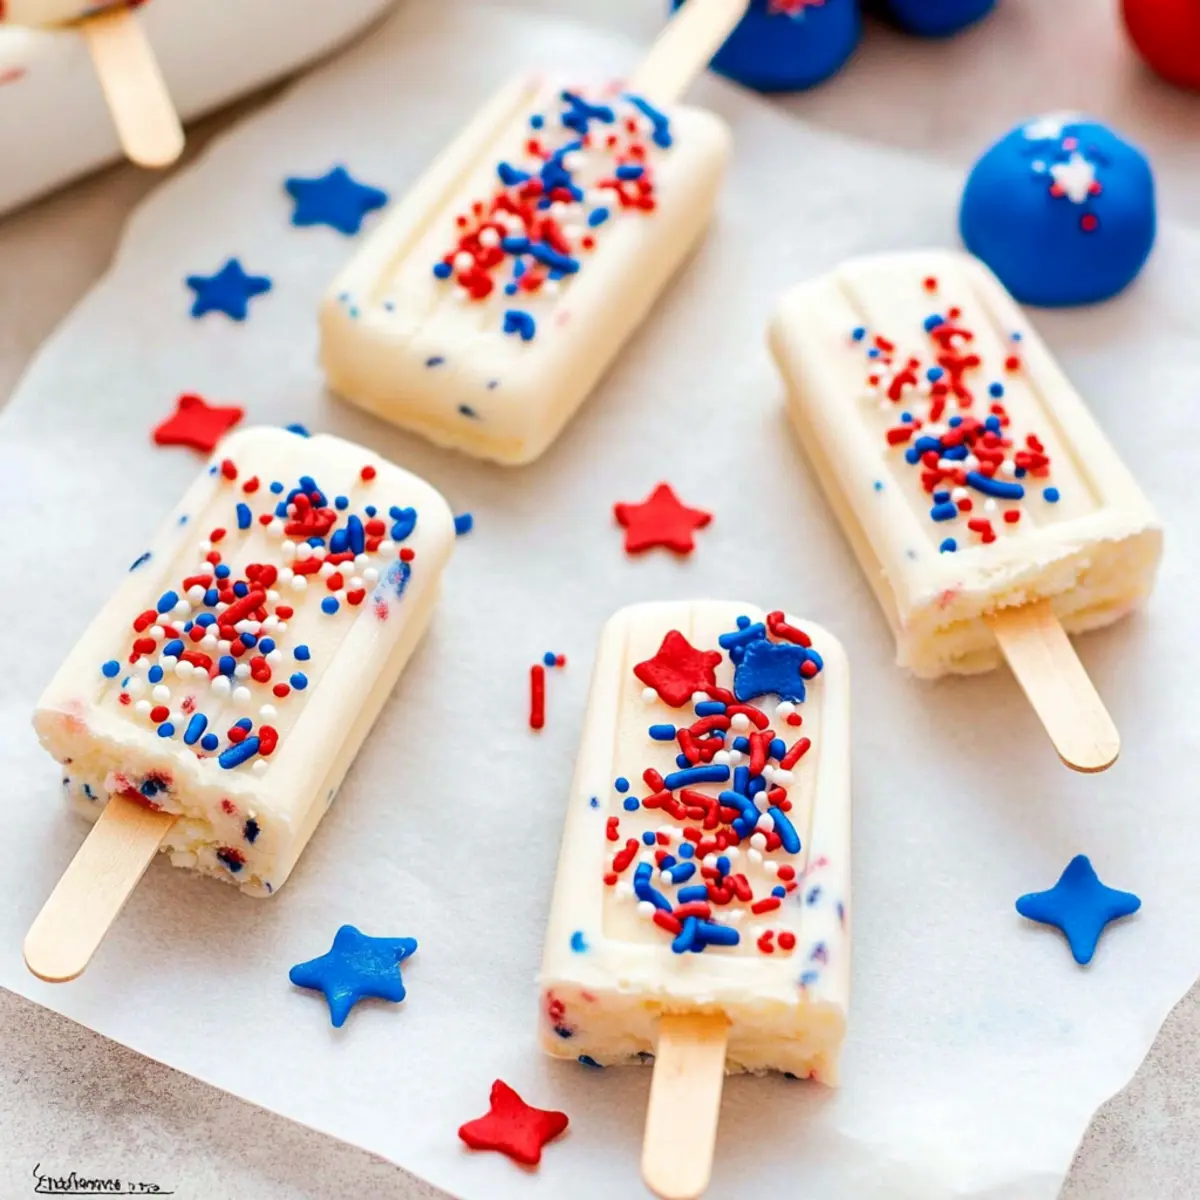
Fun and Festive: These Cakesicles are a delightful way to bring your summer gatherings to life! With their patriotic colors and playful shape, they’re perfect for the 4th of July or any festive occasion.
Endless Customization: You can easily switch up flavors by using chocolate or strawberry cake mixes, making each batch unique!
Easy to Make: The straightforward assembly process means even beginner bakers can master these treats with ease.
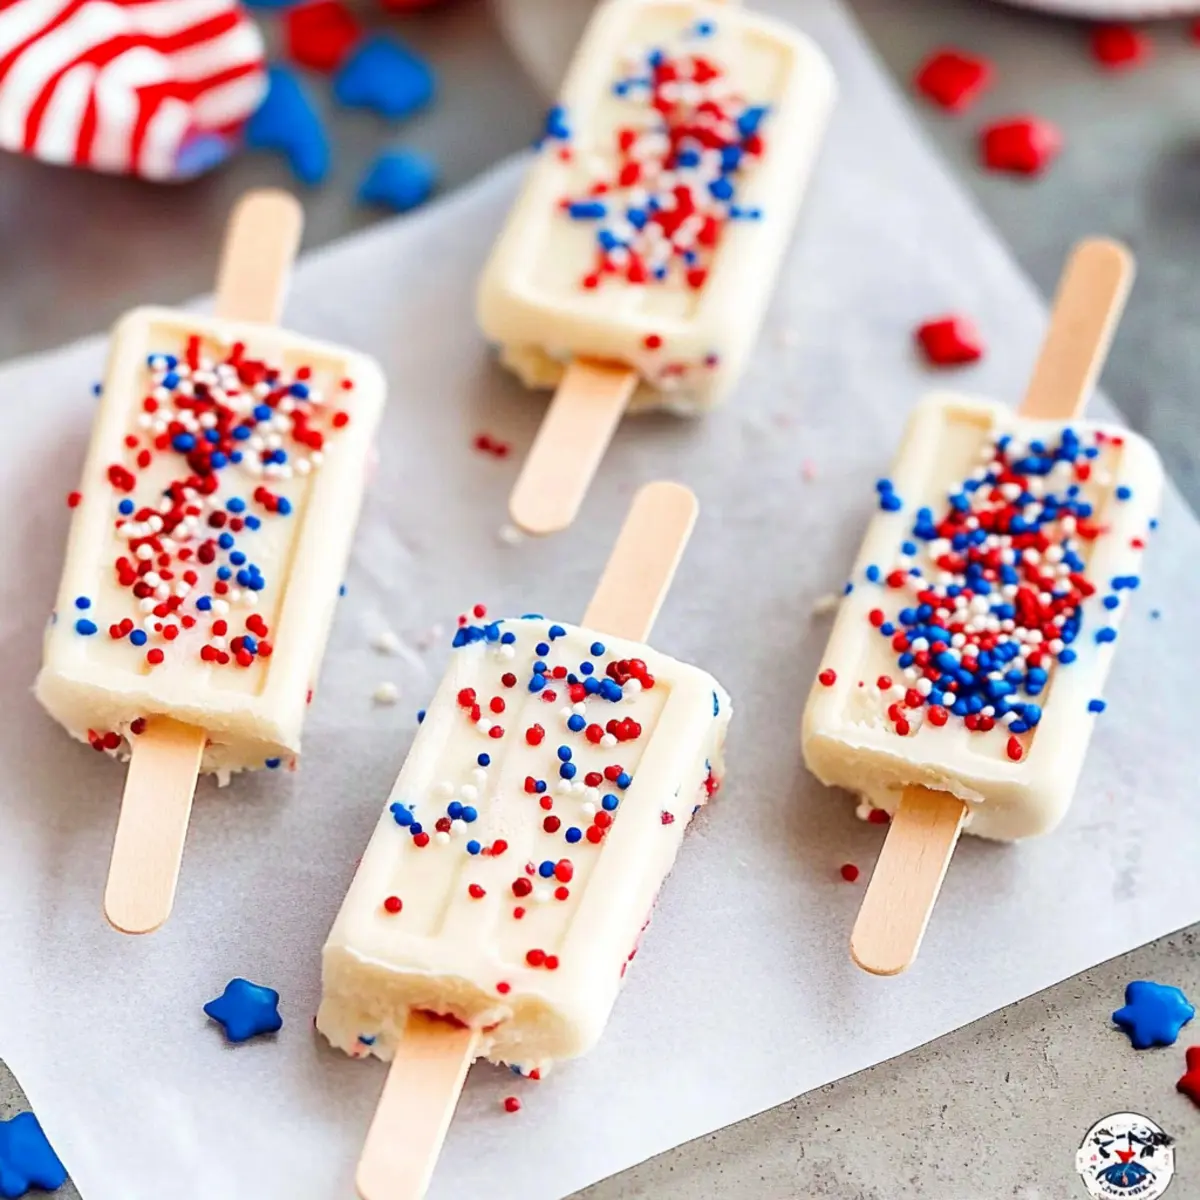
Crowd-Pleaser: Both kids and adults will love their creamy center and crisp outer shell—an irresistible combination!
Make Ahead: Preparing these treats a day in advance is a breeze; just store them in the freezer until ready to serve! Feel free to check out related recipes like Lemon Blueberry Cheesecake Bars for an additional refreshing dessert to complement your summer spread.
Red White and Blue Cakesicles Ingredients
For the Cakesicles
• White Cake Mix – This creates the base structure for cakesicles; you can choose any flavor for delightful variations.
• Eggs – Essential for adding richness and structure to the cake.
• Water – Hydrates the cake mix according to the package instructions for perfect consistency.
• Instant Vanilla Pudding Mix – Enhances moisture and richness, ensuring a tender cake.
• Sour Cream – Adds tanginess and keeps the cake soft and moist.
• Red, White, and Blue Sprinkles – Adds vibrant color and festive appeal; swap them out for any seasonal theme!
For the Filling
• Vanilla Frosting – Acts as the essential binding agent that holds the cakesicle mixture together.
For Coating and Decoration
• White Wafer Melts – These are used for the outer chocolate coating; feel free to substitute with white chocolate or chocolate chips.
• Red and Blue Icing – Perfect for creative decoration; any color icing can be used to match your theme.
• Red, White, and Blue Sprinkles and Stars – Extra decorative elements to celebrate any occasion, customizable to your heart’s desire.
Now that you have all the colorful and adaptable ingredients for your Red White and Blue Cakesicles, let’s get to crafting this festive treat that’s sure to light up any gathering!
Step‑by‑Step Instructions for Red White and Blue Cakesicles
Step 1: Prepare the Cake
Preheat your oven to 350°F and spray a 9×13 inch pan with nonstick spray. In a large mixing bowl, combine the white cake mix, eggs, water, instant vanilla pudding mix, and sour cream, blending until smooth. Gently fold in the red, white, and blue sprinkles for added color and fun. Pour the cake batter into the prepared pan and bake for about 30-35 minutes, until a toothpick comes out clean. Let the cake cool completely.
Step 2: Make the Cakesicle Mixture
Once the cake is cool, crumble half of it into a large mixer bowl. Add half a tub of vanilla frosting to the crumbled cake and mix on low speed until just combined. The mixture should be soft but not overly wet, allowing you to shape it easily. This blend creates the perfect filling for your Red White and Blue Cakesicles.
Step 3: Mold the Cakesicles
In a microwave-safe bowl, melt the white wafer melts according to package instructions until smooth. Use a brush to coat the inside of your cakesicle molds with the melted wafers, making sure to cover the entire surface evenly. Freeze this coating for about 3-5 minutes to set. Once set, add a second layer of melted wafers, freeze again, and then fill the molds with your cakesicle mixture, pressing down gently for a compact fit.
Step 4: Seal and Set
Pour a layer of melted white chocolate over the filled molds to seal the cakesicles completely. Place them back in the freezer for at least 20-30 minutes until they are firm and ready to be removed from the molds. This step ensures that the pops have a sturdy outer shell, adding to the delight of your Red White and Blue Cakesicles.
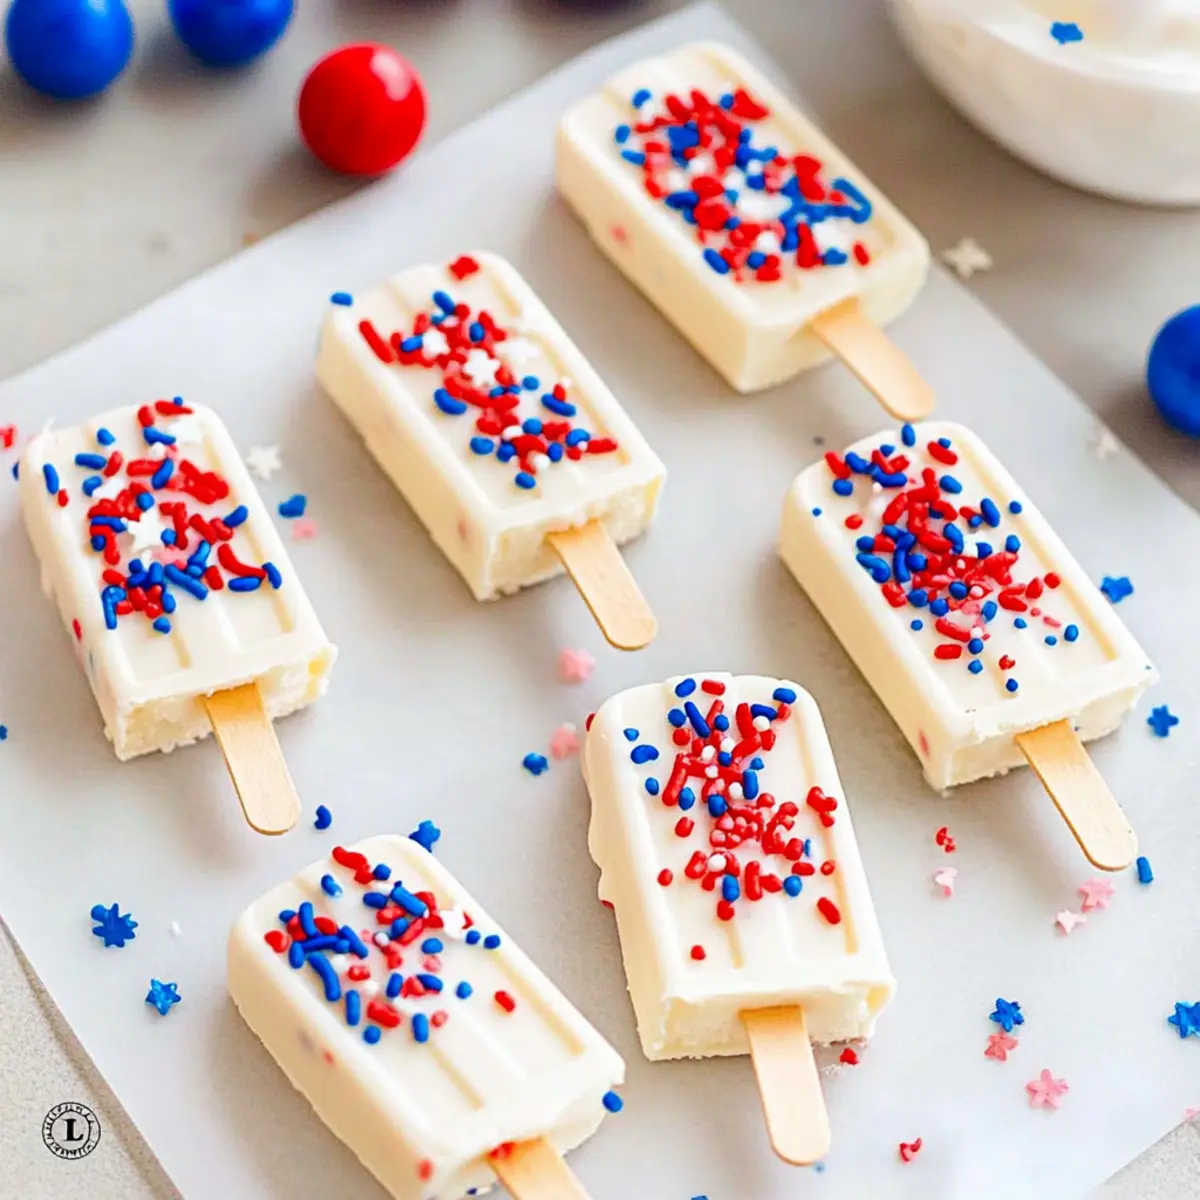
Step 5: Decorate and Serve
Carefully remove the frozen cakesicles from the molds, allowing them to sit at room temperature for a few minutes to soften the edges if needed. Once ready, decorate your cakesicles with red and blue icing in your desired patterns, and sprinkle on additional colorful decorations. Serve these festive treats chilled for the perfect summer dessert at your gatherings!
How to Store and Freeze Red White and Blue Cakesicles
Fridge: Keep your cakesicles in an airtight container in the refrigerator for up to 5 days to maintain their freshness and flavor.
Freezer: For longer storage, freeze the cakesicles individually wrapped in plastic wrap, then place them in a freezer-safe bag or container for up to 3 months.
Thawing: When ready to enjoy, simply remove the desired number of cakesicles from the freezer and let them thaw in the fridge for an hour or at room temperature for about 15 minutes.
Reheating: These treats are best enjoyed chilled, so there’s no need to reheat! Just garnish as desired and serve for a refreshing dessert.
Expert Tips for Red White and Blue Cakesicles
-
Cool Completely: Ensure the cake is completely cool before crumbling. This prevents a soggy mixture which can ruin your cakesicles.
-
Gentle Mixing: Mix the cake and frosting gently to avoid over-mixing. This keeps your Red White and Blue Cakesicles light and fluffy.
-
Melt Chocolate Properly: If your melted chocolate is too thick, reheat it briefly. A smooth coating makes for prettier cakesicles!
-
Use Silica Gel Packs: Store your decorated cakesicles with a silica gel pack to maintain freshness without adding moisture.
-
Experiment with Colors: Don’t hesitate to try different colors of icing or sprinkles to suit various occasions, making your cakesicles versatile and fun!
What to Serve with Red, White, and Blue Cakesicles?
Elevate your summer gathering by creating a delightful spread that perfectly complements these colorful treats!
-
Refreshing Fruit Salad: A vibrant mix of seasonal fruits adds a refreshing balance to the sweetness of the cakesicles, offering a palate-cleansing contrast.
-
Cool Vanilla Ice Cream: Serve scoops of rich vanilla ice cream alongside the cakesicles. The creamy texture pairs beautifully with the crisp chocolate coating for a sumptuous experience.
-
Sparkling Lemonade: This tart and bubbly drink not only quenches thirst but enhances the festive spirit of your gathering, making it even more enjoyable for guests.
-
Patriotic Charcuterie Board: Curate a patriotic-themed board with cheeses, meats, and red, white, and blue berries for a fun appetizer that complements your sweet treats beautifully.
-
Chocolate Dipped Pretzels: The salty crunch of pretzels dipped in chocolate offers a delightful textural contrast to the soft, moist cakesicles.
-
Mini Cupcakes: Bake a batch of mini cupcakes in festive colors or flavors that can be served alongside or even topped with any leftover frosting for an added treat.
-
Sparkling Water with Berries: Infuse sparkling water with fresh strawberries and blueberries for a refreshing, sophisticated, and beautiful drink option that pairs perfectly with your cakesicles.
Red White and Blue Cakesicles Variations
Feel free to unleash your creativity with these delightful cakesicles and customize them to match your taste and festive spirit!
-
Chocolate Delight: Substitute white cake mix with chocolate cake mix for an indulgent variation that chocolate lovers will adore. The contrast of flavors will surprise your guests!
-
Colorful Sprinkles: Use rainbow or pastel sprinkles instead of red, white, and blue for a colorful twist that’s perfect for birthdays or any celebration! Kids will especially love the vibrant surprise inside.
-
Fruity Fun: Swap vanilla frosting for strawberry or lemon-flavored frosting to add a fresh burst of flavor. The fruity notes will brighten your dessert table!
-
Crunchy Coating: Instead of just white chocolate, try adding crushed nuts or cookie crumbs to the melted coating for extra texture and crunch. A chewy surprise awaits in every bite!
-
Spice It Up: Add a pinch of cinnamon or nutmeg to your cake mixture for a warming spice twist—perfect for autumn gatherings or cozy celebrations!
-
Dairy-Free Option: Use a dairy-free cake mix and frosting, along with dairy-free chocolate melts, to make this festive treat accessible for everyone at your gathering.
-
Mini Cakesicles: For bite-sized treats, pour the mixture into muffin tins lined with cupcake liners instead of molds, creating mini cakesicle bites for the perfect pop-in-your-mouth delight!
-
Layered Surprise: Create layers by using different colored cake batters in each molds. Marble them for a beautiful display that’s sure to wow your guests.
Once you’ve tried these variations, you might also enjoy making Bbq Chicken Mac for a savory main course or Red Velvet Brownies as a delightful pairing!
Make Ahead Options
Preparing Red, White, and Blue Cakesicles ahead of time is a fantastic way to save precious hours in your busy schedule! You can make the cakesicles up to 24 hours in advance; simply let them set in the freezer. For best results, store them in an airtight container to prevent freezer burn and maintain their delightful texture. If you want to prep even earlier, you can bake the cake and crumble it up to 3 days ahead, keeping it refrigerated until you’re ready to mix it with frosting. When it’s time to serve, simply decorate the frozen cakesicles with icing and sprinkles for that festive touch, and enjoy a crowd-pleaser with minimal effort!
Red White and Blue Cakesicles Recipe FAQs
What kind of cake mix should I use for the cakesicles?
Absolutely! You can use any flavor of cake mix to create your Red White and Blue Cakesicles. While white cake mix is a classic choice, chocolate or strawberry cake mix will add a delightful twist. With the addition of sprinkles, each version will still look festive and celebratory!
How should I store my cakesicles once made?
To maintain freshness, store your cakesicles in an airtight container in the refrigerator for up to 5 days. If you want to keep them for longer, you can freeze them individually wrapped in plastic wrap and then place them into a freezer-safe container for up to 3 months.
Can I freeze the cakesicles? If so, how?
Yes, the Red White and Blue Cakesicles can be frozen! First, wrap each cakesicle individually in plastic wrap. Then, place them in a freezer-safe bag or airtight container to prevent freezer burn. To thaw, simply remove them from the freezer and allow them to sit in the fridge for about an hour, or at room temperature for around 15 minutes before serving.
How do I prevent the cakesicles from being soggy inside?
To avoid a soggy mixture, make sure your cake is completely cooled before crumbling it. This helps maintain the right consistency for your cakesicle filling. Additionally, be careful not to over-mix the cake and frosting; mix them just until they are combined for the lightest texture.
Are these cakesicles suitable for dietary restrictions?
While the recipe as-is contains dairy and eggs, you can easily adapt it for dietary restrictions. Substitute with dairy-free frosting and cake mixes. For gluten-free options, look for gluten-free cake mix varieties. Always check the ingredient labels for allergens if you’re preparing them for those with specific allergies.
Red White and Blue Cakesicles for Your Summer Celebration
Ingredients
Equipment
Method
- Preheat your oven to 350°F and spray a 9x13 inch pan with nonstick spray.
- In a large mixing bowl, combine the white cake mix, eggs, water, instant vanilla pudding mix, and sour cream, blending until smooth.
- Gently fold in the red, white, and blue sprinkles and pour the cake batter into the prepared pan.
- Bake for about 30-35 minutes, until a toothpick comes out clean. Let the cake cool completely.
- Once the cake is cool, crumble half of it into a large mixer bowl and add half a tub of vanilla frosting, mixing on low speed until combined.
- Melt the white wafer melts and brush the inside of your cakesicle molds with the melted wafers. Freeze for 3-5 minutes.
- Add a second layer of melted wafers, freeze again, then fill molds with the cakesicle mixture, pressing down gently.
- Seal filled molds with melted chocolate and freeze for at least 20-30 minutes.
- Carefully remove the cakesicles from molds and decorate with red and blue icing and additional sprinkles.
- Serve chilled for a perfect summer dessert!
Leave a Reply