
As I whisked away in my kitchen, the cool breeze drifting through the window, I stumbled upon an unexpected treat—Homemade Whipped Cream Dessert. It’s astonishing how a few simple ingredients can transform into something so airy and indulgent. This quick dessert is not just a topping; it’s an experience waiting to elevate your favorite cakes and fresh berries into a luxurious delight. With minimal prep time, you’ll impress family and friends, making it a crowd-pleaser that can be customized to suit any palate. From drizzling chocolate to adding a hint of citrus zest, the possibilities are endless! Are you ready to whip up a batch and discover just how delightful this silky dessert can be?
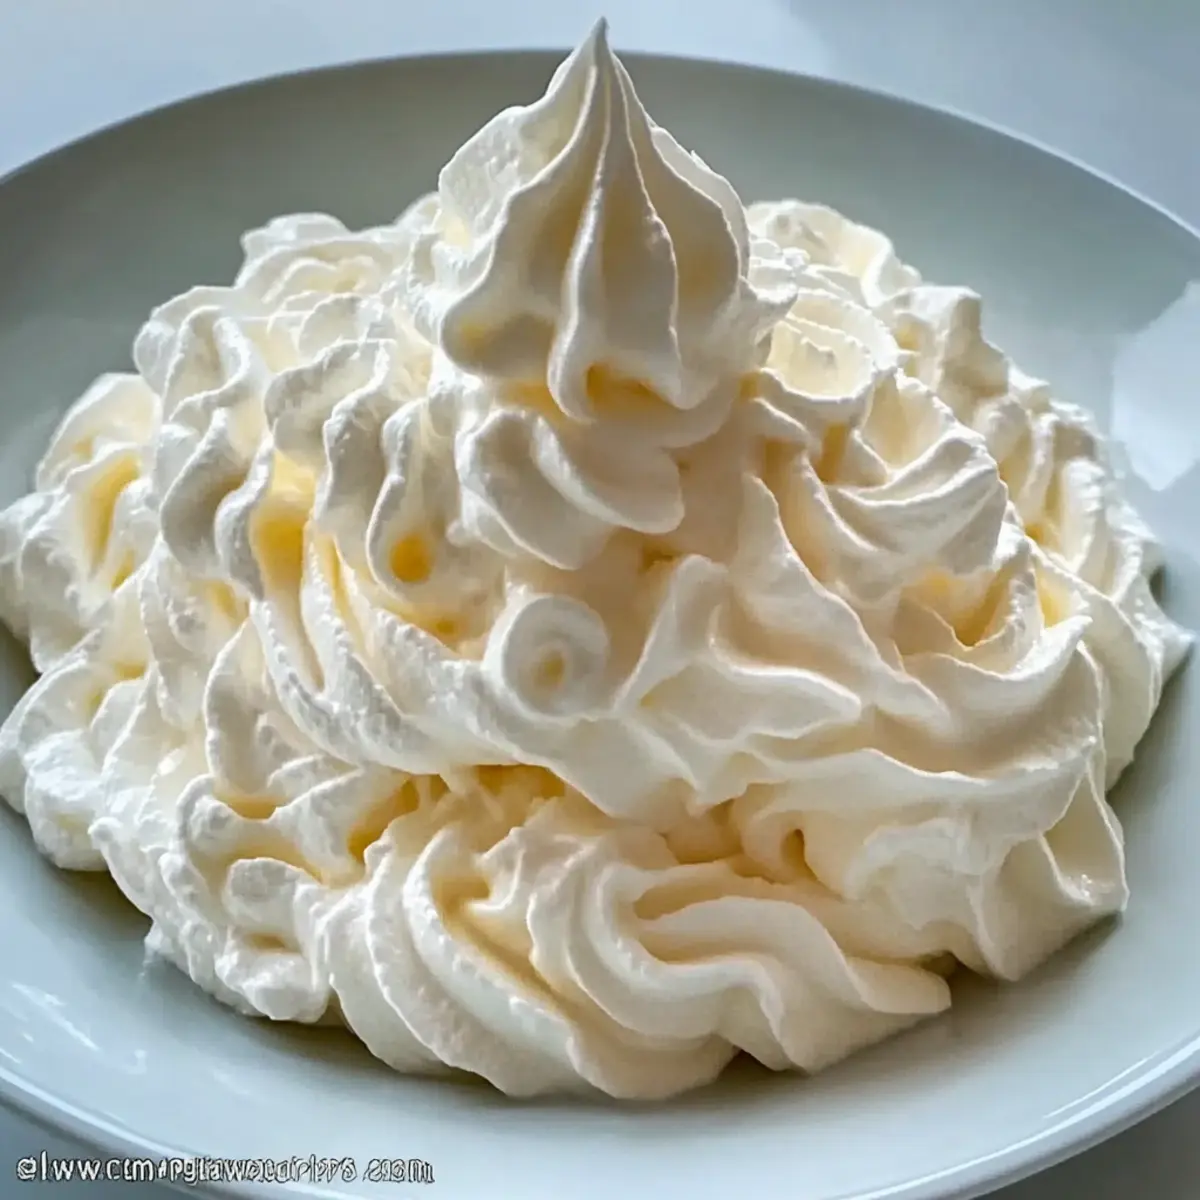
Why is Homemade Whipped Cream Dessert amazing?
Lush Texture: The creamy, airy consistency makes each bite feel luxurious, perfect for impressing guests.
Quick & Easy: This recipe allows you to create a delectable dessert in just a few minutes, saving you time for other cooking adventures.
Versatile Delight: Use it to enhance any dessert—think layered cakes, fresh fruit, or a decadent topping for your favorite pie. If you love classic dessert ideas, try pairing it with a Blueberry Cream Cake or a slice of Shortcake Ice Cream.
Customize to Taste: Add your favorite flavorings like cocoa for chocolate lovers or citrus zest for a refreshing twist—make it uniquely yours!
Crowd-Pleaser: Whether it’s a family meal or a dinner party, this dessert is sure to delight everyone at the table.
Homemade Whipped Cream Dessert Ingredients
For the Whipped Cream
• Heavy Whipping Cream – Essential for achieving the airy structure of the whipped dessert, making it luxuriously rich.
• Powdered Sugar – Sweetens your whipped cream while helping it maintain that light and fluffy texture; you can substitute with granulated sugar but expect a slightly longer mixing time.
• Pure Vanilla Extract – Infuses a delightful richness that elevates the cream’s sweetness; using pure vanilla gives the best flavor.
• Fine Sea Salt – Adds a touch of balance to the sweetness and enhances flavor; it’s optional but highly recommended for depth.
Step‑by‑Step Instructions for Homemade Whipped Cream Dessert
Step 1: Chill Your Tools
Begin by chilling your mixing bowl and beaters in the freezer for 10 to 15 minutes. This crucial step ensures your tools are cold enough to help the heavy whipping cream whip up to fluffy perfection. While you wait, visualize the silky Homemade Whipped Cream Dessert you’re about to create—so light and delicious!
Step 2: Combine Ingredients
Once your mixing bowl and beaters are nicely chilled, remove them from the freezer. In the cold bowl, combine 1 cup of heavy whipping cream, 2 tablespoons of powdered sugar, 1 teaspoon of pure vanilla extract, and a pinch of fine sea salt. The salt will enhance the flavors, so don’t skip this step. Mix these ingredients together with a whisk to create a smooth blend.
Step 3: Start Whipping
Use your electric mixer to start whipping the cream mixture on low speed. This helps to prevent any splattering of cream around your kitchen. Gradually increase the speed to medium-high after about 30 seconds. Keep an eye on the mixture as it thickens, looking for that beautiful transformation from liquid to creamy delight.
Step 4: Beat Until Stiff Peaks Form
Continue whipping the cream until it forms stiff peaks, which typically takes about 2 to 4 minutes. You’ll know it’s ready when the cream stands tall and firm when you lift the beaters out. Be cautious not to overbeat, as this can turn your Homemade Whipped Cream Dessert into butter—stop mixing the moment you achieve that airy, luxurious consistency.
Step 5: Serve or Store
Your delightful Homemade Whipped Cream Dessert is now ready to enjoy! Use it immediately as a luscious topping for cakes, desserts, or fresh fruit. If you need to store it, place your whipped cream in an airtight container in the fridge for up to 2 days. Before serving after storage, gently re-whisk to restore its airy texture.
Make Ahead Options
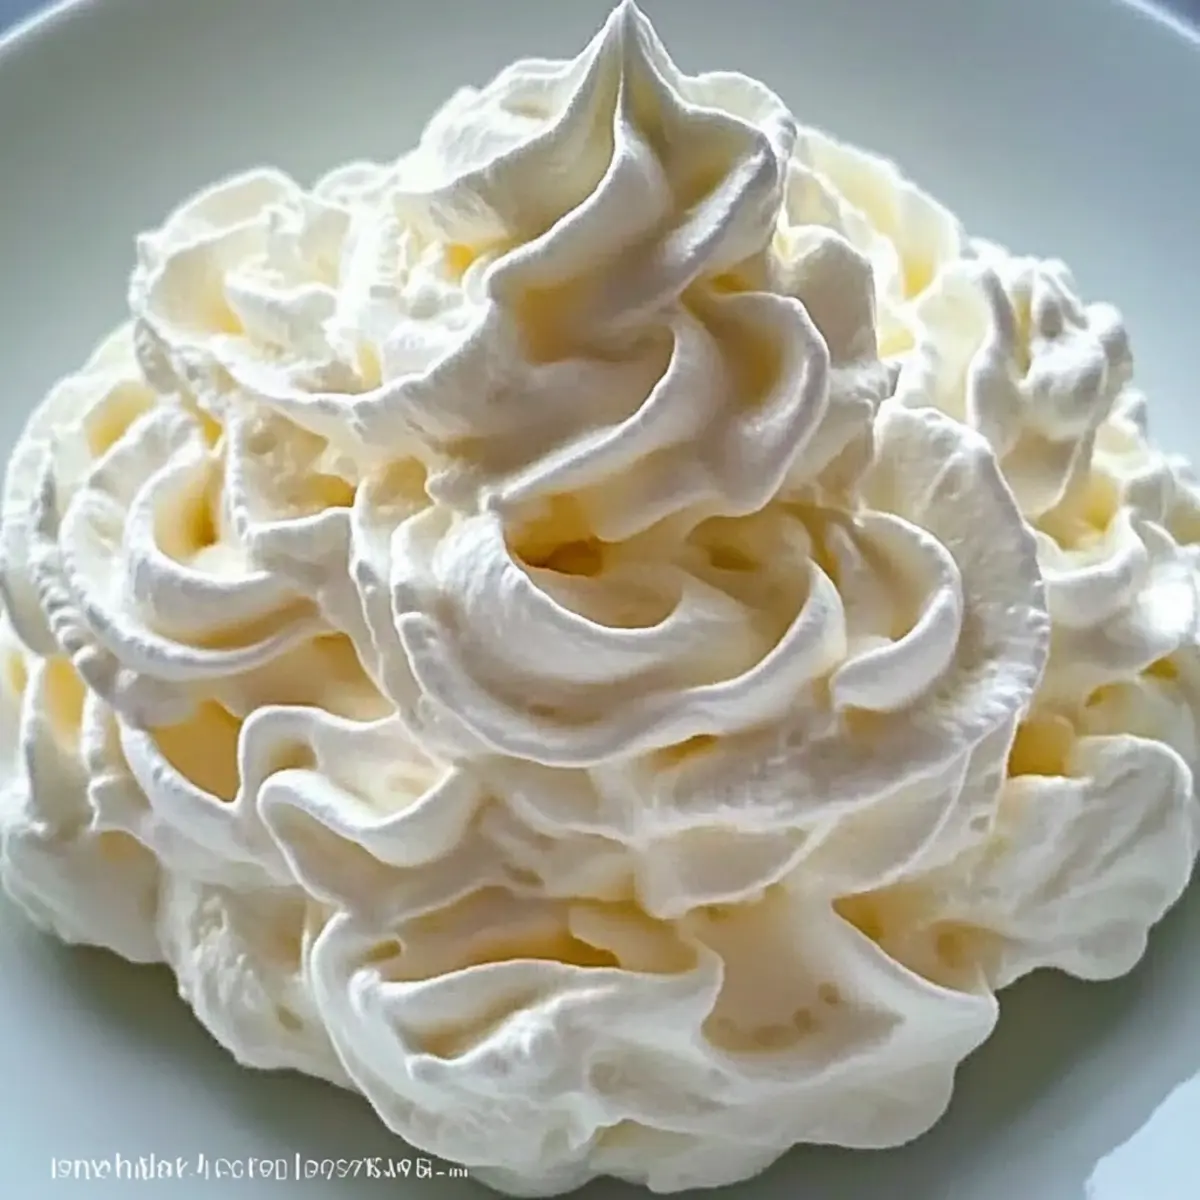
Making your Homemade Whipped Cream Dessert ahead of time is a fantastic way to save precious minutes on busy days! You can prepare the whipped cream up to 24 hours in advance and store it in an airtight container in the fridge. To maintain its fluffy texture, be sure to gently re-whisk it before serving if it loses volume. Additionally, consider combining your ingredients (1 cup heavy cream, 2 tablespoons powdered sugar, 1 teaspoon vanilla, and a pinch of salt) the night before and store them separately in the fridge. When you’re ready to whip up your dessert, simply pour the mixture into your chilled bowl and follow the whipping instructions to achieve that delightful, airy consistency. Enjoy a stress-free serving time with this convenient prep!
What to Serve with Silky Homemade Whipped Cream Dessert
Enhance the flavors of this light and airy dessert with delightful pairings that create a memorable experience.
-
Fresh Berries: These juicy, tart berries contrast beautifully with the creamy texture, offering a burst of flavor that elevates each bite.
-
Chocolate Cake: Rich and decadent, chocolate cake pairs perfectly with your homemade whipped cream, balancing sweetness and providing a pleasing texture.
-
Citrus Sorbet: The refreshing zing of citrus sorbet cleanses the palate, making the indulgence of whipped cream even more satisfying.
-
Apple Crisp: The warm, spiced apple crisp complements the cool, silky whipped cream exquisitely, creating a comforting dessert duo.
-
Pecan Pie: The robust, nutty flavors of pecan pie paired with the lightness of whipped cream add a delightful contrast, perfect for any festive gathering.
-
Coffee: A robust cup of coffee enhances the sweetness of your whipped cream dessert, creating a rich, enveloping experience perfect for ending a meal.
-
Lemon Tart: The tartness of lemon tart balances the sweetness of whipped cream, resulting in a delightful contrast that’s refreshing and light.
-
Sandwich Cookies: Consider serving with crispy sandwich cookies, where the texture of crunchy cookies and silky cream fill gives delightful contrast in every bite.
Homemade Whipped Cream Dessert Variations
Feel free to embark on a delightful journey of customization with your Homemade Whipped Cream Dessert! Let your creativity shine and the flavors soar.
-
Chocolate Twist: Add 1-2 tablespoons of cocoa powder to the heavy cream for a rich chocolate flavor that delights. Perfect for decadent dessert cravings!
-
Citrus Zest: Incorporate the zest of an orange or lemon for a refreshing hint. This bright touch elevates your whipped cream to a whole new level!
-
Almond Essence: Swap vanilla extract for almond extract to create a warm, nutty flavor profile. This is a lovely surprise for those who adore unique tastes.
-
Maple Syrup: Replace powdered sugar with maple syrup for a natural sweetener with a hint of autumn warmth. The aroma alone will entice anyone nearby!
-
Spicy Kick: Add a pinch of cinnamon or nutmeg for a festive, spicy twist that warms any dessert. It’s a fantastic pairing for autumn treats or holiday gatherings.
-
Layered Delight: Use your whipped cream to elevate a classic dessert like a Cheesecake Fruit Dessert, layering it with fresh fruit for a stunning presentation.
-
Coffee Infusion: Mix in a tablespoon of espresso powder for a delightful mocha flavor. This velvety whipped cream can turn your dessert into a coffee lover’s dream!
-
Caramel Drizzle: Serve your whipped cream topped with a delicious caramel sauce for ultimate indulgence. It’s the perfect pairing for cakes or even a scoop of ice cream.
There you go! These variations will not only enhance your whipped cream but also allow you to create a one-of-a-kind treat that’s sure to impress anyone at your table. Enjoy experimenting!
How to Store and Freeze Homemade Whipped Cream Dessert
Fridge: Store your Homemade Whipped Cream Dessert in an airtight container for up to 2 days. Gently re-whisk before serving if the cream has lost some volume.
Freezer: For longer storage, you can freeze the whipped cream in a freezer-safe container for up to 1 month. Thaw in the refrigerator overnight before using, and re-whisk to restore its texture.
Room Temperature: It’s best not to leave homemade whipped cream at room temperature for more than 1 hour to maintain its texture and freshness.
Reheating: While whipped cream doesn’t need reheating, if you’ve frozen it, be sure to let it thaw completely and re-whisk gently for the perfect silky consistency.
Expert Tips for Homemade Whipped Cream Dessert
• Chill Everything: Always chill your mixing bowl and beaters to ensure the cream whips up to its best texture. Warm tools can make your dessert soupy.
• Watch the Speed: Start mixing on low to avoid splatters. Gradually increase to medium-high for perfect whip consistency without over-beating.
• Don’t Over-Whip: Stop as soon as you see stiff peaks forming. Over-beating turns the cream into butter, which is not what you want for a decadent Homemade Whipped Cream Dessert.
• Flavor Customization: Feel free to experiment! Add cocoa powder for a chocolate variant or a splash of citrus zest for a fresh twist to your dessert.
• Storage Secrets: Keep your whipped cream in an airtight container in the fridge for up to 2 days. Re-whisk gently before serving if it has lost volume.
Homemade Whipped Cream Dessert Recipe FAQs
How do I select the best heavy cream for my recipe?
Absolutely! When choosing heavy whipping cream, look for one that has a fat content of at least 36%. Always check the expiration date on the carton and avoid any that shows signs of separation or unusual odor. You want that fresh and creamy goodness to elevate your dessert!
How should I store leftover whipped cream?
Very important! Store your Homemade Whipped Cream Dessert in an airtight container in the refrigerator for up to 2 days. Before serving, gently re-whisk to restore its airy texture, as it may lose volume when stored.
Can I freeze my whipped cream?
Yes, you can! To freeze your whipped cream, spoon dollops onto a parchment-lined baking sheet. Freeze them for about 1-2 hours until solid. Then, transfer the frozen whipped cream blobs into a freezer-safe container and store for up to 1 month. When ready to use, thaw in the fridge overnight and re-whisk for that lovely consistency.
What do I do if my whipped cream won’t stiffen?
If your whipped cream isn’t whipping up as expected, check a couple of things. First, make sure your cream is very cold—chilling your bowl and beaters beforehand also helps. Another reason might be that the fat content of your cream isn’t high enough; ensure it’s at least 36%. If it still doesn’t whip up, you can add more powdered sugar or a little cornstarch to help stabilize it.
Can I make this dessert dairy-free?
Absolutely! If you are looking for a dairy-free version, consider using coconut cream. Simply refrigerate a can of full-fat coconut milk overnight, then scoop out the solidified cream on top and whip as you would with heavy cream, adding powdered sugar and vanilla for sweetness. This will give you a deliciously creamy yet dairy-free treat!
Does homemade whipped cream contain allergens?
It does! Homemade whipped cream typically contains dairy, so anyone with dairy allergies should avoid it. For those with sugar sensitivities, opting for alternatives like a sugar substitute can work, but it may affect the texture. Always consider your guests’ dietary restrictions before serving!
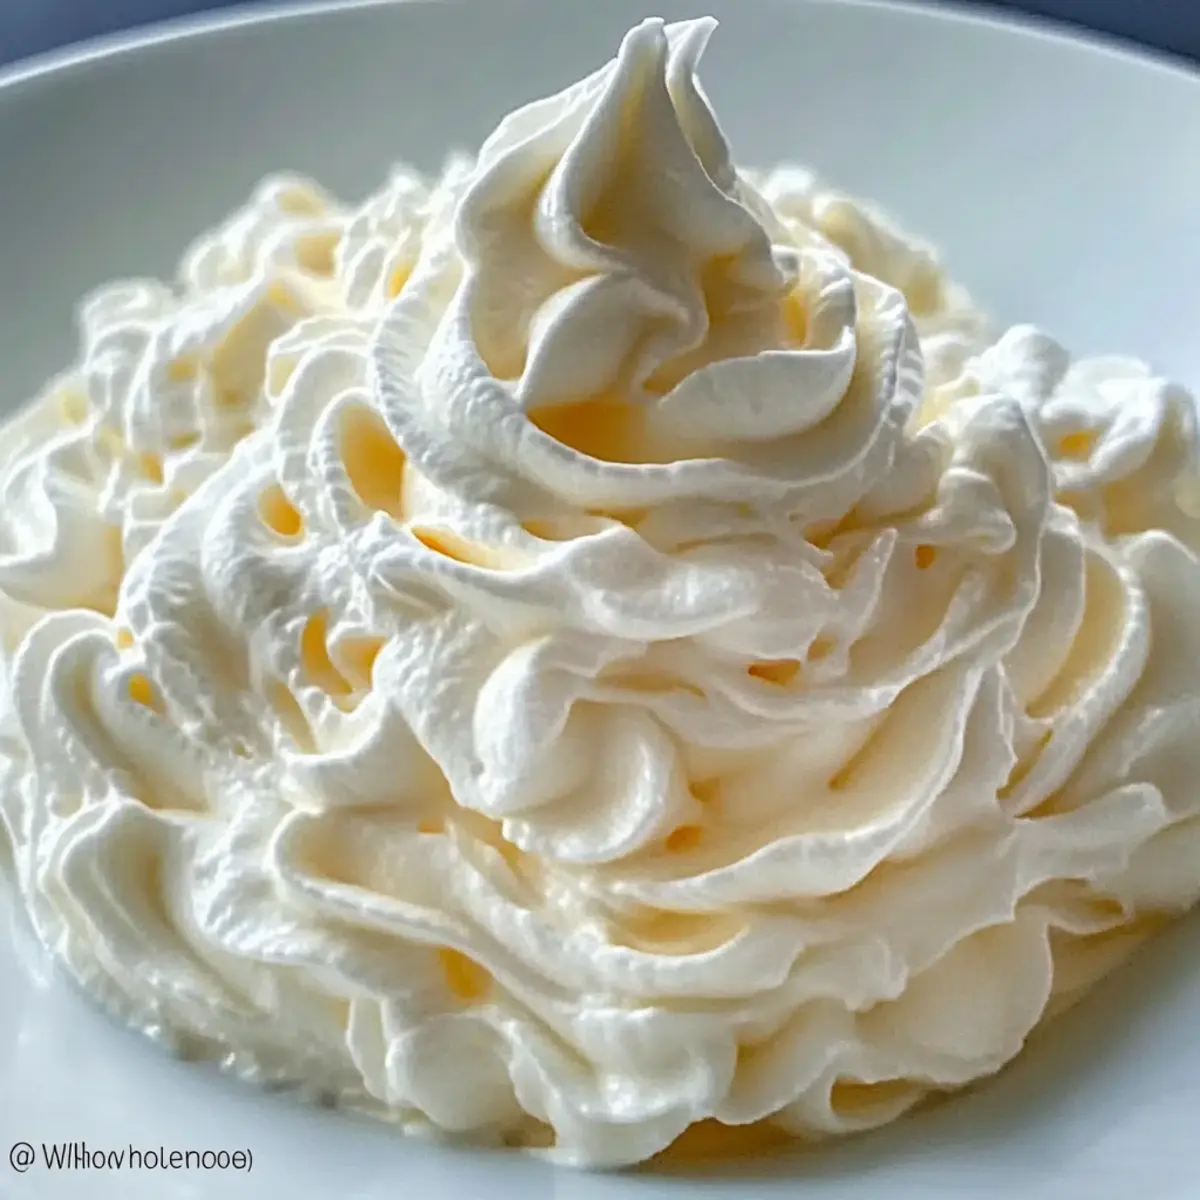
Deliciously Easy Homemade Whipped Cream Dessert Recipe
Ingredients
Equipment
Method
- Chill your mixing bowl and beaters in the freezer for 10 to 15 minutes.
- Combine heavy whipping cream, powdered sugar, pure vanilla extract, and fine sea salt in the cold bowl.
- Use an electric mixer to whip the cream mixture on low speed, gradually increasing to medium-high.
- Continue whipping until stiff peaks form, about 2 to 4 minutes.
- Use immediately or store in an airtight container in the fridge for up to 2 days.
Leave a Reply