
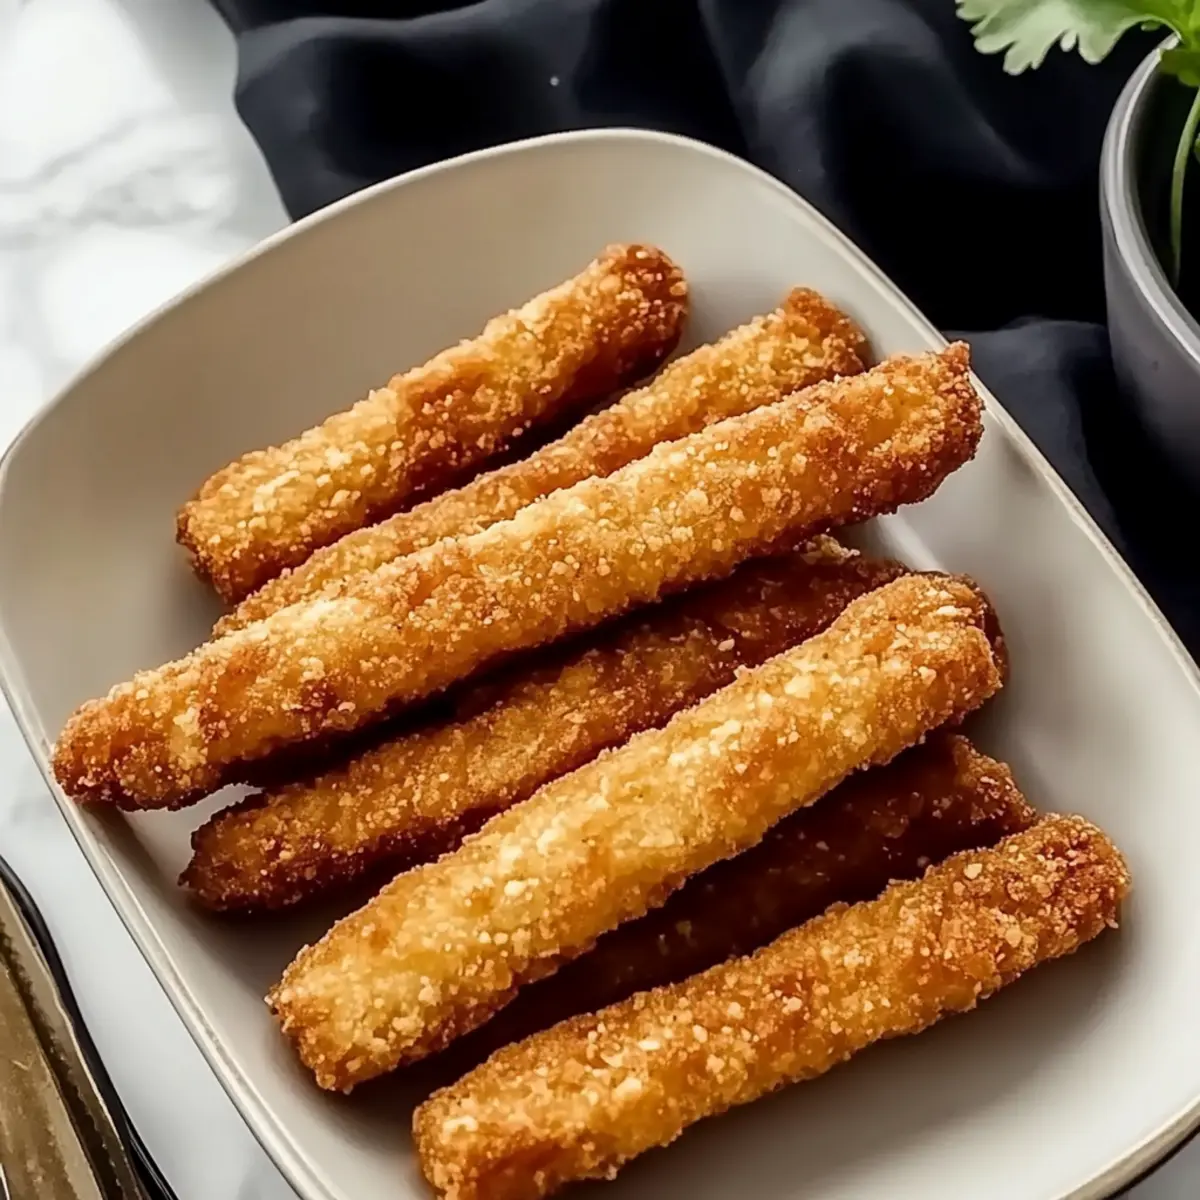
“Imagine transforming a pantry staple into a delectable dinner that excites both adults and kids alike. These crispy baked canned tuna fish sticks are my secret weapon for weeknight meals, combining high-protein goodness with budget-friendly ingredients. What’s better? They come together in a snap, making dinner prep feel less like a chore and more like a fun culinary adventure. With a cheesy, crunchy exterior and tender inside, these fish sticks not only satisfy hunger but also keep picky eaters smiling. Whether you’re baking, frying, or air frying, you’ll find a method that suits your kitchen style perfectly. So, are you ready to bring something new to the table tonight?”
Why are Baked Canned Tuna Fish Sticks a Must-Try?
Kid-Friendly Delight: These fish sticks are a hit with children and adults alike, making them a perfect choice for family dinners.
High-Protein Nutritional Boost: Packed with protein from canned tuna, they’re a filling meal option without breaking the bank.
Quick and Effortless: Whip them up in no time, whether you’re baking, frying, or air frying! It’s cooking made simple, so you’ll have more time to enjoy your meal.
Versatile Flavor Options: Feel free to mix and match seasonings or cheese alternatives, such as using baked zaatar yogurt chicken spices to create a unique twist!
Perfect for Picky Eaters: The cheesy, crunchy exterior and tender inside help convert even the most discerning taste buds.
These tuna fish sticks are not only fun and flavorful but can be paired with dipping sauces like ranch or spicy sriracha mayo for added zest!
Baked Canned Tuna Fish Sticks Ingredients
For the Base Mixture
• Canned Tuna – Provides protein and flavor; opt for tuna packed in water for a lighter dish.
• Shredded Cheddar Cheese – Adds creaminess and binds the mixture; feel free to substitute with mozzarella or a dairy-free alternative.
• Egg – Acts as a binding agent; for a vegan option, use a flaxseed meal egg substitute.
For Seasoning
• Seasonings – Enhances flavor; customize with spices like garlic powder or paprika, but don’t forget salt and pepper for basic seasoning.
For the Crunchy Coating
• Crushed Pork Rinds – Provides a crispy coating; you can swap these for finely crushed breadcrumbs or panko for a different texture.
This recipe for Baked Canned Tuna Fish Sticks not only delivers incredible taste but is also designed to please even the pickiest of eaters!
Step‑by‑Step Instructions for Baked Canned Tuna Fish Sticks
Step 1: Preheat the Oven
Begin by preheating your oven to 400°F (200°C). This ensures that the Baked Canned Tuna Fish Sticks will cook evenly and achieve that delightful golden brown color. While the oven warms up, you can prepare your baking sheet with parchment paper, making cleanup a breeze and preventing sticking.
Step 2: Mix the Ingredients
In a mixing bowl, combine your drained canned tuna, shredded cheddar cheese, an egg, and your desired seasonings. Stir the mixture until everything is evenly combined—aim for a chunky but cohesive texture. This base will form the heart of your fish sticks, so take a moment to ensure it’s well-blended and flavorful.
Step 3: Shape the Fish Sticks
Using your hands, scoop out portions of the mixture and form them into stick-like shapes, roughly the size of traditional fish sticks. Aim for uniformity to ensure even cooking throughout. Gently press each stick to compact it, giving them a sturdy structure that will hold together during baking.
Step 4: Arrange on the Baking Sheet
Carefully place your shaped fish sticks onto the parchment-lined baking sheet, leaving a bit of space between each to allow air to circulate. This spacing is crucial for achieving that crispy outer layer that will make your Baked Canned Tuna Fish Sticks so irresistible.
Step 5: Bake to Perfection
Pop the baking sheet into your preheated oven and bake for about 20 minutes. Keep an eye on them as they cook; you’re looking for a firm texture with a lovely golden brown crust. This baking time allows the flavors to meld and the exterior to achieve that perfect crunch.
Step 6: Cool and Serve
Once baked, carefully remove the tray from the oven and let the Baked Canned Tuna Fish Sticks cool for a few minutes. This brief cooling period helps them firm up further. Serve them warm, paired with dipping sauces like ranch or tartar sauce, to elevate your family dinner experience.
Expert Tips for Baked Canned Tuna Fish Sticks
-
Drain Tuna Well: Make sure to drain the canned tuna thoroughly and pat it dry. Excess moisture can lead to soggy fish sticks.
-
Refrigerate the Mixture: Allow the combined mixture to rest in the refrigerator for at least 15 minutes. This helps it firm up, making shaping easier.
-
Uniform Size Matters: Shape the sticks into even sizes for consistent cooking. This ensures each piece has the same perfect crunch and flavor.
-
Avoid Overcrowding: When arranging the Baked Canned Tuna Fish Sticks on the baking sheet, give them space. This allows for proper airflow, resulting in a crispier texture.
-
Experiment with Coatings: Feel free to play with different coatings, like crushed pork rinds or breadcrumbs. Each option provides a unique twist to your fish sticks!
-
Serve Fresh: Enjoy your fish sticks immediately after baking for the best texture. If you have leftovers, follow proper storage guidelines to maintain crispness.
What to Serve with Crispy Baked Canned Tuna Fish Sticks
Imagine enjoying a delicious meal that transports you back to family dinners filled with laughter and flavor.
-
Creamy Coleslaw: This refreshing side adds a crunchy and tangy contrast to the savory fish sticks, enhancing each bite. The vibrant colors and textures make for an inviting plate.
-
Garlic Roasted Potatoes: Golden-brown and aromatic, these potatoes offer a hearty touch that complements the lightness of the fish sticks, making for a well-rounded meal. Their crispy exterior and fluffy insides are simply irresistible.
-
Steamed Broccoli: Bright green and full of nutrients, steamed broccoli brings freshness to your plate. Drizzle a bit of lemon juice to elevate its flavor, creating a delightful balance with the cheesy fish sticks.
-
Homemade Tartar Sauce: A classic accompaniment, this creamy dip pairs beautifully with the fish sticks. The tanginess offsets the savory flavors and adds another layer of taste for your palate to explore.
-
Crispy Sweet Potato Fries: These slightly sweet and crunchy fries add a playful twist. Their texture and flavor pair wonderfully with the tuna fish sticks, creating a delightful experience on your taste buds.
-
Sparkling Lemonade: To quench your thirst, this refreshing drink brings a zesty brightness that complements the meal perfectly. Its effervescence adds a celebratory touch that everyone will enjoy.
-
Fruit Salad: A light and sweet fruit salad complete with seasonal berries or melons adds a refreshing option to your dinner. The natural sweetness enhances the flavors of your meal while keeping it balanced.
-
Sides of Pickles or Olives: A bowl of tangy pickles or olives can provide a salty crunch that enhances the overall dining experience. Their briny flavor contrasts nicely with the mild fish sticks.
These pairings transform simple Baked Canned Tuna Fish Sticks into a delightful family feast, igniting joy and satisfaction at your dinner table.
Make Ahead Options
These Baked Canned Tuna Fish Sticks are a fantastic option for meal prep enthusiasts! You can prepare the mixture by combining the drained canned tuna, shredded cheese, egg, and seasonings up to 24 hours in advance. Simply refrigerate it in an airtight container to maintain freshness and prevent browning. Additionally, shape the fish sticks and place them on a parchment-lined baking sheet. Cover them tightly and keep them refrigerated for up to 3 days until you’re ready to bake. When it’s time to serve, just pop them in the oven as per the recipe instructions, and you’ll enjoy delicious, homemade fish sticks with minimal effort!
Baked Canned Tuna Fish Sticks Variations
Feel free to get creative with these fish sticks and tailor them to everyone’s taste buds!
-
Salmon Swap: Use canned salmon or mackerel instead of tuna for a richer flavor. It’s a delicious twist while still maintaining the high-protein benefits.
-
Cheese Change: Switch out cheddar for pepper jack, gouda, or even a dairy-free cheese for extra flair. You’ll add a fun surprise with every bite!
-
Veggie Boost: Incorporate finely chopped spinach or grated zucchini into the mixture for some added nutrition and colorful appeal. It’s a sneaky way to get your greens in!
-
Different Coatings: Experiment with crushed potato chips or gluten-free breadcrumbs for an exciting new texture. The crunch will have the whole family coming back for more!
-
Spice It Up: Add a dash of cayenne pepper or chili powder to the mixture for a bit of heat. Perfect for those who crave a zesty kick!
-
Flavor Infusion: Try adding fresh herbs like parsley or dill to enhance flavor. It’ll make these bites even more aromatic and tempting.
-
Air Frying Magic: If you’re short on time, air frying is a fantastic alternative. Cook at 375°F (190°C) for about 10-12 minutes for a golden crunch.
-
Serving Suggestions: For a delightful dipping experience, pair these sticks with homemade tartar sauce, spicy sriracha mayo, or even a fun ranch dressing. Each dip brings out a new flavor adventure!
These variations can transform your Baked Canned Tuna Fish Sticks into something new and exciting each time you make them. With options that cater to every palate, you’ll never run out of inspiration for family dinners!
How to Store and Freeze Baked Canned Tuna Fish Sticks
Fridge: Store leftovers in an airtight container in the fridge for up to 3 days. Place paper towels inside to help maintain their crispness and texture.
Freezer: These fish sticks freeze beautifully! Cool them completely, then layer in a freezer-safe container separated by parchment paper to prevent sticking. They can be frozen for up to 2 months.
Reheating: When ready to enjoy again, reheat in the oven at 375°F (190°C) for about 10-15 minutes until heated through and crispy. Avoid microwave reheating to maintain texture.
Prepping Ahead: Consider shaping a double batch and freezing half for those busy weeknights. Having pre-prepared Baked Canned Tuna Fish Sticks on hand is a real lifesaver!
Baked Canned Tuna Fish Sticks Recipe FAQs
What type of canned tuna should I use?
I recommend using chunk light or solid white albacore tuna packed in water for a lighter option. This not only provides a delicious flavor but also keeps the fish sticks from being overly oily.
How long can I store leftovers in the fridge?
You can keep the baked canned tuna fish sticks in an airtight container in the fridge for up to 3 days. To maintain their crispiness, remember to place a paper towel inside the container to absorb any moisture.
Can I freeze the fish sticks? How do I do it?
Absolutely! To freeze your baked canned tuna fish sticks, allow them to cool completely. Then, layer them in a freezer-safe container, separated by parchment paper to prevent them from sticking together. They can be stored in the freezer for up to 2 months. When you’re ready to enjoy them, reheat in the oven at 375°F (190°C) for about 10-15 minutes.
What should I do if my fish sticks fall apart during cooking?
If your fish sticks are falling apart, it could be due to excess moisture in the mixture. Make sure to drain the tuna well and even consider placing the mixture in the fridge for at least 15 minutes before shaping. Plus, ensure you’re shaping them firmly and evenly for better structural integrity.
Are there any dietary considerations for allergies?
Yes, if you’re cooking for someone with dietary restrictions, ensure to choose allergy-friendly substitutes. For instance, use a dairy-free cheese alternative if lactose intolerance is an issue. Also, avoid pork rinds and use gluten-free breadcrumbs for a gluten-free option, making these baked canned tuna fish sticks a great flexible choice for many dietary needs.
Can I adjust the seasonings to my taste?
Very much! Feel free to customize the flavors by incorporating spices like garlic powder, paprika, or even a touch of lemon zest for a refreshing kick. Making these baked canned tuna fish sticks your own is part of the fun!
Baked Canned Tuna Fish Sticks for a Fun Family Dinner
Ingredients
Equipment
Method
- Preheat your oven to 400°F (200°C). Prepare your baking sheet with parchment paper.
- In a mixing bowl, combine your drained canned tuna, shredded cheddar cheese, an egg, and desired seasonings. Stir until evenly combined.
- Scoop out portions of the mixture and form them into stick-like shapes.
- Place your shaped fish sticks onto the parchment-lined baking sheet, leaving space between each.
- Bake for about 20 minutes until golden brown and firm.
- Let the fish sticks cool for a few minutes. Serve warm with dipping sauces.
Leave a Reply