
Stepping into my kitchen, I often find a world of flavors waiting to be explored. Today, I’m excited to introduce you to Beef Yakiniku, a quick and delightful Japanese grilled beef dish that’s perfect for those busy weeknights or whenever you crave something special. What’s incredible about this recipe is how effortlessly it transforms thinly sliced steak into a savory-sweet masterpiece, all thanks to a few pantry staples and a high-heat cooking method. You’ll enjoy the tender, juicy beef with a caramelized finish that is utterly satisfying and, best of all, ready in a flash. Pair it with steamed rice and fresh veggies, and you’ve got a meal that pleases both the palate and the soul. Trust me, once you try this Beef Yakiniku, you’ll be jotting it down as a regular on your weeknight menu. Are you ready to fire up the grill and dive into this delicious journey?
Why is Beef Yakiniku So Special?
Quick to Make: This dish is perfect for busy weeknights, ready in just 20 minutes!
Savory-Sweet Harmony: The marinade combines umami flavors with a hint of sweetness, elevating your meal experience.
Impressive Presentation: Sizzling strips of beef look stunning on the plate, making it an ideal dish for guests.
Customizable: Feel free to add your favorite vegetables or side dishes, such as steamed rice or a fresh salad, to enhance your dining experience. For a hearty twist, check out my Cheesy Ground Beef or Savory Ground Beef.
Cultural Delight: Enjoying Beef Yakiniku gives you a taste of Japanese culinary tradition, transporting your taste buds to a cozy izakaya atmosphere.
Beef Yakiniku Ingredients
For the Marinade
• Low-sodium Light Soy Sauce – The base of the marinade that delivers rich umami flavor. Tamari can be used for a gluten-free option.
• Gochujang (Korean Red Chili Paste) – Adds a spicy depth to the dish. Sriracha or chili paste can substitute if you’re in a pinch.
• Mirin – Provides a sweet and complex flavor profile. A splash of rice vinegar mixed with sugar can work as a substitute.
• Minced Ginger – Infuses freshness and warmth into the marinade. Feel free to use ginger paste for convenience.
• Garlic Powder/Paste – Enhances the overall flavor. Fresh garlic will give you a stronger, bolder taste if preferred.
• Sesame Oil – Adds a nutty aroma and flavor to the marinade. A little goes a long way, so use in moderation.
• Light Brown Sugar – Balances the ingredients with a touch of sweetness. You can also use white sugar or coconut sugar as substitutes.
For the Beef
• Flank or Skirt Steak – The star of the dish, providing tender protein when sliced thinly against the grain. Sirloin or ribeye make excellent alternatives if sliced thin.
For Cooking
• Neutral Oil (e.g., Avocado, Rapeseed) – Essential for cooking, ensuring a perfect sear on the beef. Any light cooking oil will do.
Enhance your culinary journey with Beef Yakiniku—the perfect way to enjoy a quick and delicious Japanese meal!
Step‑by‑Step Instructions for Beef Yakiniku
Step 1: Prepare the Marinade
In a large mixing bowl, whisk together ¼ cup low-sodium light soy sauce, 1 tablespoon gochujang, 2 tablespoons mirin, 1 tablespoon minced ginger, 1 teaspoon garlic powder, 1 tablespoon sesame oil, 1 tablespoon neutral oil, and 1 tablespoon light brown sugar. Mix until the brown sugar dissolves and all ingredients are thoroughly combined, creating a smooth marinade with an aromatic and savory aroma.
Step 2: Marinate the Steak
Add approximately 1 pound of thinly sliced flank or skirt steak to the bowl, ensuring each piece is well-coated in the marinade. Cover the bowl with plastic wrap and refrigerate for at least 30 minutes and up to 2 hours. This process allows the flavors of the marinade to infuse into the Beef Yakiniku, enhancing its taste and tenderness.
Step 3: Preheat the Pan
While the beef marinates, preheat your wok over high heat until it starts smoking slightly, creating the perfect environment for a quick sear. To keep the cooked beef warm, place a serving bowl in a low-temperature oven or warm spot. This ensures your Beef Yakiniku will stay hot when served.
Step 4: Cook the Steak
Shake off any excess marinade from half of the beef slices and add them in a single layer to the hot wok. Sear undisturbed for about 3 minutes until a rich brown crust forms. Stir the beef and allow it to cook for an additional 2–3 minutes, until it is browned and slightly crispy. Transfer the cooked steak to the warm serving bowl, then repeat the process with the remaining beef.
Step 5: Garnish & Serve
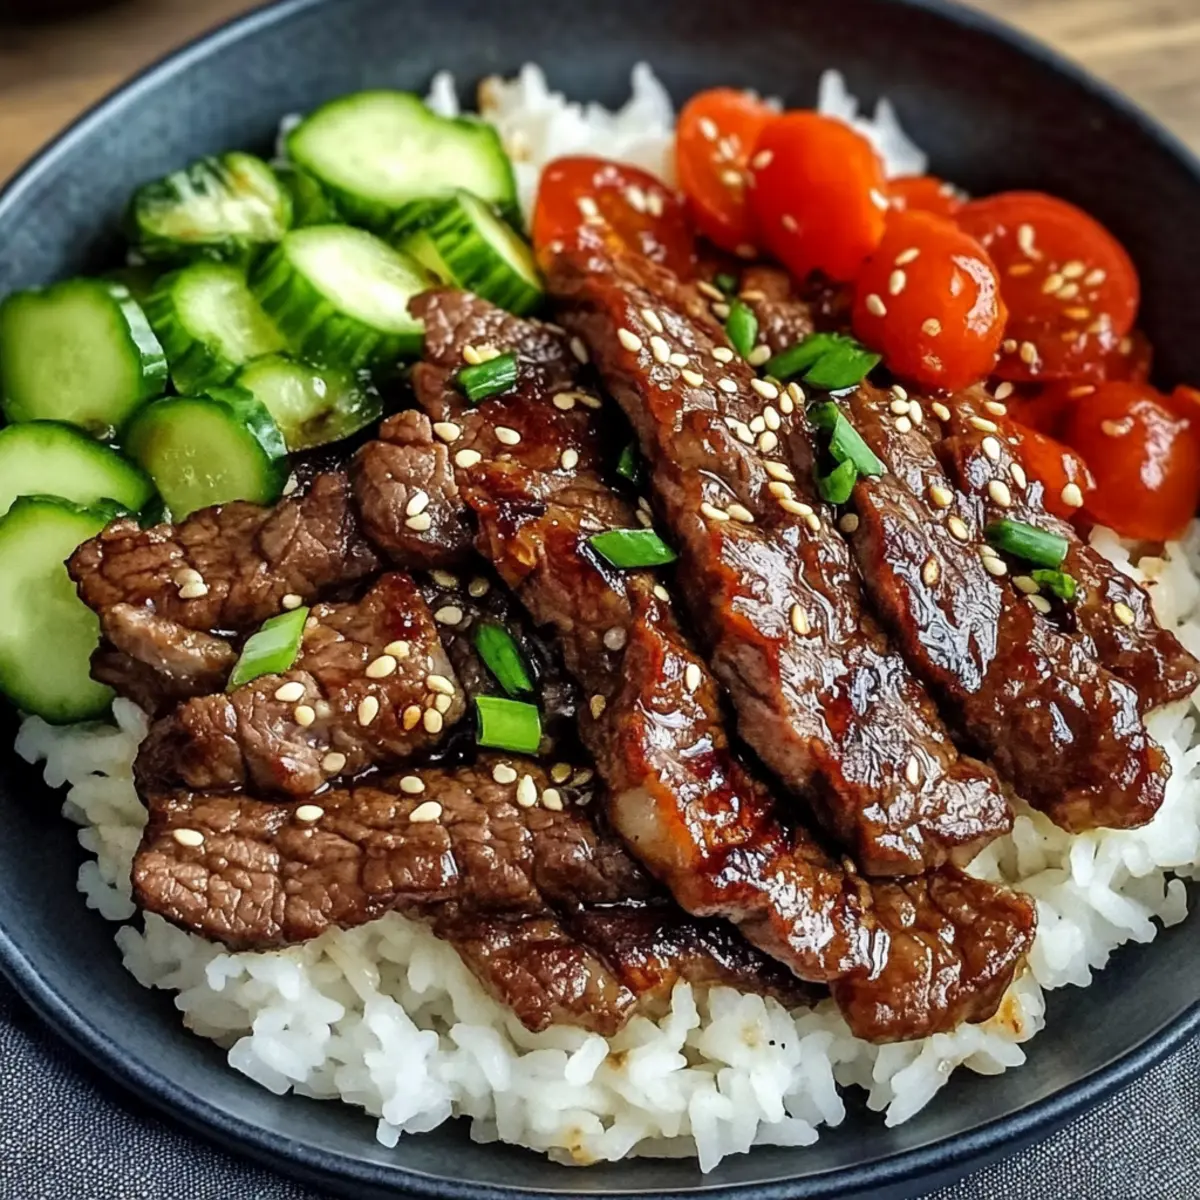
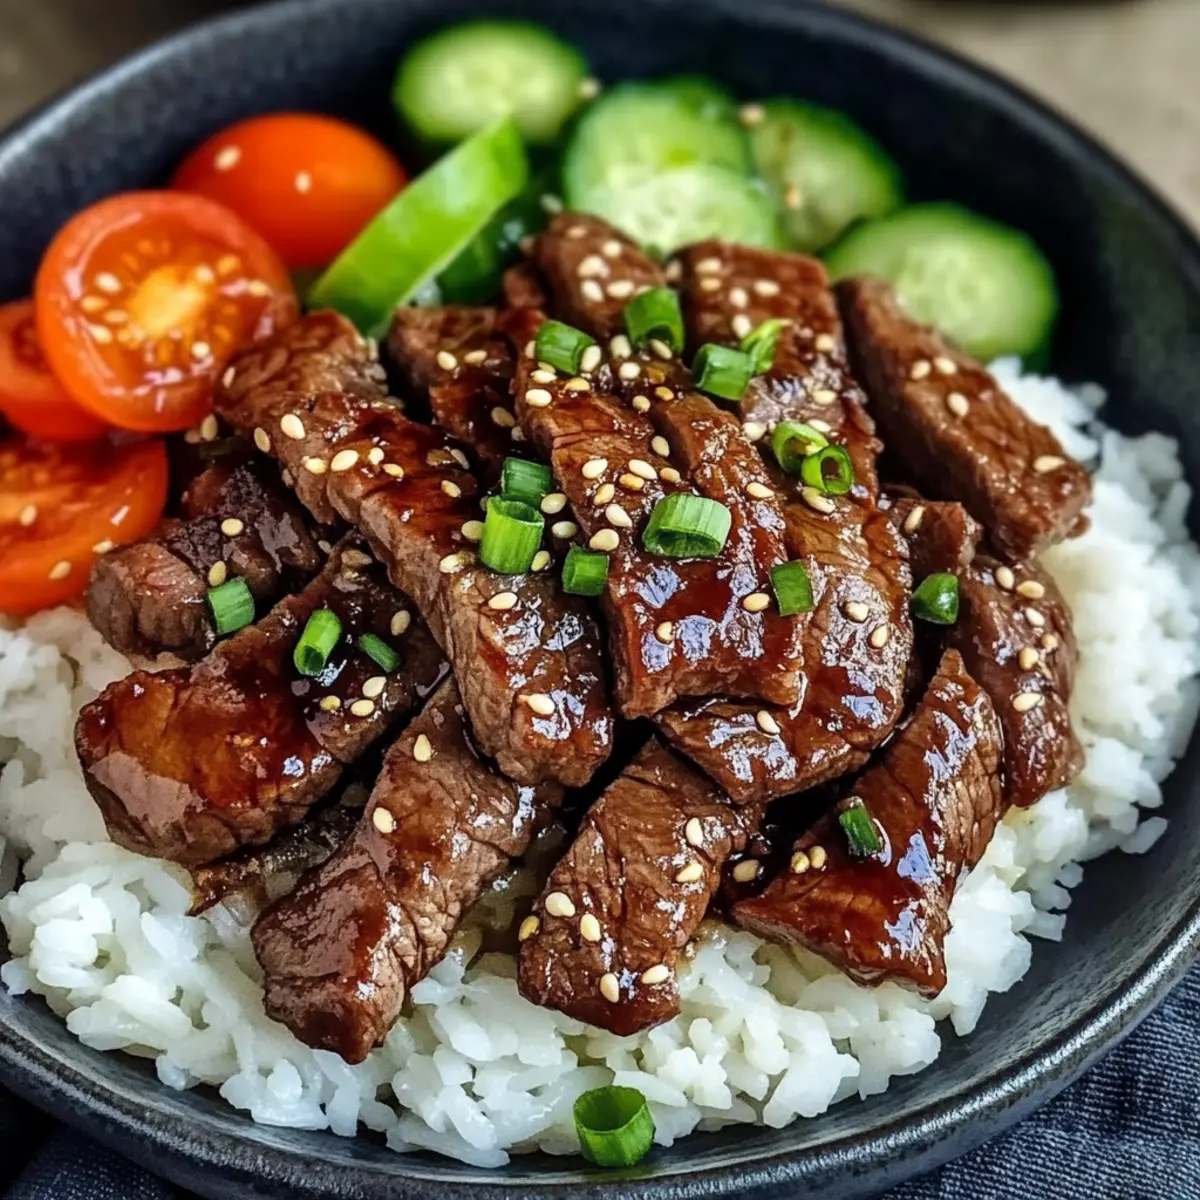
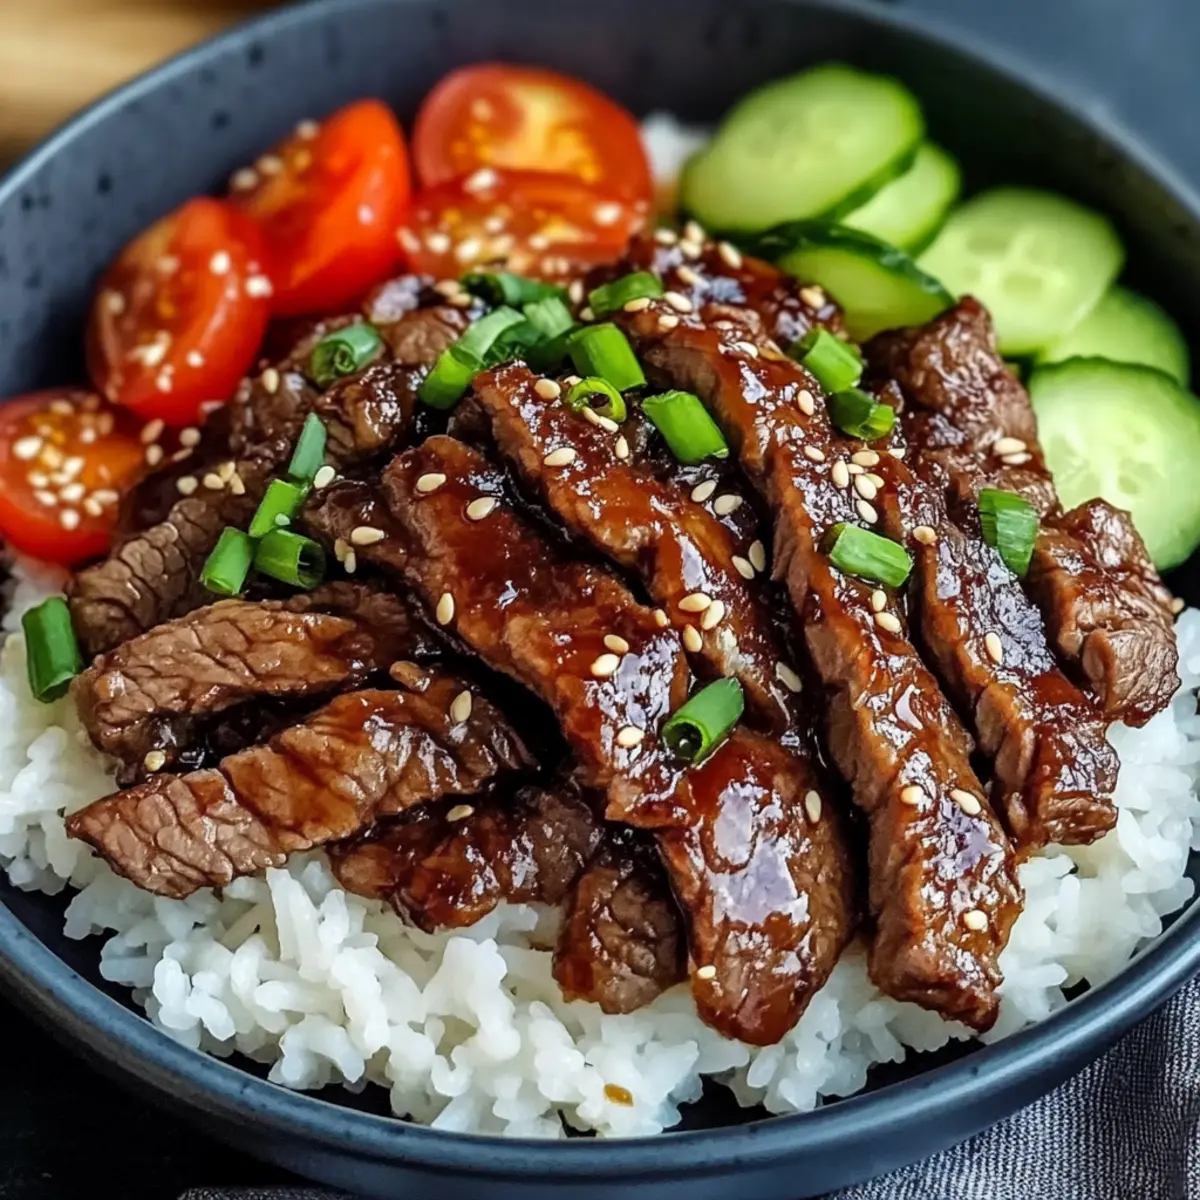
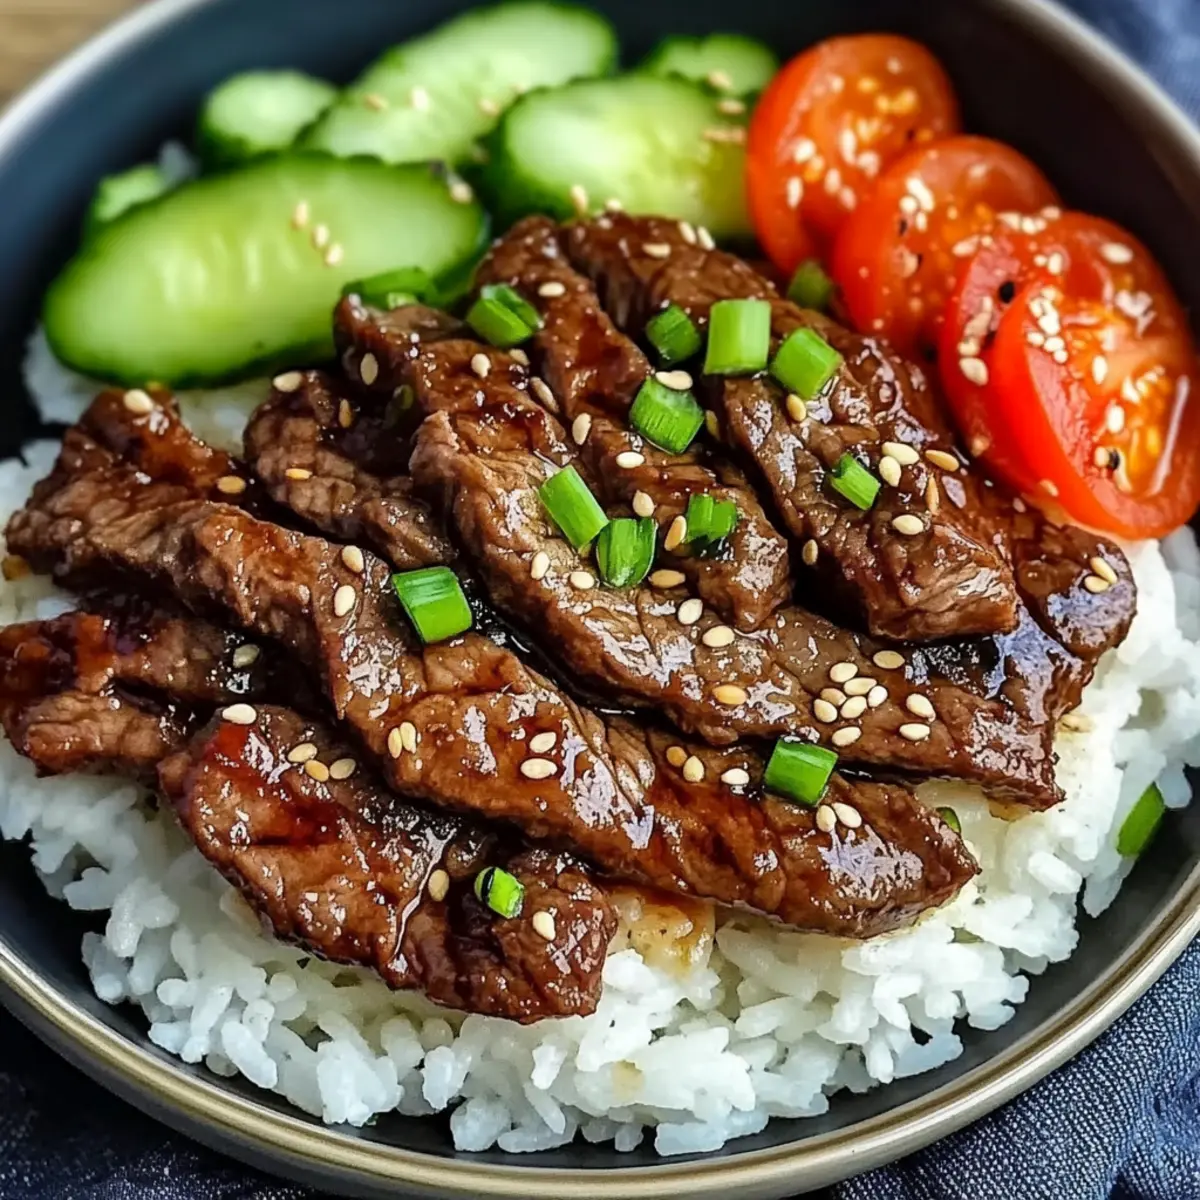
Once all the Beef Yakiniku is cooked, sprinkle with sesame seeds for added texture. Serve immediately alongside fluffy steamed rice and fresh chopped vegetables, such as cucumber and tomato. The delicious aroma and vibrant colors make this dish a feast for both the eyes and the taste buds.
What to Serve with Quick & Flavorful Beef Yakiniku
Stepping into a world of tastes, Beef Yakiniku pairs harmoniously with a variety of sides, crafting a feast destined to delight your senses.
- Steamed Jasmine Rice: This fragrant rice is the perfect base to soak up the savory sauce, enhancing the dish’s flavors.
- Fresh Cucumber Salad: Crunchy cucumbers tossed with sesame dressing add refreshing brightness and balance the richness of the beef.
- Grilled Vegetables: Caramelized bell peppers and zucchini complement the dish with smoky, sweet notes, making every bite exciting.
- Miso Soup: A warm bowl of comforting miso soup is a traditional accompaniment, providing umami depth and warmth with every sip.
- Pickled Daikon: The tangy crunch of pickled daikon offers a delightful contrast, cutting through the richness of the grilled beef wonderfully.
- Chilled Soba Noodles: Cold buckwheat noodles dressed in soy and mirin provide a deliciously slurpable side, making your meal pleasantly balanced.
- Green Tea: Enjoy a warm cup of green tea alongside your meal to cleanse the palate and enhance the dining experience.
- Matcha Ice Cream: For dessert, this creamy sweetness serves as a delightful finale after the savory beef, providing a soothing conclusion.
Make Ahead Options
Beef Yakiniku is a fantastic dish to prep ahead of time, saving you valuable minutes during busy weeknights! You can marinate the sliced beef up to 24 hours in advance, allowing the flavors to deepen and intensify. Simply combine your marinade ingredients, add the thinly sliced beef, and store it in an airtight container in the refrigerator. To maintain the quality, ensure the beef is well-coated and tightly covered to prevent air exposure. When you’re ready to cook, simply preheat your wok and follow the usual cooking instructions. This way, you’ll enjoy delicious, freshly cooked Beef Yakiniku with minimal effort!
Beef Yakiniku Variations & Substitutions
Feel free to bring your own twist to the Beef Yakiniku recipe and savor the flavors just how you like them!
-
Vegetarian Delight: Swap beef for marinated tofu or tempeh slices for a delicious plant-based version. The marinade will infuse the substitute with delightful flavors.
-
Spice it Up: Add sliced jalapeños or crushed red pepper to the marinade for an extra kick. Spice lovers will appreciate how this variation enhances the dish.
-
Citrus Zing: Incorporate a tablespoon of orange or lime juice into the marinade. This brightens the flavors and adds a refreshing note that elevates the beef.
-
Herb Infusion: Blend in fresh cilantro or parsley into the marinade for a herbal twist. The freshness will complement the rich umami beautifully.
-
Texture Boost: Include thinly sliced bell peppers or mushrooms in the wok while cooking the beef. They add crunch and absorb the marinade flavors beautifully.
-
Rice Substitute: Serve your beef over quinoa or cauliflower rice for a hearty, gluten-free alternative. This makes the dish even more fulfilling and nutritious.
-
Umami Enhancer: Consider using miso paste in the marinade for even deeper flavor. It adds a creamy texture and richness that’s simply irresistible.
-
Cooking Method: If you prefer a smoky flavor, grill the beef on a BBQ instead of stir-frying. The charred edges will take your Yakiniku experience to a whole new level.
To dive deeper into the world of beef recipes, you might enjoy my Savory Ground Beef for a different take or give my Cheesy Ground Beef a try for a comforting meal!
Expert Tips for Beef Yakiniku
- Slice the Beef Thinly: To achieve tender and flavorful beef, partially freeze the steak for easier slicing against the grain.
- Heat is Key: Ensure your wok is raging hot before adding the meat. This prevents steaming and ensures perfect caramelization for your Beef Yakiniku.
- Don’t Overcrowd the Pan: Cook the beef in batches to keep the heat consistent and maintain that beautiful browning and texture.
- Marinate Wisely: For maximum flavor, marinate the beef for at least 30 minutes but no more than 2 hours to prevent it from becoming overly salty.
- Flavor Boosting Garnish: Enhance the dish’s appearance and taste by adding sesame seeds right before serving for that extra crunch and nuttiness.
How to Store and Freeze Beef Yakiniku
Fridge: Store leftover Beef Yakiniku in an airtight container for up to 3 days. This keeps the flavors intact while ensuring the beef remains tender.
Freezer: Freeze cooked Beef Yakiniku in a sealed bag or container for up to 3 months. Make sure to label the container for easy identification later.
Reheating: Thaw the beef overnight in the fridge before reheating. Gently warm it in a skillet over low heat, adding a splash of water or broth to keep it moist.
Serving Suggestions: Enjoy reheated Beef Yakiniku with fresh vegetables and rice for a delightful meal, immersing yourself once again in its savory goodness.
Beef Yakiniku Recipe FAQs
How do I choose the best beef for Yakiniku?
Absolutely! For the best texture and flavor, select flank or skirt steak, as they are naturally tender and rich in flavor when sliced against the grain. If those aren’t available, sirloin or ribeye make great alternatives. Look for cuts that are bright red and well-marbled, ensuring maximum juiciness.
How can I store leftover Beef Yakiniku?
Very! Store your leftover Beef Yakiniku in an airtight container in the refrigerator for up to 3 days. This keeps the beef tender while allowing the flavors to marry further. Just remember to allow it to cool before sealing to maintain the best texture!
Can I freeze Beef Yakiniku for later?
Yes, indeed! To freeze Beef Yakiniku, ensure it’s completely cooled, then transfer it to a resealable freezer bag or airtight container. Label it and freeze for up to 3 months. When you’re ready to enjoy it again, thaw it overnight in the fridge before reheating.
What’s the best way to reheat leftover Beef Yakiniku?
For a delicious result, gently reheat the beef in a skillet over low heat. Add a splash of water or broth to keep it moist, stirring occasionally until warmed through. This prevents it from drying out and helps retain the delicious flavors.
Are there any dietary considerations for Beef Yakiniku?
Absolutely! If anyone in your household has soy allergies, you can substitute low-sodium light soy sauce with tamari for a gluten-free option. Also, for those avoiding spicy food, consider reducing or omitting the gochujang. It’s always helpful to adjust recipes to suit your loved ones’ preferences!
What if my beef isn’t browning properly during cooking?
Don’t worry; it happens! Ensure your wok or pan is hot enough before adding the beef. Overcrowding the pan can lead to steaming instead of searing, so cook the beef in batches for optimal caramelization and texture. If you notice excess marinade, make sure to shake off the excess before cooking.
Savory Beef Yakiniku: Quick Japanese Delight at Home
Ingredients
Equipment
Method
- In a large mixing bowl, whisk together the marinade ingredients until well combined and the brown sugar dissolves.
- Add the thinly sliced flank or skirt steak to the bowl and ensure each piece is well-coated. Cover and refrigerate for at least 30 minutes.
- Preheat your wok over high heat until slightly smoking.
- Shake off excess marinade from half of the beef slices and sear in the hot wok for about 3 minutes until a crust forms. Cook for another 2-3 minutes until browned.
- Transfer the cooked steak to a warm serving bowl and repeat with the remaining beef.
- Once all beef is cooked, sprinkle with sesame seeds and serve with steamed rice and fresh chopped vegetables.
Leave a Reply