
Just the other day, I found myself reminiscing about those cozy evenings spent making grilled cheese sandwiches, the kind where the cheese oozes and the bread is perfectly golden. Now, I’m excited to transform that nostalgia into something even better—meet the Crispy Grilled Cheese Burrito! This quick and easy Tex-Mex comfort food wraps your favorite cheesy flavors into a satisfying handheld dish. The best part? It’s not only customizable with various protein options like beef, turkey, or even plant-based alternatives, but it also makes for a fabulous make-ahead meal that you can freeze for busy weeknights. Ready to dive into this delectable dish that combines crunch, gooeyness, and a hint of spice? Let’s get cooking!
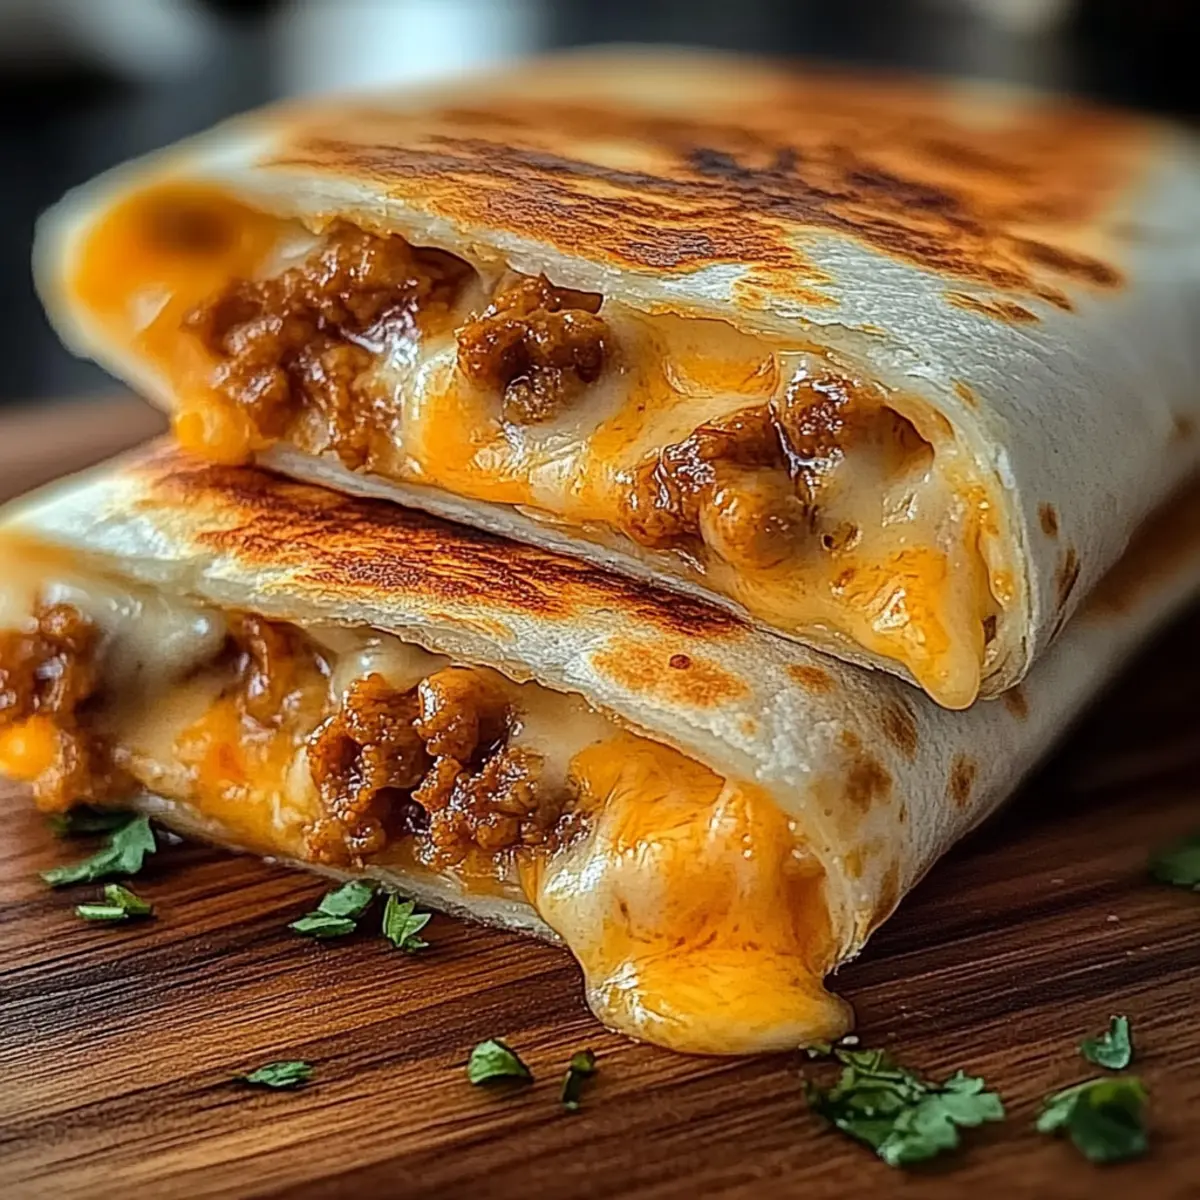
Why Is a Crispy Burrito So Amazing?
Crunchy Delight: The satisfying crunch of the crispy exterior complements the gooey cheese interior, creating a delightful contrast in every bite.
Customizable Goodness: Choose your protein—beef, turkey, or plant-based—to suit your dietary needs.
Quick to Make: Ready in just 30 minutes, it’s perfect for busy nights when you crave comfort food.
Freezer-Friendly: Make a batch and freeze them for flavorful meals on-the-go! Just reheat and enjoy.
Family Favorite: Kids and adults alike will love this fun and tasty twist on a classic grilled cheese!
Dive deeper into the world of Tex-Mex with easy-to-follow options like making your own taco seasoning for added flavor and health!
Crispy Burrito Ingredients
• Get ready to create your new favorite dish!
For the Filling
- Ground Beef – A hearty protein that makes the burrito filling satisfying; swap with turkey or plant-based crumbles if you prefer.
- Taco Seasoning – Adds delicious bold flavor; consider making your own for a healthier option.
- Cooked White Rice – Acts as a great filler; you can substitute with brown rice or even quinoa for a nutritious twist.
- Chipotle Sauce – Introduces a smoky heat; adjust based on your spice level preference.
For the Cheesy Mixture
- Nacho Cheese Sauce – Provides a creamy, cheesy component; feel free to use homemade or vegan cheese for a different flavor profile.
- Shredded Cheddar Cheese – Contributes rich flavor and texture; combine with mozzarella or a Mexican blend for more layer.
- Shredded Mozzarella Cheese – Enhances cheesiness but can be omitted or swapped for a lower-fat option.
For Assembly
- Large Flour Tortillas – Holds all the delicious filling; opt for whole wheat or gluten-free tortillas if desired.
- Sour Cream – Adds a creamy touch; substitute with yogurt or dairy-free alternatives for a different twist.
For Cooking
- Butter or Oil – Used for frying to achieve that delightful crispy burrito texture; choose olive oil for a healthier approach.
Enjoy creating this customized crispy burrito that’s filled with warmth and gooey goodness in every bite!
Step‑by‑Step Instructions for Crispy Grilled Cheese Burrito
Step 1: Cook the Meat
Begin by heating a large skillet over medium-high heat. Add the ground beef, cooking for about 5–7 minutes. Use a spatula to break it up as it browns until no pink remains. The beef should be evenly cooked with a nice caramelization, giving it a savory depth of flavor that will enhance your Crispy Burrito.
Step 2: Season the Mix
Once the beef is fully browned, sprinkle in the taco seasoning and a splash of water. Stir well to combine and let the mixture simmer for 2–3 minutes, allowing the flavors to meld while the sauce thickens. You’ll know it’s ready when it’s slightly saucy but not runny, providing a perfect filling for your burrito.
Step 3: Combine Ingredients
Next, add the cooked white rice to the skillet, followed by the chipotle sauce. Stir everything together until well mixed. Let it heat through for 1–2 minutes; the filling should be warm and fragrant, with the rice evenly distributed, creating the hearty filling that defines your Crispy Burrito.
Step 4: Assemble the Burrito
On a large flour tortilla, spread a spoonful of nacho cheese sauce and a dollop of sour cream along the center. Layer the beef and rice mixture on top, then sprinkle a generous amount of shredded cheddar and mozzarella cheese. The colors should be vibrant, and the layers should look inviting, ready to be rolled into a delightful package.
Step 5: Roll It Up
Fold in the sides of the tortilla over the filling, then carefully roll it up tightly from the bottom to top. Position the burrito seam-side down on a clean surface to help it hold its shape. This technique creates a secure wrap that will keep all your delicious ingredients inside during the cooking process.
Step 6: Fry the Burrito
In the same skillet, heat a couple of tablespoons of butter or oil over medium heat. Once hot, place the burrito seam-side down in the skillet. Firmly press down with a spatula and cook for about 2–3 minutes until the bottom is golden and crispy. You’ll love the sizzling sound and the enticing aroma that fills your kitchen!
Step 7: Flip and Finish
Carefully flip the burrito over, using the spatula to ensure it doesn’t tear. Cook the other side for another 2–3 minutes until golden brown and the cheese begins to melt inside. The perfect crispy exterior should have a beautiful golden color, hinting at the satisfying cheesy goodness waiting within your Crispy Burrito.
Step 8: Serve and Enjoy
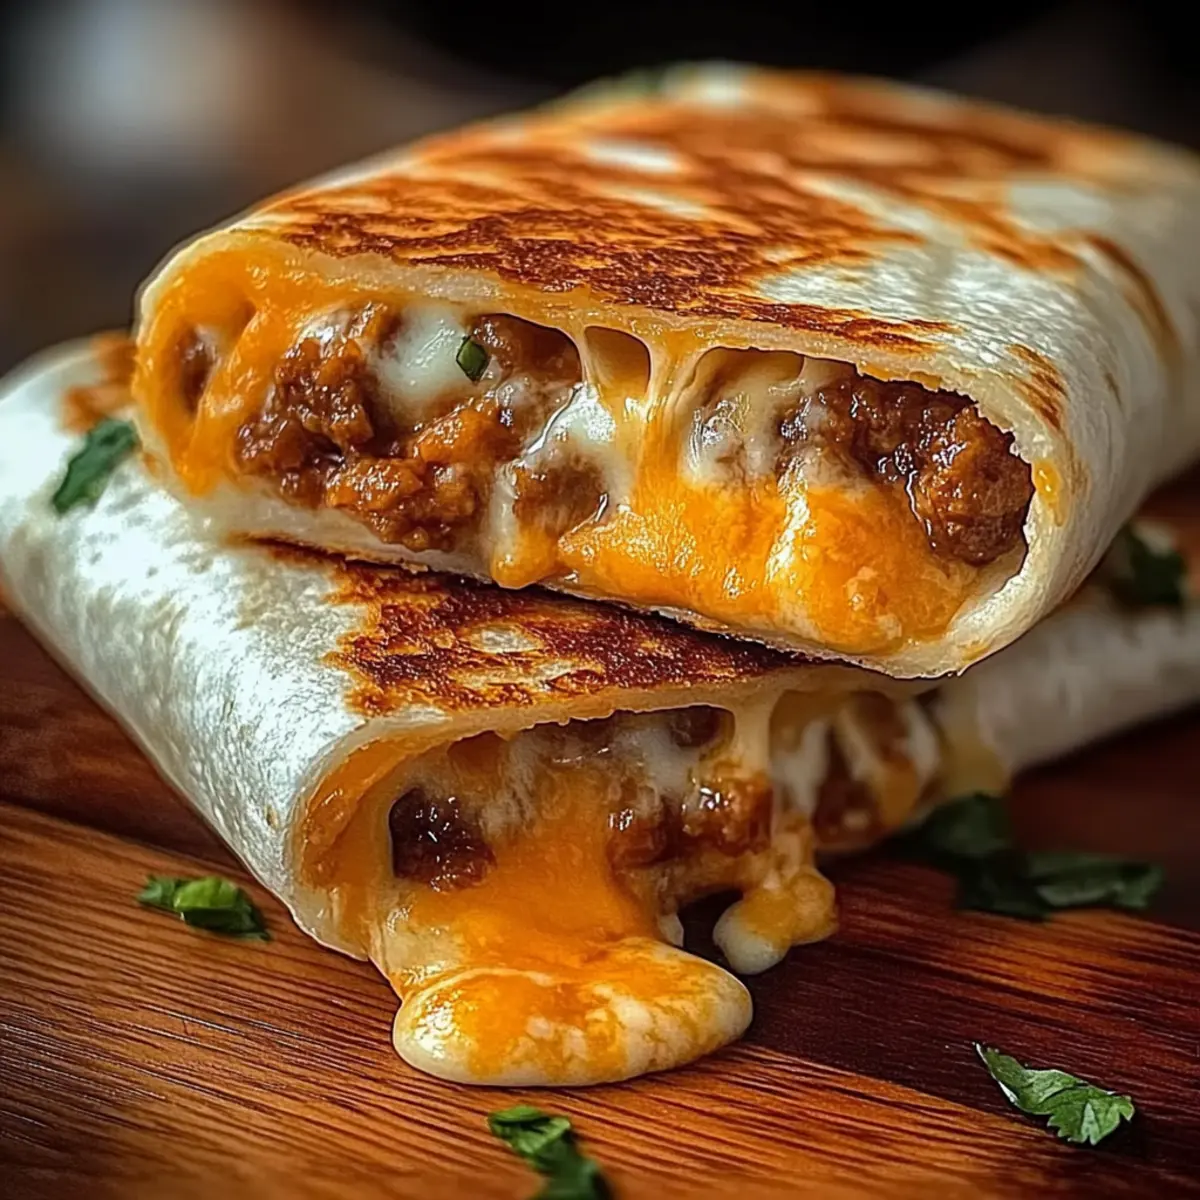
Once both sides are perfectly crispy, remove the burrito from the skillet and let it rest on a cutting board for a minute. Slice it in half to reveal the gooey cheese interior. Serve hot, with your favorite condiments like salsa or guacamole, and enjoy the delightful crunch and flavors that make this Crispy Burrito a comforting meal!
Make Ahead Options
These Crispy Grilled Cheese Burritos are perfect for busy weeknights and make-ahead meal planning! You can assemble the burritos and wrap them tightly in plastic wrap or foil, then refrigerate for up to 24 hours. For longer storage, freeze them for up to 3 months—just ensure they are well-sealed to maintain freshness. When you’re ready to enjoy, remove them from the fridge or freezer and cook directly in a heated skillet for about 4–5 minutes per side, ensuring they get that perfect crispy exterior. This prep-ahead strategy not only saves time during hectic evenings but also keeps your burritos just as delicious and satisfying!
Expert Tips for Crispy Burrito
• Press for Crispiness: Use a heavy pan to press down on the burrito while cooking. This ensures an even, crispy texture throughout.
• Warm Tortillas: Always warm your tortillas before filling to prevent tearing. This simple trick will keep your crispy burrito intact.
• Customize Fillings: Don’t hesitate to experiment! Try different proteins or add black beans for extra nutrition and flavor in your crispy burrito.
• Avoid Sogginess: Let the beef and rice mixture cool slightly before rolling. This reduces moisture and keeps your burrito crispy.
• Batch Cooking: Prepare several burritos at once and freeze them for quick meals. Just reheat from frozen; they make for a fantastic last-minute dinner!
• Serving Ideas: Pair with homemade salsa or guacamole for a fresh contrast to the cheesy warmth of your crispy burrito.
How to Store and Freeze Crispy Burrito
Fridge: Store your assembled crispy burritos in an airtight container for up to 3 days. This makes for convenient, ready-to-eat meals throughout the week.
Freezer: Wrap each burrito in plastic wrap, then place them in a freezer-safe bag or container. They can be kept frozen for up to 3 months for a tasty meal anytime!
Reheating: When ready to enjoy, reheat from frozen in a low oven (350°F) for about 20 minutes, then pan-sear for 2–3 minutes on each side to achieve that crispy exterior again.
Make-Ahead Ready: Feel free to prepare and freeze these burritos ahead of time, making weeknight dinners a breeze with this delicious crispy burrito on hand whenever cravings strike!
Crispy Burrito Variations & Substitutions
Take your Crispy Burrito experience to new heights by customizing it with these delicious variations that will tantalize your taste buds!
-
Protein Swap: Use ground turkey or shredded chicken for a leaner protein alternative. Both options provide satisfying flavors without sacrificing taste.
-
Plant-Based Delight: For a vegan twist, substitute ground beef with your favorite plant-based crumbles. Add some black beans for extra fiber and texture; you’ll hardly notice the difference!
-
Rice Variations: Instead of white rice, try quinoa or brown rice for a nutritious twist. These options add nuttiness while enhancing the burrito’s health profile.
-
Cheese Choices: Mix it up with different cheeses! Go for spicy pepper jack for a kick or switch to creamy goat cheese for elegance. Each provides a unique and delicious flavor twist.
-
Extra Crunch: Add crushed tortilla chips inside the burrito for an added layer of crunch. This surprise texture makes every bite more exciting!
-
Customize the Heat: Adjust the spice level by adding fresh jalapeños or using a spicier chipotle sauce. This simple variation allows you to control the warmth to suit your taste.
-
Herb Infusion: Toss in some fresh cilantro or green onions to the filling for a burst of freshness and flavor. These herbs elevate the taste and add a lovely visual appeal.
-
Tortilla Alternatives: Try whole wheat or gluten-free tortillas to suit dietary needs. Each brings a different flavor and texture, allowing you to cater to everyone’s preferences.
Feel free to explore these variations and don’t forget to share your favorite combinations with loved ones! If you’re ever in need of tasty side dishes, consider serving your burrito with easy-to-make homemade salsa for a fresh kick. Enjoy the cooking adventure!
What to Serve with Crispy Grilled Cheese Burrito
Transform your meal into a delightful feast with these mouthwatering accompaniments that brings out the best in your crispy burrito.
-
Salsa: A fresh, zesty salsa brightens up the dish, adding a burst of flavor with every bite. Choose a fruity mango salsa for a sweet contrast or a spicy pico de gallo for a classic touch.
-
Guacamole: Creamy guacamole offers a rich, buttery texture that perfectly balances the crispiness of the burrito. Add lime juice and fresh cilantro for an extra pop of freshness.
-
Fresh Side Salad: A light and vibrant salad with crunchy greens and a tangy vinaigrette provides a refreshing counterpart to the savory burrito. Toss in cherry tomatoes and avocado for added appeal.
-
Spicy Black Beans: Hearty black beans simmered with spices add richness and extra protein, making your meal even more satisfying. Their creamy texture enhances the burrito experience beautifully.
-
Mexican Street Corn: Sweet, crunchy corn drizzled with lime and creamy cheese creates an irresistible side dish that complements the Tex-Mex flavors of your crispy burrito.
-
Chips and Cheese Dip: For the ultimate comfort food, serve some crunchy tortilla chips alongside a warm cheese dip. The crispy texture is a perfect match for the cheesy goodness of the burrito.
-
Fruit Salad: A light, refreshing fruit salad can cleanse the palate between bites, making for an enjoyable dining experience. Pineapple and watermelon work especially well with Tex-Mex flavors.
-
Margaritas: Toast to your delicious meal with a refreshing margarita! Choose a classic lime flavor or go adventurous with strawberry or mango for a perfect pairing that captures the essence of a festive dinner.
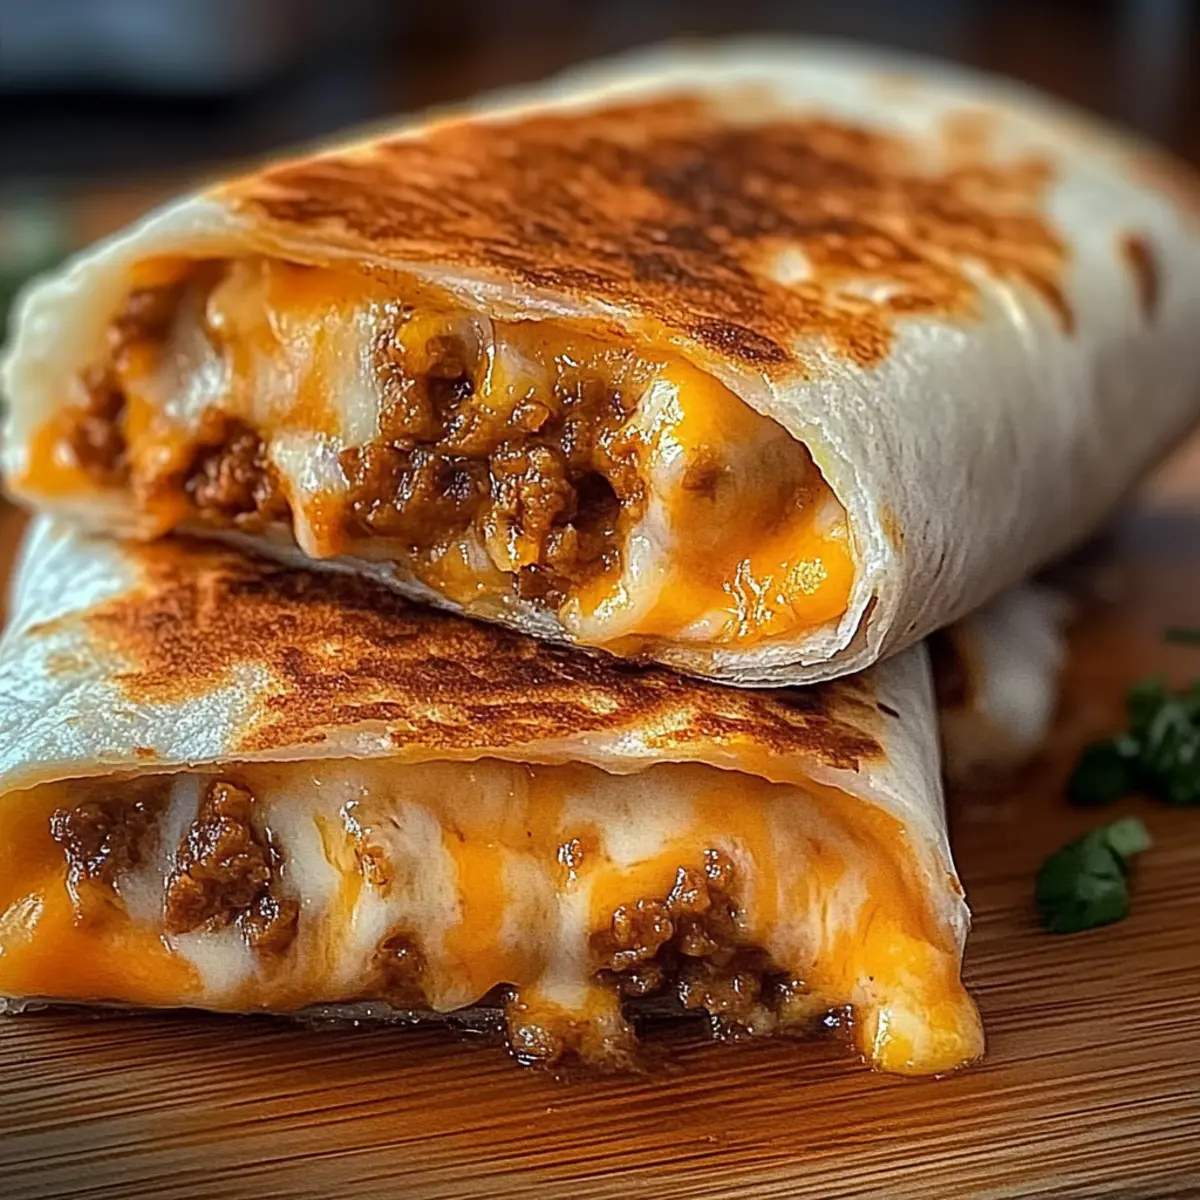
Crispy Grilled Cheese Burrito Recipe FAQs
How do I select the best ingredients for my crispy burrito?
Absolutely! When choosing ground beef, look for 80/20 lean-to-fat ratio for the best flavor and juiciness. For fresh ingredients, opt for firm, ripe tomatoes and avocados that yield slightly to pressure. If you’re using fresh garlic, select plump cloves without any dark spots. This ensures maximum flavor in your burrito.
How should I store leftover crispy burritos?
Very! Store your assembled crispy burritos in an airtight container in the fridge for up to 3 days. Make sure to wrap them tightly to keep them from drying out. If you have extra filling you want to save, keep it in a separate container in the fridge, and it can last for about 4 days.
Can I freeze crispy burritos for later?
Absolutely! To freeze, wrap each individual burrito in plastic wrap and place them in a freezer-safe bag or container. They can be stored for up to 3 months. When you’re ready to eat, simply reheat from frozen in a preheated oven at 350°F for about 20 minutes, then pan-sear for 2–3 minutes on each side to regain that crispy texture.
What should I do if my burrito is soggy?
The key to avoiding a soggy burrito is to ensure that your beef and rice mixture is not too wet when you assemble it. Allow the filling to cool slightly before rolling it up. Additionally, pressing down on the burrito while it cooks helps create a crispy seal, keeping all that delicious filling inside while preventing sogginess.
Are there any dietary considerations for my crispy burrito?
Absolutely! If you’re concerned about allergies, be mindful of the taco seasoning and any pre-made sauces, as they might contain allergens like gluten or dairy. You can easily make your taco seasoning at home to control the ingredients. For pets, avoid sharing any filled burrito, especially if it contains onions, which are toxic to them. Customize the filling according to dietary needs, using gluten-free tortillas or plant-based cheese alternatives as required!
Can I make these burritos ahead of time?
Very! You can assemble the burritos ahead of time and store them wrapped in the refrigerator for up to 24 hours before cooking. This makes it easy to prepare quick meals during busy weeknights. Just make sure to tightly wrap them to retain freshness and then cook them as detailed in the recipe when you’re ready to enjoy.
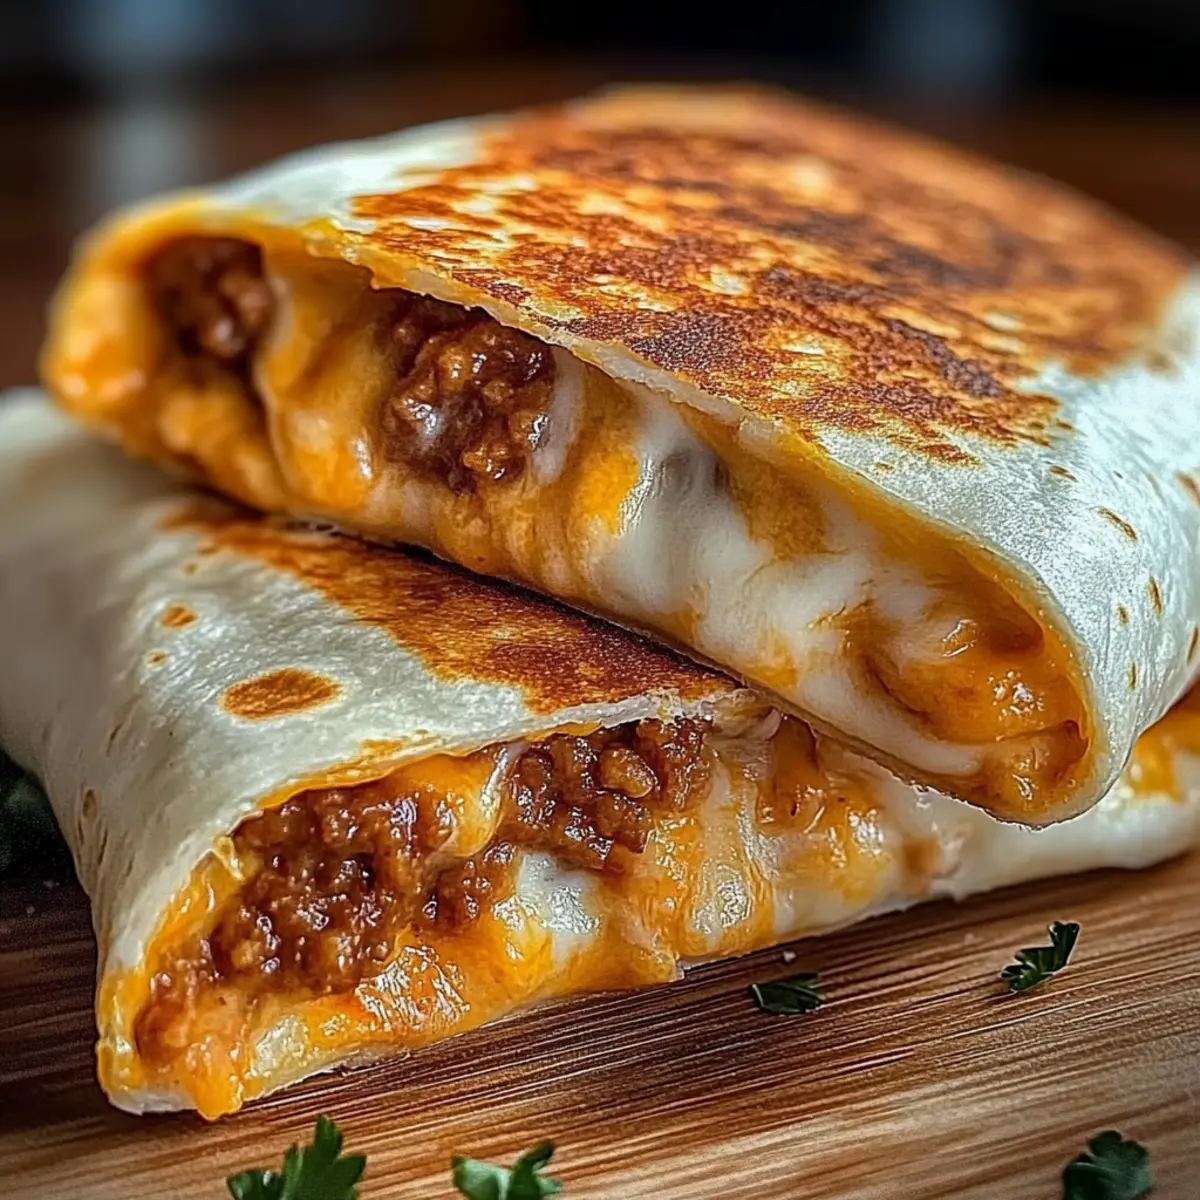
Crispy Burrito Bliss: Easy Tex-Mex Comfort in Every Bite
Ingredients
Equipment
Method
- Begin by heating a large skillet over medium-high heat. Add the ground beef, cooking for about 5–7 minutes until no pink remains.
- Once the beef is fully browned, sprinkle in the taco seasoning and a splash of water. Stir well and let simmer for 2–3 minutes.
- Add the cooked white rice and chipotle sauce to the skillet. Stir everything together and heat through for 1–2 minutes.
- On a large flour tortilla, spread nacho cheese sauce and a dollop of sour cream. Layer the beef and rice mixture, then sprinkle cheddar and mozzarella cheese.
- Fold in the sides of the tortilla over the filling, then roll it up tightly from the bottom to top, seam-side down.
- In the same skillet, heat butter or oil over medium heat. Place burrito seam-side down, pressing down with a spatula. Cook for about 2–3 minutes until golden.
- Carefully flip the burrito and cook the other side for another 2–3 minutes until golden brown and the cheese melts inside.
- Once crispy, remove from the skillet and let rest on a cutting board. Slice in half and serve hot with condiments.
Leave a Reply