
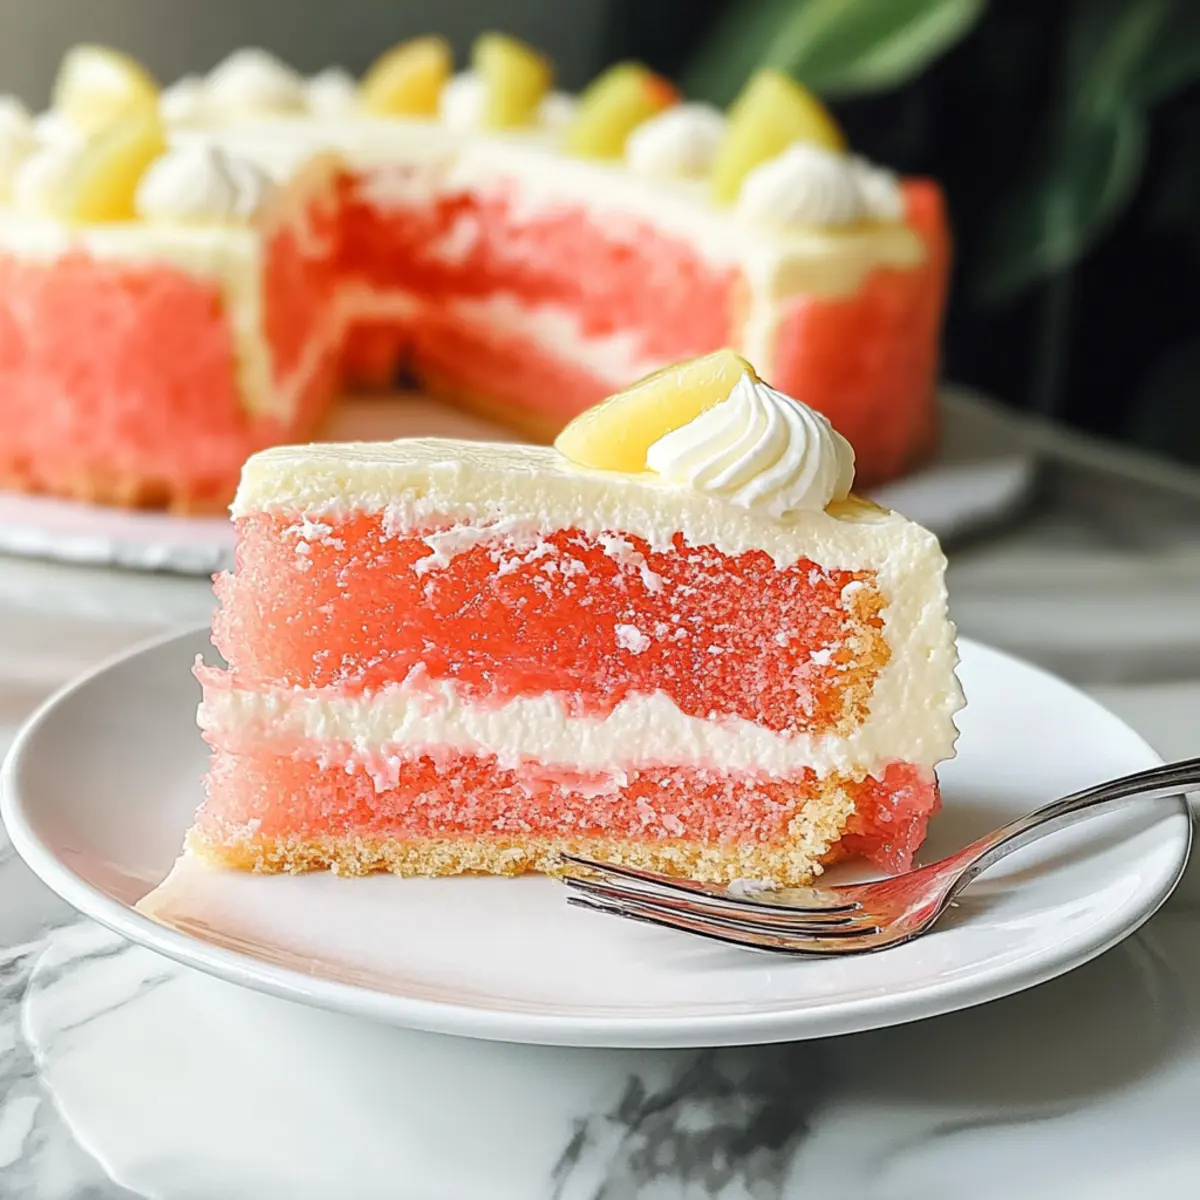
While savoring memories of my last vacation in Hawaii, the sweet scent of guava wafted through the air, instantly transporting me back. This Decadent Hawaiian Guava Cake encapsulates that tropical bliss, bringing a delightful piece of paradise right into your kitchen. Not only is this recipe a breeze to whip up using a handful of simple ingredients, but it also offers a stunning presentation that will surely wow your guests. With its luscious layers of creamy coconut and vibrant guava, it’s a perfect crowd-pleaser that can easily be adapted for various dietary needs, including a gluten-free option. Ready to indulge your taste buds in this tropical delight? Let’s dive into the recipe!
Why is Hawaiian Guava Cake a Must-Try?
Tropical Bliss: This cake is bursting with exotic flavors, perfectly capturing the essence of Hawaii.
Easy Preparation: With just a few simple steps and minimal ingredients, you’ll have a delightful dessert ready in no time.
Versatile Options: Whether gluten-free or vegan, this recipe easily adapts, ensuring everyone can enjoy a slice of paradise!
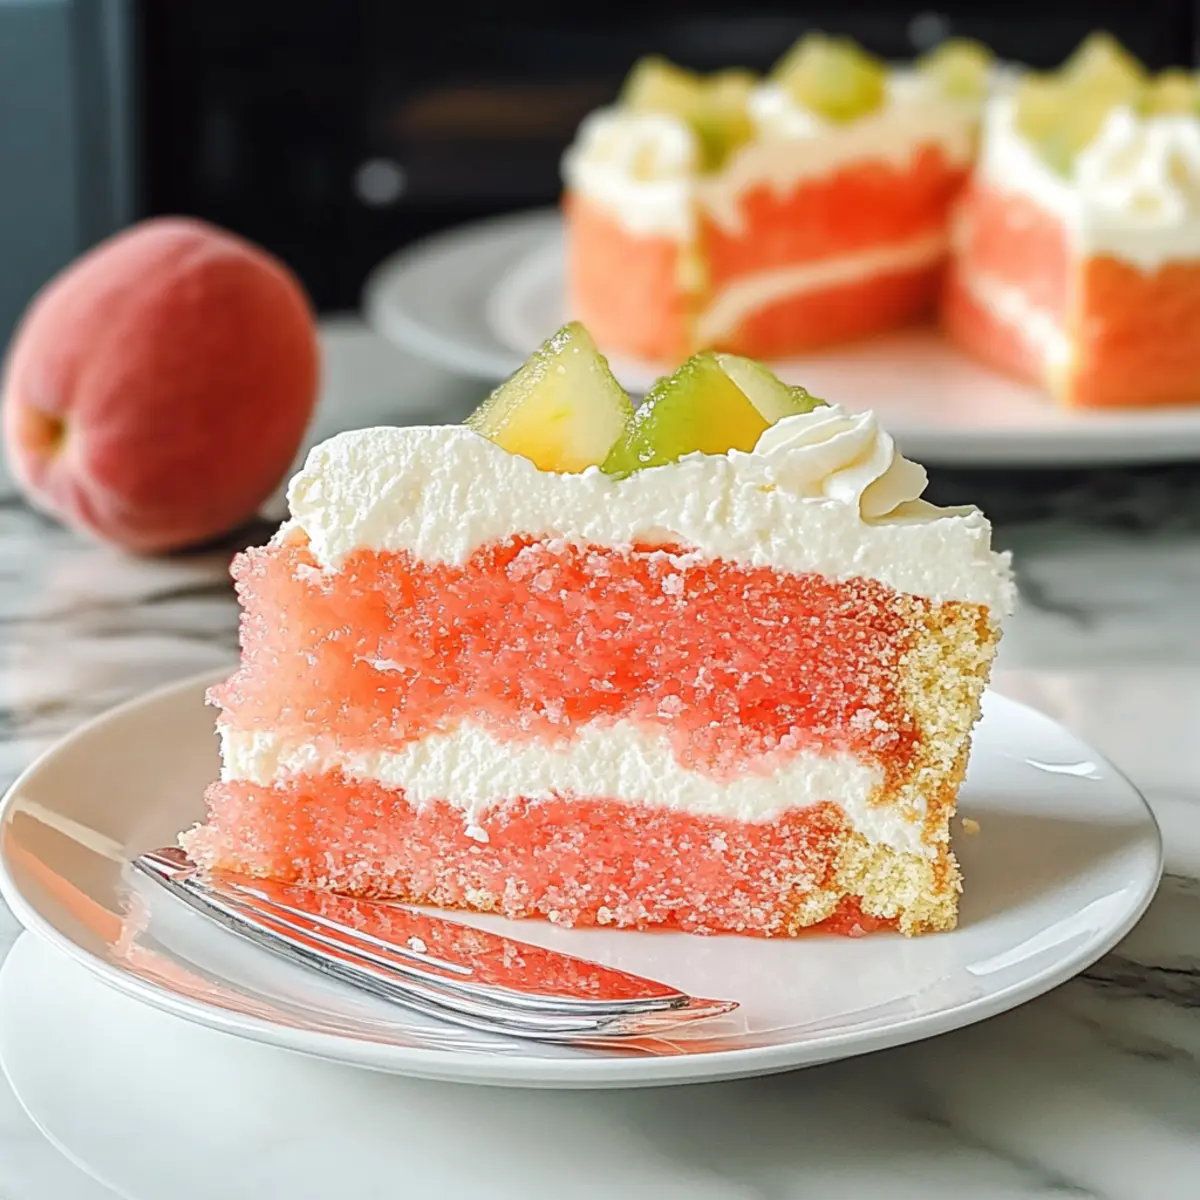
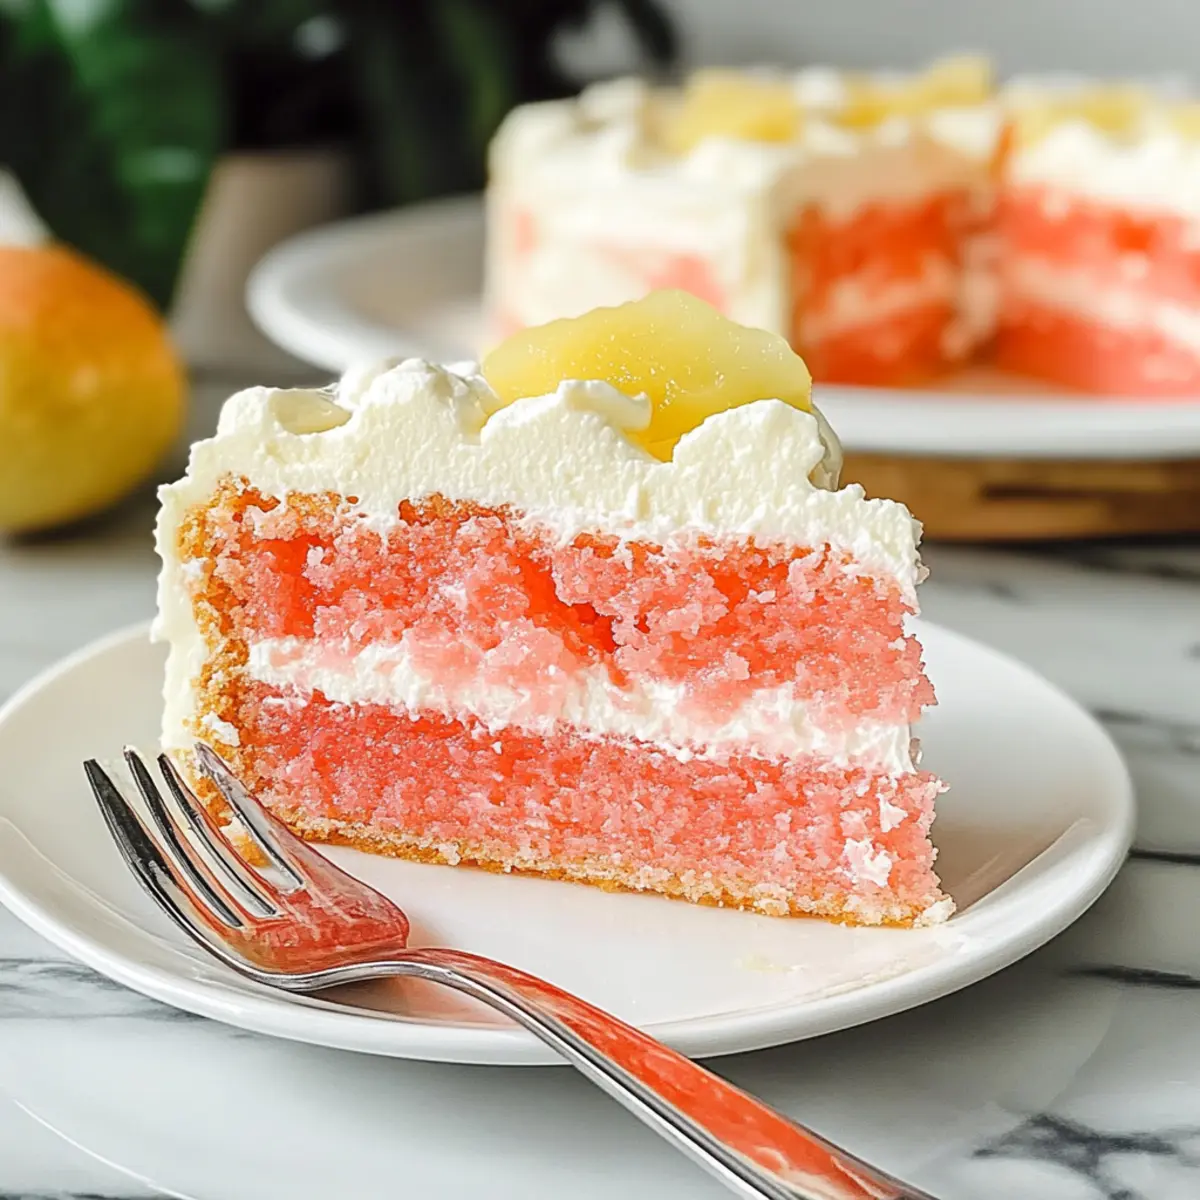
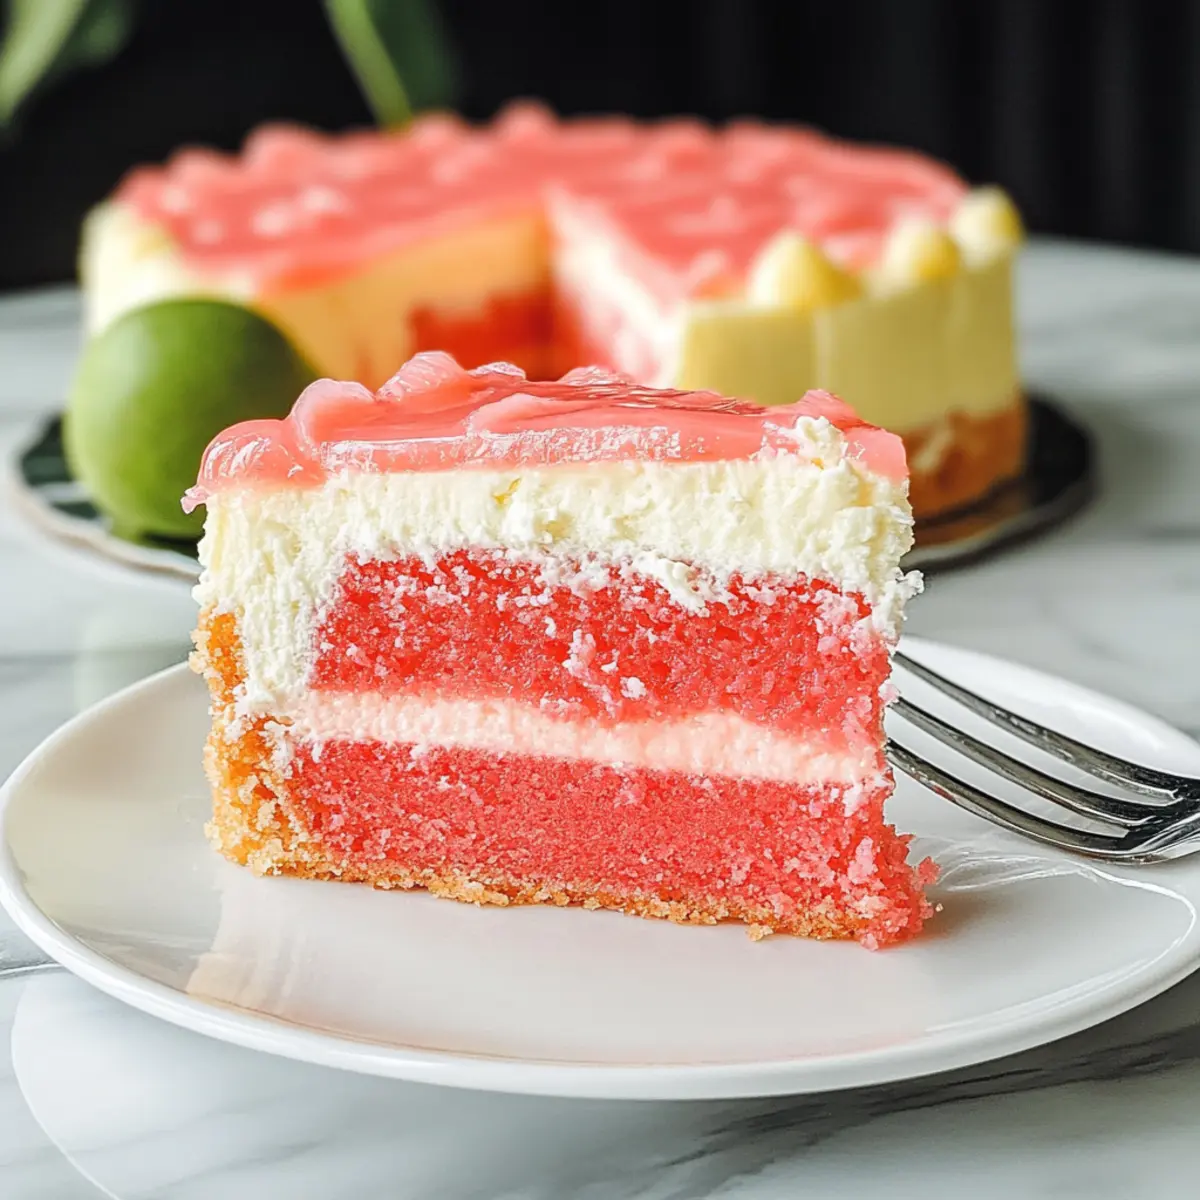
Stunning Presentation: Its gorgeous layers of creamy coconut and glossy guava gel create an eye-catching centerpiece for any gathering.
Crowd-Pleaser: Your guests will be enchanted; pair it with a tropical fruit salad or a scoop of vanilla ice cream for an unforgettable experience.
Indulge in this delicious tropical adventure, and for more fruity inspiration, check out my Blueberry Cream Cake or Strawberry Shortcake Ice recipes!
Hawaiian Guava Cake Ingredients
• Get ready to create a tropical delight!
For the Cake
• Strawberry Cake Mix – This forms the base of your cake and adds sweetness; use a gluten-free mix for a gluten-free Hawaiian Guava Cake!
• Guava Juice/Nectar – Infuses your cake with tropical flavor and moisture; fresh guava can provide an extra flavor punch.
• Eggs – Essential for structure and leavening; swap for 1/4 cup applesauce or a flax egg for an egg-free alternative.
• Coconut Oil – Adds rich moisture and flavor; vegetable oil can be used for a neutral taste.
For the Cream Cheese Layer
• Cream Cheese – Gives the cake a luxurious, creamy texture; choose dairy-free cream cheese for a vegan option.
• Granulated Sugar – Sweetens the cream cheese mixture and guava gel; coconut sugar works as a less refined substitute.
• Vanilla Extract – A necessary ingredient to enhance flavor; opt for pure vanilla for the best taste.
• Cool Whip – Offers lightness and volume to the cream cheese layer; use whipped coconut cream for a dairy-free alternative.
For the Guava Gel
• Cornstarch & Water – Create a slurry to help thicken the guava gel; make sure to whisk well to avoid lumps.
• Sweetened Coconut Flakes – Optional garnish to provide texture and tropical flair; sprinkle on top for an extra touch.
Enjoy crafting this delightful Hawaiian Guava Cake that channels the essence of tropical paradise!
Step‑by‑Step Instructions for Hawaiian Guava Cake
Step 1: Preheat and Prepare
Preheat your oven to 350°F (175°C) while you prepare a 13 x 9-inch baking dish. Grease the dish generously with vegetable spray to ensure easy removal once your Hawaiian Guava Cake is baked. As the oven warms up, gather your ingredients so you’re ready to mix right away.
Step 2: Mix the Batter
In a large mixing bowl, combine the Strawberry Cake Mix, Guava Juice, eggs, and melted Coconut Oil. Using a mixer, blend on low for 30 seconds, then increase to medium-high for 2 minutes until the mixture is smooth and well combined. You should see a lovely pink batter with a slight sheen, indicating it’s fully mixed.
Step 3: Bake the Cake
Pour the batter into your prepared baking pan, spreading it evenly. Place the pan in the preheated oven and bake for 24-26 minutes. The cake is done when it’s lightly golden on top and a toothpick inserted into the center comes out clean. Keep an eye on it to avoid overbaking; it should be fluffy and moist.
Step 4: Cool the Cake
Once baked, carefully remove the cake from the oven and allow it to cool in the pan for about 10 minutes. Then, transfer it to a wire rack to cool completely. This step is crucial for our Hawaiian Guava Cake, as it ensures the cream cheese layer won’t melt when spread on top.
Step 5: Prepare the Cream Cheese Layer
In a separate bowl, beat the Cream Cheese until it’s fluffy and smooth. Gradually add the Granulated Sugar and Vanilla Extract, mixing until fully incorporated. Gently fold in the Cool Whip until the mixture is light and airy. Place this creamy goodness in the refrigerator to chill and stiffen while you prepare the guava gel.
Step 6: Make the Guava Gel
In a saucepan, bring the Guava Juice and remaining Sugar to a boil over medium heat for about 2 minutes. In another bowl, whisk together cornstarch and water to form a slurry. Gradually add this slurry to the boiling guava mixture, whisking vigorously until it thickens, which should take just a few minutes. Once thickened, cool it in the fridge.
Step 7: Assemble the Cake
After the cake has completely cooled, spread the chilled cream cheese mixture evenly over the top with a spatula. Be careful not to tear the cake; a gentle touch will ensure a smooth application. Layering the cream cheese creates a rich base for the guava gel that follows.
Step 8: Final Touch with Guava Gel
Once the guava gel has cooled, pour it over the cream cheese layer, spreading it gently to cover the entire surface. The glossy topping not only enhances flavor but also adds a beautiful finish to your Hawaiian Guava Cake. If desired, sprinkle sweetened coconut flakes on top for extra texture and tropical flair.
Step 9: Chill and Serve
Refrigerate the assembled cake for at least 1 hour to allow the layers to set beautifully. This cooling time helps the flavors meld together. After chilling, slice generously and serve this tropical delight to your family and friends—watch their faces light up as they dive into a slice of paradise!
How to Store and Freeze Hawaiian Guava Cake
Fridge: Store the Hawaiian Guava Cake wrapped tightly in plastic wrap or in an airtight container for up to 3 days. This keeps it fresh and moist for dessert cravings!
Freezer: For longer storage, freeze slices of the cake in plastic wrap and aluminum foil for up to 2 months. This makes it easy to enjoy a tropical treat whenever you desire!
Reheating: When ready to eat frozen slices, thaw in the fridge overnight or at room temperature for a few hours. Reheat in the microwave for 15-20 seconds to enjoy it warm!
Make-Ahead: Consider preparing the cream cheese layer and guava gel a day in advance. Assemble the cake before serving to ensure all layers are perfectly set.
Make Ahead Options
These Hawaiian Guava Cake layers are perfect for meal prep, saving you time on busy days! You can bake the cake up to 24 hours in advance; just let it cool completely before wrapping it tightly in plastic wrap to maintain moisture. The cream cheese layer can also be prepared ahead of time and refrigerated for up to 3 days—just mix, chill, and it’ll be ready when you are! The guava gel can be made a day in advance and stored in the fridge as well, ensuring it’s perfectly set when it’s time to assemble. When ready to serve, simply layer the cream cheese mixture over the cooled cake, top it with the guava gel, and refrigerate for about an hour for the best results—effortlessly impressive, just like a slice of paradise!
Hawaiian Guava Cake Variations
Get ready to make this tropical delight truly your own with some delightful twists!
-
Tropical Fruit Additions: Add chopped fresh pineapple or mango to the cake batter for an extra burst of tropical flavor. The fruit will beautifully complement the guava, making each bite even more refreshing!
-
Chocolate Drizzle: Drizzle melted dark chocolate over the guava glaze for a rich contrast. The vibrant sweetness of guava pairs surprisingly well with the richness of chocolate, creating a dessert that sings with depth.
-
Nutty Crunch: Sprinkle chopped nuts such as macadamia or walnuts into the batter for added texture. The crunchiness and nuttiness will enhance the cake’s tropical theme while delivering an exciting surprise in every slice!
-
Zesty Cream Cheese: Use lemon zest in the cream cheese mixture for a zesty twist. This brightens the flavors and adds a refreshing dimension that balances the sweetness of the cake.
-
Spiced Version: Incorporate a hint of cinnamon or nutmeg into the cake batter for a warm, spiced flavor. This cozy addition elegantly enhances the tropical notes, creating a delightful fusion sure to impress.
-
Gluten-Free Option: Swap the regular Strawberry Cake Mix for a gluten-free alternative. This ensures everyone can partake in the tropical goodness without sacrificing taste or texture.
-
Coconut Flour: For a more pronounced coconut flavor, substitute a portion of the cake mix with coconut flour. This adds moisture and a lovely nutty taste that resonates wonderfully with the guava.
-
Vegan Alternative: Prepare the cake dairy-free by using vegan cream cheese and whipped coconut cream. This way, everyone can enjoy a slice of this delicious Hawaiian Guava Cake without compromise!
And if you’re inspired to keep the tropical vibes going, don’t miss out on my Coconut Cloud Cake or Flourless Orange Cake for more delightful dessert ideas!
What to Serve with Decadent Hawaiian Guava Cake?
Elevate your tropical dessert experience by pairing this cake with delightful sides and sips that dance on your taste buds!
- Tropical Fruit Salad: A refreshing blend of pineapple, mango, and kiwi provides a vibrant contrast that complements the cake’s sweetness.
- Vanilla Ice Cream: Its creamy texture balances the flavors of the guava cake, making every bite irresistibly decadent and rich.
- Coconut Macaroons: These chewy treats echo the cake’s coconut notes while adding a crispy texture that enhances each mouthful.
Imagine enjoying a scoop of vanilla ice cream melting into the luscious guava layers with zesty fruit salad on the side. The combination is a festival of flavors that transports you straight to a sunny beach!
- Pineapple-Infused Sparkling Water: This light, fizzy drink refreshes your palate with every sip, allowing the cake’s flavors to shine even brighter.
- Mango Sorbet: A smooth and fruity twist that adds a tropical flair, aligning beautifully with the guava cake’s essence.
- Lemonade: The tartness of lemonade cuts through the creaminess, enhancing the fruity dimensions of the dessert.
With these pairings, your Decadent Hawaiian Guava Cake becomes part of a full feast that delights the senses and leaves everyone asking for more!
Expert Tips for Hawaiian Guava Cake
-
Room Temperature Ingredients: Always use room temperature ingredients for better mixing and a smoother batter. This will enhance the overall texture of your Hawaiian Guava Cake.
-
Baking Time Matters: Monitor the baking time closely. Every oven is unique, so keep an eye on the cake to avoid overbaking and ensure it remains moist.
-
Cooling is Crucial: Allow the cake to cool completely before adding the cream cheese layer. This prevents the cream from melting and maintains the beautiful layers.
-
Whisk the Slurry: For a perfectly thick guava gel, ensure the cornstarch and water slurry is well whisked before adding it to the hot mixture. This avoids lumps in your gel.
-
Add Fresh Fruit: Enhance the tropical flavor by adding fresh pineapple or mango chunks to the batter. This little twist will elevate your Hawaiian Guava Cake to new delicious heights!
-
Garnish Wisely: Consider toasting coconut flakes before sprinkling them on top for a delightful crunch and extra layer of flavor to your cake.
Hawaiian Guava Cake Recipe FAQs
What is the best way to select ripe guavas for the cake?
Absolutely! When selecting guavas, look for ones that are slightly soft to the touch and have an aromatic, sweet fragrance. Avoid any that have dark spots or bruises. If you’re using guava juice or nectar, choose a high-quality product that lists guava as the main ingredient for the best flavor.
How should I store leftover Hawaiian Guava Cake?
You can store leftover Hawaiian Guava Cake in the refrigerator, wrapped tightly in plastic wrap or in an airtight container for up to 3 days. This keeps the cake moist and flavorful. Just remember to let it come to room temperature before serving for the ultimate presentation.
Can I freeze Hawaiian Guava Cake? If so, how?
Yes, you can freeze Hawaiian Guava Cake for up to 2 months! Here’s a step-by-step guide:
- Allow the cake to cool completely.
- Slice it into individual portions for easy serving later.
- Wrap each slice tightly in plastic wrap, followed by aluminum foil to prevent freezer burn.
- Label and date the packaging before placing it in the freezer.
When it’s time to enjoy, simply thaw the slices in the fridge overnight or at room temperature for a few hours. You can reheat them in the microwave for 15-20 seconds for a warm treat!
What if my guava gel isn’t thickening properly?
No worries! If your guava gel doesn’t thicken as expected, check that you’ve properly whisked the cornstarch and water slurry before adding it to the boiling mixture. If it still seems runny, return the mixture to the heat and continue to whisk until it thickens, which usually takes just a few minutes. It’s all about ensuring everything is thoroughly mixed!
Is this Hawaiian Guava Cake safe for people with allergies?
Very much! This recipe can easily be adapted to accommodate various dietary restrictions. You can use gluten-free cake mix for those with gluten sensitivities, and replace eggs with applesauce or a flax egg for egg-free versions. To keep it dairy-free, select vegan cream cheese and whipped coconut cream. Just make sure to double-check all ingredient labels for potential allergens. Enjoying a slice of paradise is for everyone!
Can I add other tropical fruits to the cake?
Absolutely! Adding fresh chopped pineapple or mango to the batter will only enhance the tropical flavors of your Hawaiian Guava Cake. Be sure to chop the fruit finely and fold it gently into the batter before baking for a delightful burst of flavor in every slice!
Hawaiian Guava Cake: A Tropical Delight You Must Try
Ingredients
Equipment
Method
- Preheat your oven to 350°F (175°C) and prepare a 13 x 9-inch baking dish with vegetable spray.
- In a large mixing bowl, combine the Strawberry Cake Mix, Guava Juice, eggs, and melted Coconut Oil. Mix on low for 30 seconds, then medium-high for 2 minutes.
- Pour the batter into the prepared baking pan and bake for 24-26 minutes until golden and a toothpick comes out clean.
- Allow the cake to cool in the pan for about 10 minutes, then transfer to a wire rack to cool completely.
- In another bowl, beat the Cream Cheese until fluffy, then add Sugar and Vanilla. Gradually fold in Cool Whip and chill.
- In a saucepan, boil Guava Juice and remaining Sugar for about 2 minutes. Mix cornstarch and water for slurry, whisk into boiling mixture until thickened. Cool in the fridge.
- Spread the chilled cream cheese layer over the cooled cake, then pour the guava gel on top and smooth it out.
- Refrigerate the assembled cake for at least 1 hour before serving.
Leave a Reply