
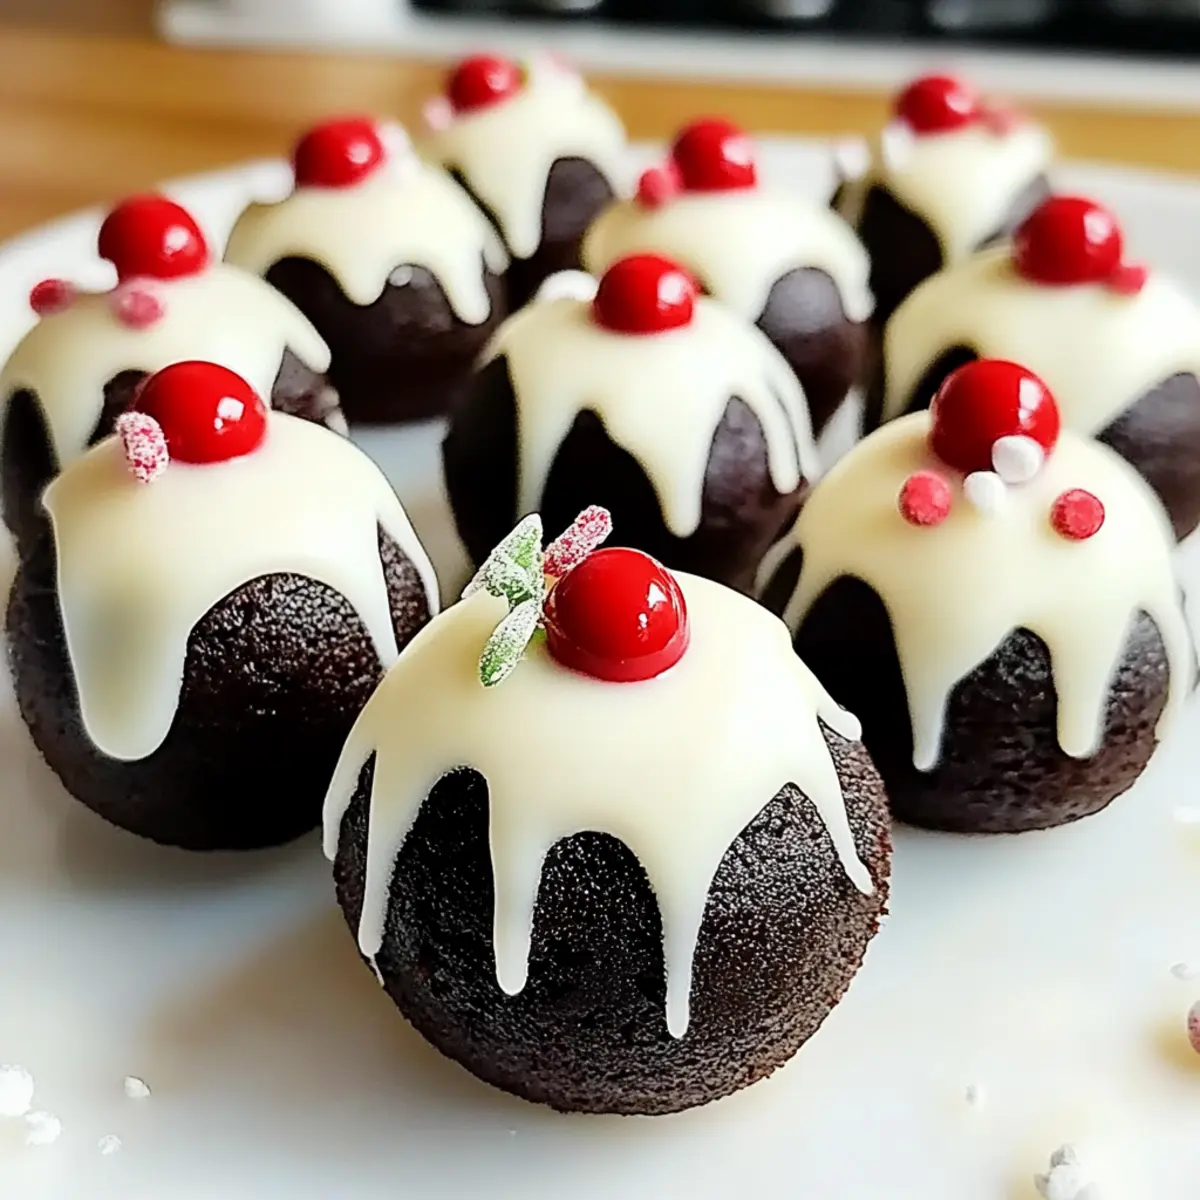
As I whisked the festive spirit into my kitchen, the aroma of rich chocolate soon filled the air—it was time to whip up some Quick & Easy Mini Christmas Puddings. These delightful, no-bake treats take just 20 minutes to prepare, perfect for those of us racing against the holiday clock. Not only are they a fun activity to involve the kids, but they also boast an impressive presentation that’s sure to charm your guests at any holiday gathering. Imagine the smiles as you unveil these creamy, chocolatey bites, adorned with colorful candies. Are you ready to create a holiday memory wrapped in sweetness? Let’s dive in!
Why Choose Mini Christmas Puddings?
Quick Prep Time: You can whip up these delightful treats in just 20 minutes, freeing up your holiday schedule for more festivities.
Kid-Friendly Fun: Kids will love getting involved, from shaping to decorating, making it a wonderful family bonding activity.
Versatile Decorations: Mix and match toppings with seasonal candies, ensuring every batch is a unique delight.
Guilt-Free Indulgence: At about 150 calories each, you can savor these without the holiday guilt, fitting perfectly into your festive feasting.
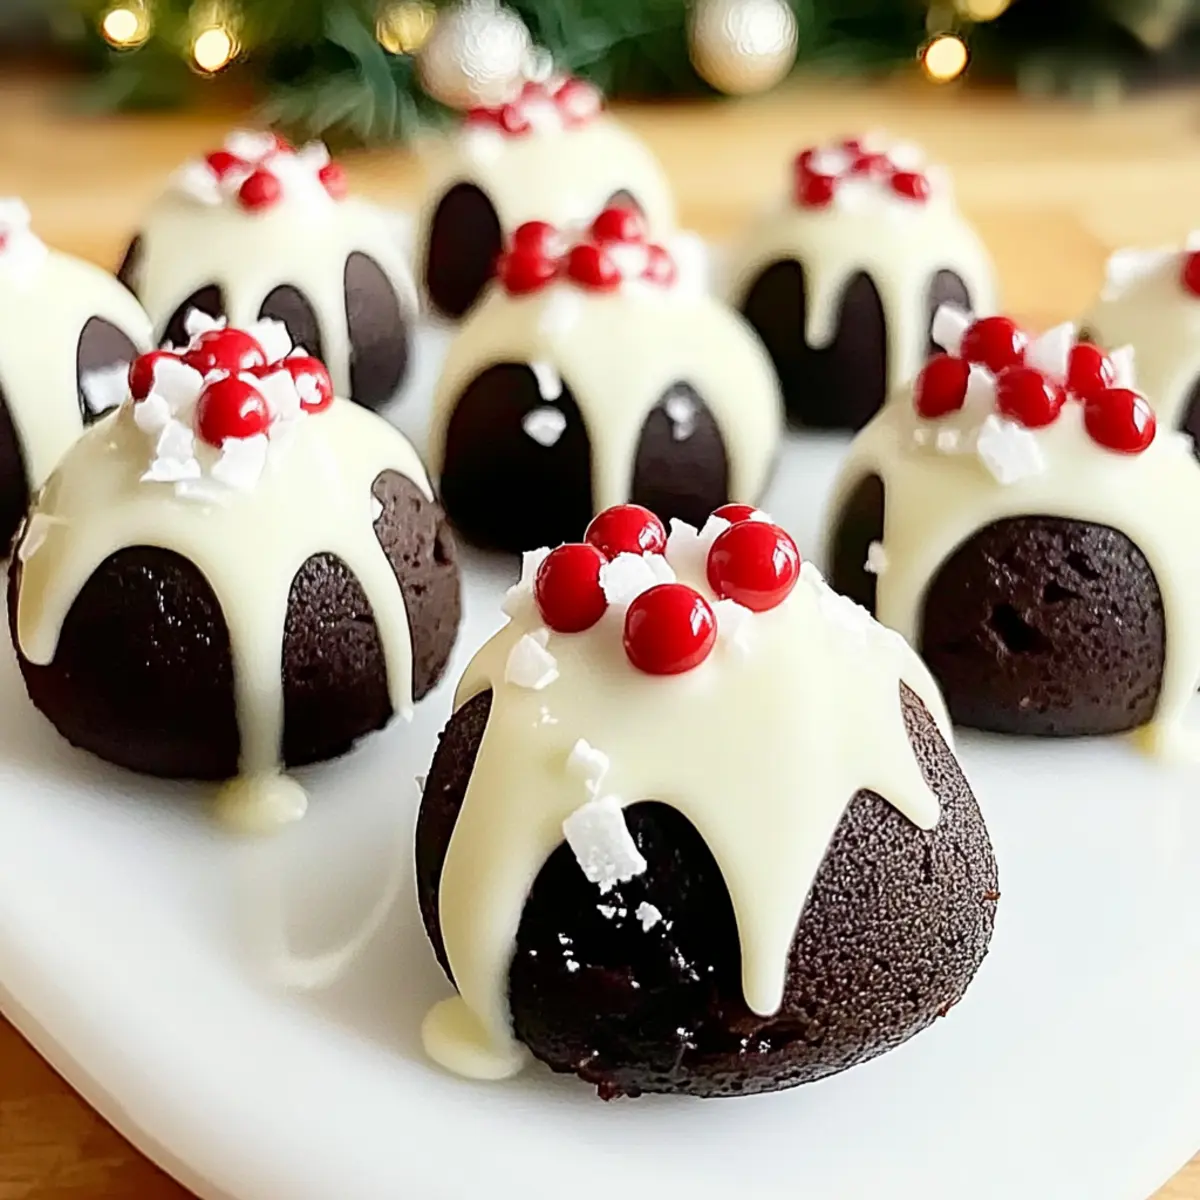
Impressive Presentation: These puddings not only taste amazing but also look stunning, making them the star of your dessert table. For more festive inspirations, check out my Mini Fruit Pizzas for an equally colorful treat!
Mini Christmas Puddings Ingredients
For the Puddings
- 600g Store-bought Chocolate Mudcake – This rich chocolate base is the heart of the Mini Christmas Puddings; feel free to substitute with homemade chocolate cake for a personal touch.
- Icing Sugar (optional) – A light dusting creates that perfect snowy effect, making your festive treats even more appealing.
For the Topping
- 145g White Chocolate Melts – Melt these for a creamy drizzle that adds sweetness; milk or dark chocolate is also a delightful choice for variation.
- 8 Spearmint Lollies – Use these to mimic leaves on your pudding; peppermint candies work well as substitutes for an extra minty flavor.
- 24 Red M&M’s – These colorful candies resemble berries and are perfect for adding a festive touch; feel free to swap for mini M&M’s to fit your design.
Step‑by‑Step Instructions for Mini Christmas Puddings
Step 1: Prepare the Mudcake
Begin by crumbling the 600g of store-bought chocolate mudcake into a large mixing bowl. Use your hands or a fork to combine it with a few tablespoons of icing sugar until the mixture becomes doughy and holds together well, which will take about 3-5 minutes of mixing.
Step 2: Shape the Mixture
With your hands slightly damp to avoid sticking, take tablespoons of the chocolate mixture and roll them into small balls. Place these balls onto a tray lined with baking paper, ensuring they are spaced apart. Chill in the refrigerator for about 15 minutes to firm up the Mini Christmas Puddings.
Step 3: Melt the Chocolate
While the pudding balls are chilling, melt 145g of white chocolate melts in a microwave-safe bowl. Heat in 30-second intervals, stirring after each, until the chocolate is completely smooth. This should take about 1-2 minutes total. Ensure it’s not too hot, as you’ll need it pourable for decoration.
Step 4: Decorate the Puddings
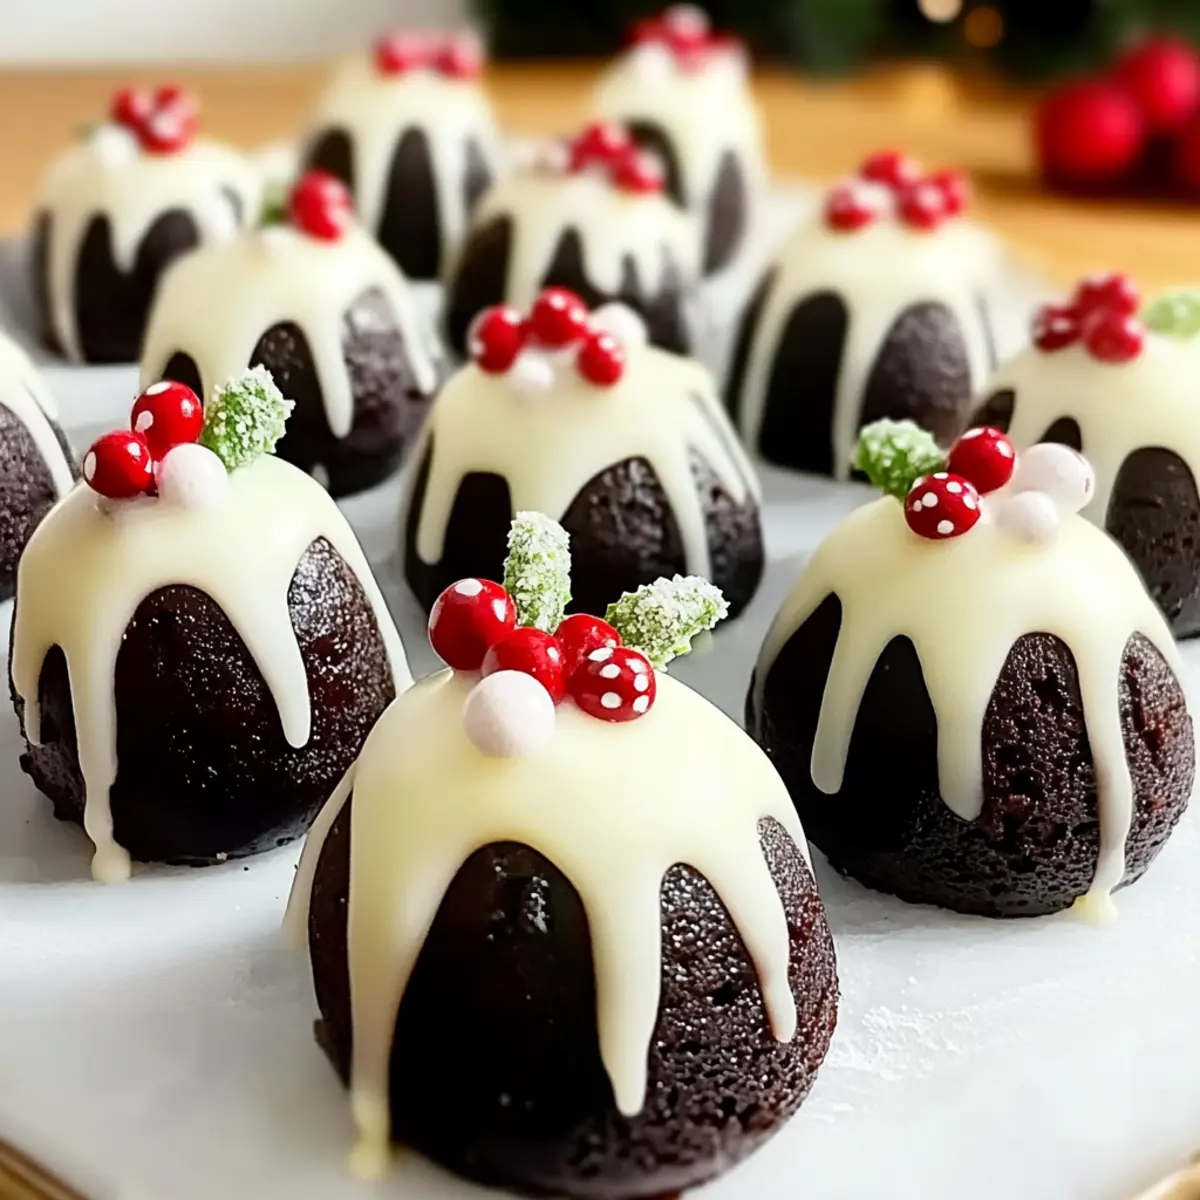
Once chilled, remove the pudding balls from the refrigerator. Drizzle the melted white chocolate generously over each ball, allowing some to cascade down the sides. Quickly press two spearmint lollies and a red M&M onto each ball to create a festive look resembling leaves and berries.
Step 5: Chill and Serve
Return the decorated Mini Christmas Puddings to the fridge for another 15 minutes to set the chocolate. This will help the toppings stick and solidify. If desired, dust with icing sugar just before serving to enhance the snowy appearance of these delightful treats.

How to Store and Freeze Mini Christmas Puddings
Fridge: Keep the Mini Christmas Puddings in an airtight container in the fridge for up to 3 days. This will preserve their fudgy texture while maintaining their festive appeal.
Freezer: For longer storage, uncoated pudding balls can be frozen for up to 2 months. Just ensure they’re tightly wrapped or placed in a freezer-safe container to prevent freezer burn.
Reheating: While these treats are best enjoyed chilled, if desired, allow them to come to room temperature before serving for optimal flavor and texture.
Avoid Moisture: Make sure the container is completely dry before storing your puddings to prevent any condensation that could affect their quality.
Expert Tips for Mini Christmas Puddings
- Chill Before Shaping: Allow the chocolate mixture to chill before forming balls. This makes it easier to handle and ensures a perfect shape.
- Moisture Matters: If your mudcake feels dry, don’t hesitate to add a bit more icing for that moist consistency; avoid gooeyness by adding gradually.
- Warm Chocolate Drizzle: Keep your melted white chocolate warm during decoration for the best adherence. Cool chocolate can lead to slipping toppings!
- Non-Stick Essentials: Use a non-stick tray for easy removal; this prevents any accidental mess and maintains the integrity of your Mini Christmas Puddings.
- Get Creative: Feel free to explore different toppings or flavor enhancements to make your Mini Christmas Puddings uniquely festive and exciting!
Make Ahead Options
These Mini Christmas Puddings are perfect for meal prep, letting you embrace the holiday spirit without the last-minute chaos! You can prepare the pudding balls up to 24 hours in advance; simply chill them in the refrigerator after rolling them into shape. The melted white chocolate can also be prepped ahead and stored in an airtight container for up to 3 days, but for the best quality, drizzle it just before serving. To maintain their delightful texture, keep the uncoated balls separate and tightly covered. When you’re ready to impress your guests, just finish decorating with the toppings, and you’ll have a stunning dessert with minimal effort!
Mini Christmas Puddings: Customization Ideas
Get ready to make these festive treats your own with easy variations that bring a personal touch to your Mini Christmas Puddings.
-
Nutty Addition: Toss in some chopped walnuts or pecans for a delightful crunch that contrasts beautifully with the creamy texture.
-
Fruit Twist: Incorporate dried cranberries or finely chopped apples into the dough for a sweet surprise and extra holiday flavor that celebrates the season.
-
Dairy-Free Option: Opt for dairy-free chocolate and icing to cater to those with dietary needs, ensuring everyone can indulge in these festive bites.
-
Flavor Enhancements: Swap in festive spices like cinnamon or nutmeg for a warm aroma that will fill your kitchen with holiday cheer.
-
Sponge Cake Substitute: Use a light sponge cake instead of chocolate mudcake for a fluffier texture that still delivers on chocolatey goodness.
-
Decorate with Variety: Instead of spearmint lollies, use crushed candy canes for a peppermint burst, or try mini cookie decorations for a playful touch.
-
Cocoa Dusting: For an elegant finish, dust the finished puddings with cocoa powder instead of icing sugar for a richer taste.
-
Chili Kick: Add a hint of chili powder to the chocolate mixture for a surprising heat that contrasts deliciously with the sweetness.
Feel free to explore these ideas to elevate your dessert and impress your family and friends! And if you’re looking for more fun treats, don’t miss my Mini Lemon Blueberry for a burst of flavor!
What to Serve with Mini Christmas Puddings?
As the festive season approaches, pairing these delightful chocolate bites with complementary treats will elevate your holiday gathering.
- Spiced Apple Cider: Warm, spiced cider adds a cozy element, enhancing the festive spirit in every sip.
- Vanilla Ice Cream: The creaminess of vanilla ice cream beautifully contrasts the rich chocolate of the puddings, creating a heavenly combination.
- Gingerbread Cookies: These classic cookies offer a spiced crunch that pairs wonderfully with the smooth texture of the puddings.
- Eggnog: A splash of this creamy, nutmeg-spiced beverage is the perfect drink to accompany the sweet richness of the puddings.
- Chocolate Fondue: Pair for an interactive dessert experience, inviting everyone to dip fruits and marshmallows alongside your gorgeous Mini Christmas Puddings.
- Holiday Fruit Salad: A refreshing mix of seasonal fruits balances the indulgence and adds brightness to your dessert table.
- Peppermint Hot Chocolate: Treat your guests to a warm hug in a mug, its festive peppermint flavor harmonizes wonderfully with the puddings’ chocolatey goodness.
- Cranberry Sauce: A dollop of tart cranberry sauce provides a delightful contrast, cutting through the sweetness with a pop of flavor.
- Festive Cheese Board: Offer a selection of cheeses and nuts, providing savory bites that contrast with the sweet puddings, embracing holiday flavors.
Mini Christmas Puddings Recipe FAQs
How do I choose the right chocolate mudcake for my Mini Christmas Puddings?
Absolutely! Opt for a chocolate mudcake that is moist and rich for the best flavor. Look for a cake with a shiny, dense exterior that feels slightly springy to the touch. Avoid cakes with dark spots or a dry texture as they may not hold up well when crumbled and shaped. If you’re feeling adventurous, using a homemade chocolate cake can give a personal touch to your festive treats!
How should I store Mini Christmas Puddings, and how long do they last?
Great question! You can keep your Mini Christmas Puddings in an airtight container in the refrigerator for up to 3 days. This will maintain their delightful texture and flavors. Just be sure to check for any moisture in the container; a dry container helps keep the puddings fresh and avoids any sogginess.
Can I freeze the Mini Christmas Puddings?
Yes, you can! Uncoated pudding balls can be frozen for up to 2 months. To freeze, lay them out on a tray to harden, then transfer to a freezer-safe container or ziplock bag, ensuring each ball is well-wrapped to prevent freezer burn. When you’re ready to enjoy, let them thaw in the fridge overnight before decorating!
What if my chocolate mudcake mixture is too dry?
If you find your mixture is a bit too dry, don’t worry! Simply add a tablespoon of icing sugar at a time until the dough reaches a moist and doughy consistency. It’s important to keep it manageable and not too wet, so add gradually while mixing. This will help ensure your Mini Christmas Puddings are fudgy and delightful!
Are Mini Christmas Puddings safe for kids and people with allergies?
I often make these treats kid-friendly, but it’s essential to consider allergies. The main ingredients include chocolate, which may contain dairy, so opt for dairy-free chocolate for lactose intolerance or allergies. Additionally, check all candy toppings for gluten or nut traces. Always consult with guests about their dietary restrictions to ensure everyone can indulge safely!
How can I ensure the decorations stay intact on my puddings?
To achieve the best adhesion with your toppings, drizzle the white chocolate over the chilled pudding balls while it’s still warm. This warmth helps the toppings – like spearmint lollies and red M&M’s – stick better. If your melted chocolate cools too much, it may become thick or clumpy, making it difficult for the decorations to adhere properly.
Mini Christmas Puddings for a Festive No-Bake Delight
Ingredients
Equipment
Method
- Crumble the 600g chocolate mudcake into a large mixing bowl and combine with icing sugar until doughy.
- Roll tablespoons of the mixture into small balls and chill on a lined tray for 15 minutes.
- Melt 145g of white chocolate melts in 30-second intervals until completely smooth.
- Drizzle melted white chocolate over chilled pudding balls and decorate with spearmint lollies and red M&M’s.
- Chill the decorated puddings for another 15 minutes and optionally dust with icing sugar before serving.
Leave a Reply