
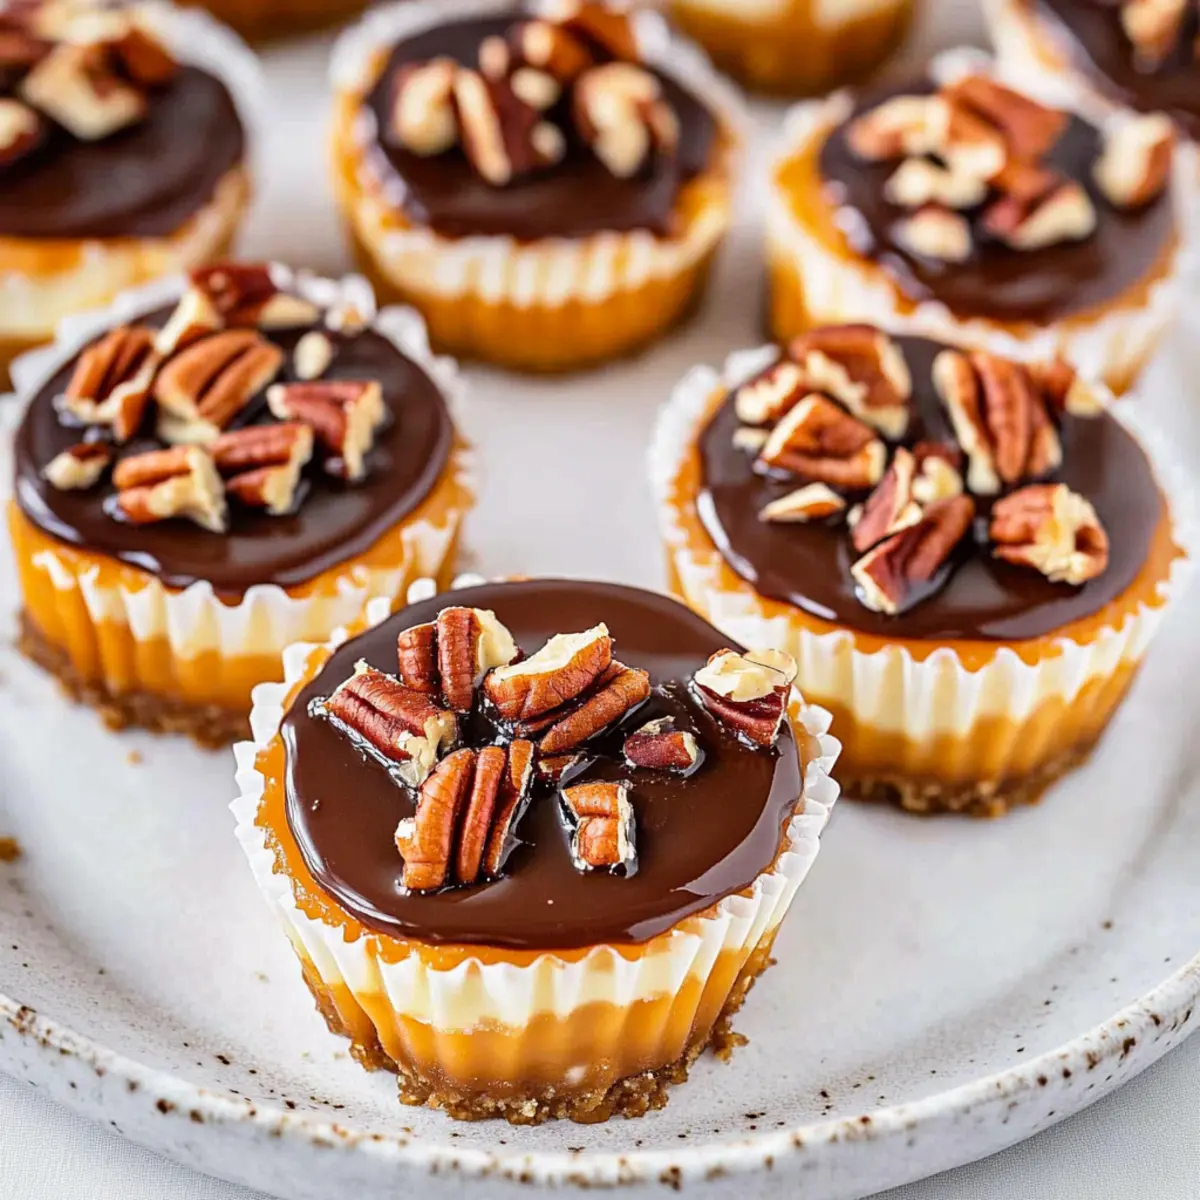
As the aroma of chocolate wafts through your kitchen, it’s hard to resist the warm, inviting vibe—a little slice of dessert heaven. Today, I’m thrilled to share my go-to treat: Mini Turtle Cheesecakes, a no-bake indulgence that turns any occasion into a celebration. These delightful gems offer an easy way to bring together rich chocolate, luscious caramel, and crunchy nuts, all nestled within a buttery graham cracker crust. Not only are they the perfect portable dessert for parties or gatherings, but they also require minimal effort while maximizing flavor and satisfaction. Who wouldn’t want to impress friends and family with a dish that’s both show-stopping and simple? So, are you ready to dig into this easy dessert that promises smiles all around? Let’s dive into the recipe!
Why Make Mini Turtle Cheesecakes?
Irresistible Flavor Combinations: The marriage of chocolate, caramel, and nuts creates a rich experience that will have everyone coming back for more.
No-Bake Convenience: Skip the oven and save time with this easy, no-bake recipe that allows you to enjoy the fun of baking without the heat.
Perfect for Any Occasion: Whether it’s a summer barbecue or a cozy dinner party, these mini turtle cheesecakes are a treat everyone will love.
Portable Joy: Flip your gathering into a dessert showcase by easily transporting these bite-sized treats in a muffin tin.
Make Ahead Magic: Preparing these cheesecakes a day in advance means you can focus on your guests while they chill in the fridge—just top with caramel and nuts before serving.
Customize Your Way: Feel free to switch up the nuts or crust to suit your preferences. If you’re in the mood for something fruity, try these delightful Mini Lemon Blueberry cheesecakes for a refreshing twist!
Mini Turtle Cheesecake Ingredients
• Get ready to create a no-bake sensation!
For the Crust
- Graham Cracker Crumbs – Provides a sweet and crunchy base; digestive biscuits can be used for a different flavor.
- Unsalted Butter (melted) – Binds the crust ingredients together for a cohesive texture; coconut oil works for a dairy-free version.
For the Filling
- Full Fat Cream Cheese (softened) – Creates a creamy and rich filling; Neufchâtel cheese is a great lower-fat alternative.
- Granulated Sugar – Adds sweetness to the cheesecake; for a sugar-free option, substitute with a baking-compatible sugar alternative.
- Vanilla Extract – Enhances the overall flavor of the cheesecake; you can substitute it with vanilla bean paste for an intensified taste.
- Eggs – Provides structure to the cheesecake; flax eggs can effectively replace them for a vegan version.
For the Toppings
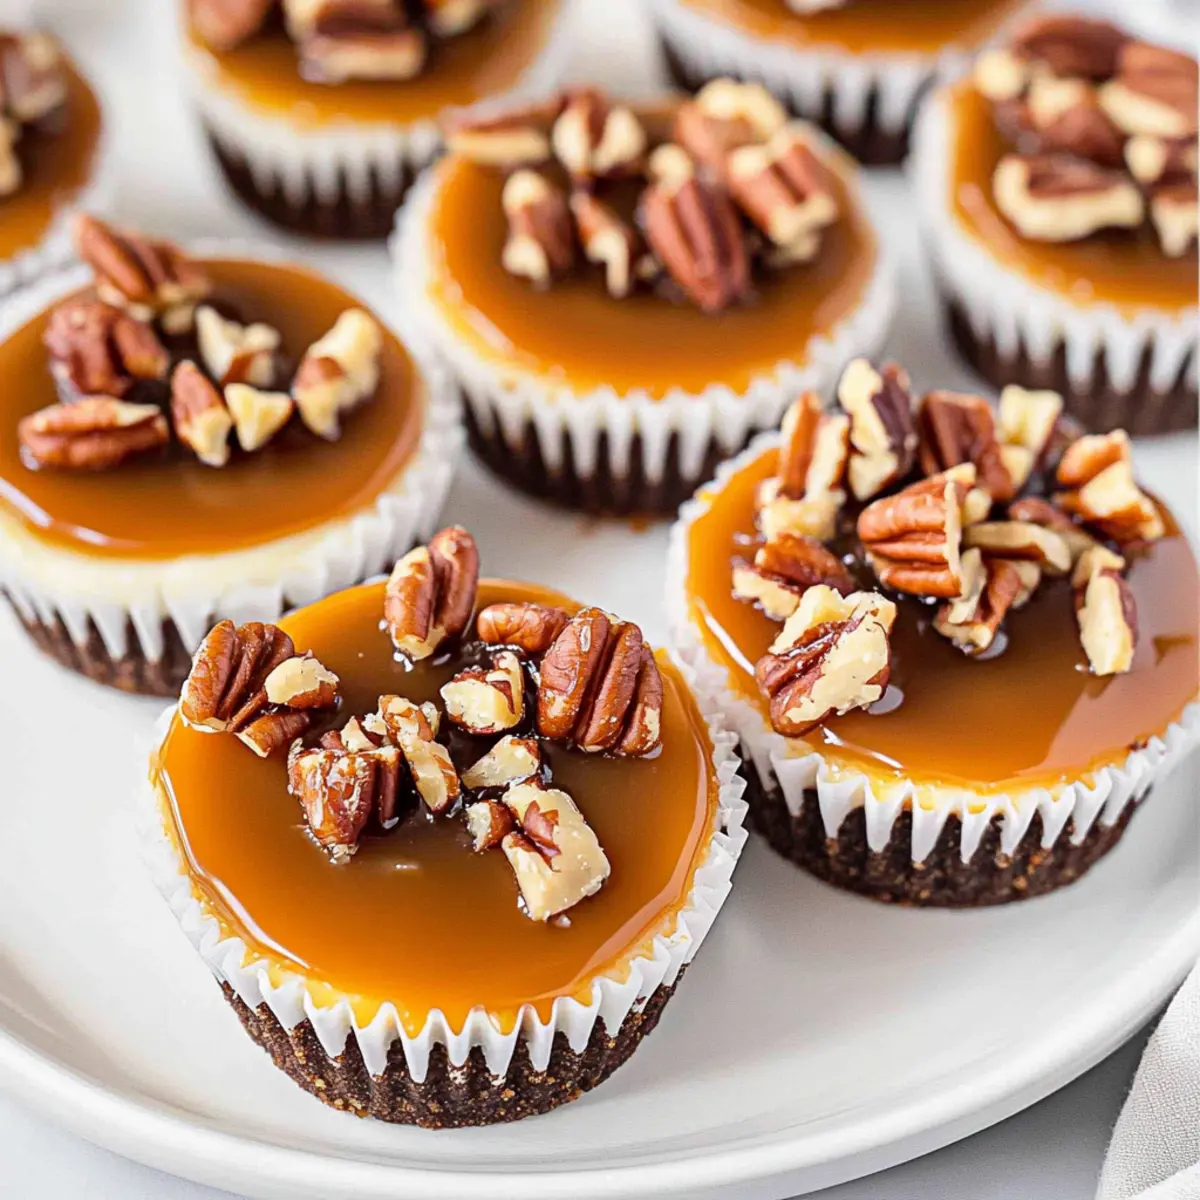
- Jarred Caramel Sauce – Drizzle on top for added sweetness; homemade caramel is a delicious alternative.
- Chocolate Ganache – Adds a rich chocolate layer; for a fuss-free option, use store-bought ganache.
- Chopped Nuts (preferably pecans) – Offers a satisfying crunch; walnuts or almonds make delicious substitutes.
Now you have everything you need to whip up these luscious Mini Turtle Cheesecakes!
Step‑by‑Step Instructions for Mini Turtle Cheesecakes
Step 1: Preheat the Oven
Begin by preheating your oven to 350°F (175°C). While the oven warms, prepare a standard muffin pan by lining it with paper muffin liners. This ensures easy removal after baking, setting the stage for your delightful mini turtle cheesecakes.
Step 2: Make the Crust
In a mixing bowl, combine the graham cracker crumbs with melted butter until well-blended. Press this mixture firmly into the lined muffin cups to form an even base. Bake in your preheated oven for 5 minutes. The crust should be lightly golden and fragrant before you remove it to cool completely.
Step 3: Prepare the Cheesecake Filling
In a separate bowl, beat softened cream cheese and granulated sugar together until smooth and creamy. Add the vanilla extract and eggs, mixing just until combined. Be careful not to over-mix; you want a luscious texture for your mini turtle cheesecakes, free of air bubbles that may cause cracking.
Step 4: Fill and Bake
Distribute the smooth filling evenly among the cooled muffin cups, filling them to the top. Return them to the oven and bake for 15-17 minutes. You’ll know they’re done when they look set around the edges but still have a slight jiggle in the center.
Step 5: Cool and Chill
Once baked, allow the mini turtle cheesecakes to cool to room temperature for about 30 minutes. Then, transfer them to the refrigerator and chill for at least 4 hours, or preferably overnight. This chilling time helps develop the flavors and firm up the texture for ultimate enjoyment.
Step 6: Garnish
Just before serving, add the finishing touches! Drizzle each cheesecake with caramel sauce, followed by a dollop of rich chocolate ganache. Finally, sprinkle generously with chopped nuts for that satisfying crunch. Each bite of your mini turtle cheesecakes will be a delectable balance of flavors and textures.
Make Ahead Options
These Mini Turtle Cheesecakes are a fantastic choice for meal prep, making them perfect for busy weeknights or upcoming gatherings! You can prepare the graham cracker crust and cheesecake filling up to 24 hours in advance, just be sure to refrigerate them separately in airtight containers to maintain their freshness. Once you’re ready to serve, fill the baked crusts with the chilling filling and refrigerate for an additional 4 hours or ideally overnight to develop the rich flavors. Before serving, simply top with your jarred caramel, chocolate ganache, and chopped nuts for a delightful finish. Enjoy the convenience of having a show-stopping dessert at your fingertips with minimal last-minute effort!
Mini Turtle Cheesecakes Variations
Feel free to explore different variations that allow this decadent dessert to shine in new ways!
-
Nut Swap: Substitute pecans with walnuts or almonds for a different nutty flavor. Each nut offers its own unique crunch and taste, putting a fun twist on every bite.
-
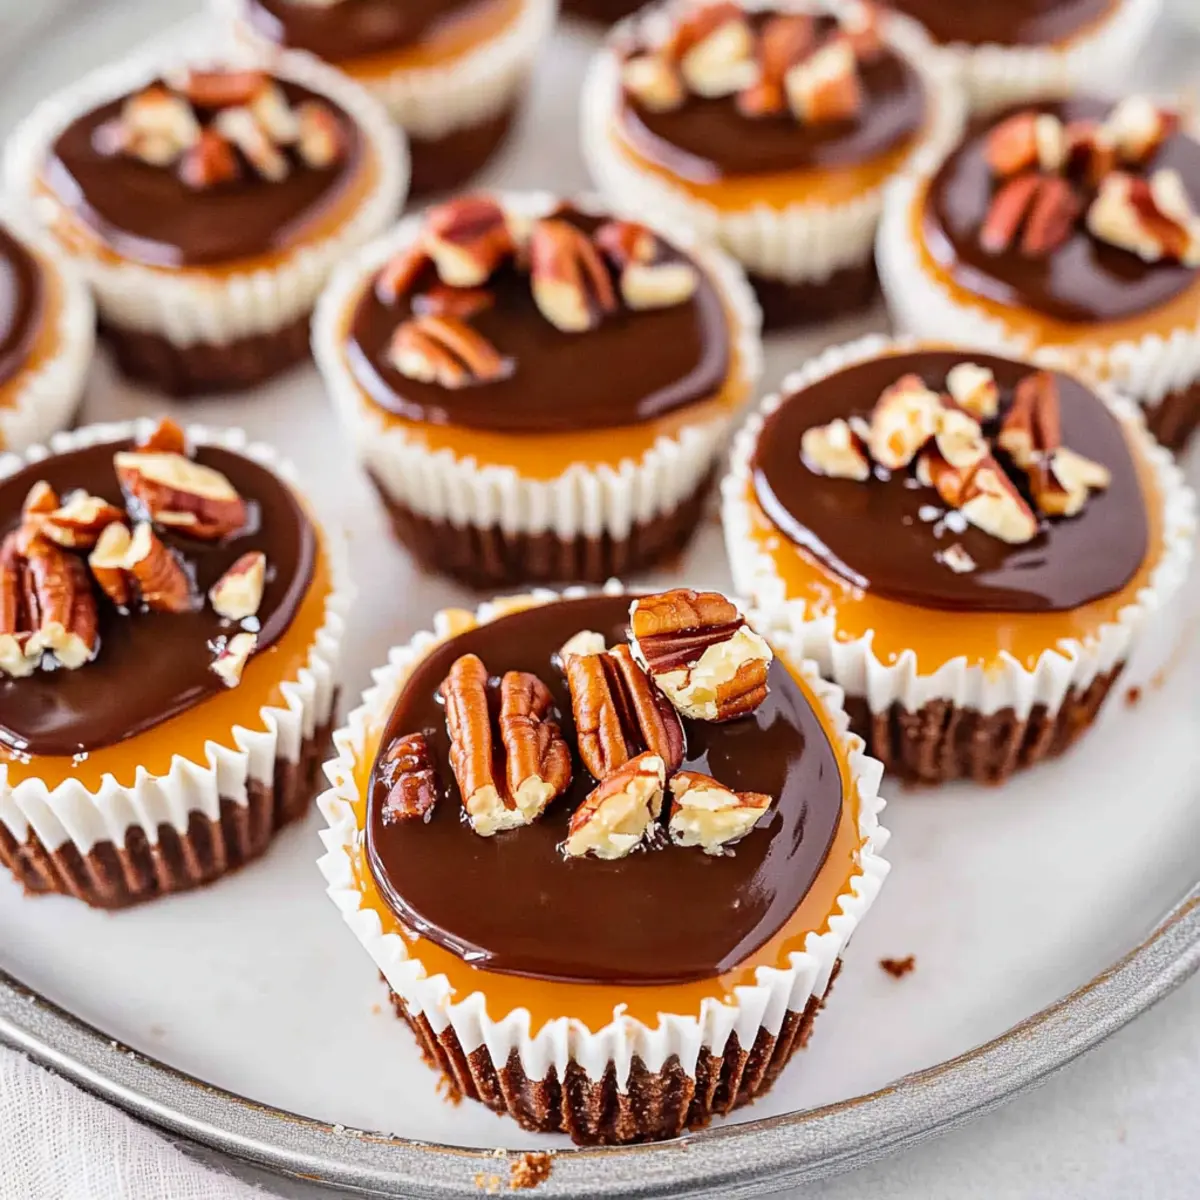
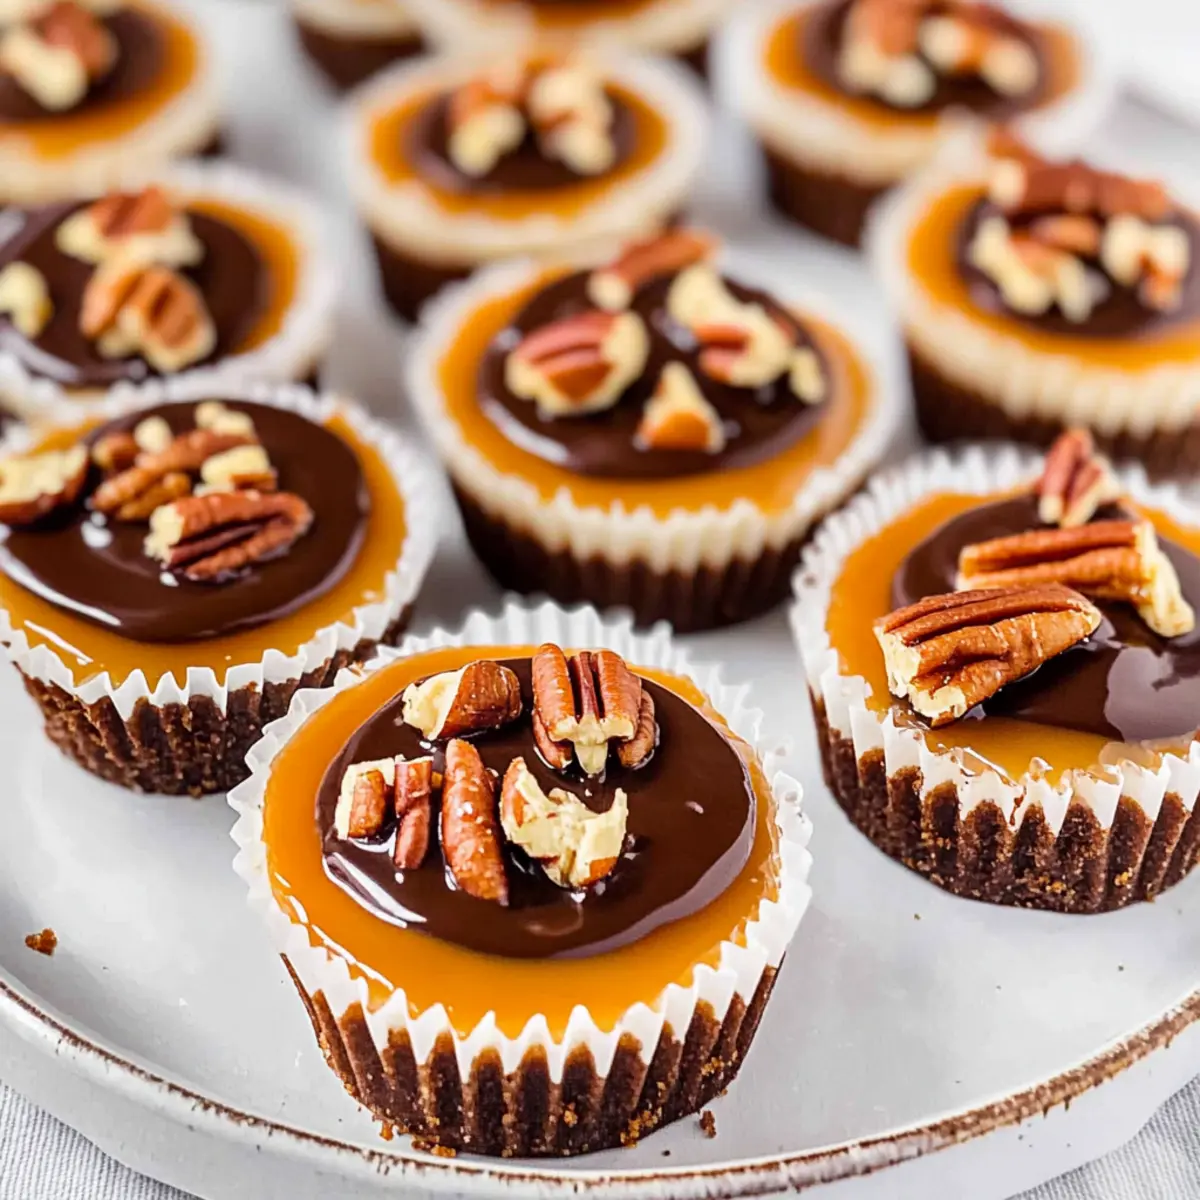
Chocolate Crust: Use Oreo crumbs instead of graham crackers for a richer chocolate experience. The added flavor will elevate your cheesecakes to a whole new level of indulgence.
-
Fruit Infusion: Add a layer of raspberry or strawberry jam before adding the cheesecake filling for a fruity surprise. The contrasting tartness pairs beautifully with the richness of chocolate and caramel.
-
Sugar-Free Delight: Opt for a sugar alternative to make these mini turtle cheesecakes sugar-free. This can help cater to guests who are mindful of their sugar intake while still enjoying a delightful dessert.
-
Vegan Version: Replace cream cheese with a dairy-free cream cheese alternative and use flax eggs instead of regular eggs to create a vegan-friendly dessert. Rich and creamy, this option is still sure to satisfy!
-
Caramel Enhancer: Incorporate a pinch of sea salt into the caramel sauce for a salted caramel effect that highlights the sweetness. It’s a simple addition that creates a bold flavor punch.
-
Spiced Up: Add a sprinkle of cinnamon or nutmeg to the graham cracker crust for a warm, cozy flavor twist. This subtle enhancement makes the dish feel extra comforting, especially during the fall.
-
Boozy Bliss: For an adult twist, drizzle a little bourbon or rum-infused caramel sauce on top. It adds depth to the dessert and offers a fun surprise for the grown-ups at your gathering.
Don’t forget, if you’re looking to try something with a fruity touch, check out these delightful Mini Lemon Blueberry cheesecakes! They’re just as easy and make for a refreshing treat.
Expert Tips for Mini Turtle Cheesecakes
-
Egg Care: Avoid over-mixing the eggs to prevent air bubbles that lead to cracking. Mix just until combined for best results.
-
Chill Time: Refrigerate your mini turtle cheesecakes overnight for enhanced flavor and texture. Patience will reward you with a richer taste!
-
Jiggle Test: Use the “jiggle test” for perfect doneness; the center should be slightly jiggly but not liquid when you take them out of the oven.
-
Flavor Variations: Don’t hesitate to customize! Use different nuts or replace the graham cracker crust with an Oreo base for added decadence.
-
Make Ahead: Preparing these cheesecakes a day in advance not only saves time but also ensures a hassle-free serving experience at your gathering.
-
Storage Tips: Keep your mini turtle cheesecakes in an airtight container in the refrigerator for up to a week, or freeze them without toppings for up to three months.
What to Serve with Mini Turtle Cheesecakes
Indulging in these mini delights opens the door to a world of wonderful pairings that can elevate your dessert experience to new heights.
-
Fresh Berries: A sprinkle of berries introduces a vibrant burst of acidity, cutting through the richness of the cheesecake and adding a fresh touch. Imagine the juicy pop of raspberries or strawberries enhancing every bite.
-
Vanilla Ice Cream: Creamy vanilla ice cream complements the chocolate and caramel flavors beautifully, providing a cool and smooth contrast. It’s an irresistible duo that will make your dessert table truly unforgettable.
-
Coffee or Espresso: The robust flavors of coffee offer a perfect balance to the sweetness. Sip a warm cup alongside your cheesecakes for that classic and comforting pairing.
-
Chocolate-Covered Pretzels: For a sweet and salty crunch, serve these alongside your cheesecakes. The contrast of flavors and textures will delight your taste buds and keep guests coming back for more.
-
Homemade Whipped Cream: A dollop of fluffy whipped cream adds an airy lightness to each bite. Flavored with a hint of vanilla or chocolate, it perfectly enhances the richness of the mini turtle cheesecakes.
-
Chocolate Martini: For an adult twist, pair these cheesecakes with a decadent chocolate martini. It’s a lush, sophisticated choice that turns dessert into a celebration—a delightful match for your mini turtle treats!
Storage Tips for Mini Turtle Cheesecakes
Fridge: Store in an airtight container for up to 1 week; this will keep them fresh and delicious for your next craving.
Freezer: Freeze without toppings for up to 3 months. Thaw in the refrigerator overnight before serving to retain texture and flavor.
Chilling: If you plan to chill longer than a day, cover loosely to allow for air circulation and prevent condensation from forming.
Reheating: These mini turtle cheesecakes are best served cold—no reheating needed! Just add your favorite toppings before serving for a delightful treat.
Mini Turtle Cheesecakes Recipe FAQs
How do I select the best ingredients for my Mini Turtle Cheesecakes?
Absolutely! Choosing high-quality ingredients is crucial. Opt for fresh, soft cream cheese without any dark spots or off smells. For the best flavor, use real vanilla extract rather than imitation. When selecting eggs, look for those labeled as large and preferably organic for both taste and ethical considerations.
What is the best way to store Mini Turtle Cheesecakes?
Very! After they’ve chilled and are set, store your mini turtle cheesecakes in an airtight container in the refrigerator for up to 1 week. Make sure they’re covered loosely if chilling for longer than a day to prevent condensation, which can affect their creamy texture.
Can I freeze Mini Turtle Cheesecakes?
Absolutely! To freeze, it’s best to do so without any toppings. Place them in a sturdy freezer-safe container, ensuring they are well-separated to avoid sticking. They can be stored this way for up to 3 months. When you’re ready to enjoy, just transfer them to the fridge to thaw overnight before topping with caramel and nuts.
What should I do if my Mini Turtle Cheesecakes crack during baking?
No worries! If you notice cracking, it may be due to over-mixing the eggs. To avoid this, mix them in just until combined, ensuring no visible streaks remain. Additionally, using the “jiggle test” will help; the center should be slightly jiggly but firm when done. If they do crack, you can hide it under generous toppings of caramel and nuts!
Can I modify the recipe for dietary restrictions?
Yes! There are plenty of alternatives. Use flax eggs to keep it vegan, swap in non-dairy cream cheese for a dairy-free treat, and you can replace the sugar with a suitable sugar alternative for a sugar-free version. If nuts are a concern, consider skipping them or using seeds like sunflower seeds for a similar crunch.
How long can I keep these Mini Turtle Cheesecakes in the freezer?
You can keep them in the freezer for up to 3 months. Ensure they’re well-wrapped to maintain flavor and avoid freezer burn. Just thaw them in the refrigerator overnight before you’re ready to serve, and you’ll have a delicious dessert that tastes freshly made!
Mini Turtle Cheesecakes: Irresistibly Easy No-Bake Delight
Ingredients
Equipment
Method
- Preheat your oven to 350°F (175°C) and prepare a muffin pan with paper liners.
- Combine graham cracker crumbs with melted butter until blended, then press into muffin cups and bake for 5 minutes.
- In a bowl, beat softened cream cheese and sugar until creamy. Add vanilla and eggs, mixing until just combined.
- Fill muffin cups with the cheesecake filling, bake for 15-17 minutes until set around the edges.
- Cool to room temperature for 30 minutes, then chill in the refrigerator for at least 4 hours.
- Before serving, drizzle with caramel sauce, top with chocolate ganache, and sprinkle with chopped nuts.
Leave a Reply