
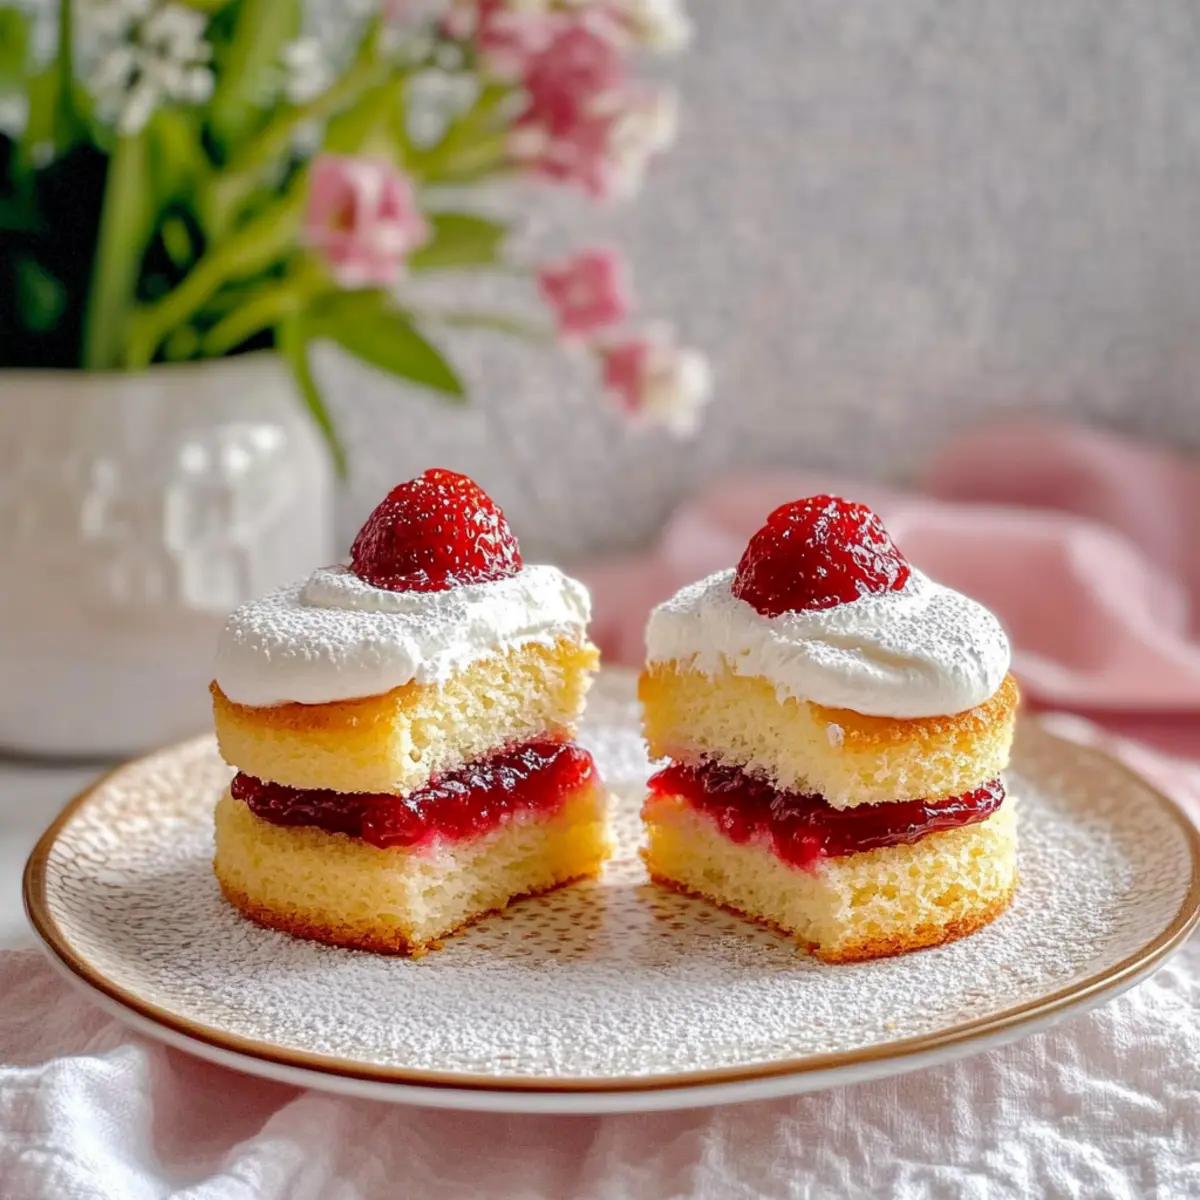
There’s something undeniably charming about serving tea with a platter of sweet delights, and that’s where these Mini Victoria Sponge Cakes come in. With their airy sponge and luscious filling of whipped cream and strawberry jam, they bring a timeless British treat right to your afternoon tea table. These delightful little cakes not only add a splash of elegance to any gathering, but they’re also a breeze to whip up, making them perfect for both seasoned bakers and those just starting out. Plus, you can easily switch up the flavors or make them gluten-free with the right substitutes! Ready to impress your guests or treat yourself to a bit of nostalgia? Let’s dive into making these enchanting mini cakes!

Why Choose Mini Victoria Sponge Cakes?
Charmingly Sized: These delightful mini cakes are perfectly portioned to satisfy your afternoon tea cravings without overwhelming your guests.
Classic Elegance: With their tender sponge and luscious filling, Mini Victoria Sponge Cakes embody the sophistication of British baking, making them a timeless addition to your dessert spread.
Easy to Bake: This recipe is approachable for all skill levels—whether you’re a seasoned chef or a novice baker, you’ll have success with each batch.
Versatile Flavor: Feel free to experiment with different jams or whipped cream flavors, allowing you to personalize these cakes for any occasion. You can even explore options like Mini Fruit Pizzas for added variety.
Crowd-Pleasing Delight: Their light and airy texture appeals to everyone, and they pair beautifully with tea—what more could you want for a delightful afternoon gathering?
Plus, you can easily swap ingredients to make gluten-free versions, ensuring everyone can enjoy these treats.
Mini Victoria Sponge Cakes Ingredients
• Perfectly sized for your tea table!
For the Batter
- Butter – Provides richness and structure; use at room temperature for easy creaming.
- Caster Sugar – Sweetens while aiding structure; regular sugar can be used but may alter texture slightly.
- Eggs – Adds moisture and helps bind the mixture; best at room temperature for easy blending.
- Self-Raising Flour – Gives the necessary rise; substitute with a gluten-free flour blend for a gluten-free mini Victoria sponge cakes.
- Milk – Adds moisture and helps achieve the desired batter consistency; any milk or alternative works well.
For the Filling
- Double Cream – Lightens the cakes with a rich filling; substitute with whipped cream for a lighter option.
- Strawberry Jam – Sweet and tart filling; fresh berries can be warmed with sugar for an alternative.
For the Finish
- Icing Sugar – For dusting the finished cakes to enhance their presentation.
Step‑by‑Step Instructions for Mini Victoria Sponge Cakes
Step 1: Preheat the Oven
Begin by preheating your oven to 180°C fan (200°C conventional). While the oven heats, take a moment to grease a 12-hole mini cake tin with butter or cooking spray to ensure easy release after baking. This step is crucial for achieving perfectly shaped Mini Victoria Sponge Cakes that will rise and turn golden during baking.
Step 2: Cream Butter and Sugar
In a large mixing bowl, combine your room-temperature butter and caster sugar. Using an electric mixer, beat them together on medium speed for about 5 minutes, or until the mixture is light and fluffy. You’ll know it’s ready when it looks pale and creamy, incorporating air for that signature soft sponge texture you want for your Mini Victoria Sponge Cakes.
Step 3: Incorporate the Eggs
Next, crack the eggs one at a time into the butter-sugar mixture, mixing well after each addition. For best results, add a tablespoon of flour with each egg to prevent curdling. Continue beating until the batter is smooth and well-combined, taking care not to overmix as you want to keep the airiness in the mixture for your delightful mini cakes.
Step 4: Fold in the Flour and Milk
Gently sift the self-raising flour over the batter and pour in the milk. Using a spatula, carefully fold these ingredients together until just combined. Be cautious not to overmix, as this could result in denser Mini Victoria Sponge Cakes. You want a smooth, creamy consistency that will give your cakes just the right rise and texture.
Step 5: Fill the Cake Tin
Spoon the cake batter evenly into the prepared 12-hole mini cake tin, filling each hole about three-quarters full. This will allow enough space for the cakes to rise beautifully while baking. With the oven already at temperature, place the tin in the middle rack and bake for 15–18 minutes or until they turn a lovely golden brown and spring back when lightly pressed.
Step 6: Cool the Cakes
Once baked, remove the mini cakes from the oven and allow them to cool in the tin for approximately 15 minutes. Afterward, gently turn them out onto a wire rack to cool completely. This step is vital to ensure the cakes set properly and retain their light and fluffy texture, avoiding any collapse when sliced.
Step 7: Prepare the Filling
While the cakes cool, take this time to whip your chilled double cream in a mixing bowl. Using a whisk or an electric mixer, beat the cream until soft peaks form, which should take about 3–4 minutes. This luscious filling is what will make your Mini Victoria Sponge Cakes irresistibly delectable, so be sure to keep an eye on the texture to avoid over-whipping.
Step 8: Assemble the Cakes
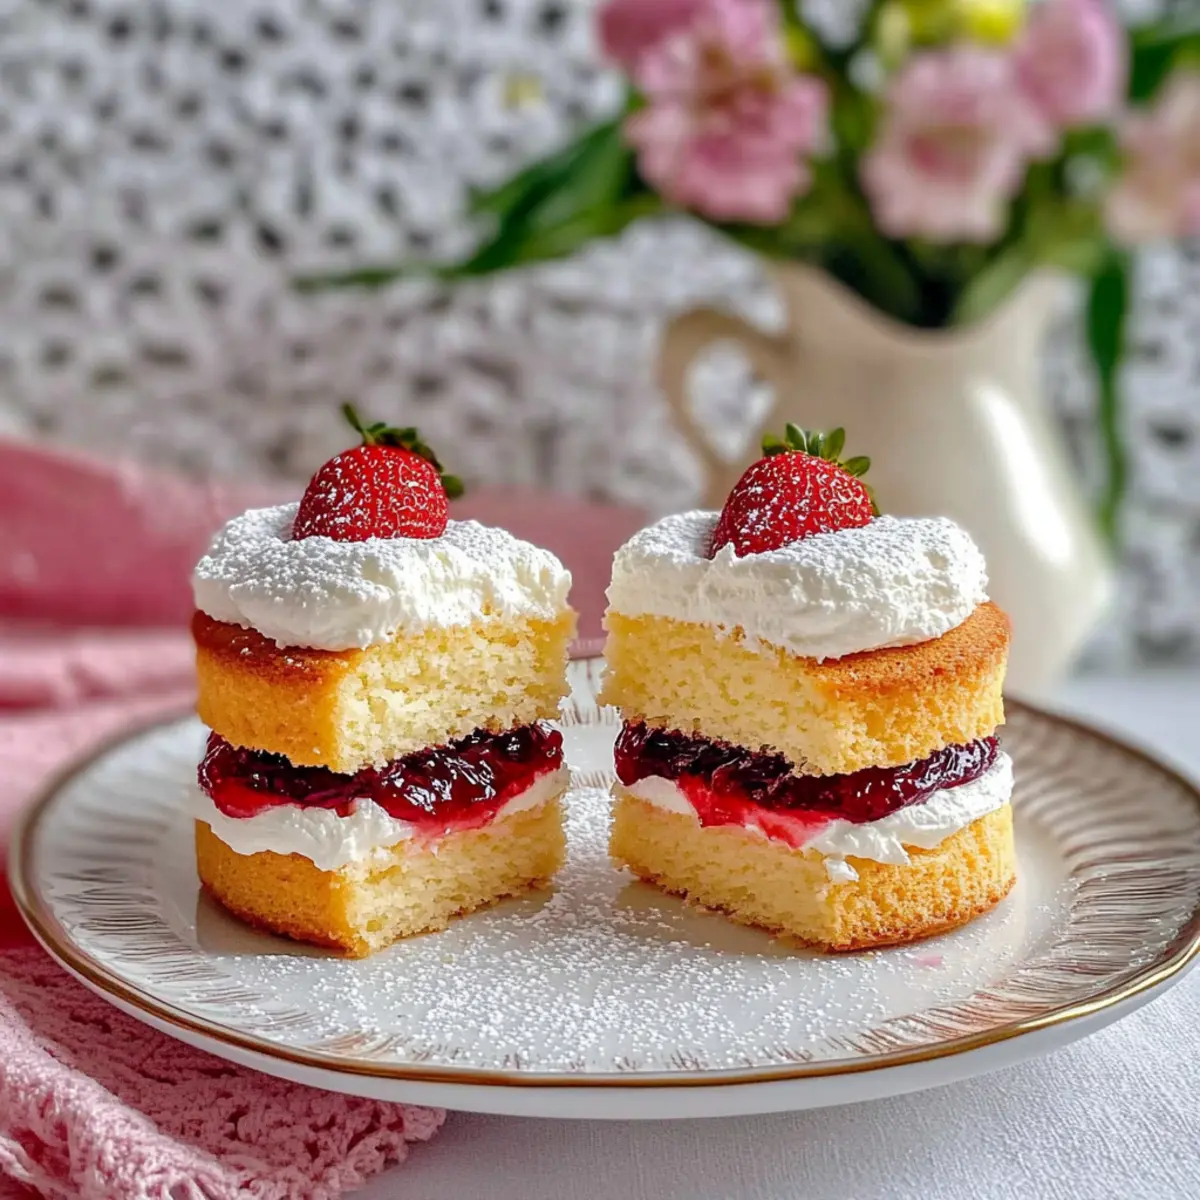
Once the mini cakes are cool, slice each one horizontally in half to create two layers. Spread a generous layer of fresh strawberry jam on the bottom halves, followed by a dollop of the whipped cream. Place the top halves back on the cakes, gently pressing them down to secure the layers together, creating the delightful sandwich that’s characteristic of Mini Victoria Sponge Cakes.
Step 9: Finish with Icing Sugar
To add the finishing touch, dust a light sprinkling of icing sugar over the assembled Mini Victoria Sponge Cakes. This not only enhances their presentation but also adds a touch of sweetness. Feel free to add any desired garnishes, such as fresh berries or mint leaves, to elevate your afternoon tea display and make these mini cakes even more inviting.
Expert Tips for Mini Victoria Sponge Cakes
-
Room Temperature Ingredients: Ensure all ingredients, especially butter and eggs, are at room temperature. This helps create an even, airy batter for your mini Victoria sponge cakes.
-
Do Not Overmix: After adding the flour, fold gently to maintain a light texture. Overmixing can lead to dense cakes, which we want to avoid!
-
Watch the Baking Time: Keep an eye on your mini cakes while baking. They should be golden and spring back when gently touched; check them around the 15-minute mark.
-
Cool Completely: Allow the cakes to cool entirely before cutting and assembling. This prevents them from collapsing and helps retain their fluffy structure.
-
Creative Fillings: Feel free to experiment with different jams or flavored creams to customize your filling. It’s a fun way to make your mini Victoria sponge cakes uniquely yours!
Mini Victoria Sponge Cakes Variations
Feel free to let your creativity shine as you customize these delightful mini cakes with flavors and textures that excite your taste buds!
- Gluten-Free: Use a gluten-free self-raising flour blend to enable everyone to savor this classic treat.
- Berry Bliss: Swap strawberry jam for raspberry or blueberry compote for a fruity twist that shines brightly on your tea table.
- Zesty Refresher: Add lemon or orange zest to the sponge batter for a fresh, citrusy aroma that will brighten your afternoon tea.
- Creamy Twist: Substitute whipped double cream with a rich buttercream frosting for a sweeter, sturdier filling that ensures every bite is pure bliss.
- Decadent Chocolate: Fold in cocoa powder into the batter for a delightful chocolate version, then pair with chocolate ganache or hazelnut spread. It’s a little indulgence that never fails to impress.
- Nutty Delight: Incorporate finely ground almonds or hazelnuts into the batter for a nutty flavor that adds a lovely depth to your mini cakes.
- Spicy Warmth: Infuse a touch of cardamom or cinnamon into the sponge for a warm, inviting flavor that will cozy up your tea time.
- Creamy Layers: For a more indulgent filling, try a mix of cream cheese and whipped cream. It offers a delightful tang that pairs wonderfully with your chosen jam.
With these variations, you can easily bring a personal touch to your Mini Victoria Sponge Cakes. If you’re in the mood for something equally delightful, don’t forget to check out these charming Mini Lemon Blueberry Cheesecakes for a fresh twist!
How to Store and Freeze Mini Victoria Sponge Cakes
Fridge: Store mini cakes in an airtight container in the fridge for up to 2 days to maintain freshness, as the cream filling can spoil quickly.
Freezer: You can freeze the sponge layers (without filling) for up to 1 month. Wrap them tightly in plastic wrap and then in foil for extra protection against freezer burn.
Reheating: Allow them to thaw in the fridge overnight before serving. To refresh, warm them in the oven at a low temperature for 5-10 minutes.
Assembly Tip: If you’re planning to freeze, assemble the mini Victoria Sponge Cakes only after thawing for the best texture and flavor.
What to Serve with Mini Victoria Sponge Cakes?
Picture yourself hosting an elegant afternoon tea, surrounded by laughter and delight, as these charming cakes take center stage on your table.
- Earl Grey Tea: The fragrant notes of bergamot enhance the delicate flavors of the sponge, creating a harmonious pairing for your tea gathering.
- Fresh Fruit Salad: A refreshing combination of seasonal fruits brings a fruity acidity that balances the sweetness of the cakes, adding vibrant color to your presentation.
- Cucumber Sandwiches: The crisp, cool crunch of cucumber sandwiches provides a savory contrast, complementing the rich whipped cream and jam perfectly.
- Sparkling Water: A light, bubbly drink to cleanse the palate between bites, allowing guests to enjoy each delightful morsel without feeling weighed down.
- Mousse Cups: Mini chocolate or berry mousse cups add a touch of indulgence, and their creamy textures create a lovely contrast against the fluffy sponge.
- Scones with Clotted Cream: A traditional treat that enhances the British charm of your tea, the buttery richness pairs beautifully with the light and airy cakes.
- Strawberry Lemonade: The sweetness of the lemonade echoes the strawberry jam while offering a refreshing zest, perfect for warm afternoons.
- Flavored Whipped Cream: Elevate your cakes even further by serving them with flavored whipped cream—think vanilla or lemon zest for a delightful twist.
- Chocolate-Covered Strawberries: These elegant bites add a sophisticated touch, their rich chocolate offering a delightful contrast to the light texture of the sponge cakes.
Make Ahead Options
These Mini Victoria Sponge Cakes are perfect for meal prep enthusiasts looking to make their lives easier during busy weeks! You can prepare the sponge layers up to 3 days in advance—simply bake them, allow to cool completely, and then store them in an airtight container at room temperature to maintain their light texture. The whipped cream filling can be whipped and refrigerated for up to 24 hours. When you’re ready to serve, assemble the cakes by layering the cooled sponge with jam and whipped cream, dust with icing sugar, and enjoy delicious, homemade treats without the last-minute rush!
Mini Victoria Sponge Cakes Recipe FAQs
How do I choose the right strawberries for my jam?
Absolutely! Look for strawberries that are vibrant red, firm to the touch, and free of any dark spots. They should smell sweet and fragrant, indicating ripeness. If you find any that are a bit soft or mushy, use them in a smoothie instead!
How should I store my Mini Victoria Sponge Cakes?
To keep your delicious mini Victoria Sponge Cakes fresh, store them in an airtight container in the refrigerator. They are best enjoyed within 2 days due to the cream filling. If you need to keep them longer, consider freezing the sponge layers without filling.
Can I freeze the cakes? If so, how?
Yes, you can! Begin by wrapping each sponge layer tightly in plastic wrap, then in aluminum foil to prevent freezer burn. Freeze them for up to 1 month. When you’re ready to enjoy, thaw them in the refrigerator overnight and assemble them with the cream and jam afterward for the best taste and texture.
What if my sponge cakes are dense instead of light and fluffy?
Very! If your cakes turn out dense, it’s often due to overmixing the batter after the flour is added. Next time, gently fold the flour in until just combined. Also, ensure your baking powder (if using self-raising flour) is fresh, as expired leavening agents can affect the rise.
Are there any dietary considerations for my Mini Victoria Sponge Cakes?
Yes! For gluten-free options, substitute self-raising flour with a gluten-free blend. Additionally, use dairy-free butter and cream alternatives for lactose intolerant friends or if you’re looking to make them vegan. Remember to double-check labels for allergens if you’re serving to guests with sensitivities.
How can I keep my whipped cream from turning grainy?
Great question! If your whipped cream starts to turn grainy, simply fold in a bit more cream while gently mixing until the texture returns to a smooth consistency. To maintain the right texture from the start, be sure to whip it just until soft peaks form and avoid over-whipping.
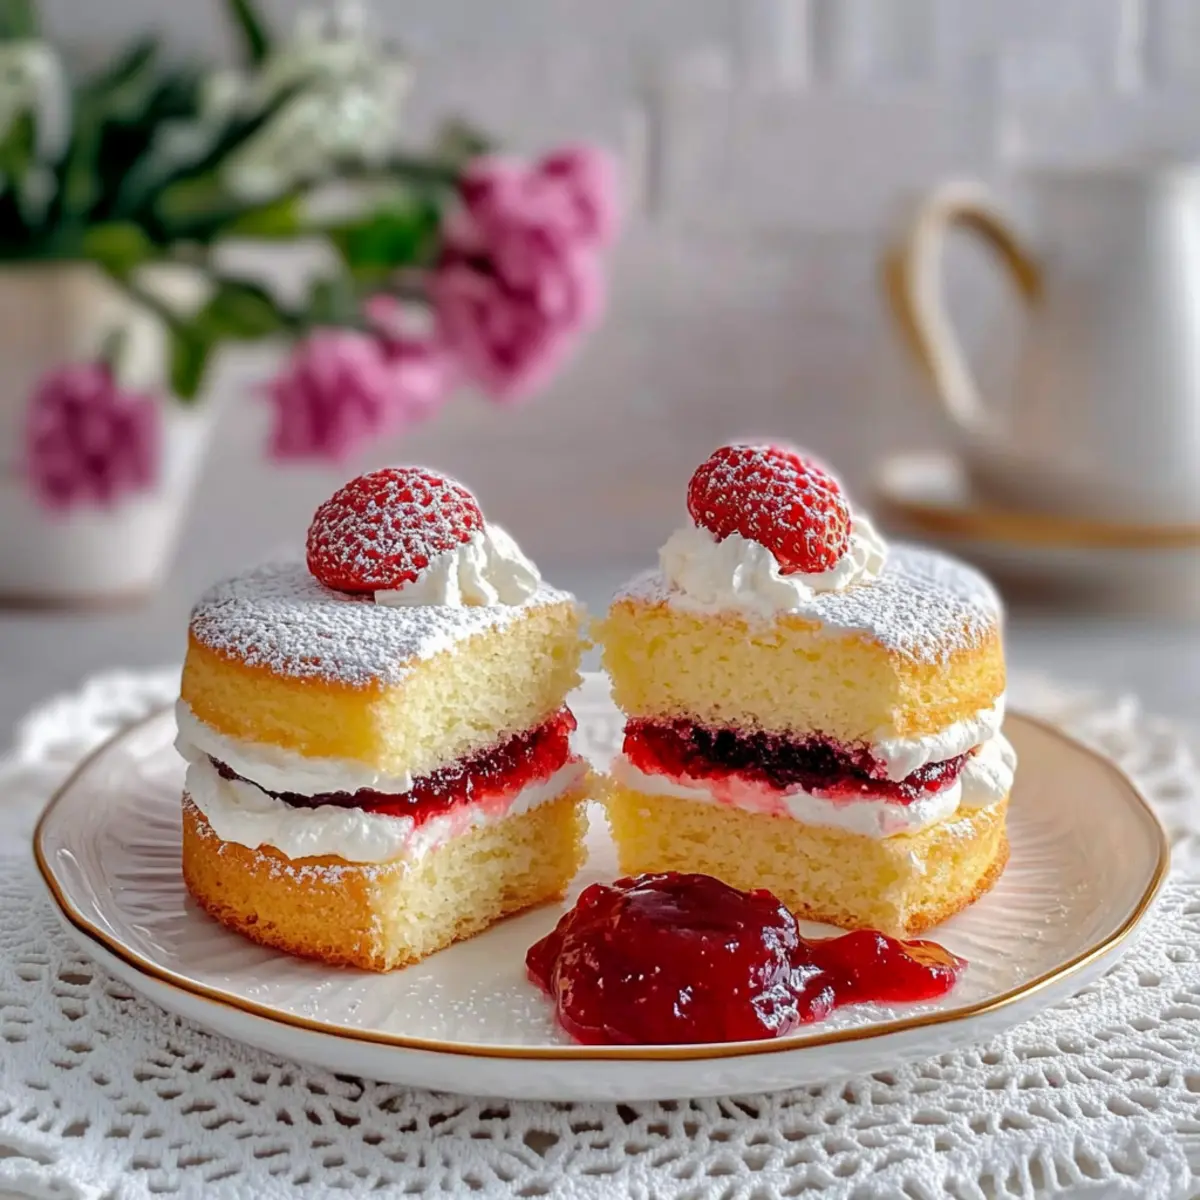
Delicious Mini Victoria Sponge Cakes for Perfect Afternoon Tea
Ingredients
Equipment
Method
- Preheat your oven to 180°C fan (200°C conventional) and grease a 12-hole mini cake tin with butter or cooking spray.
- In a large mixing bowl, cream together the room-temperature butter and caster sugar for about 5 minutes until light and fluffy.
- Incorporate the eggs one at a time, mixing well and adding a tablespoon of flour with each egg to prevent curdling.
- Fold in the sifted self-raising flour and milk gently until just combined.
- Spoon the batter into the prepared cake tin, filling each hole about three-quarters full, and bake for 15–18 minutes.
- Allow the mini cakes to cool in the tin for approximately 15 minutes before turning them out onto a wire rack.
- Whip the chilled double cream until soft peaks form, about 3–4 minutes.
- Once cooled, slice each mini cake in half horizontally, spread strawberry jam on the bottom half, add whipped cream, and press the top half down.
- Dust with icing sugar and add any desired garnishes before serving.
Leave a Reply