
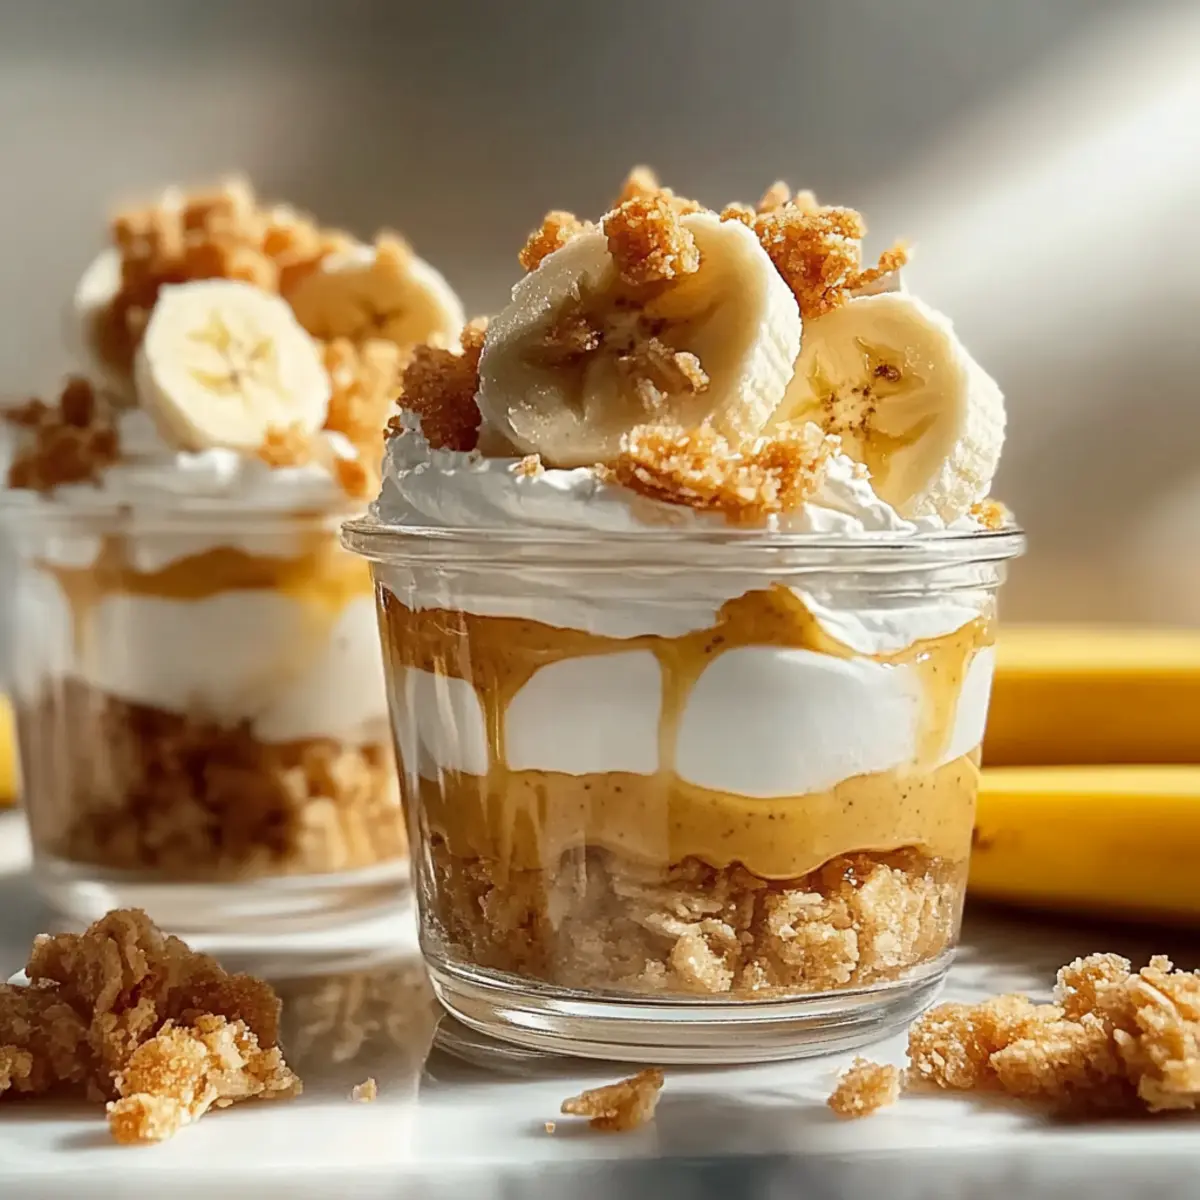
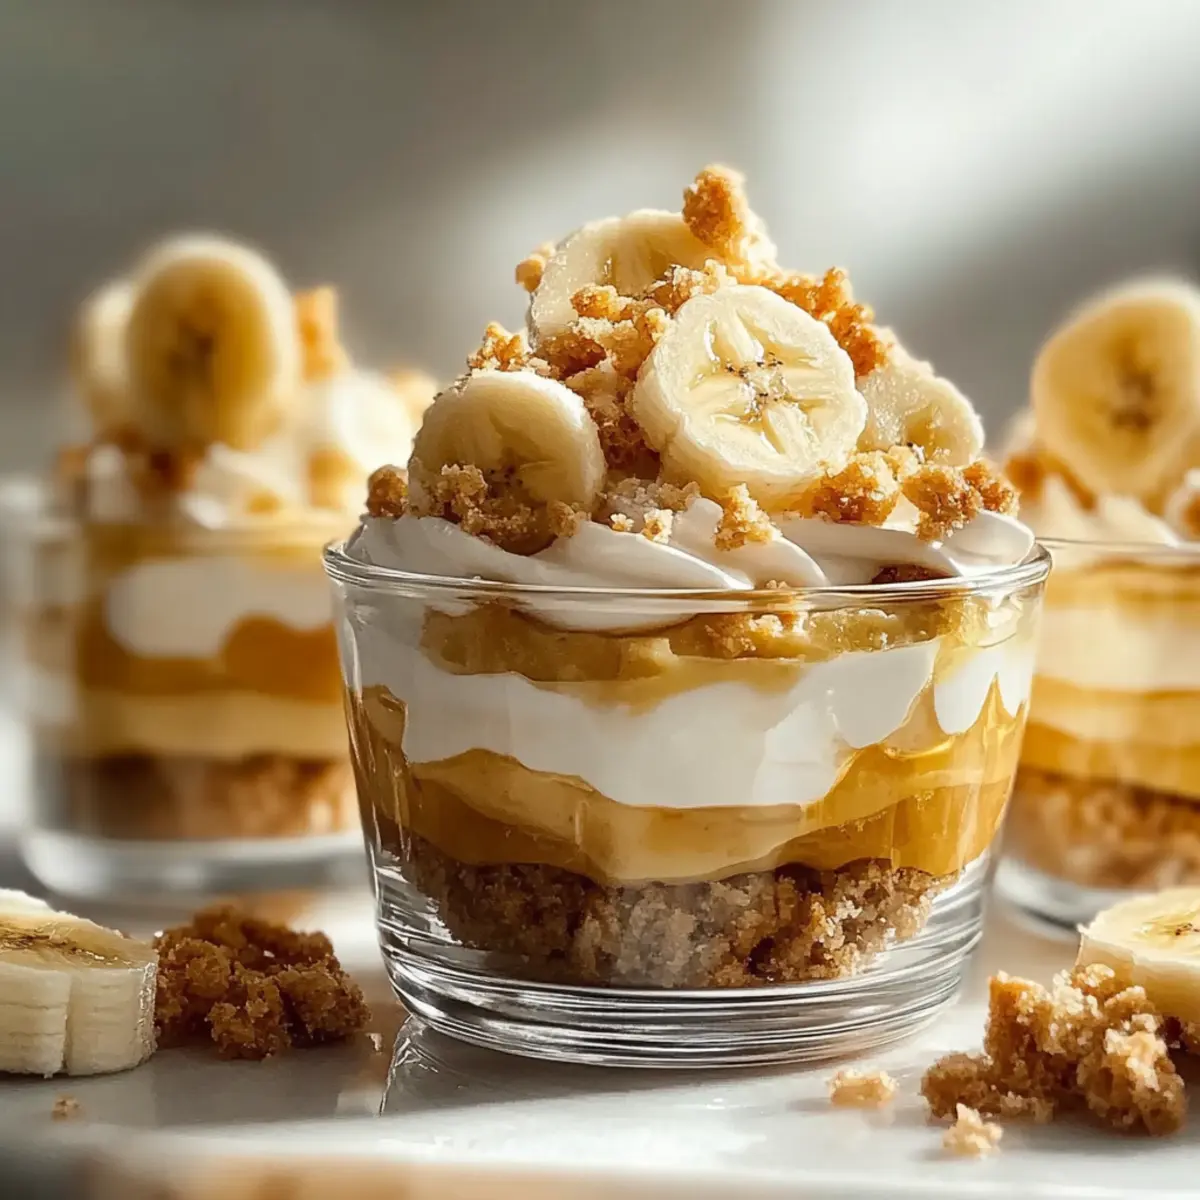
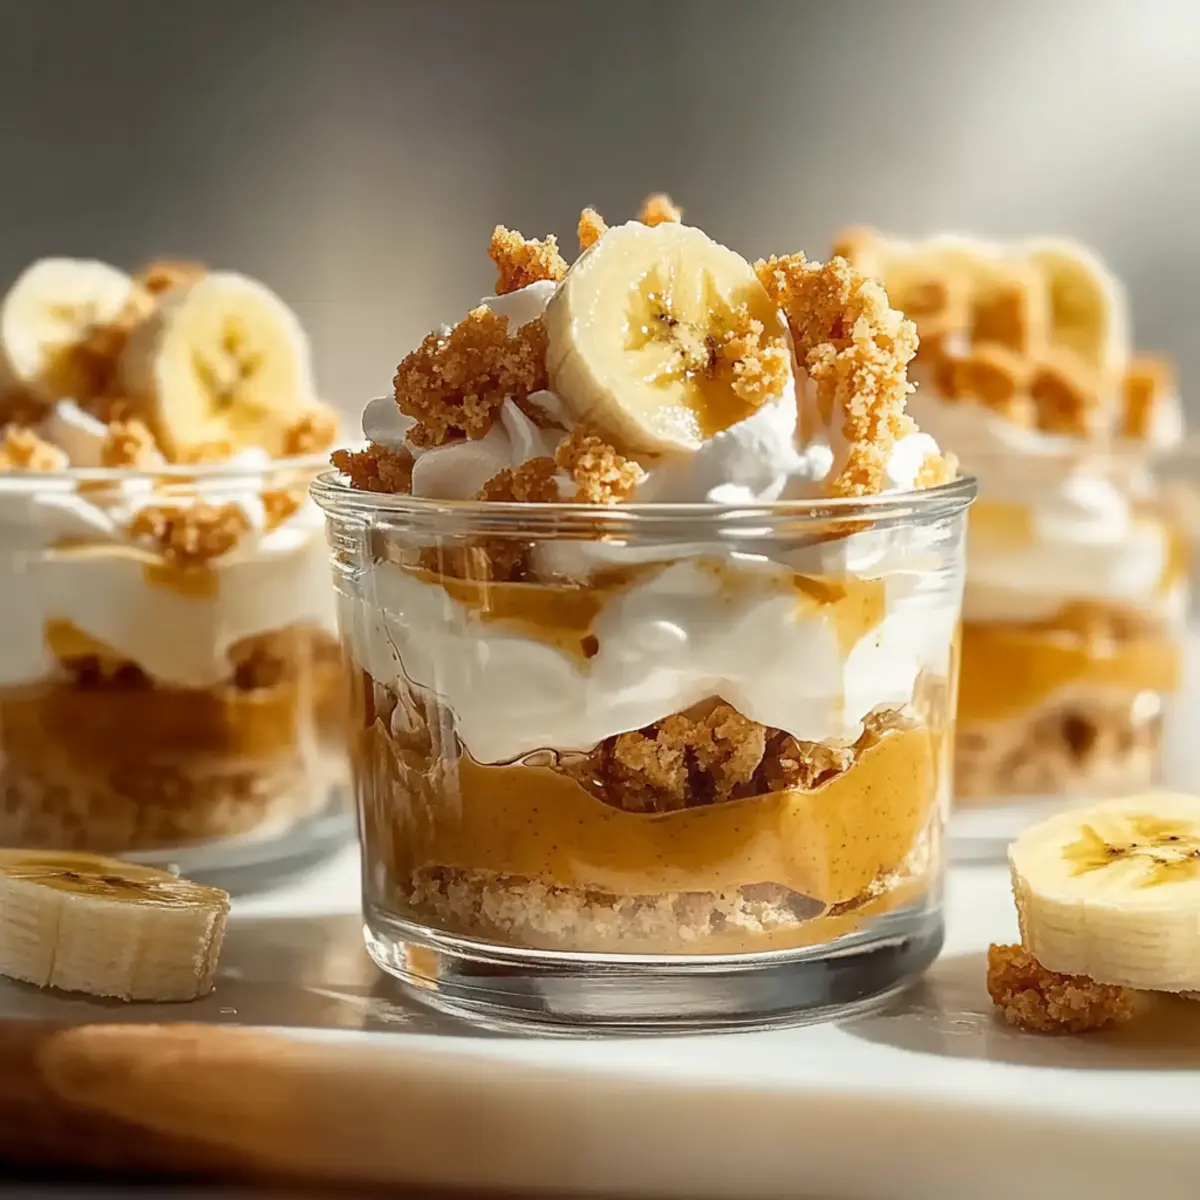
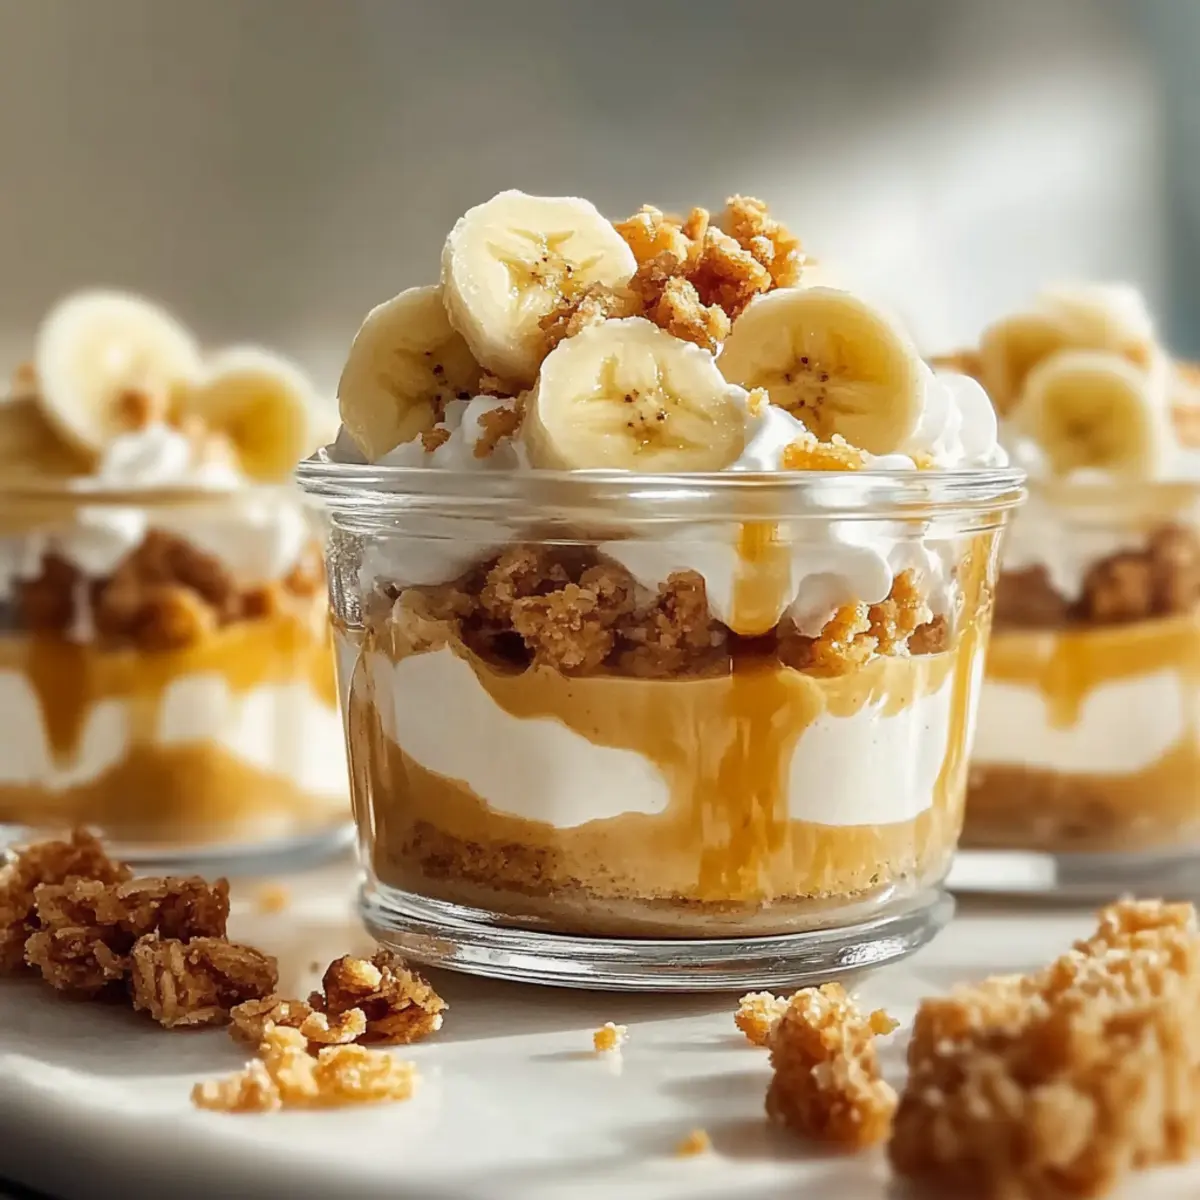
As I was rummaging through my pantry, a lightbulb flicked on—what if I took the comforting essence of classic banana pudding and gave it a healthy twist? Enter my No Bake Banana Pudding Protein Cups! These delightful treats seamlessly blend creamy, protein-rich pudding with crunchy vanilla wafer crumbs and fresh banana slices, all without the fuss of baking. Perfect for meal prep, they’re not only quick to whip up but also packed with protein, making them a satisfying post-workout snack or a guilt-free dessert. Whether you’re a busy home chef or just want to indulge without the extra calories, these protein cups will surely hit the spot. Curious about how to bring this nostalgic flavor into your kitchen? Let’s dive into the simple steps to make this delicious high-protein treat!
Why Love No Bake Banana Pudding Cups?
High-Protein Goodness: Each cup is packed with protein from Greek yogurt and protein powder, making them perfect for post-workout recovery.
Effortless Preparation: With no baking required, you can whip these up in no time, allowing you to spend more time enjoying your dessert!
Customizable Flavors: Switch up the protein powder to chocolate for a delightful twist or keep it classic with vanilla—your choice!
Meal Prep Friendly: Ideal for storing in mason jars, these cups make healthy snacking or dessert a breeze throughout the week.
Crowd-Pleasing Treat: Their creamy, layered texture and familiar flavors are sure to impress friends and family, making them a perfect addition to gatherings.
For even more tempting treats, check out my Salted Caramel Banana for a delightful twist or my Cheesy Ground Bake for a comforting meal option!
No Bake Banana Pudding Protein Cups Ingredients
For the Pudding Base
• Protein Powder – Use a high-quality bioavailable protein for the best flavor and texture in your No Bake Banana Pudding Protein Cups.
• Greek Yogurt – Adds creaminess and additional protein; swap with almond-based yogurt for a vegan option.
• Citrus Juice – Prevents banana oxidation and keeps the fruit looking fresh throughout the dessert.
For the Layers
• Vanilla Wafer Crumbs – Provides a satisfying crunch; ensure the brand is dairy-free if you opt for a vegan dessert.
• Bananas – Choose slightly underripe bananas for structural integrity and natural sweetness.
• Whipped Topping – Adds a light, fluffy texture for the finishing touch; look for non-dairy alternatives if needed.
This simple ingredient list makes it easy to enjoy a nostalgic yet healthy dessert that everyone will love!
Step‑by‑Step Instructions for No Bake Banana Pudding Protein Cups
Step 1: Prepare the Base
In a mixing bowl, combine Greek yogurt and protein powder using a spatula. Gently fold until just blended, avoiding over-mixing to preserve a smooth texture. This protein-rich mixture forms the creamy foundation for your No Bake Banana Pudding Protein Cups, ready to be layered with delicious toppings.
Step 2: Crush the Wafers
Take a zip-top bag and add the vanilla wafers. Using a rolling pin, crush the wafers until you achieve a mix of fine crumbs and small chunks—this should take about 2-3 minutes. The crumbly texture will provide delightful crunchiness between the layers of your pudding cups, adding flavor and structure.
Step 3: Layer Ingredients
Grab small cups or jars, then start layering the components. Spoon a layer of the pudding mixture into each cup, about one-third full, followed by a layer of crushed wafer crumbs and fresh banana slices. Press each layer down gently but firmly to eliminate air pockets, ensuring a balanced and visually appealing structure for your No Bake Banana Pudding Protein Cups.
Step 4: Top and Chill
Finish off each cup with a generous dollop of whipped topping. Cover the cups with plastic wrap or lids, then place them in the refrigerator for at least 2-3 hours. This chilling time allows the flavors to meld together beautifully, creating a creamy, decadent dessert that’s ready to be enjoyed.
Step 5: Serve
Before serving, consider garnishing with fresh mint leaves or a sprinkle of cinnamon for an extra touch of flavor. Remove the cups from the refrigerator, and they will be perfectly set and ready for you to dig into the delightful layers of your No Bake Banana Pudding Protein Cups.
Helpful Tricks for No Bake Banana Pudding Protein Cups
• Choose Ripe Bananas: Using slightly underripe bananas maintains structure and prevents your layers from collapsing. Overripe bananas can release excess moisture, compromising texture.
• Gentle Mixing: When combining Greek yogurt and protein powder, fold the mixture gently to avoid creating a runny consistency. This keeps your pudding thick and creamy in your No Bake Banana Pudding Protein Cups.
• Layer Firmly: Ensure each layer is pressed down gently but firmly to eliminate air pockets. This helps to create distinct layers and prevents sinking ingredients.
• Variety in Protein: Experiment with different protein powders like chocolate or plant-based versions to match your dietary needs and taste preferences. The flexibility makes your No Bake Banana Pudding Protein Cups a versatile dessert option!
• Chill Thoroughly: Allow ample time for your cups to chill in the fridge for at least 2-3 hours, enhancing the melding of flavors and improving the overall texture.
No Bake Banana Pudding Protein Cups Variations
Feel free to get creative and customize your No Bake Banana Pudding Protein Cups with these delightful ideas for a twist that suits your taste buds!
-
Chocolate Swap: Use chocolate protein powder instead of vanilla for a rich, chocolatey indulgence. It pairs beautifully with bananas for a flavor combination that feels extra special.
-
Nutty Addition: Stir in some almond or peanut butter into the pudding base for an extra layer of flavor. The nuttiness complements the creamy texture and adds a satisfying richness that will have everyone coming back for more.
-
Dairy-Free Delight: Substitute regular Greek yogurt with a high-quality almond-based yogurt and choose dairy-free whipped topping for a completely plant-based option. These swaps ensure everyone can enjoy a guilt-free indulgence.
-
Fruity Flair: Add chopped strawberries or blueberries between the layers for a burst of fresh fruit flavor. This not only enhances sweetness but also makes your cups more visually appealing.
-
Cinnamon Kick: Sprinkle some cinnamon or nutmeg into the pudding mixture for added warmth and depth of flavor. These spices create a cozy feel that makes each cup feel even more comforting.
-
Crunchy Topper: For an added crunch, toss in some chopped nuts or granola on top of your whipped cream layer. This delightful bite will leave you craving more textures with each spoonful.
-
Heat Lover’s Option: Drizzle some melted dark chocolate with a pinch of cayenne pepper over the tops for a spicy kick. The heat balances with the sweetness, creating a surprising and memorable flavor explosion!
These variations not only add fun twists to your No Bake Banana Pudding Protein Cups but also keep them exciting for every occasion. Looking for more flavorful ideas? For another sweet treat, try my delicious No Bake Key Lime Cheesecake Jars that are perfect for summer celebrations! Or how about a comforting dish like my Cabbage Beef Bake? Let your culinary creativity shine!
What to Serve with No Bake Banana Pudding Protein Cups
These delightful dessert cups are perfect for complementing a cozy meal or an afternoon treat, adding layers of flavor to any gathering.
-
Fresh Berries: A side of mixed berries adds vibrant color and a refreshing tartness, balancing the sweetness of the pudding cups beautifully.
-
Coconut Flakes: Sprinkling toasted coconut on top enhances the tropical vibe, bringing an aromatic, nutty crunch that pairs well with banana’s sweetness.
-
Granola: Serving with crunchy granola introduces a satisfying texture contrast, perfect for those who love a bit of extra crunch in their desserts.
-
Herbal Tea: A fragrant cup of chamomile or mint tea is soothing and light, providing a calming companion to the creamy richness of the protein cups.
-
Chocolate Drizzle: A drizzle of dark chocolate over the cups offers a decadent finish that intensifies the dessert experience without overwhelming the palate.
-
Greek Yogurt Dip: Pair with a side of flavored Greek yogurt for dipping—perhaps honey vanilla—for added creaminess and a flavor boost.
These pairings make for a well-rounded presentation, elevating your No Bake Banana Pudding Protein Cups into a delightful occasion!
How to Store and Freeze No Bake Banana Pudding Protein Cups
Fridge: Store the cups covered in the refrigerator for up to 3 days. For the best texture, consume them within this timeframe.
Freezer: If you need to keep them longer, you can freeze individual portions in airtight containers. They can last up to 1 month; just make sure to thaw them in the fridge before serving.
Reheating: For best results, enjoy them cold straight from the fridge. Avoid reheating, as it can alter the texture of the creamy layers in your No Bake Banana Pudding Protein Cups.
Freshness Tip: If you assemble the cups ahead of time, add fresh banana slices just before serving to maintain their bright color and crisp texture.
Make Ahead Options
These No Bake Banana Pudding Protein Cups are perfect for busy home cooks who want to save time during the week! You can prepare the pudding base (Greek yogurt and protein powder) and store it in the refrigerator for up to 24 hours before layering. Additionally, you can crush the vanilla wafers in advance and keep them in an airtight container to maintain their crunchiness. To prevent your banana slices from browning, toss them in a bit of citrus juice and layer them just before serving. When you’re ready to enjoy, simply layer your prepped components, top with whipped cream, and chill for a few hours—your delicious, high-protein treat will be just as delightful and ready to love!
No Bake Banana Pudding Protein Cups Recipe FAQs
What type of bananas should I use for the No Bake Banana Pudding Protein Cups?
I recommend using slightly underripe bananas for your No Bake Banana Pudding Protein Cups. They maintain their structure better and won’t release excess moisture, which can cause your layers to collapse. Overripe bananas are best for baking, but for this dessert, a firm banana is key!
How long can I store the No Bake Banana Pudding Protein Cups in the fridge?
You can store the cups covered in the refrigerator for up to 3 days. For optimal texture and taste, it’s best to enjoy them within this timeframe. After a few days, the layers might start to become too moist, affecting the delightful crunch of the wafer crumbs.
Can I freeze my No Bake Banana Pudding Protein Cups?
Absolutely! You can freeze individual portions in airtight containers. They will keep well for up to 1 month. Just remember to thaw them in the refrigerator overnight before serving. If you want to preserve the texture, it’s a good idea to add fresh banana slices just before serving, if possible.
What should I do if my pudding mixture is too runny?
If you find your pudding mixture is runny, it may be due to over-mixing your yogurt and protein powder. To fix this, gently fold the ingredients together again, being careful not to overwork the mixture. The key to a thick and creamy texture is to mix just until combined and to use high-quality protein powder that blends well.
Are there any dietary considerations I should be aware of for this recipe?
Yes, consider allergies! Make sure your protein powder and wafers are safe for any dietary restrictions, especially gluten or dairy allergies. Also, if making the recipe vegan, use almond-based yogurt and confirm that your wafers are dairy-free. Always double-check ingredient labels to ensure they align with your dietary needs.
No Bake Banana Pudding Protein Cups for Guilt-Free Indulgence
Ingredients
Equipment
Method
- In a mixing bowl, combine Greek yogurt and protein powder using a spatula. Gently fold until just blended.
- Take a zip-top bag and add the vanilla wafers. Crush the wafers until you achieve a mix of fine crumbs and small chunks.
- Grab small cups or jars, then layer the pudding mixture, crushed wafers, and banana slices, pressing down gently.
- Finish each cup with a dollop of whipped topping, cover with plastic wrap or lids, and refrigerate for at least 2-3 hours.
- Before serving, consider garnishing with fresh mint or cinnamon for extra flavor.
Leave a Reply