
As I was experimenting in the kitchen the other day, I stumbled upon a delicious solution for those indecisive moments when you crave both cookies and brownies. Enter the Oreo Brookies! These rich, fudgy dessert bars bring together a decadent brownie base and a soft, chewy cookie layer, skyrocketing your dessert game to new heights. What’s more, they’re family-friendly and perfect for gatherings, ensuring there’s something for everyone to enjoy. Each bite showcases the delightful contrast of textures and flavors, making them an undeniable crowd-pleaser. Curious how to create these chocolatey delights? Stick around, and I’ll guide you through making these heavenly Oreo Brookies that will have everyone asking for seconds!
Why are Oreo Brookies irresistible?
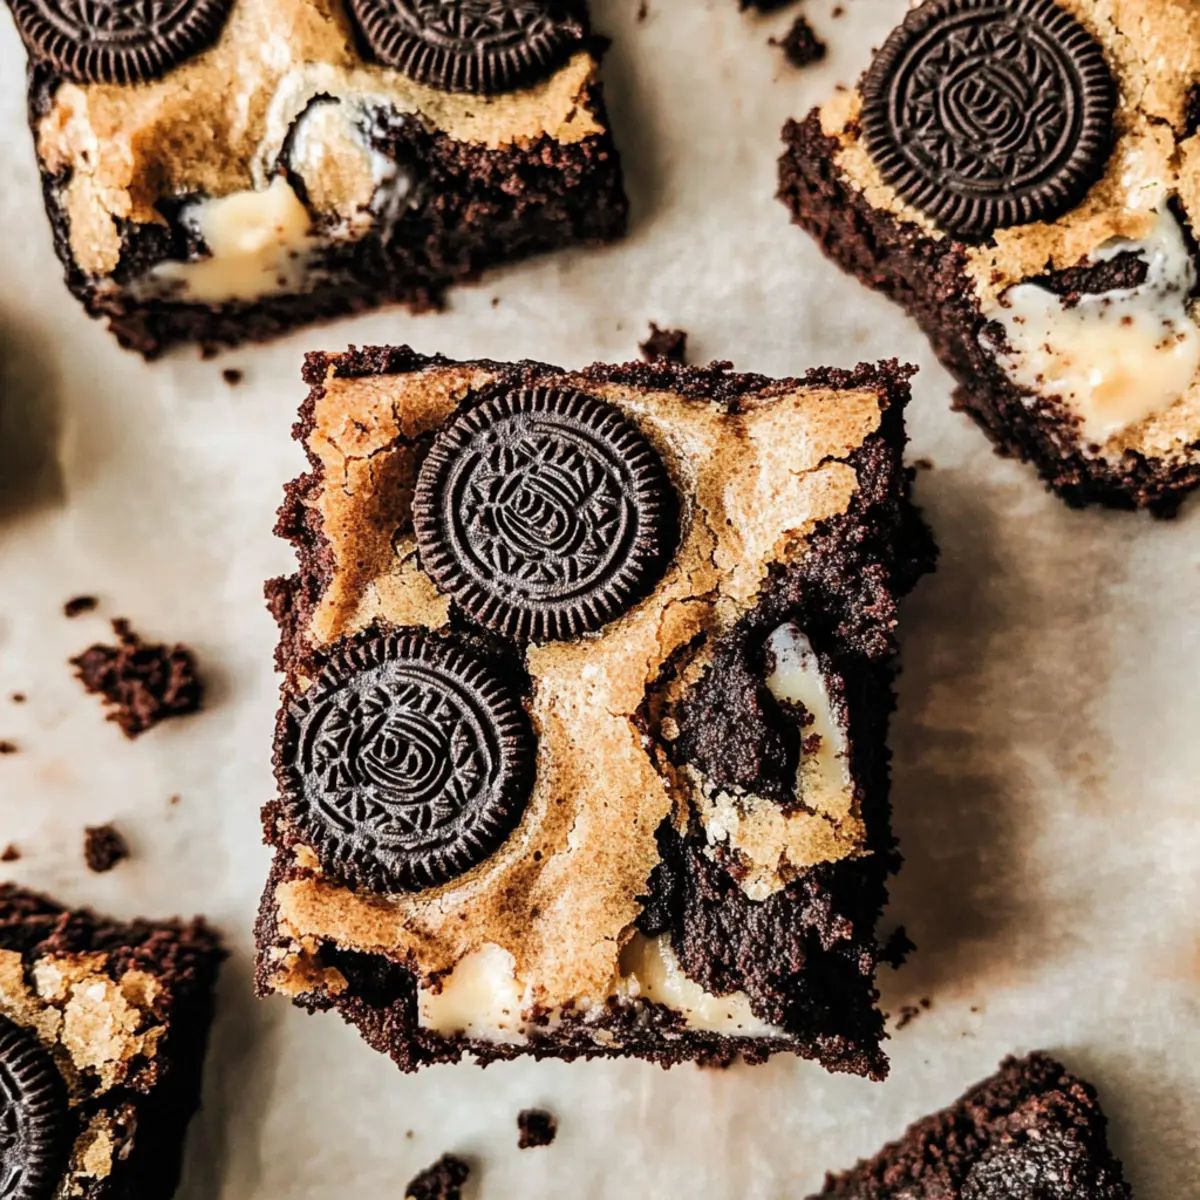
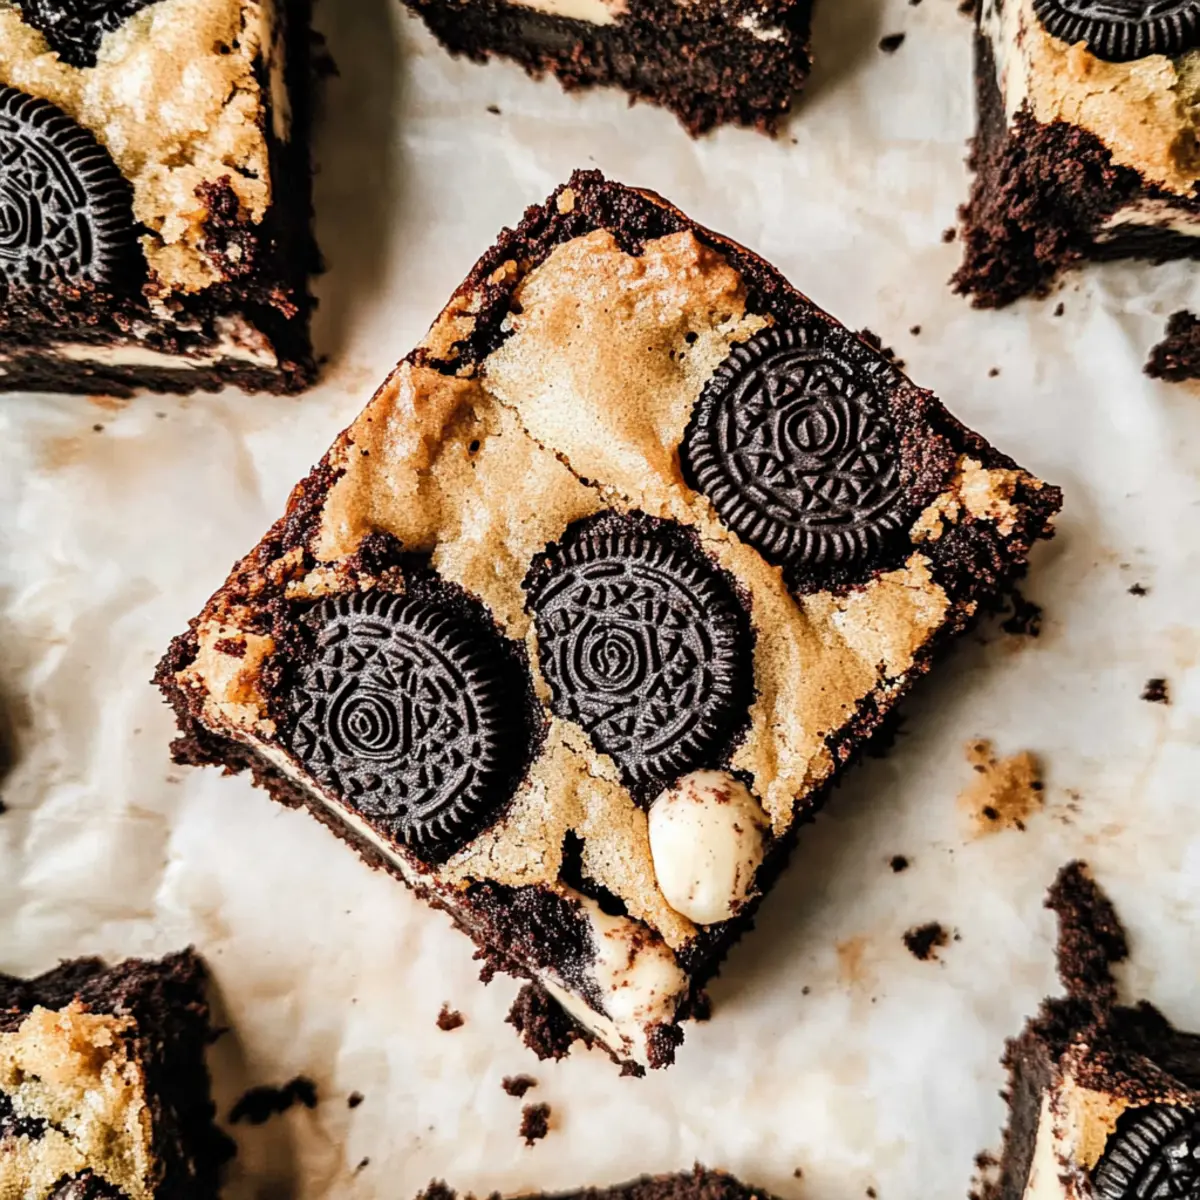
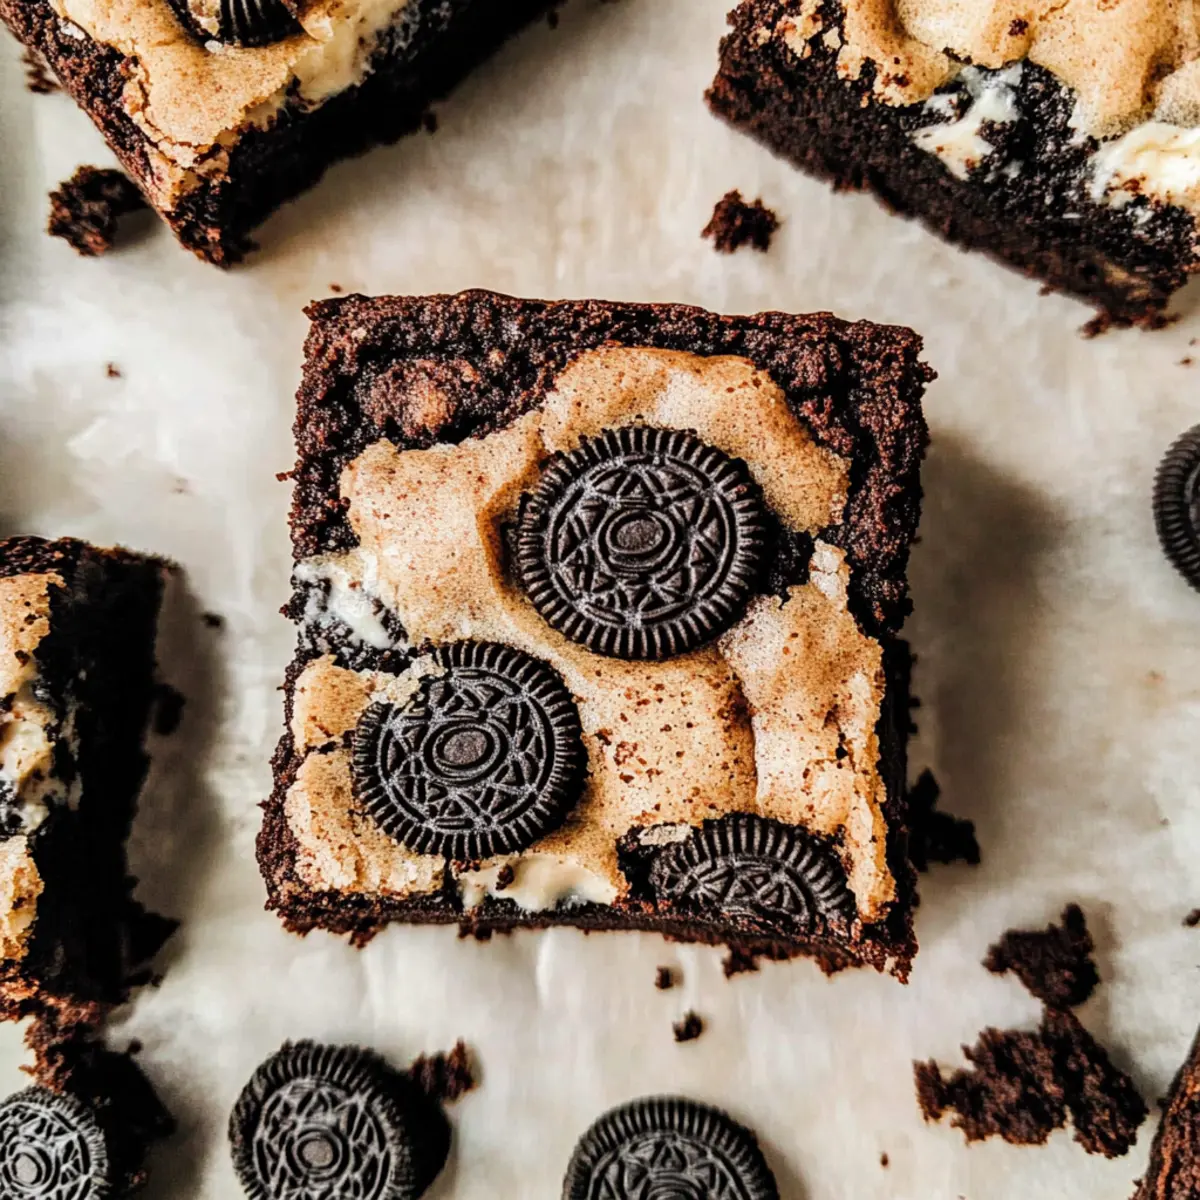
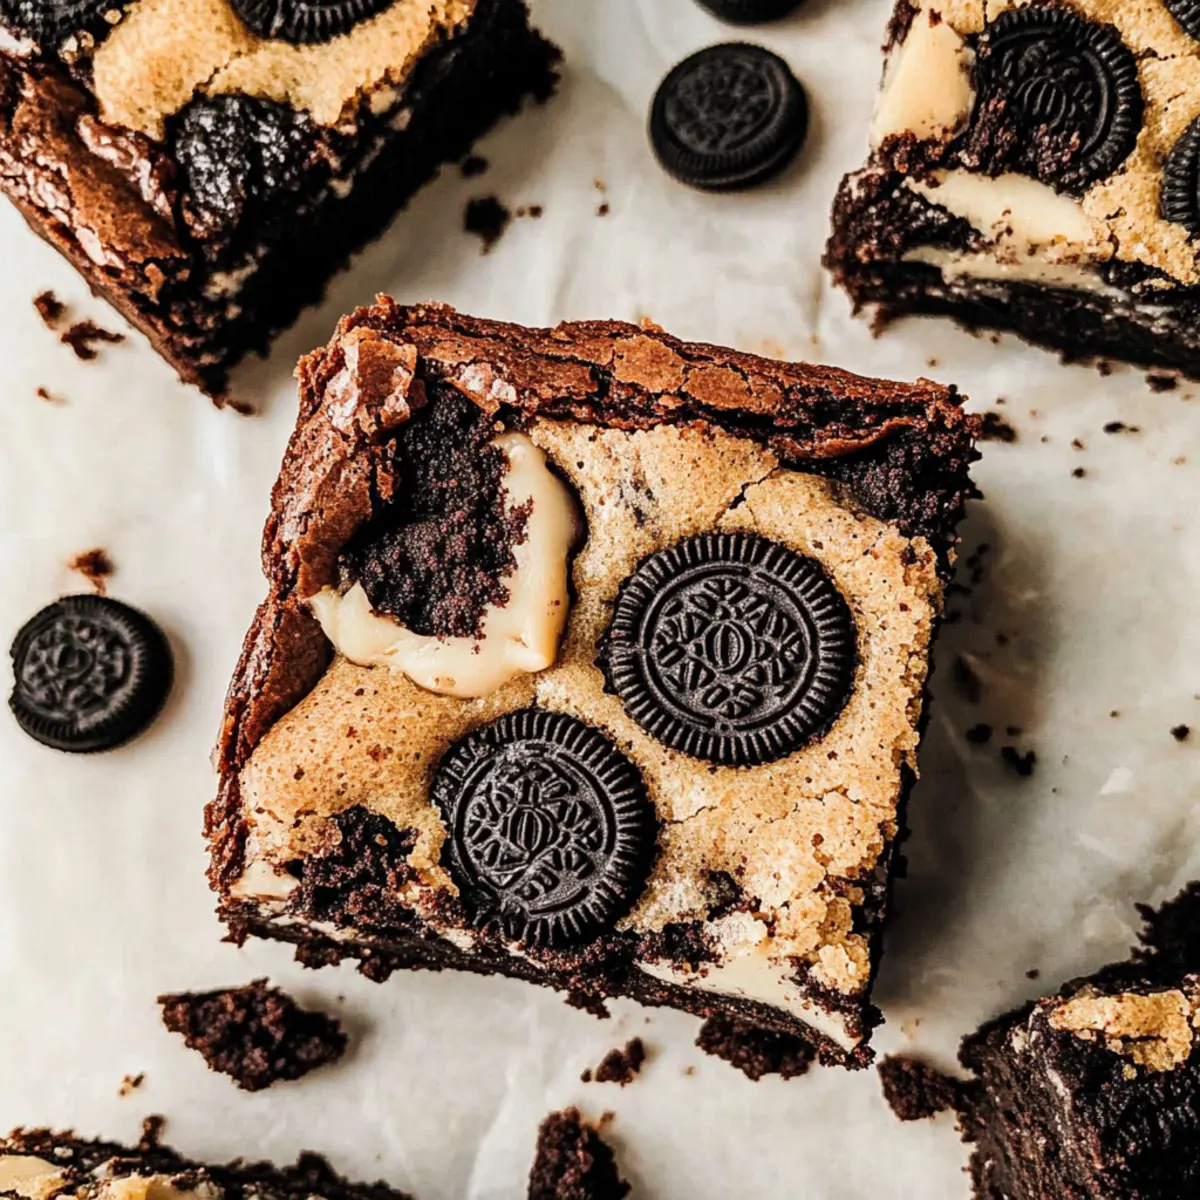
Decadent treat: Oreo Brookies perfectly merge a fudgy brownie base with chewy cookie dough, creating a delightful harmony of flavors that will please any sweet tooth.
Family-friendly: This recipe is incredibly simple, making it great for bakers of all ages. Kids love helping out, especially when it comes to crushing the Oreos!
Impressive presentation: The layers of chocolatey goodness create an enticing visual that makes them perfect for gatherings, ensuring you’ll be the star of the party.
Versatile: Feel free to switch up the flavors—try different sandwich cookies or add extra chocolate chips for a personal touch! These treats are endlessly adaptable to suit any occasion.
Easy to prepare: With straightforward steps and common ingredients, making Oreo Brookies is a breeze. For additional baking tips, be sure to check out my guide on helpful baking techniques.
Oreo Brookies Ingredients
• Get ready to indulge!
For the Brownie Layer
- Melted Butter – Combines with sugars for moisture and richness; substitute with coconut oil for a dairy-free option.
- Granulated Sugar – Sweetens the brownie layer, enhancing flavor.
- Brown Sugar – Adds depth of flavor and moisture to the brownie batter.
- Eggs – Provide structure and richness to both layers.
- Vanilla Extract – Adds a warm, aromatic flavor.
- Cocoa Powder – For rich chocolate flavor in the brownie base.
- All-Purpose Flour – Gives structure to the brownie and cookie layers.
- Baking Powder – Helps the cookie dough rise slightly.
- Salt – Balances sweetness and enhances flavors.
- Chocolate Chips – Provides extra chocolatey goodness, adds texture; alternatively, use butterscotch chips for a different flavor.
For the Cookie Layer
- Oreos – The star of the recipe, providing crunch and rich flavor; feel free to use any flavored sandwich cookies for a fun twist!
Step‑by‑Step Instructions for Oreo Brookies
Step 1: Prepare Brownie Layer
In a large mixing bowl, whisk together 1/2 cup of melted butter, 1 cup of granulated sugar, 1/2 cup of brown sugar, 2 large eggs, 1 teaspoon of vanilla extract, and 1/3 cup of cocoa powder until the mixture is smooth and glossy. This should take about 2-3 minutes.
Step 2: Mix Dry Ingredients
Next, slowly fold in 1 cup of all-purpose flour, a pinch of salt, and 1/2 cup of chocolate chips, stirring gently until a thick brownie batter forms. The consistency should be fudgy and well combined, a sign that your brownie layer for the Oreo Brookies is ready.
Step 3: Layering
Line an 8×8-inch square baking pan with parchment paper for easy removal. Pour the brownie batter into the prepared pan, spreading it evenly across the bottom. Arrange whole Oreos on top of the brownie batter, gently pressing them down so they sink slightly into the mixture.
Step 4: Prepare Cookie Dough
In a separate bowl, beat together 1/2 cup of melted butter with 1/2 cup of granulated sugar and 1/2 cup of brown sugar until creamy and fluffy. This should take about 2 minutes. Add 1 large egg and 1 teaspoon of vanilla extract, mixing until fully combined, creating a smooth cookie base for your Oreo Brookies.
Step 5: Incorporate Dry Ingredients
To the cookie mixture, fold in 1 cup of all-purpose flour, 1/2 teaspoon of baking powder, a pinch of salt, and 1/2 cup of chocolate chips. Stir gently until just combined; be careful not to overmix. You’re now ready to spread this sweet layer over the Oreos.
Step 6: Top with Cookie Dough
Spoon the cookie dough over the Oreos in the pan, smoothing it out to ensure even coverage. Use a spatula for an effortless spread, and don’t worry if it seems thick; this is what gives your Oreo Brookies a delightful texture.
Step 7: Bake
Preheat your oven to 350°F (180°C). Bake the assembled Oreo Brookies in the center of the oven for 30-35 minutes. Keep an eye on them; they should be golden and set on top, while a toothpick inserted into the center should come out with moist crumbs.
Step 8: Cool & Slice
Once baked, remove the pan from the oven and let it cool completely at room temperature. For cleaner cuts, chill the Oreo Brookies in the fridge for about 1 hour before slicing them into bars. This will make the layers even more enjoyable and easier to handle!
What to Serve with Oreo Brookies?
Imagine a cozy gathering with delightful treats that perfectly complement your decadent Oreo Brookies, elevating your dessert experience to a new level of indulgence.
- Vanilla Ice Cream: The creamy, smooth texture of vanilla ice cream balances the fudgy layers, creating a heavenly duo that melts in your mouth.
- Whipped Cream: Light and airy, whipped cream adds a delicate touch that enhances the rich chocolate flavors and makes each bite even more delightful.
- Berries: Fresh strawberries or raspberries add a burst of brightness and a hint of acidity, cutting through the sweetness and refreshing the palate.
- Chocolate Sauce: Drizzling warm chocolate sauce over the top adds an extra layer of chocolatey goodness, perfect for those who dare to indulge further!
- Caramel Sauce: Sweet and silky caramel pairs beautifully with these brookies, enriching each bite with an irresistible sweetness that’s hard to resist.
- Hot Chocolate: Pairing these dessert bars with a cozy cup of hot chocolate creates a dessert experience that’s absolutely warming and nostalgic.
- Coffee: For adults, a cup of strong coffee can enhance the chocolate flavors, making for a delightful evening treat that satisfies both coffee and dessert cravings.
- Milk: A classic pairing, a cold glass of milk complements the chocolate goodness, making it the perfect choice for kids and kids-at-heart alike!
- Fruit Salad: A light and refreshing fruit salad can provide a nice contrast in texture and sweetness, balancing the intense flavors of the brookies.
How to Store and Freeze Oreo Brookies
Room Temperature: Store Oreo Brookies in an airtight container at room temperature for up to 5 days to maintain their delicious fudgy texture and flavor.
Fridge: If you prefer a colder treat, store them in the fridge for a firmer texture. They will stay fresh for up to a week.
Freezer: For longer storage, freeze the brookies in an airtight container or freezer bag for up to 3 months. Thaw at room temperature before serving.
Reheating: To enjoy them warm, pop the chilled or thawed Oreo Brookies in the microwave for 10-15 seconds for that fresh-out-of-the-oven experience.
Expert Tips for Oreo Brookies
-
Baking Time: Keep a close eye on your brookies while baking; check for doneness around the 30-minute mark. They should be soft in the center for the perfect fudgy texture.
-
Layering Technique: When layering the Oreos, press them in gently but do not submerge them completely. This way, they will retain their crunch and add delightful texture to the finished bars.
-
Chilling Suggestions: For the best results, allow the Oreo Brookies to cool at room temperature and then chill in the fridge for at least an hour. This makes slicing easier and helps the layers set properly.
-
Storage Tips: Store leftover brookies in an airtight container at room temperature for up to 5 days. If you plan to keep them longer, consider freezing them for up to 3 months.
-
Presentation Idea: Serve your Oreo Brookies on a beautiful platter and dust with powdered sugar for a lovely finishing touch, making them perfect for gatherings or special occasions.
Oreo Brookies: Creative Twists Await!
Feel free to let your imagination run wild while making these scrumptious Oreo Brookies—your taste buds will thank you!
- Gluten-Free: Use a gluten-free all-purpose flour blend to make these brookies friendly for gluten-sensitive guests without sacrificing flavor.
- Nutty Delight: Add chopped walnuts or pecans to the brownie layer for added crunch and a delightful nutty flavor that contrasts beautifully with the soft cookie.
- Spicy Kick: Mix in a dash of cinnamon or cayenne pepper to the cookie dough for a surprising twist that adds warmth and depth.
- Double Chocolate: Swap out half the cocoa powder in the brownie layer for chocolate syrup or melted chocolate. The richer chocolate flavor will be an instant hit!
- Funfetti Surprise: Stir in colorful sprinkles to the cookie dough for a fun, festive look that’s perfect for birthdays or celebrations.
- Fruit Fusion: Add fresh raspberries or sliced strawberries in between the layers for a refreshing burst of fruitiness, creating a delightful contrast to the chocolate.
- Peanut Butter Swirl: Gently swirl peanut butter into the brownie layer before adding the Oreos for a creamy, nutty enhancement that takes your brookies to the next level.
- Vegan Option: Replace eggs with flax eggs and use plant-based butter or coconut oil. This will create a vegan version of these delicious treats without compromising on taste.
Whichever variation you choose, don’t forget to pair these brookies with a scoop of ice cream for an indulgent dessert experience—it’s like a party in your mouth!
Make Ahead Options
Oreo Brookies are a fantastic choice for meal prep, saving you invaluable time during busy weeks! You can prepare the brownie layer and the cookie dough up to 24 hours in advance; simply keep them separately refrigerated in airtight containers. To maintain the quality and prevent the brownie from drying out, make sure to cover it tightly with plastic wrap. When you’re ready to bake, layer the chilled brownie batter with the Oreos and spread the cookie dough on top, then pop it in the oven. This way, you can enjoy freshly baked Oreo Brookies with minimal effort, ensuring a delightful treat whenever the craving hits!
Oreo Brookies Recipe FAQs
How do I choose the right Oreos for this recipe?
I recommend using classic Oreos for the best flavor and texture contrast. However, feel free to experiment with different flavored sandwich cookies, such as peanut butter or mint, to add a unique twist to your Oreo Brookies!
What is the best way to store leftover Oreo Brookies?
You can store Oreo Brookies in an airtight container at room temperature for up to 5 days. If you prefer them chilled, you can keep them in the refrigerator for up to a week. Just be sure to allow them to come to room temperature before serving for the best taste and texture!
Can I freeze Oreo Brookies?
Absolutely! To freeze your Oreo Brookies, wrap them tightly in plastic wrap or place them in an airtight container or freezer bag. They will stay fresh for up to 3 months. When you’re ready to enjoy them, simply thaw at room temperature or warm them in the microwave for 10-15 seconds!
What should I do if my brownie layer is overbaked?
If you find that your brownie layer has been overbaked, don’t worry! The key to a fudgy brownie is the moisture, so you can try adding a scoop of vanilla ice cream on top when serving for that extra creaminess. Additionally, serve the bars slightly warm to help mask any dryness!
Are Oreo Brookies safe for pets or those with allergies?
Be cautious! Oreos contain ingredients like chocolate and sugar that can be harmful to pets. Also, if you’re accommodating allergies, keep in mind that this recipe contains eggs and gluten. You can substitute the eggs with a flax egg for a vegan option and use gluten-free flour for a gluten-free version. Always check for potential allergens!
How long should I cool the Oreo Brookies before slicing?
After baking, let the Oreo Brookies cool completely in the pan at room temperature. For perfectly sliced bars, it’s best to chill them in the refrigerator for about 1 hour before cutting. This step helps the layers to set and makes slicing much easier!
Oreo Brookies Recipe FAQs
Decadent Oreo Brookies: Fudgy Layers for Ultimate Indulgence
Ingredients
Equipment
Method
- In a large mixing bowl, whisk together 1/2 cup of melted butter, 1 cup of granulated sugar, 1/2 cup of brown sugar, 2 large eggs, 1 teaspoon of vanilla extract, and 1/3 cup of cocoa powder until smooth and glossy.
- Slowly fold in 1 cup of all-purpose flour, a pinch of salt, and 1/2 cup of chocolate chips until a thick brownie batter forms.
- Line an 8x8-inch baking pan with parchment paper. Pour the brownie batter into the pan, spreading it evenly. Arrange whole Oreos on top of the brownie batter.
- In a separate bowl, beat together 1/2 cup of melted butter with 1/2 cup of granulated sugar and 1/2 cup of brown sugar until creamy.
- Add 1 large egg and 1 teaspoon of vanilla extract, mixing until fully combined.
- Fold in 1 cup of all-purpose flour, 1/2 teaspoon of baking powder, a pinch of salt, and 1/2 cup of chocolate chips until just combined.
- Spoon the cookie dough over the Oreos in the pan, smoothing it out.
- Preheat your oven to 350°F (180°C). Bake for 30-35 minutes until golden and set on top.
- Cool completely at room temperature, then chill in the fridge for about 1 hour before slicing.
Leave a Reply