Ingredients
Equipment
Method
Step-by-Step Instructions
- Begin by pouring 1 cup of high-quality balsamic vinegar into a medium saucepan. Set your stove to medium-low heat and gently bring the vinegar to a simmer. Stir occasionally as you watch the bubbles form, indicating that it’s heating up. This initial step should take about 2-3 minutes.
- Once the balsamic vinegar is simmering, maintain that gentle heat for 10-15 minutes. Continue stirring occasionally, allowing the vinegar to reduce and thicken. You’ll notice the color darkening and the consistency becoming syrupy. Keep an eye on it to prevent burning, ensuring it coats the back of a spoon beautifully.
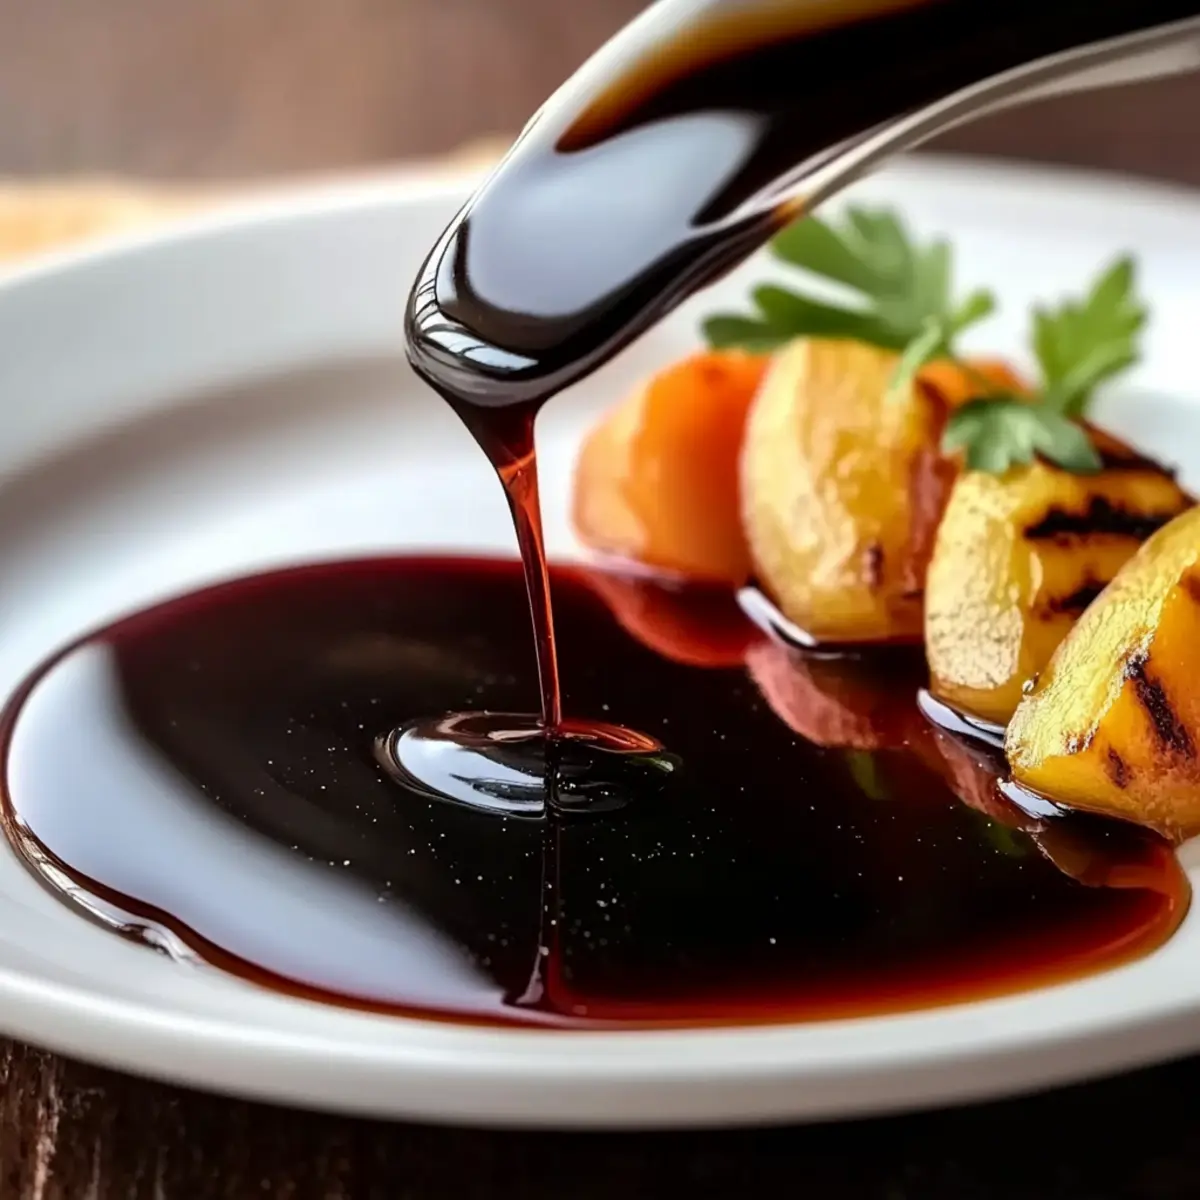
- After 10-15 minutes, use the spoon test to check the glaze’s consistency. Dip a spoon into the mixture; it should coat the back without running off too easily. If it's too thin, simmer for a few more minutes, stirring consistently.
- Remove the saucepan from the heat and allow the glaze to cool for about 5-10 minutes. As it cools, it will thicken even more, creating a glossy finish.
- Once cooled, pour the sweet & tangy balsamic glaze into a clean glass jar or airtight container for storage. The glaze can be kept in the refrigerator for up to two weeks.
Nutrition
Notes
Choose a high-quality balsamic vinegar for the best flavor and remember to stir often to prevent burning.