
The scent of freshly baked muffins wafted through my kitchen, igniting a sense of nostalgia that transported me back to carefree mornings filled with laughter and delicious aromas. Today, I’m excited to share my recipe for Banana Peanut Butter Power Muffins—an easy, protein-rich snack that your kids will absolutely adore. Not only are these muffins quick to whip up in just one bowl, but they also pack a nutritious punch thanks to ingredients like Greek yogurt and oats. They’re perfect for busy mornings, cozy after-school snacking, or as a wholesome addition to lunchboxes. Plus, with the sweet allure of ripe bananas and creamy peanut butter, sneaking in healthy choices has never been so delightful. Curious how to make these delectable treats? Let’s dive into the full recipe!
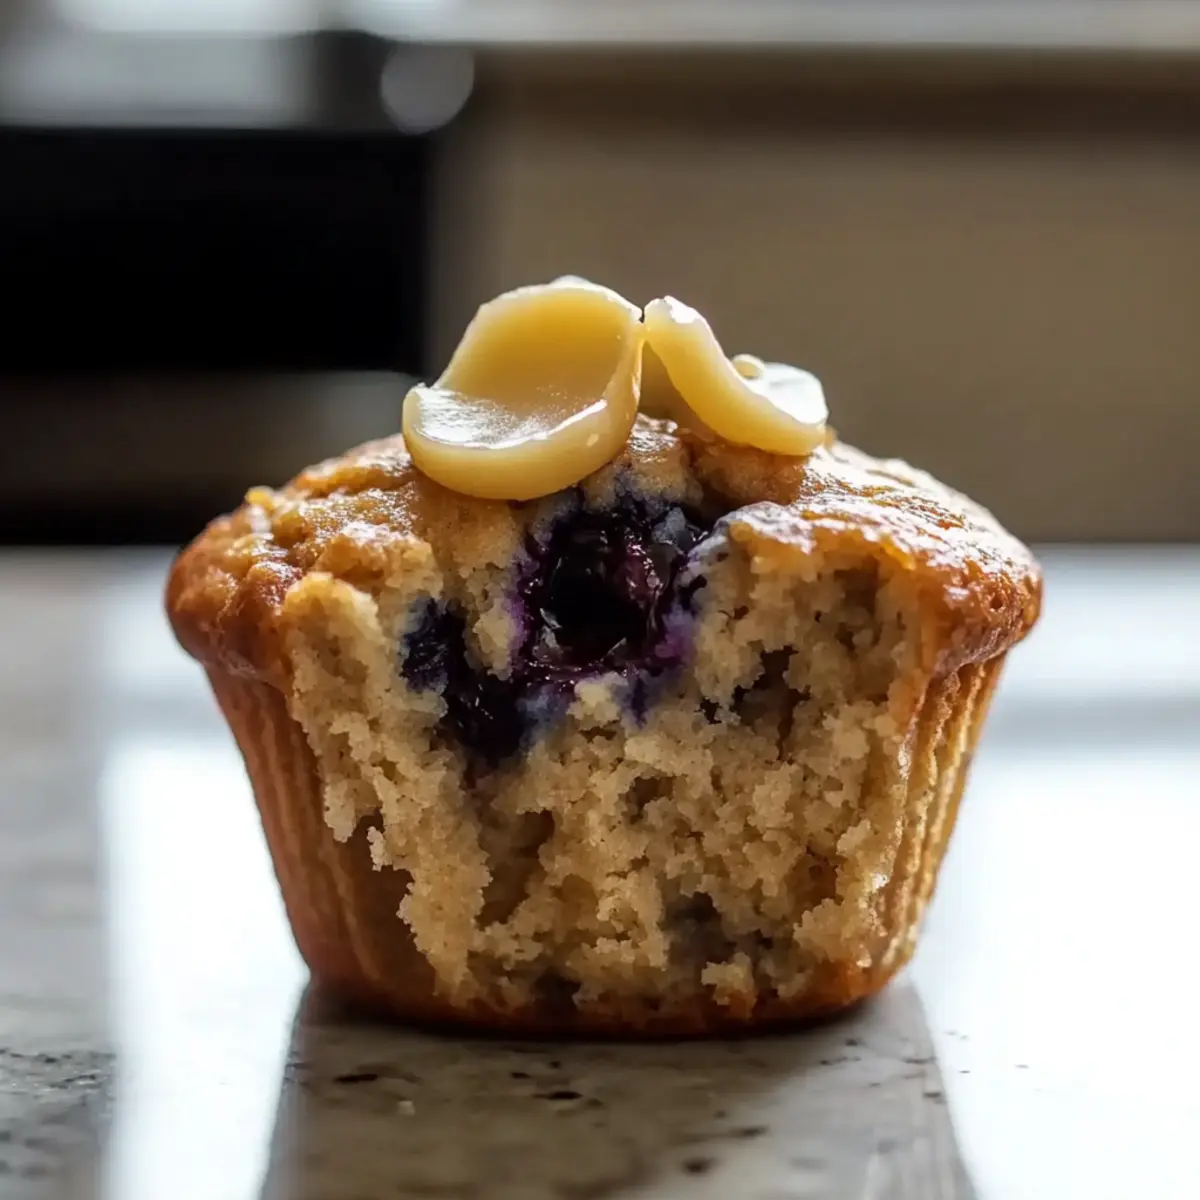
Why Kids Will Love These Muffins?
Moist Texture: Each muffin is incredibly moist, reminiscent of a soft cake, making them a hit with kids of all ages.
Protein Power: Packed with 7-12g of protein, these muffins keep your kids fueled and energized throughout their busy day, minimizing snack-time meltdowns.
Quick Prep: They come together in one bowl, so you can spend less time cleaning up and more time enjoying them with your little ones.
Customizable Goodness: With variations like Fudgy Chocolate Protein Muffins or Cottage Cheese Berry Blast Muffins, you can adapt the flavors based on your child’s preferences.
Freezer-Friendly: Make a batch ahead of time and freeze them for convenient snacks whenever hunger strikes! Your family will love having healthy options at their fingertips.
Overall, these Banana Peanut Butter Power Muffins are not just nutritious; they are a fun, tasty treat that both parents and kids will cherish together!
Banana Peanut Butter Power Muffin Ingredients
For the Muffin Batter
• Ripe Bananas – Natural sweetness is key; the riper, the better!
• Creamy Peanut Butter – Adds a rich flavor and healthy fats; almond butter is a great substitute if desired.
• Greek Yogurt – Boosts protein content while keeping the muffins moist; plain yogurt can be used if you need a substitute.
• Eggs – Vital for binding the batter and adding extra protein; for a vegan option, flaxseed can work wonders.
• Old-Fashioned Oats – Provides texture and fiber; ground flax can replace oats for a gluten-free option.
• Honey or Maple Syrup – Optional for additional sweetness; adjust based on your kid’s preferences.
• Baking Powder – Ensures the muffins rise beautifully; don’t skip this ingredient!
Optional Mix-Ins
• Chopped Nuts – Almonds or walnuts add a delightful crunch; just be mindful of allergies.
• Chocolate Chips – For those with a sweet tooth; dark chocolate chips make them a bit healthier.
• Dried Fruits – Raisins or cranberries can introduce a fun chewiness and added flavor.
These Banana Peanut Butter Power Muffins are not just a quick fix; they’re a powerhouse of nutrition and taste that’ll keep your kids delighted and ready to tackle the day!
Step‑by‑Step Instructions for Banana Peanut Butter Power Muffins
Step 1: Preheat the Oven
Begin by preheating your oven to 350°F (175°C), filling your kitchen with anticipation. Grab your muffin tin and line it with paper liners or lightly grease each cup with cooking spray to ensure easy removal later. This step is crucial for achieving that perfect golden-brown finish on your Banana Peanut Butter Power Muffins.
Step 2: Combine Wet Ingredients
In a large mixing bowl, mash 2-3 ripe bananas until smooth and creamy, adding in ½ cup of creamy peanut butter and 1 cup of Greek yogurt. Then crack in 2 eggs, whisking everything together until fully combined. You’re looking for a luscious, gooey mixture that promises deliciousness in every bite of the muffins.
Step 3: Mix Dry Ingredients
In a separate bowl, combine 1 ½ cups of old-fashioned oats, 1 teaspoon of baking powder, and any optional mix-ins such as cinnamon or chocolate chips. Stir them together until evenly distributed, and then prepare to gently fold this into your wet mixture. The contrast of textures will elevate your Banana Peanut Butter Power Muffins to the next level.
Step 4: Blend Wet and Dry Mixtures
Slowly pour the dry ingredients into the wet ingredients, using a spatula to gently fold the mixture until just combined. Be careful not to over-mix, as this can lead to dense muffins. You want a batter that looks slightly lumpy but well mixed, ensuring your Banana Peanut Butter Power Muffins turn out fluffy and moist.
Step 5: Fill Muffin Tins
Using a spoon or a cookie scoop, carefully divide the muffin batter evenly into your prepared muffin tin, filling each cup about two-thirds full. This gives the muffins plenty of room to rise without overflow. You’ll see the inviting banana chunks peeking through, hinting at the delightful taste ahead.
Step 6: Bake the Muffins
Place the muffin tin into the preheated oven and bake for 15-20 minutes. Keep an eye on them as they bake; the muffins should rise beautifully and turn a lovely golden brown. To test for doneness, insert a toothpick into the center of a muffin—it should come out clean or with just a few moist crumbs.
Step 7: Cool and Enjoy
Once baked, remove the muffins from the oven and let them cool in the tin for about 5 minutes. Then, gently transfer them to a wire rack to cool completely. The aroma of your Banana Peanut Butter Power Muffins will fill the air, tempting everyone nearby. Enjoy them warm or store them for later snacking!
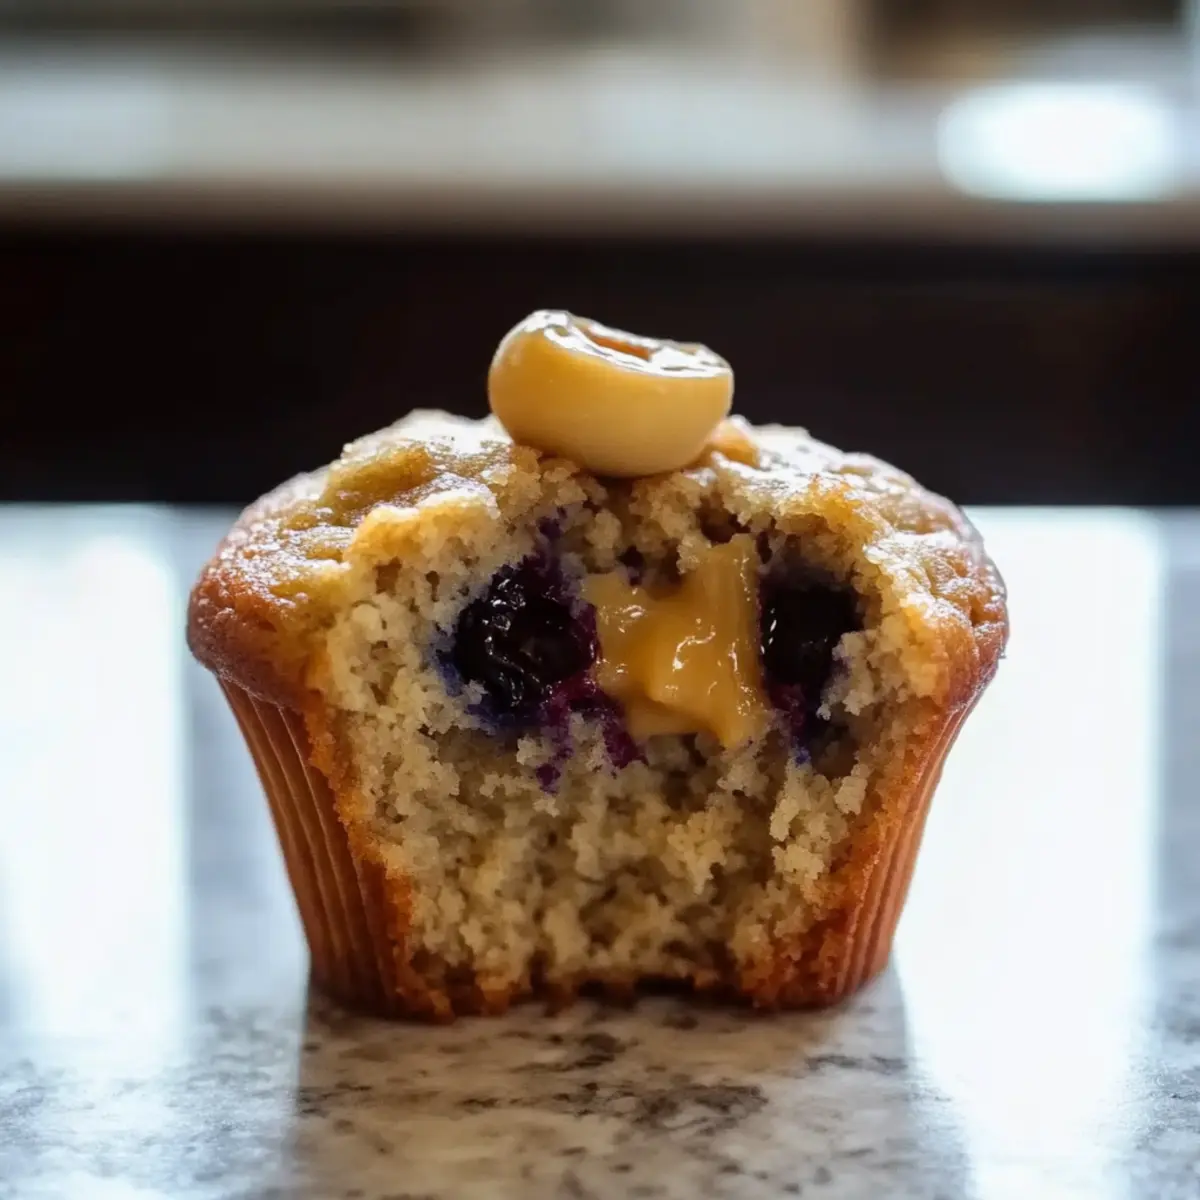
How to Store and Freeze Banana Peanut Butter Power Muffins
Room Temperature: Keep muffins in an airtight container for up to 3 days. This preserves their moisture while making them easily accessible for quick snacks.
Fridge: If you prefer chilled muffins, store them in the fridge for up to 5 days. Just remember to reheat them slightly in the microwave to restore their warmth and fluffiness.
Freezer: Freeze the muffins in an airtight container or freezer-safe bag for up to 3 months. Thaw in the fridge overnight or microwave for a quick snack whenever your kids get hungry.
Reheating: To enjoy your muffins warm, simply microwave them for 15-20 seconds. This will bring back their delightful texture and taste, making them feel freshly baked!
What to Serve with Banana Peanut Butter Power Muffins?
Imagine a vibrant breakfast table filled with delicious flavors and comforting aromas that will delight your family and fuel their day.
- Fresh Berries: A colorful medley of strawberries, blueberries, and raspberries adds a burst of freshness and antioxidants that beautifully complement the sweetness of the muffins.
- Yogurt Parfait: Layering creamy yogurt with crunchy granola and fruit creates a delightful texture contrast, making breakfast both satisfying and nutritious.
- Nut Butter Spread: Serve muffins warm with a smear of almond or cashew butter for an extra layer of protein and flavor that kids will love.
- Smoothies: Whip up a banana and spinach smoothie for a fun, fruity drink that’s also packed with vitamins to energize kids for their day.
- Hard-Boiled Eggs: Offering a side of protein-rich hard-boiled eggs enhances the nutrition value of the meal while providing a satisfying snack.
- Oatmeal: A warm bowl of oatmeal drizzled with honey and topped with nuts or seeds pairs well, creating a cozy, comforting breakfast experience.
- Milk or Nut Milk: A tall glass of milk, whether dairy or plant-based, rounds out this wholesome meal, providing calcium and a creamy touch.
- Apple Slices with Peanut Butter: Crisp apple slices dipped in creamy peanut butter not only mimic the muffin’s flavors but also add crunch and nutrition.
- Cottage Cheese: A small bowl of cottage cheese topped with cinnamon or fruits presents a protein-packed side that kids will enjoy, boosting their energy.
Expert Tips for Banana Peanut Butter Power Muffins
-
Use Ripe Bananas: The riper your bananas are, the sweeter and more flavorful your muffins will be. Look for bananas with brown spots for optimal sweetness.
-
Don’t Overmix: To keep your muffins light and fluffy, mix until just combined. Overmixing can lead to dense, heavy muffins.
-
Monitor Baking Time: Every oven is different, so check your muffins around the 15-minute mark. Remove them when a toothpick comes out clean for best results.
-
Cool Properly: Allow your muffins to cool in the pan for 5 minutes before transferring to a wire rack. This helps maintain their shape and texture.
-
Customize Flavors: Feel free to add in optional mix-ins like chocolate chips or nuts, but remember to adjust moisture levels if you do so. These variations keep your Banana Peanut Butter Power Muffins exciting!
-
Freezing Tips: For convenient snacks, freeze extras in an airtight container. When hunger strikes, just pop them in the microwave for a quick, healthy treat!
Make Ahead Options
These Banana Peanut Butter Power Muffins are an ideal choice for meal prep! You can mix the wet ingredients (mashed bananas, peanut butter, and yogurt) and store them in the refrigerator for up to 24 hours before baking; this allows the flavors to meld beautifully. Additionally, you can combine the dry ingredients (oats and baking powder) in a separate container and keep them ready for up to 3 days. When you’re ready to bake, simply combine the soaked wet and dry ingredients, fold in the eggs, and proceed with the final steps. This method not only saves time but also helps you maintain the muffins’ irresistible moist texture, ensuring they are just as delicious when served fresh!
Variations & Substitutions for Banana Peanut Butter Power Muffins
Mix and match ingredients to create your own perfect version of these delightful muffins!
-
Dairy-Free: Substitute Greek yogurt with coconut yogurt to keep them creamy while making them dairy-free.
Coconut yogurt adds a beautiful tropical twist that pairs wonderfully with bananas! -
Nut-Free: Replace peanut butter with sun butter or a pumpkin seed butter to make this nut-free.
Your kids won’t miss a beat with these delicious alternatives, and they bring their own unique flavor profiles! -
Gluten-Free: Use gluten-free oats or almond flour instead of regular oats for a gluten-free treat.
You’ll find that gluten-free muffins can be just as fluffy and satisfying, making them perfect for everyone! -
Fruity Twist: Add ½ cup of chopped strawberries or blueberries for a fruity explosion in every bite.
These fresh additions enhance the flavor while adding a pop of color and excitement for the little ones. -
Veggie Boost: Incorporate ½ cup of finely shredded zucchini or carrots for extra nutrition without changing the flavor.
It’s a sneaky way to boost the health factor while maintaining those sweet, delicious flavors! -
Chocolate Dream: Toss in ½ cup of dark chocolate chips for a rich, fudgy version that kids will adore.
Who can resist the melty goodness of chocolate? This variation takes your muffins to dessert level! -
Spiced Up: Add a teaspoon of cinnamon or pumpkin spice to give your muffins a warm, comforting twist.
The aroma of spices brings a cozy atmosphere to your kitchen, perfect for those chilly mornings.
For more delicious muffin ideas, you might enjoy these Fudgy Chocolate Protein Muffins or try a fun twist with the Cottage Cheese Berry Blast Muffins. Don’t hesitate to let your imagination run wild with these variations!
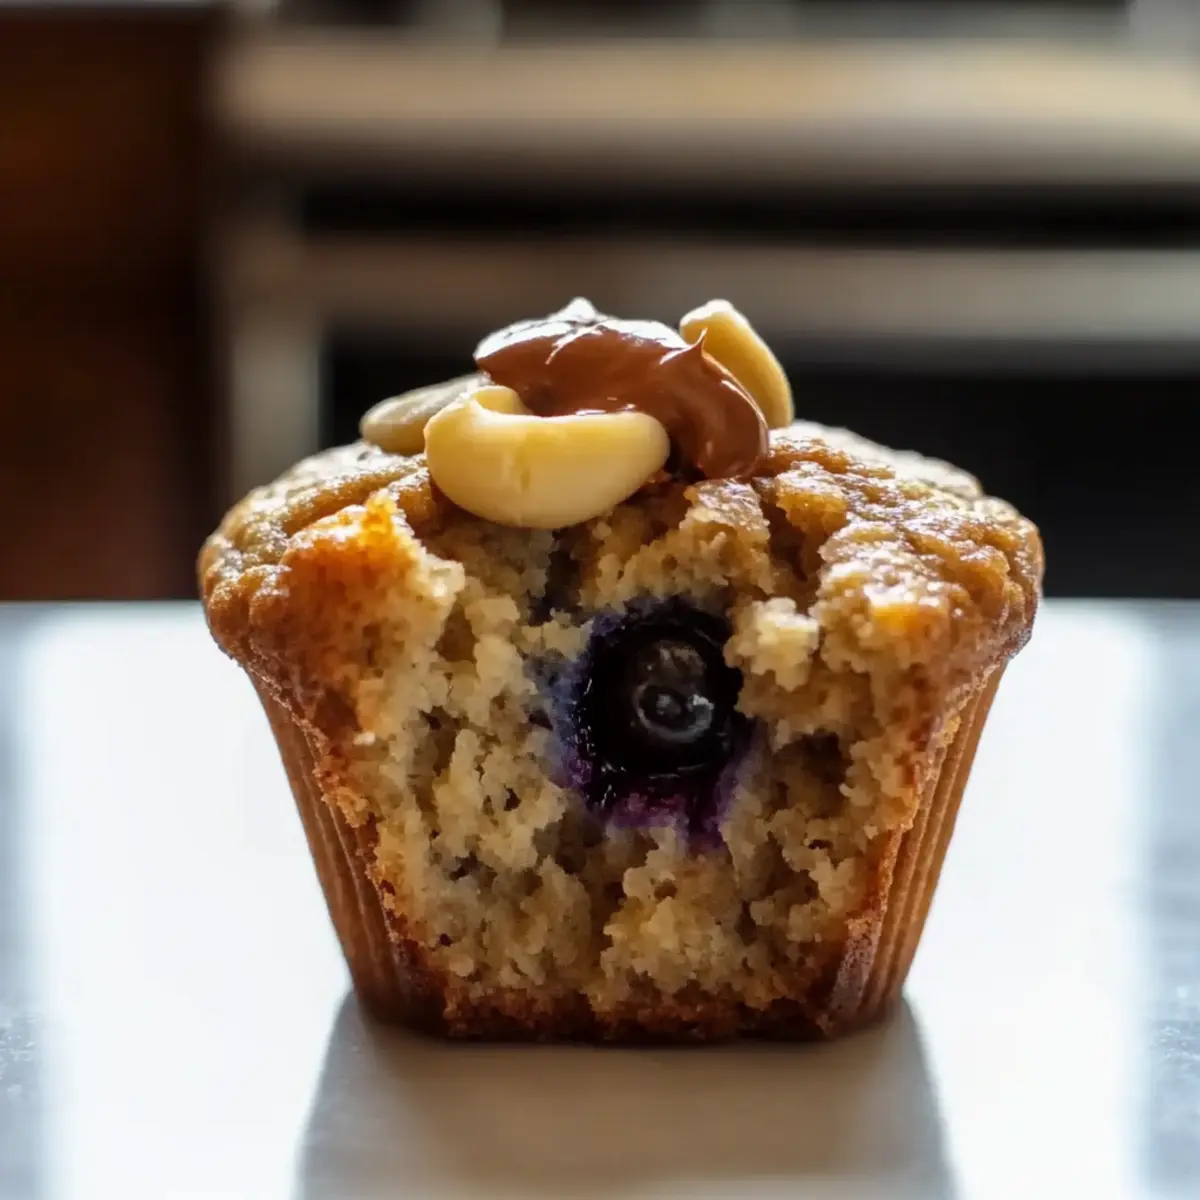
Banana Peanut Butter Power Muffins Recipe FAQs
How do I know if my bananas are ripe enough for the muffins?
Absolutely! Look for bananas that are turning brown with a few dark spots. Very ripe bananas will be sweeter and mash easily, lending unsurpassed flavor to your Banana Peanut Butter Power Muffins. If you have some that are too firm, you can place them in a paper bag overnight to speed up the ripening process.
What’s the best way to store leftover muffins?
Very good question! Store your muffins in an airtight container at room temperature for up to 3 days. This helps them maintain their delicious moisture and flavor. If you’re looking to keep them longer, consider refrigerating them for up to 5 days or placing them in the freezer for up to 3 months.
Can I freeze Banana Peanut Butter Power Muffins? How do I do it?
Of course! To freeze your muffins, simply place them in an airtight container or freezer-safe bag. I recommend laying a piece of parchment paper between layers to prevent sticking. They can be frozen for up to 3 months; when you’re ready to enjoy one, thaw it in the fridge overnight or pop it in the microwave for about 15-20 seconds for a quick, warm snack!
What if the muffins come out too dense?
Oh no, we don’t want that! Dense muffins might mean you have overmixed the batter; try to mix until just combined next time—lumps don’t hurt! Also, ensure you’re measuring ingredients properly. Using too much flour can lead to a denser texture, so spoon it into your measuring cup and level off for accuracy.
Are these muffins suitable for kids with allergies, like nut allergies?
Yes, absolutely! If you’re looking for nut-free options, simply substitute peanut butter with sunflower seed butter or a soy-based spread. Always check ingredient labels for allergens and consult with your pediatrician if you have concerns regarding any specific dietary needs before serving these muffins to your kids.
Can I add other ingredients to the muffins?
Very much so! These muffins are highly customizable. You can add mix-ins like chocolate chips, dried fruits, or shredded coconut. Just keep in mind to adjust the moisture levels slightly by reducing the liquid ingredients a little. This way, you can create fun variations of Banana Peanut Butter Power Muffins that your kids will love!
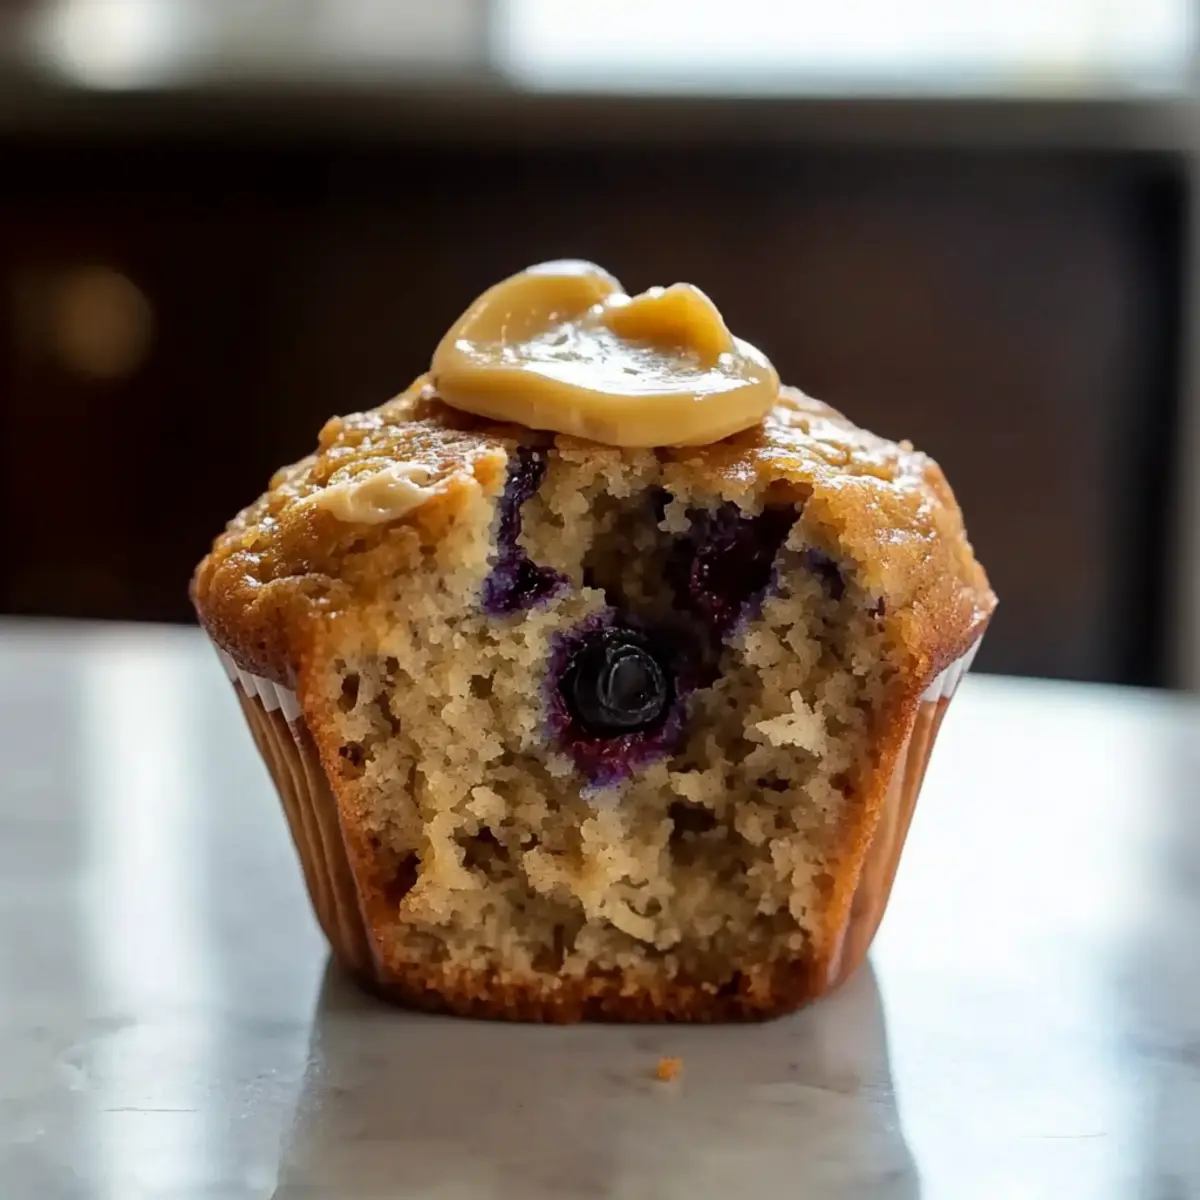
Banana Peanut Butter Power Muffins for Happy, Energized Kids
Ingredients
Equipment
Method
- Preheat your oven to 350°F (175°C) and prepare your muffin tin.
- In a large mixing bowl, mash 2-3 ripe bananas until smooth, then add ½ cup creamy peanut butter and 1 cup Greek yogurt. Whisk in 2 eggs until combined.
- In another bowl, combine 1 ½ cups old-fashioned oats and 1 teaspoon baking powder. Add optional mix-ins like cinnamon or chocolate chips.
- Fold the dry ingredients into the wet mixture until just combined to avoid overmixing.
- Scoop the batter into the muffin tin, filling each cup about two-thirds full.
- Bake for 15-20 minutes until golden and a toothpick comes out clean.
- Cool muffins in the tin for 5 minutes before moving them to a wire rack.
Leave a Reply