
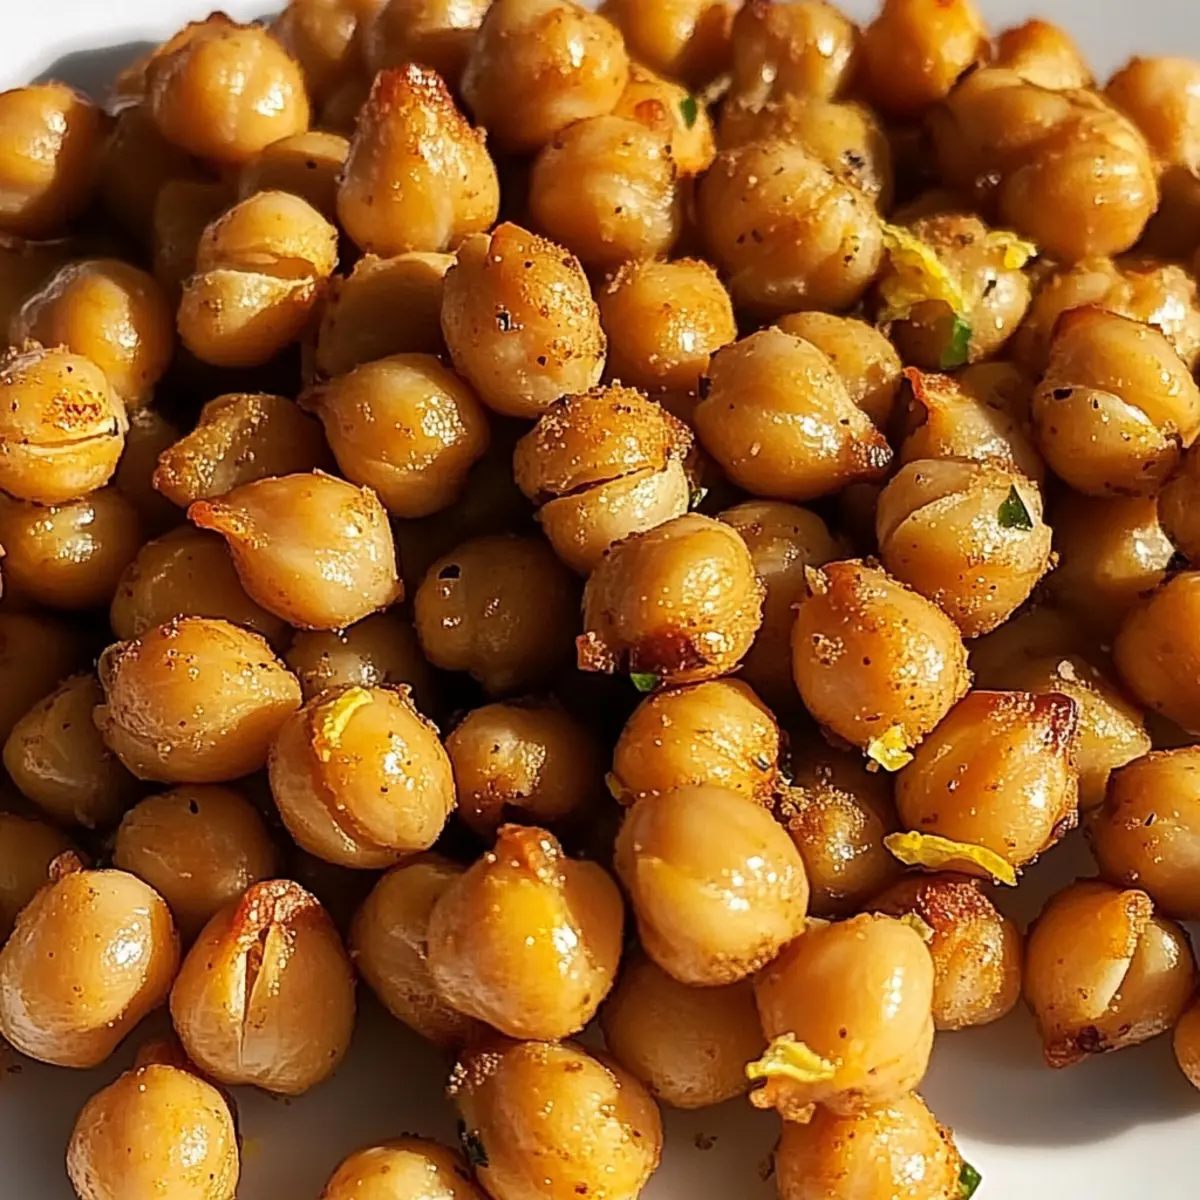
The first bite of crispy chickpeas seasoned with za’atar takes me right back to a vibrant market in the heart of the Middle East, where the air was rich with the scent of spices. These Crispy Za’atar Roasted Chickpeas with Lemon Zest bring that flavorful experience home, offering a delightful crunch in just 30 minutes! Not only are they gluten-free and vegan, making them a perfect choice for everyone at the table, but they also act as a wholesome alternative to those late-night snack cravings we all know too well. Each chickpea is transformed into a moreish bite of goodness that stands out at gatherings or simply as a nutritious snack on their own. Are you ready to elevate your snacking game and impress your friends with this easy, delicious treat?
Why Should You Try These Chickpeas?
Flavor Explosion: Each bite of these Crispy Za’atar Roasted Chickpeas bursts with zesty lemon and aromatic za’atar, delivering a flavor profile that’s hard to resist.
Quick Prep: With just 30 minutes from start to finish, this snack is perfect for any busy schedule, allowing you to enjoy homemade goodness without the wait.
Nutritious Choice: Packed with protein and fiber, these gluten-free and vegan chickpeas are a guilt-free addition to your snacking repertoire.
Versatile Snack: Great on their own or as a crunchy topping for salads and dips like hummus, these chickpeas adapt beautifully to any occasion.
Crowd-Pleaser: Whether it’s a party or a quiet night in, these chickpeas are sure to impress your guests and satisfy your snack cravings!
Crispy Za’atar Roasted Chickpeas Ingredients
For the Chickpeas
• Chickpeas – Canned or cooked, make sure they’re well-drained for the best crunch.
• Olive Oil – Essential for achieving that crispy texture; avocado oil is a tasty alternative.
For the Seasoning
• Za’atar Seasoning – This delightful Middle Eastern blend packs in flavor; try a mix of thyme, oregano, and sesame seeds if you’re in a pinch.
• Lemon Zest – Adds a refreshing touch of citrus; fresh lemon juice can work but may lessen the crisps.
With these ingredients, your Crispy Za’atar Roasted Chickpeas will be bursting with flavor and texture, making them the perfect snack!
Step‑by‑Step Instructions for Crispy Za’atar Roasted Chickpeas
Step 1: Preheat the Oven
Begin by preheating your oven to 400°F (200°C). This temperature is ideal for achieving that golden crispiness in your Crispy Za’atar Roasted Chickpeas. While the oven heats, gather your materials and prepare your chickpeas for roasting, ensuring you’ll be ready for the next steps.
Step 2: Prepare the Chickpeas
Take your canned chickpeas and drain them thoroughly. Rinse them under cold water to remove any excess sodium or preservatives. Next, pat them dry with a paper towel until they’re no longer moist—this step is crucial to avoid soggy chickpeas. Set them aside in a mixing bowl for seasoning.
Step 3: Season the Chickpeas
In the mixing bowl with your dried chickpeas, drizzle a few tablespoons of olive oil, ensuring each chickpea is lightly coated. Sprinkle the za’atar seasoning generously over the chickpeas, tossing them thoroughly until they’re evenly covered in this delightful Middle Eastern spice blend. This ensures maximum flavor in every bite of your Crispy Za’atar Roasted Chickpeas.
Step 4: Arrange on the Baking Sheet
Line a baking sheet with parchment paper for easy cleanup, then spread the seasoned chickpeas in a single layer across the pan. Make sure they’re not overcrowded to allow for proper air circulation, which is key to roasting them to perfection. This will help achieve a satisfying crunch as they cook.
Step 5: Roast to Crispy Perfection
Place the baking sheet in your preheated oven and roast the chickpeas for about 25-30 minutes. Halfway through cooking, give the pan a gentle shake to promote even cooking. You’ll know they’re done when they turn a beautiful golden brown color and emit a delightful aroma that fills your kitchen.
Step 6: Add the Finishing Touch
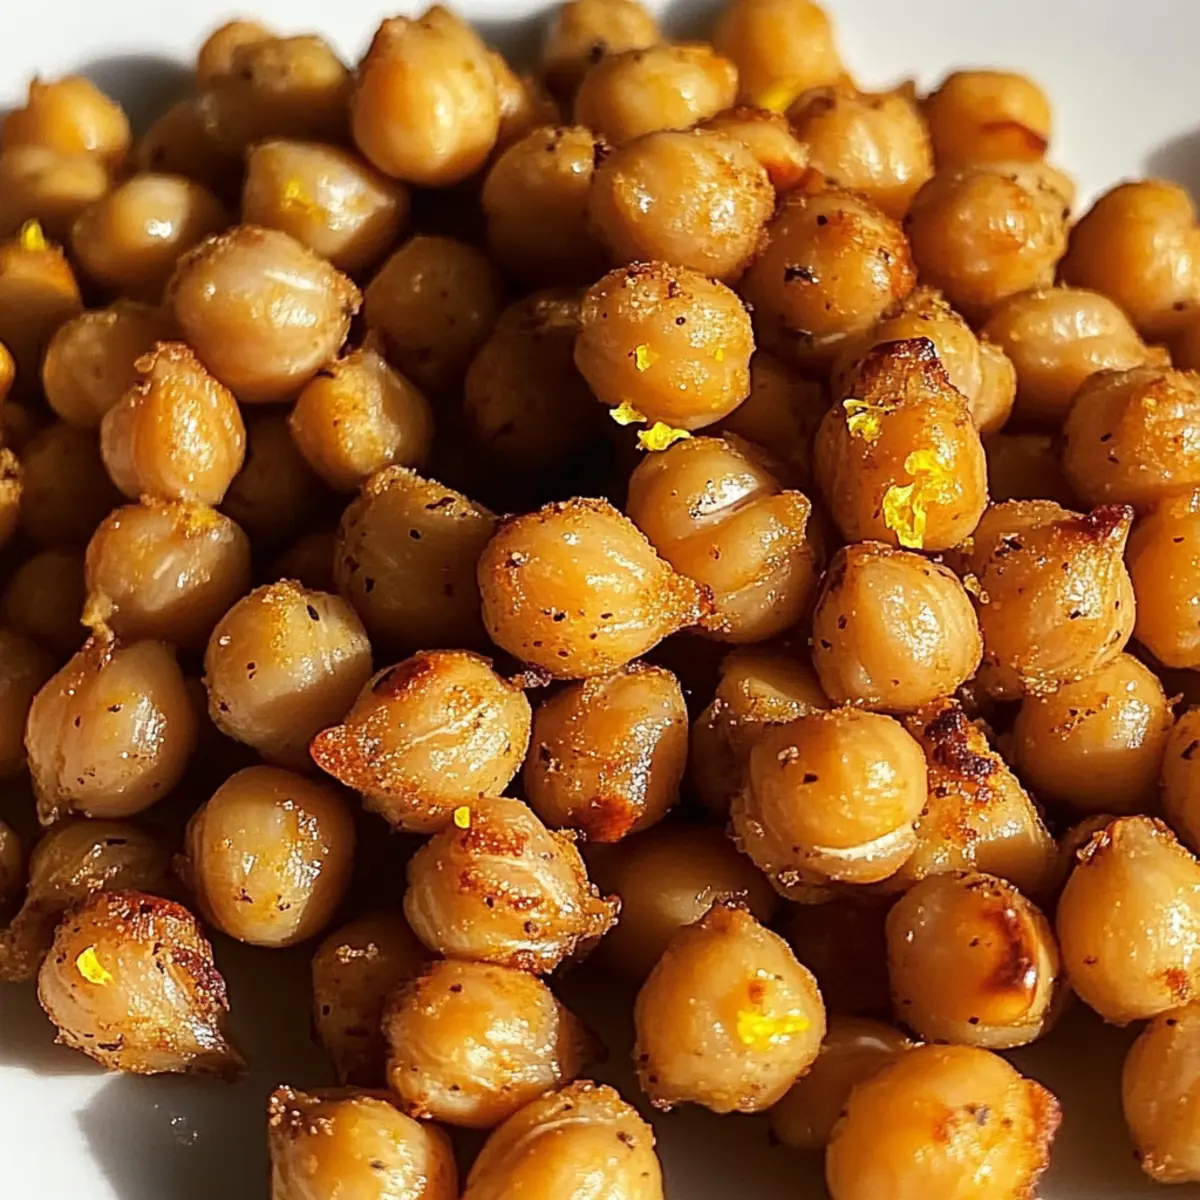
Once your Crispy Za’atar Roasted Chickpeas are perfectly roasted, remove them from the oven. Toss them in a bowl with freshly grated lemon zest to enhance their brightness and flavor. Allow them to cool slightly before serving, as they’ll crisp up a bit more during this time, ensuring the perfect snack to enjoy!
What to Serve with Crispy Za’atar Roasted Chickpeas
Elevate your snacking experience by pairing these crunchy delights with vibrant sides that enhance their flavor and texture.
- Creamy Hummus: The smooth, rich texture of hummus contrasts beautifully with the crispy chickpeas, creating a delightful dip that’s hard to resist.
- Tzatziki Sauce: This refreshing cucumber and yogurt dip adds a cool element to the spiced chickpeas, balancing flavors perfectly. Enjoy it as a zesty companion!
- Mediterranean Salad: Toss together fresh cucumbers, tomatoes, and feta for a burst of color and flavor that complements the savory notes of the za’atar.
- Avocado Toast: The creaminess of avocado spread on toasted bread creates a harmony of flavors with the chickpeas—perfect for brunch or a snack.
- Quinoa Bowl: Serve the chickpeas over a base of fluffy quinoa, topped with fresh veggies and a drizzle of olive oil for a wholesome meal.
- Sparkling Lemonade: This refreshing drink with a zesty kick mirrors the lemon zest in the chickpeas, making it a perfect thirst quencher for your snack time!
- Dark Chocolate: For a sweet twist, pair your chickpeas with slightly bitter dark chocolate; it’s an unexpected combination that satisfies both sweet and savory cravings.
- Chickpea Salad Sandwich: Layer crispy chickpeas with greens and a spread on whole-grain bread for a crunchy twist on a classic sandwich.
- Spiced Nuts: A handful of spiced nuts alongside roasted chickpeas creates a crunchy snack medley that guests will love at any gathering.
Tips for the Best Crispy Za’atar Roasted Chickpeas
-
Dry is Key: Pat your chickpeas dry thoroughly before seasoning and roasting. This step prevents any moisture from making them soggy and ensures maximum crispiness.
-
Even Layer: Spread the chickpeas out in a single layer on your baking sheet. Overcrowding will prevent them from roasting properly, resulting in uneven texture.
-
Adjust Seasoning: If you’re unsure about the strength of za’atar seasoning, start with a little less and add more to taste. This will help you find the perfect balance for your Crispy Za’atar Roasted Chickpeas.
-
Watch the Time: Keep an eye on your chickpeas as they roast. Ovens can vary in temperature, and you want to catch them right as they turn golden and crunchy, not burnt.
-
Serve Freshly Baked: For the best experience, enjoy your chickpeas fresh out of the oven. They tend to lose their crunch over time, so serving them right away is a treat for all!
How to Store and Freeze Crispy Za’atar Roasted Chickpeas
Airtight Container: Store your Crispy Za’atar Roasted Chickpeas in an airtight container to maintain their crunchiness and freshness for up to 5 days.
Room Temperature: Keep them at room temperature for up to 2 days if you plan to consume them quickly; ensure the container is sealed to prevent moisture.
Freezer: For longer storage, you can freeze the chickpeas in a freezer-safe bag up to 3 months. Reheat in the oven for best texture after thawing.
Reheating: Avoid microwaving to reheat, as this can lead to sogginess. Instead, place chickpeas back in a preheated oven at 350°F (175°C) for about 5-10 minutes until crisp again.
Crispy Za’atar Roasted Chickpeas Variations
Feel free to bring your own magic to these scrumptious chickpeas with some delightful twists!
-
Spice It Up: Add smoked paprika or cayenne pepper for a smoky or spicy kick—perfect for elevating the flavor profile!
-
Herbal Infusion: Swap in fresh herbs like rosemary or thyme for a vibrant, fragrant touch that brightens up every mouthful.
-
Nutty Boost: Incorporate sesame seeds or crunchy walnuts into your chickpeas before roasting for an added layer of texture and flavor.
-
Bean Bonanza: Substitute chickpeas with black beans or kidney beans for a unique spin on this recipe. They offer a lovely twist on flavor while remaining equally nutritious.
-
Citrus Explosion: Experiment with zesting lime or orange in addition to the lemon for a refreshing burst that dances on your taste buds.
-
Garlic Lovers: Mix in garlic powder or roast some whole garlic cloves alongside the chickpeas for a savory depth that will have everyone asking for more.
-
Savory Umami: Add a sprinkle of Nutritional Yeast before serving. This vegan-friendly ingredient will elevate your dish to a deliciously cheesy level, perfect for snacking.
-
Lazy Snack Option: If you’re short on time, consider using store-bought za’atar spice blends to save time without sacrificing flavor.
In less than 30 minutes, you can take these crispy chickpeas from simple to extraordinary. Whether you serve them at a get-together or keep them as your go-to snack while watching TV, they are sure to make an impression. Enjoy them alongside a refreshing dip like hummus or as a crunchy salad topping for an exciting twist!
Make Ahead Options
These Crispy Za’atar Roasted Chickpeas are perfect for meal prep enthusiasts! You can prepare the chickpeas by rinsing and drying them up to 24 hours in advance, storing them in an airtight container in the refrigerator to maintain their freshness. Additionally, you can mix the za’atar seasoning and lemon zest ahead of time, allowing the flavors to meld together (just keep them separate until ready to serve). When you’re ready to enjoy this nutritious snack, simply toss the prepped chickpeas with olive oil, coat with the seasoning, roast as directed, and you’ll have delicious, crunchy chickpeas ready in no time. This meal prep strategy ensures you’ll have a satisfying, homemade snack on hand, making busy weeknights so much easier!
Crispy Za’atar Roasted Chickpeas with Lemon Zest Recipe FAQs
What type of chickpeas should I use for the best results?
I recommend using canned chickpeas for convenience; just make sure they are well-drained and rinsed. If you prefer, you can also cook dried chickpeas at home, but be sure they’re thoroughly cooked and tender before using them in this recipe.
How should I store Crispy Za’atar Roasted Chickpeas?
To keep your chickpeas crispy, store them in an airtight container at room temperature for up to 2 days, or in the fridge for up to 5 days. Make sure the container is sealed well to prevent them from becoming soggy!
Can I freeze the roasted chickpeas?
Absolutely! You can freeze your Crispy Za’atar Roasted Chickpeas in a freezer-safe bag for up to 3 months. When you’re ready to enjoy them, thaw in the fridge overnight, and then reheat in a preheated oven at 350°F (175°C) for about 5-10 minutes to regain their crunchiness.
What should I do if my chickpeas aren’t crispy after roasting?
If your chickpeas turn out soggy, it could be due to moisture. Ensure you thoroughly dry them off after rinsing before tossing with oil and spices. Also, remember to spread them out in a single layer on the baking sheet to allow proper air circulation. If all else fails, try leaving them in the oven a bit longer, checking regularly!
Are these chickpeas suitable for a gluten-free and vegan diet?
Yes, indeed! The Crispy Za’atar Roasted Chickpeas with Lemon Zest are gluten-free and vegan, making them a healthy snacking choice for everyone, including those with dietary restrictions. Just be sure to check that your za’atar blend is gluten-free if you’re using store-bought.
Can I adjust the seasoning to suit my taste?
Very much so! If you’re new to za’atar, you may want to start with less seasoning and adjust according to your preference. Alternatively, feel free to experiment with other spices, like smoked paprika or garlic powder, to create a flavor profile you love!
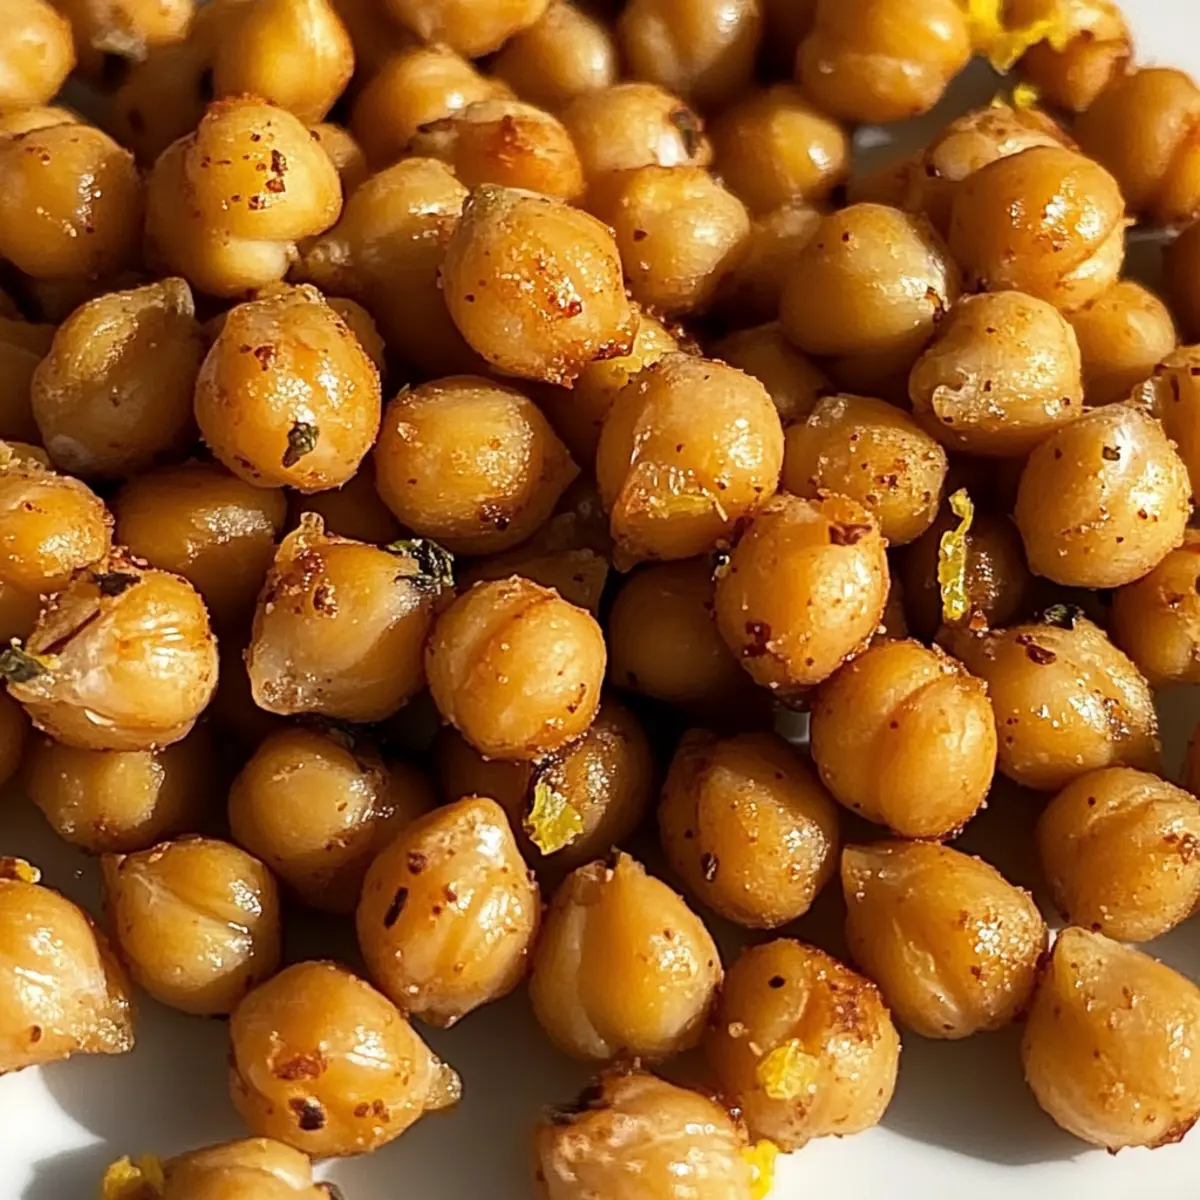
Crispy Za’atar Roasted Chickpeas: Your New Favorite Snack
Ingredients
Equipment
Method
- Preheat the oven to 400°F (200°C).
- Drain and rinse chickpeas, then pat dry with paper towels.
- In a bowl, coat chickpeas with olive oil and sprinkle za’atar seasoning, tossing to coat.
- Spread the seasoned chickpeas on a lined baking sheet in a single layer.
- Roast for 25-30 minutes, shaking the pan halfway through.
- Remove from oven and toss with lemon zest before cooling slightly.
Leave a Reply