
As I wandered through the charming streets of Hogsmeade, the scent of warm butterscotch wafted through the air, instantly transporting me to a magical world. This inspiration led me to create a delightful Butterbeer cheesecake that encapsulates the whimsical flavors of that beloved drink. With its creamy filling nestled on a crunchy graham cracker crust, this dessert is not only a crowd-pleaser but also surprisingly easy to whip up at home. Perfect for birthdays, themed gatherings, or simply treating yourself, this Butterbeer cheesecake promises to enchant everyone at the table. Are you ready to bring a touch of magic to your dessert time?
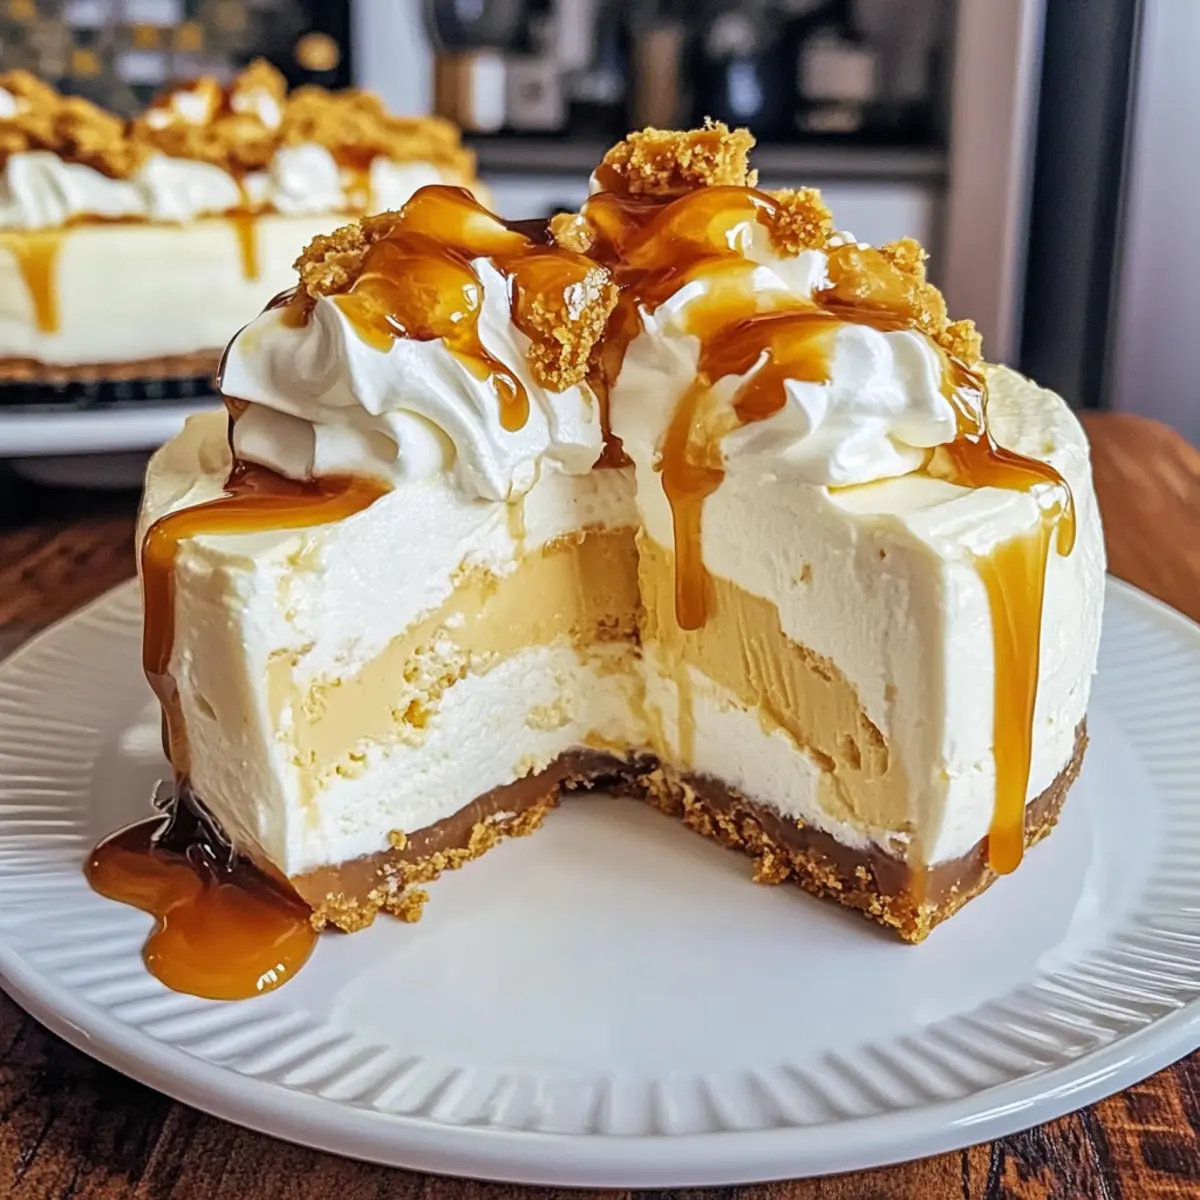
Why is Butterbeer Cheesecake a Must-Try?
Magic in Every Bite: This Butterbeer cheesecake captures the enchanting flavors of butterscotch and cream soda, making every slice a delightful adventure.
Easily Accessible Ingredients: You’ll find the ingredients in any grocery store—no special trips required!
Perfect for Any Occasion: Whether it’s a birthday party or a cozy family dinner, this dessert fits right in.
Impressive Presentation: Topped with cool whip and butterscotch sauce, it looks as good as it tastes! Indulge in this creation that’s reminiscent of the Key Lime Cheesecake for a refreshing twist.
Easy to Make: Don’t worry if you’re a beginner; this recipe is straightforward and rewarding!
Cultural Connection: Dive into the whimsical world of Harry Potter while serving this delightful treat, just like a scoop of Cheesecake Fruit Salad brings joy at gatherings.
Butterbeer Cheesecake Ingredients
• Discover the delightful components of Butterbeer cheesecake!
For the Crust
- Graham Cracker Crumbs – Base structure for the crust; Use gluten-free crackers for a gluten-free version.
- Granulated Sugar – Adds sweetness to both the crust and filling.
- Unsalted Butter – Binds the crust ingredients; Salted butter can be used; reduce added salt in the recipe.
For the Filling
- Cream Cheese – The main filling ingredient that provides creaminess and stability; Low-fat cream cheese can be a substitute.
- Sour Cream – Contributes tanginess and depth to the filling; Plain Greek yogurt can be an alternative.
- Large Eggs – Binds the filling and helps it set; For egg-free, consider substituting with a mixture of ground flaxseed and water.
- Vanilla Extract – Enhances flavor.
- Butter Flavoring – Boosts the buttery essence; Omit if unavailable, or use extra butter.
- Butterscotch Sauce – Infuses the cheesecake with the signature butterscotch flavor; Caramel sauce can be a substitute for a different twist.
- Cream Soda – Adds the fizzy element reminiscent of Butterbeer; Use a homemade version if preferred.
- Butterscotch Chips – Tiny bursts of flavor in the filling; Chocolate chips can be an alternative.
Enjoy baking your magical creation!
Step‑by‑Step Instructions for Butterbeer Cheesecake
Step 1: Preheat the Oven
Begin by preheating your oven to 325°F (160°C) to create the perfect baking environment for your Butterbeer cheesecake. As the oven warms, gather your ingredients and prepare an 8-inch springform pan, ensuring it’s ready to hold the delightful layers that will soon come together.
Step 2: Prepare the Crust
In a mixing bowl, combine graham cracker crumbs, granulated sugar, and melted unsalted butter. Stir until the mixture is well-blended and crumbly. Firmly press this mixture into the bottom of the prepared springform pan, creating an even layer. Bake the crust for 10 minutes, then allow it to cool while you prepare the filling.
Step 3: Blend the Filling
In a large mixing bowl, beat the softened cream cheese using an electric mixer until it’s completely smooth and creamy, approximately 2-3 minutes. Gradually add in the sour cream and sugar, mixing until well combined. The mixture should be light in texture, ensuring a rich and creamy Butterbeer cheesecake filling.
Step 4: Incorporate Eggs and Flavorings
Add the large eggs one at a time into the cream cheese mixture, mixing well after each addition. This ensures a velvety texture. Follow by stirring in the vanilla extract and butter flavoring until evenly distributed, bringing out the delightful buttery essence in your Butterbeer cheesecake.
Step 5: Mix in Butterscotch and Soda
Gently fold in the butterscotch sauce, cream soda, and butterscotch chips into the filling mixture. Ensure everything is well combined but take care not to over-mix. The addition of cream soda will create a light and airy consistency, embodying the fun flavors reminiscent of Butterbeer.
Step 6: Assemble the Cheesecake
Pour the rich filling over the cooled graham cracker crust, using a spatula to smooth the surface. Ensure the filling is evenly spread for a lovely presentation. This layer will bake and set beautifully, forming the magical centerpiece of your Butterbeer cheesecake.
Step 7: Bake the Cheesecake
Place the cheesecake pan in the oven and bake for about 60 minutes. To maintain moisture, set a pan of water on a lower rack in the oven. The edges should appear set, while the center remains slightly jiggly—this ensures a creamy texture once cooled.
Step 8: Cool Gradually
After baking, turn off the oven and leave the cheesecake inside with the door slightly ajar for about 1 hour. This gradual cooling helps prevent cracking. The slow temperature transition allows the cheesecake to firm up without shocking it—key for a perfect Butterbeer cheesecake.
Step 9: Refrigerate
Once the cheesecake has cooled, carefully remove it from the oven and refrigerate it for at least 4 hours. For best results, leave it overnight, allowing the flavors to deepen and the texture to fully develop into a delightful, creamy masterpiece.
Step 10: Final Touches
Before serving your enchanting Butterbeer cheesecake, top it with cool whip and drizzle generously with butterscotch sauce. This finishing touch not only adds visual appeal but enhances the overall flavor, making your dessert truly magical and ready to impress.
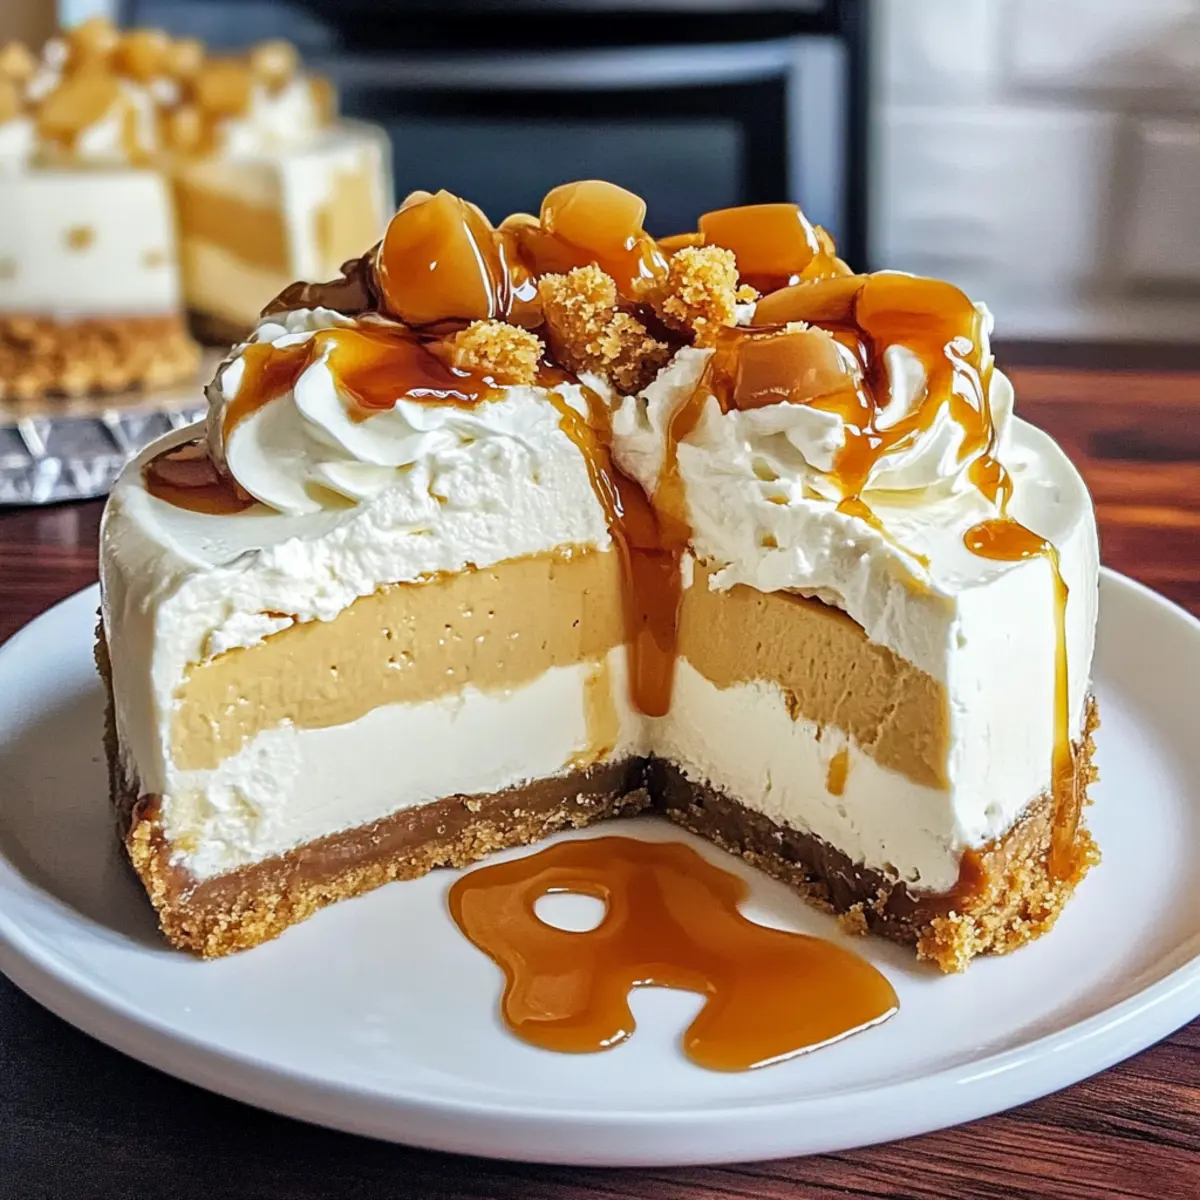
What to Serve with Magical Butterbeer Cheesecake
Indulging in a slice of this dreamy dessert opens up a world of delightful pairing possibilities, enhancing your dining experience.
- Warm Coffee: A steaming cup of coffee complements the rich creaminess, balancing the sweetness with its bold flavor.
- Chilled Cream Soda: Serve with a glass of this fizzy drink to keep the Butterbeer theme alive and add a refreshing touch.
- Fresh Berries: A side of strawberries or raspberries brings a burst of color and tang that cuts through the cheesecake’s richness.
- Chocolate Mousse: Pair it with a light chocolate mousse for a decadent contrast in textures and flavors that will tantalize your palate.
- Toasted Nuts: A sprinkle of toasted pecans or walnuts provides a delightful crunch and adds an earthy note to your dessert.
- Butterscotch Pudding: Enhance the butterscotch flavor with a small serving of creamy pudding, perfect for those who crave an extra layer of sweetness.
- Festive Wine: A glass of sweet dessert wine, like Sauternes, will elevate your meal, harmonizing beautifully with the cheesecake’s flavors.
- Spiced Apple Cider: For a cozy touch, serve warm spiced apple cider alongside the cheesecake, invoking the feeling of autumn festivities.
- Vanilla Ice Cream: A scoop on the side melts beautifully into the cheesecake, marrying the flavors into a dreamy combination of creamy bliss.
How to Store and Freeze Butterbeer Cheesecake
-
Refrigeration: Keep your Butterbeer cheesecake covered in plastic wrap or in an airtight container for up to 5 days. This helps maintain its creamy texture and delightful flavor.
-
Freezing: To freeze, wrap individual slices tightly in plastic wrap, followed by foil, and store in the freezer for up to 3 months. Thaw in the fridge before serving to retain its luscious consistency.
-
Reheating: If desired, gently reheat slices in the microwave for about 10-15 seconds to slightly warm them up, enhancing the creamy experience without compromising taste.
-
Serving Tip: Always garnish with fresh cool whip or butterscotch sauce after thawing for an exquisite presentation that will delight your guests!
Expert Tips for Butterbeer Cheesecake
-
Prevent Cracking: Always bake your cheesecake in a water bath. This method helps maintain moisture and leads to a smooth, crack-free surface.
-
Chill Overnight: For the best flavor and texture, refrigerate the cheesecake overnight. This allows the butterscotch flavors to meld into a rich, creamy masterpiece.
-
Room Temperature Ingredients: Ensure all your ingredients are at room temperature before mixing. This helps achieve a smooth filling without lumps, essential for a perfect Butterbeer cheesecake.
-
Keep an Eye on Baking Time: Start checking the cheesecake at around 50 minutes. If the edges are set but the center is still jiggly, it’s ready to come out.
-
Cool Gradually: After baking, letting your cheesecake sit in the closed oven for an hour can prevent major temperature swings, which helps keep it creamy inside.
-
Creative Toppings: Don’t hesitate to get creative! Try adding a sprinkle of sea salt or a caramel drizzle for added depth and an eye-catching finish.
Make Ahead Options
These Butterbeer cheesecake preparations are perfect for busy home cooks looking to save time during the week! You can make the crust and filling up to 24 hours in advance. Simply prepare the graham cracker crust and press it into the pan, then refrigerate it. For the filling, blend all ingredients, pour over the crust, and cover tightly with plastic wrap, ensuring it doesn’t touch the surface to prevent any browning or crumbling. When you’re ready to serve, simply bake the cheesecake, let it cool, and refrigerate for at least 4 hours or overnight for the best flavor. This way, you’ll have a show-stopping dessert ready with minimal stress and just as delicious as if made fresh that day!
Butterbeer Cheesecake Variations & Substitutions
Feel free to get creative with your Butterbeer cheesecake! Explore these imaginative twists that can elevate your dessert experience.
-
Gluten-Free Crust: Use gluten-free graham cracker crumbs to make the crust suitable for those avoiding gluten. It’s just as delicious!
-
Low-Fat Option: For a lighter cheesecake, substitute low-fat cream cheese and Greek yogurt. The flavor remains rich while trimming some calories.
-
No Eggs: Replace eggs with a flaxseed mixture (1 tablespoon ground flaxseed + 2.5 tablespoons water = 1 egg). This keeps it vegan-friendly!
-
Dairy-Free Delight: Swap cream cheese and sour cream for non-dairy alternatives like cashew cream or coconut yogurt for a deliciously creamy experience.
-
Flavor Infusions: Experiment with flavored cream soda, such as vanilla or root beer, to give your cheesecake a unique taste twist. What a fun way to experiment!
-
Fruity Surprise: Marry the butterscotch flavors with some chopped apples or pears folded into the filling for a fruity burst of flavor reminiscent of fall.
-
Chocolate Lovers: Instead of butterscotch chips, use mini chocolate chips for a delightful chocolate twist; each bite will be irresistibly decadent!
-
Tropical Vibes: Drizzle your cheesecake with a coconut or pineapple sauce to infuse it with a tropical flair, capturing a new kind of magic.
Imagine hosting a Harry Potter-themed gathering and serving your Butterbeer cheesecake embellished with one or more of these creative variations. Perhaps alongside a bowl of Fruity Pebbles Cheesecake Tacos for a colorful treat! Each twist makes for a unique and enchanting creation. Delight your loved ones while celebrating the flavors of a timeless favorite!
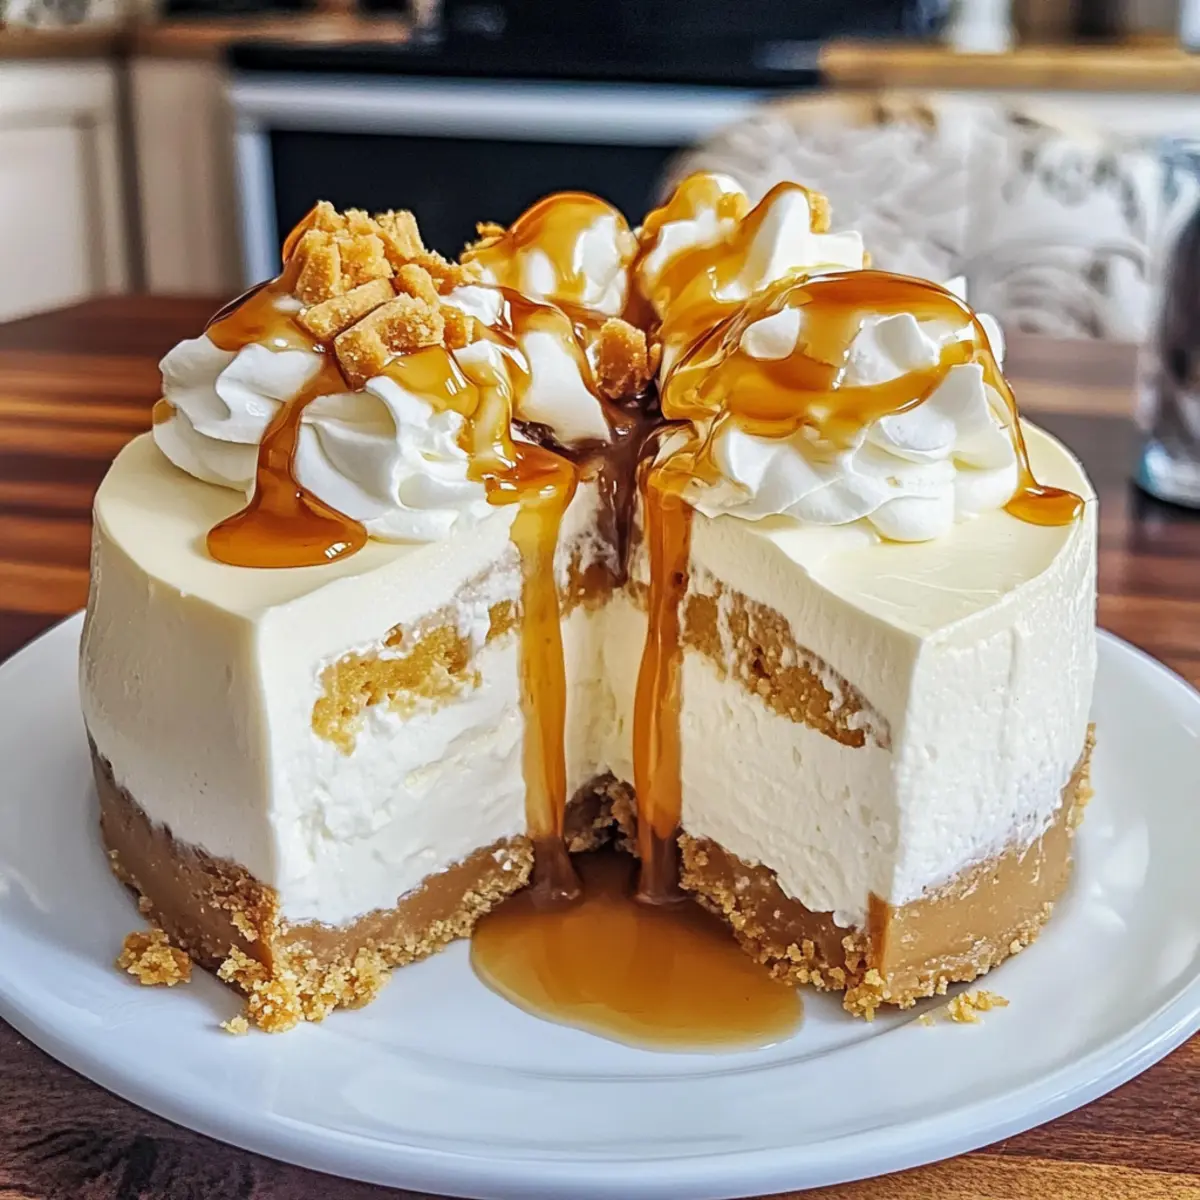
Butterbeer Cheesecake Recipe FAQs
How do I select the right ingredients for Butterbeer cheesecake?
Absolutely! For the best Butterbeer cheesecake, ensure your cream cheese is softened to room temperature to achieve a smooth filling. When selecting graham crackers, look for ones without any dark spots or staleness to ensure a fresh, crunchy crust. The butterscotch sauce should be rich and flavorful, whether it’s store-bought or homemade.
What’s the best way to store Butterbeer cheesecake?
Very! After enjoying your delightful cheesecake, cover it with plastic wrap or place it in an airtight container. It can be stored in the refrigerator for up to 5 days. This helps maintain its creamy texture and rich flavor while keeping it fresh for your next indulgence.
Can I freeze Butterbeer cheesecake?
Absolutely! To freeze, slice your cheesecake into individual portions. Wrap each slice tightly in plastic wrap followed by foil to prevent freezer burn. This way, your Butterbeer cheesecake will last for up to 3 months in the freezer. When you’re ready to enjoy again, let it thaw in the refrigerator overnight for the best texture.
What should I do if my cheesecake cracks while baking?
Oh no! If you see cracks forming, don’t panic. Ensure you’re using a water bath when baking, which keeps moisture levels high and helps prevent cracks. If cracks happen despite your best efforts, you can cover them with a topping of whipped cream or butterscotch sauce to creatively mask any imperfections!
Is this recipe suitable for those with dietary restrictions, such as lactose intolerance?
While traditional Butterbeer cheesecake contains dairy, you can easily adapt the recipe to suit lactose-intolerant individuals. Substitute cream cheese with lactose-free cream cheese, and use coconut or almond milk-based whipped toppings. You can also omit the butterscotch chips or find lactose-free alternatives to keep the spirit of the dessert intact.
What’s the ideal serving temperature for Butterbeer cheesecake?
I recommend serving the cheesecake chilled, right after it has been in the fridge for at least 4 hours. If you prefer a softer texture, let it sit at room temperature for about 15-20 minutes before serving. This allows the rich flavors to shine while still retaining a creamy consistency. Enjoy your magical treat!
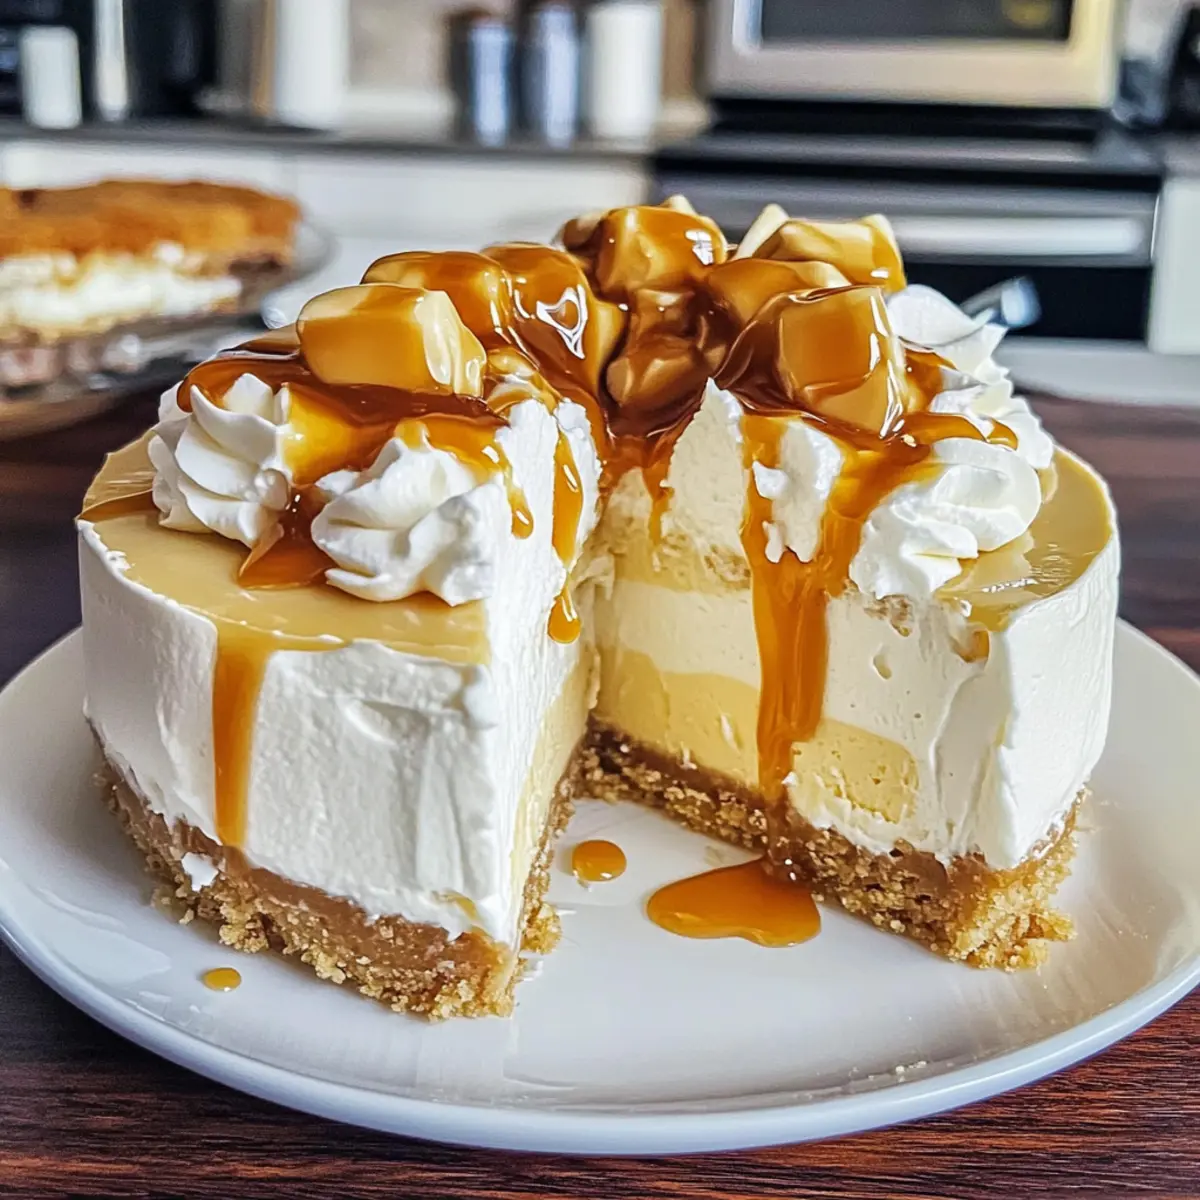
Indulge in Irresistible Butterbeer Cheesecake Bliss
Ingredients
Equipment
Method
- Preheat your oven to 325°F (160°C). Prepare an 8-inch springform pan.
- In a mixing bowl, combine graham cracker crumbs, granulated sugar, and melted butter. Press into the bottom of the springform pan. Bake for 10 minutes and let cool.
- Beat the cream cheese until smooth, then add sour cream and sugar. Mix well until light and creamy.
- Add eggs one at a time, mixing well after each. Stir in vanilla extract and butter flavoring until evenly combined.
- Fold in butterscotch sauce, cream soda, and butterscotch chips into the mixture.
- Pour the filling over the cooled crust and smooth the surface. Bake for about 60 minutes.
- Turn off the oven and leave the cheesecake inside with the door ajar for about 1 hour.
- Refrigerate for at least 4 hours, preferably overnight.
- Before serving, top with cool whip and drizzle with butterscotch sauce.
Leave a Reply